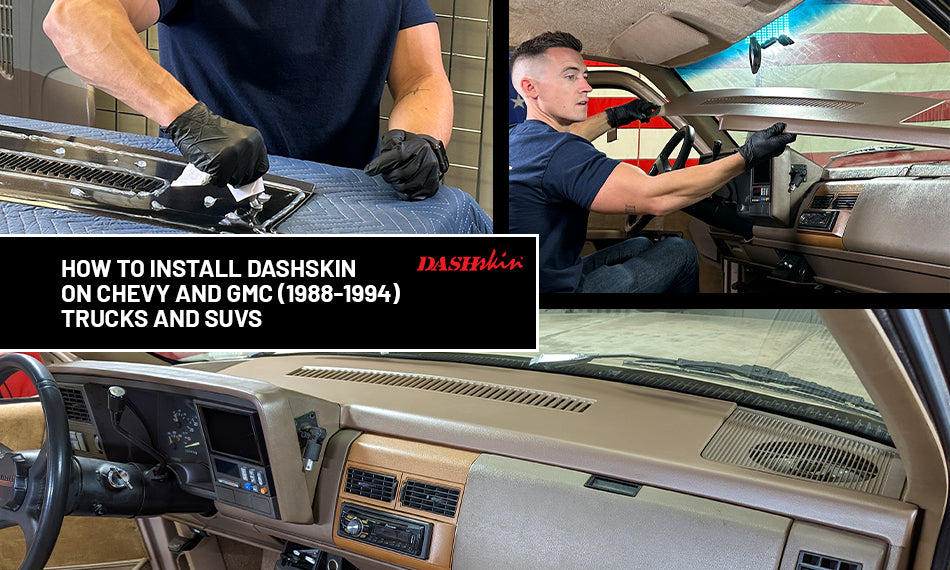
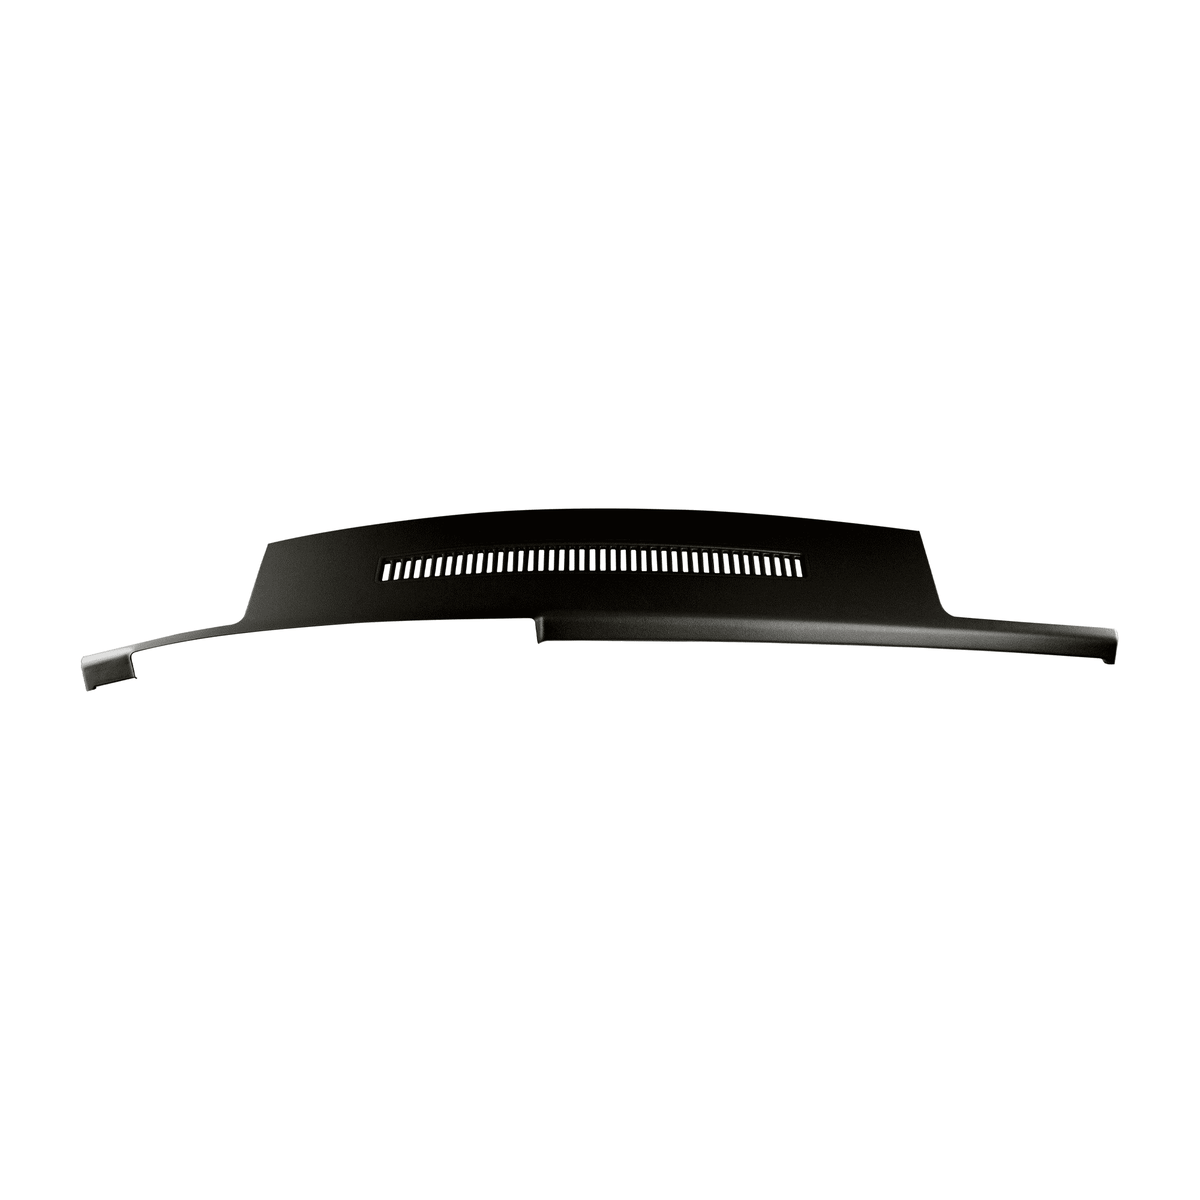
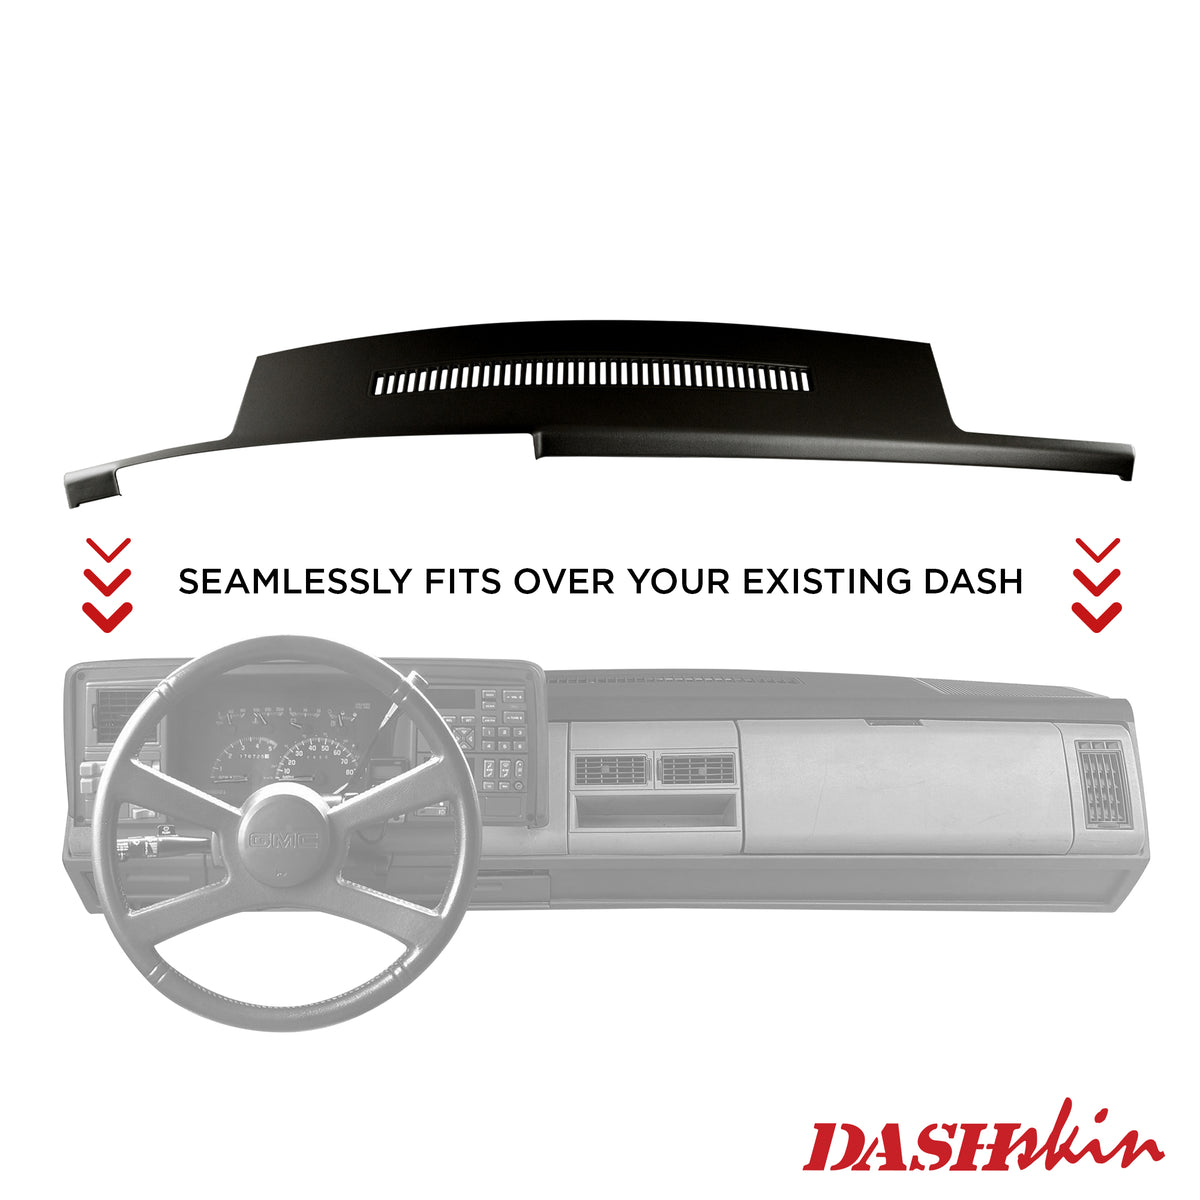
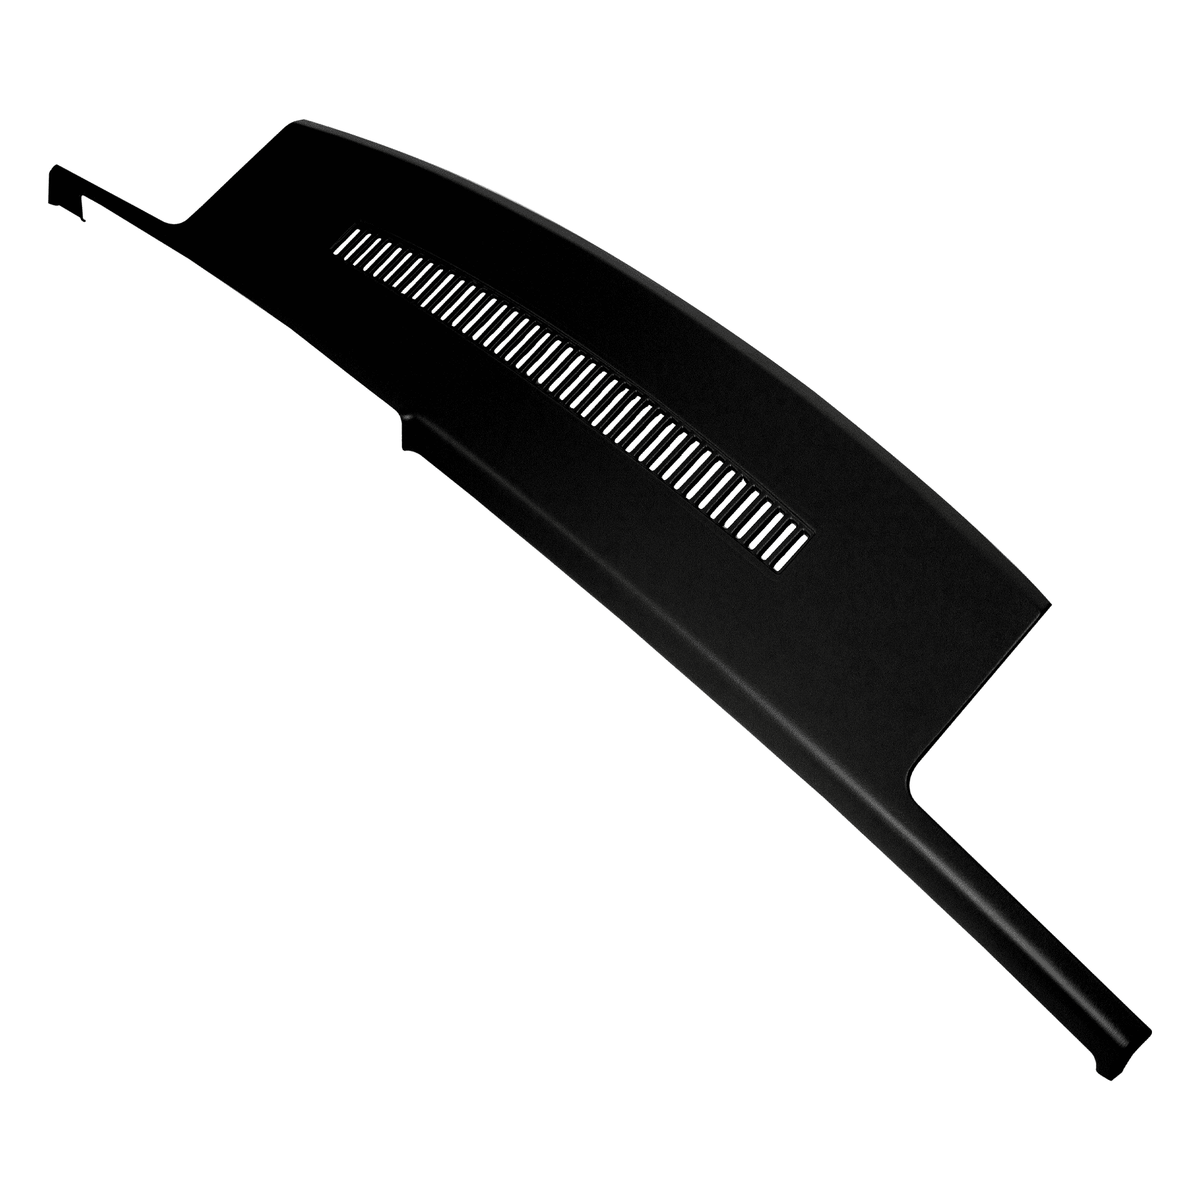
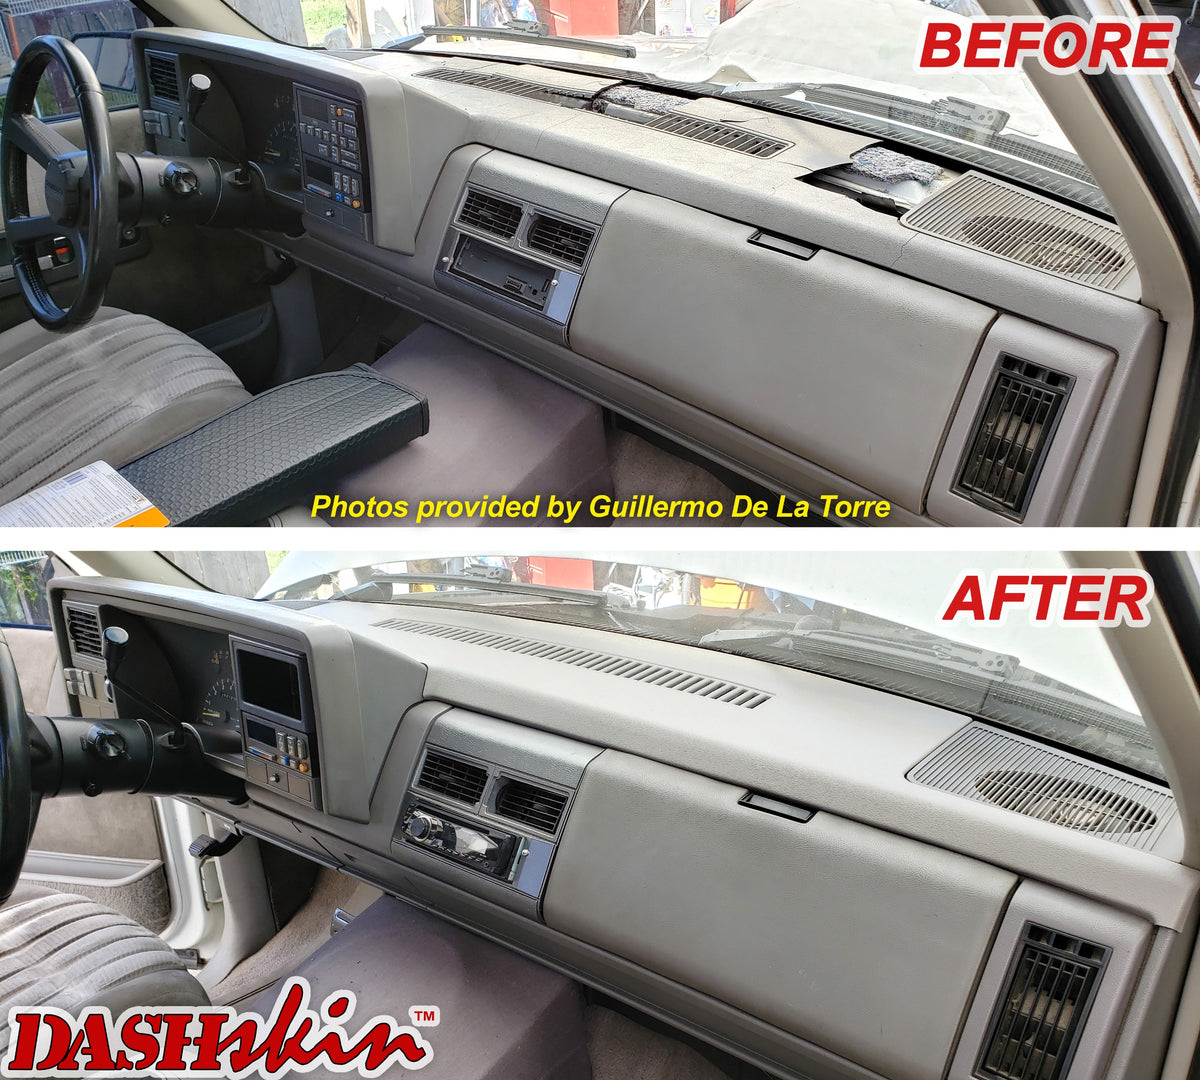
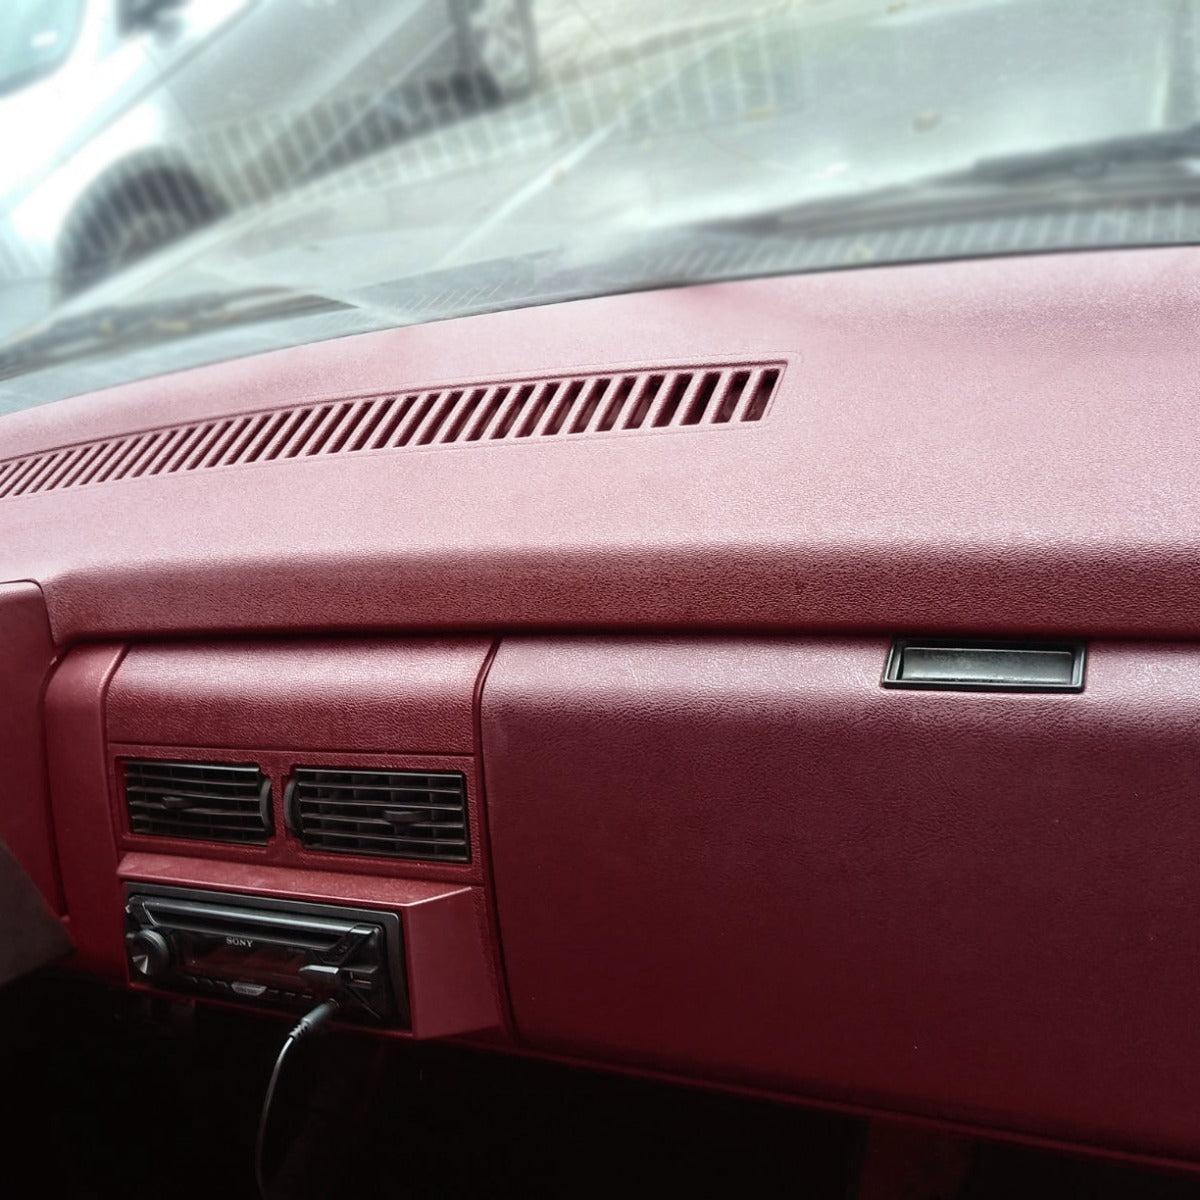
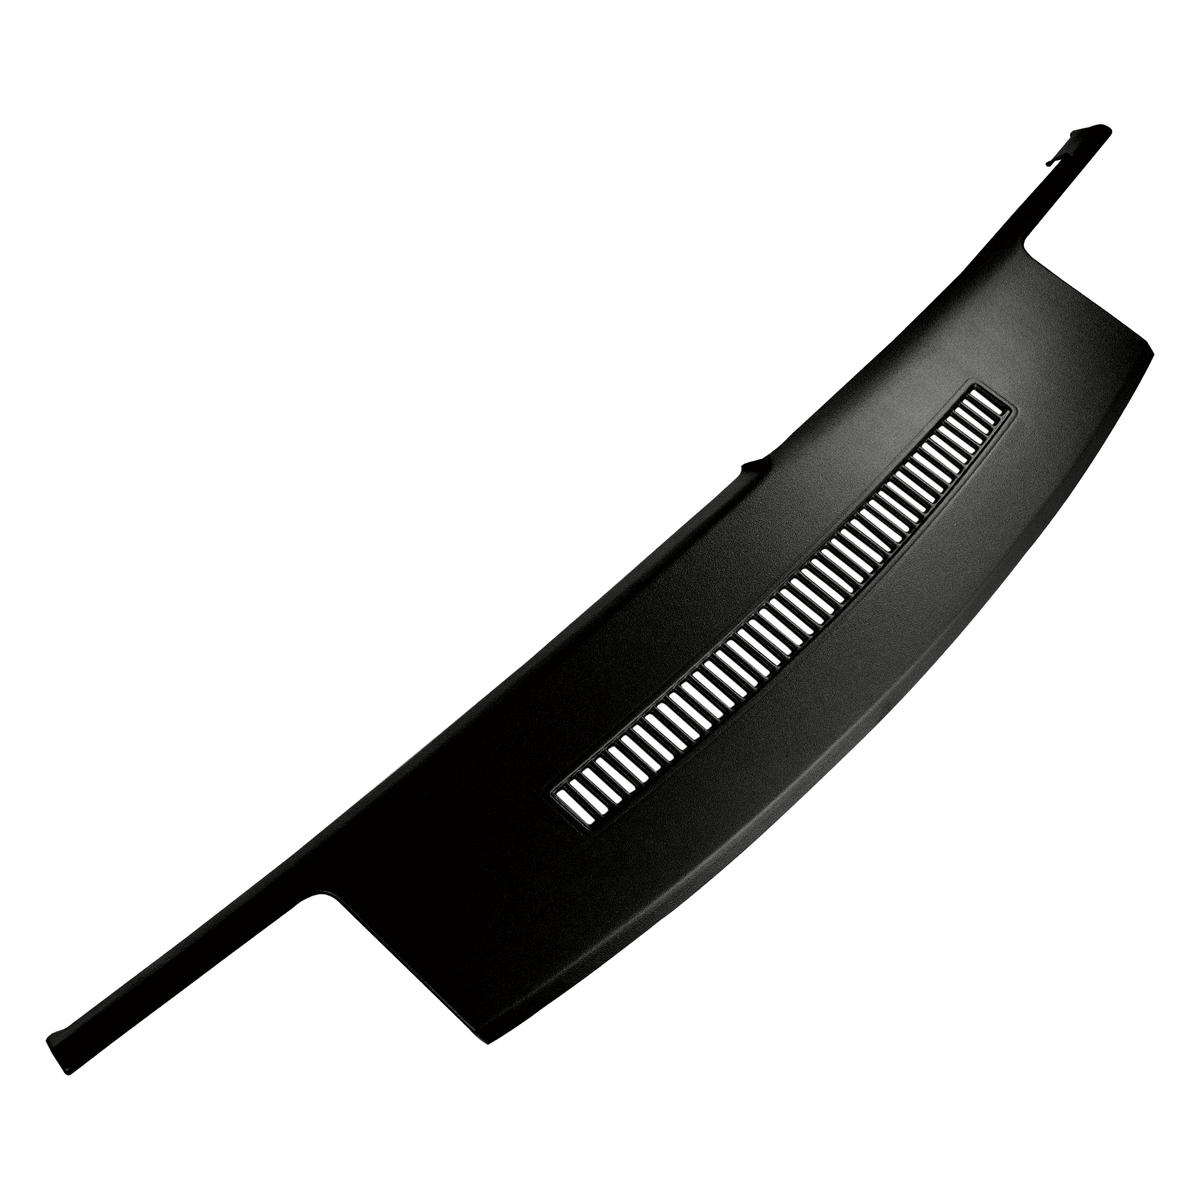
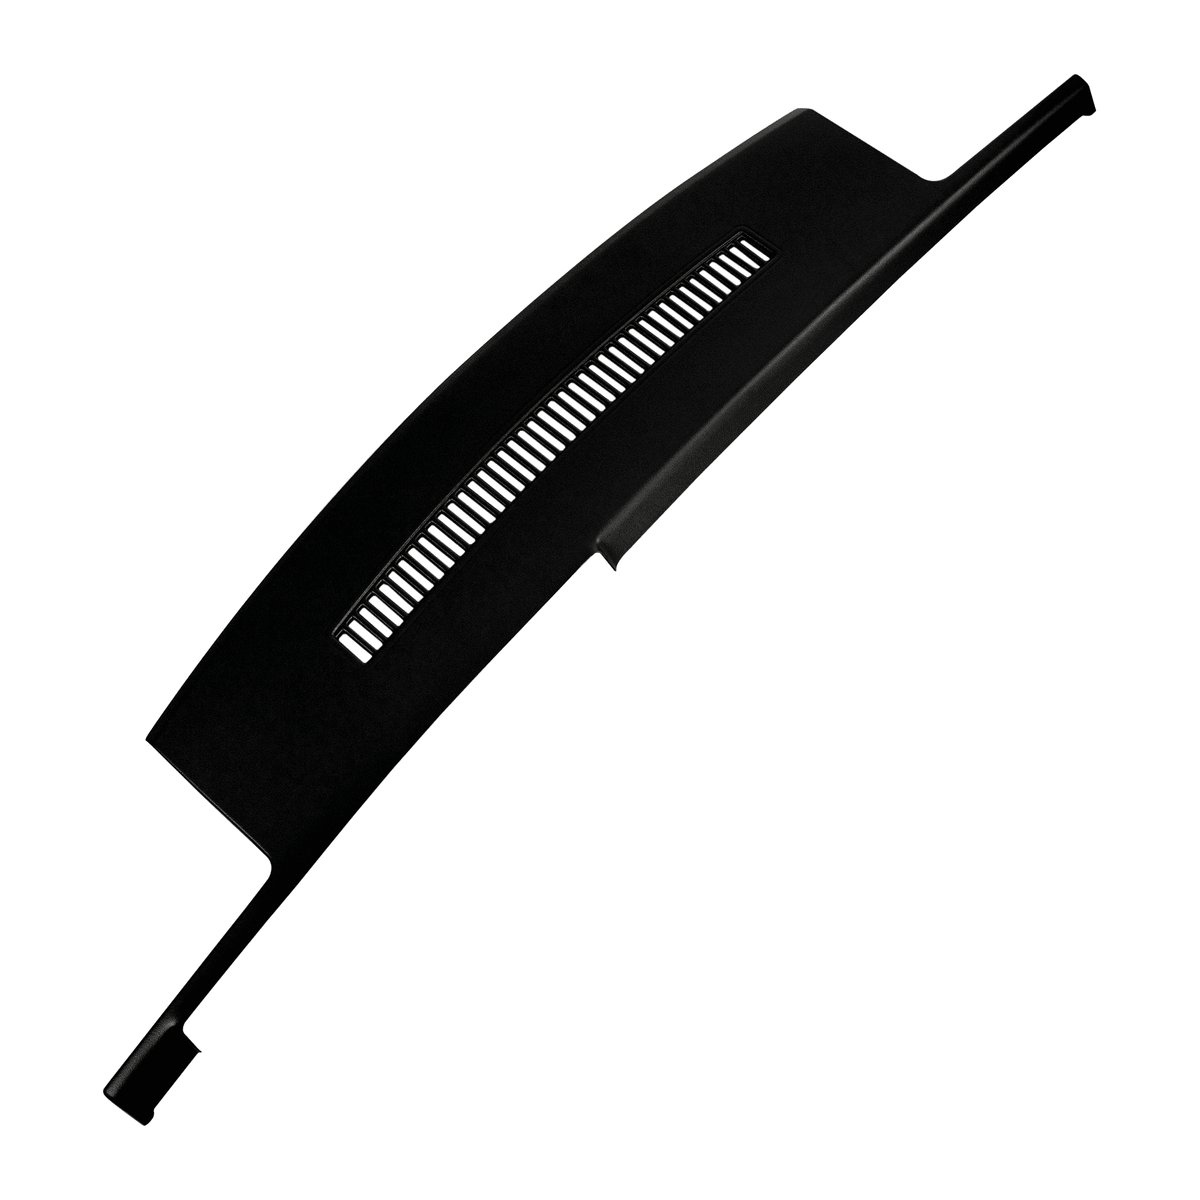
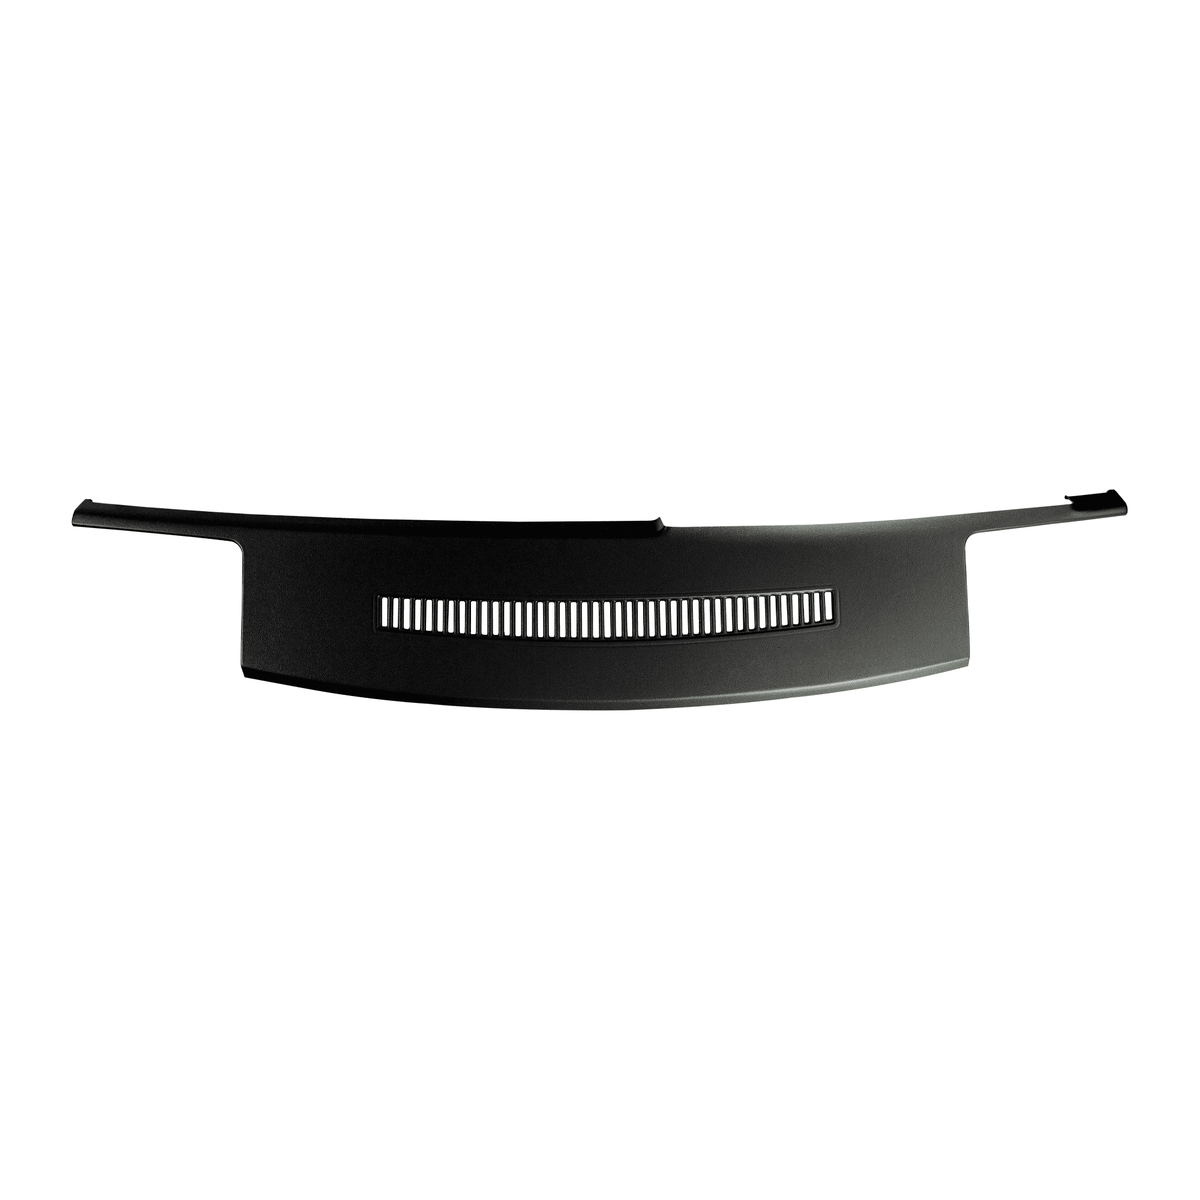
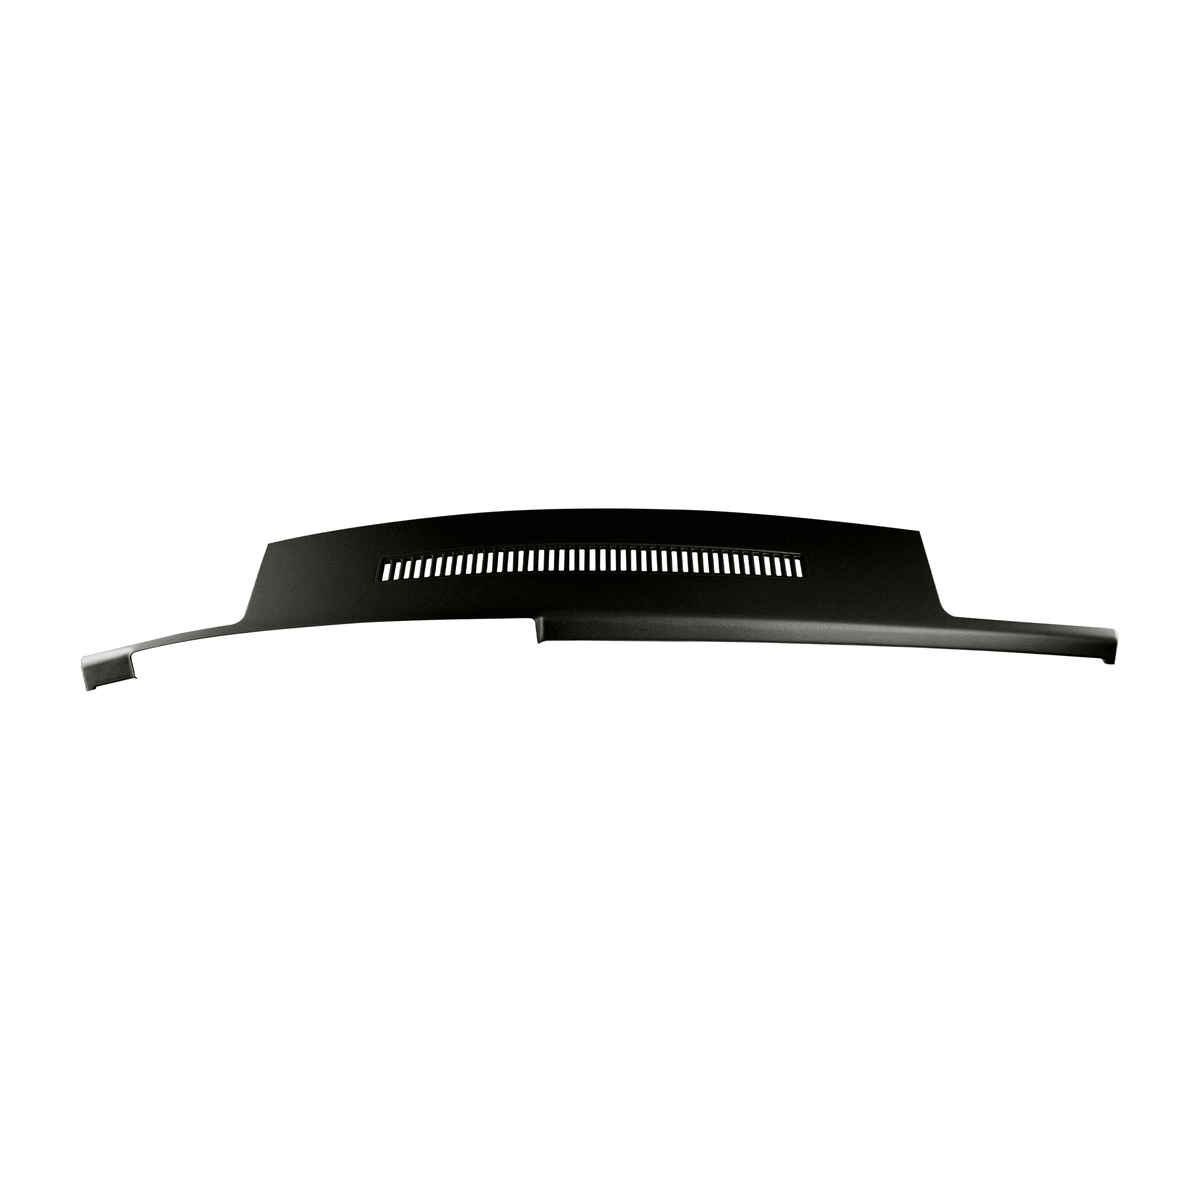
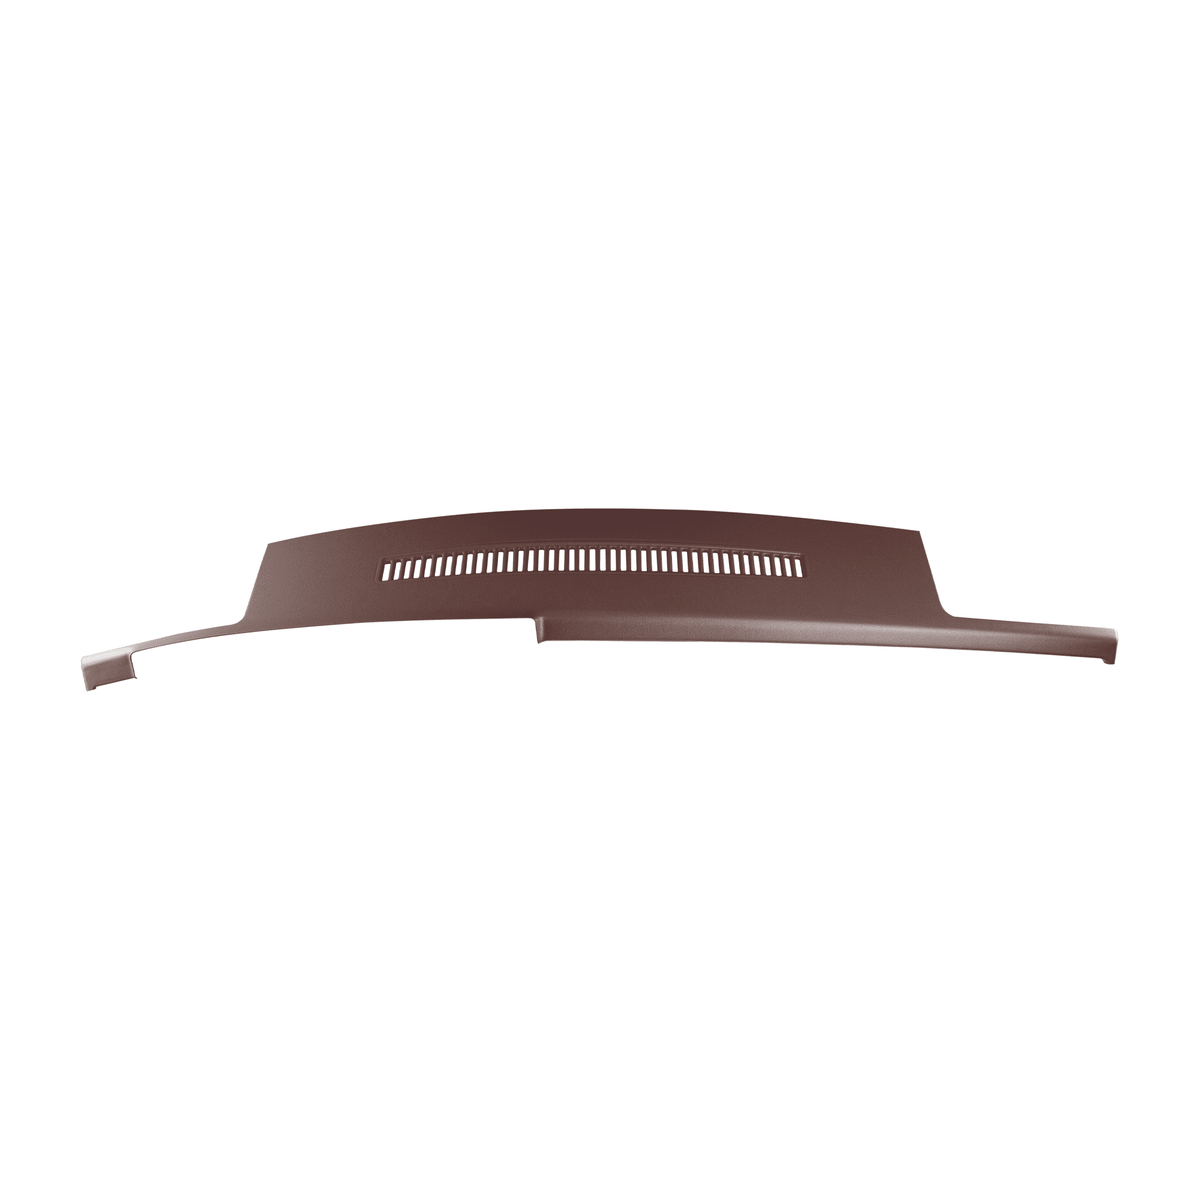
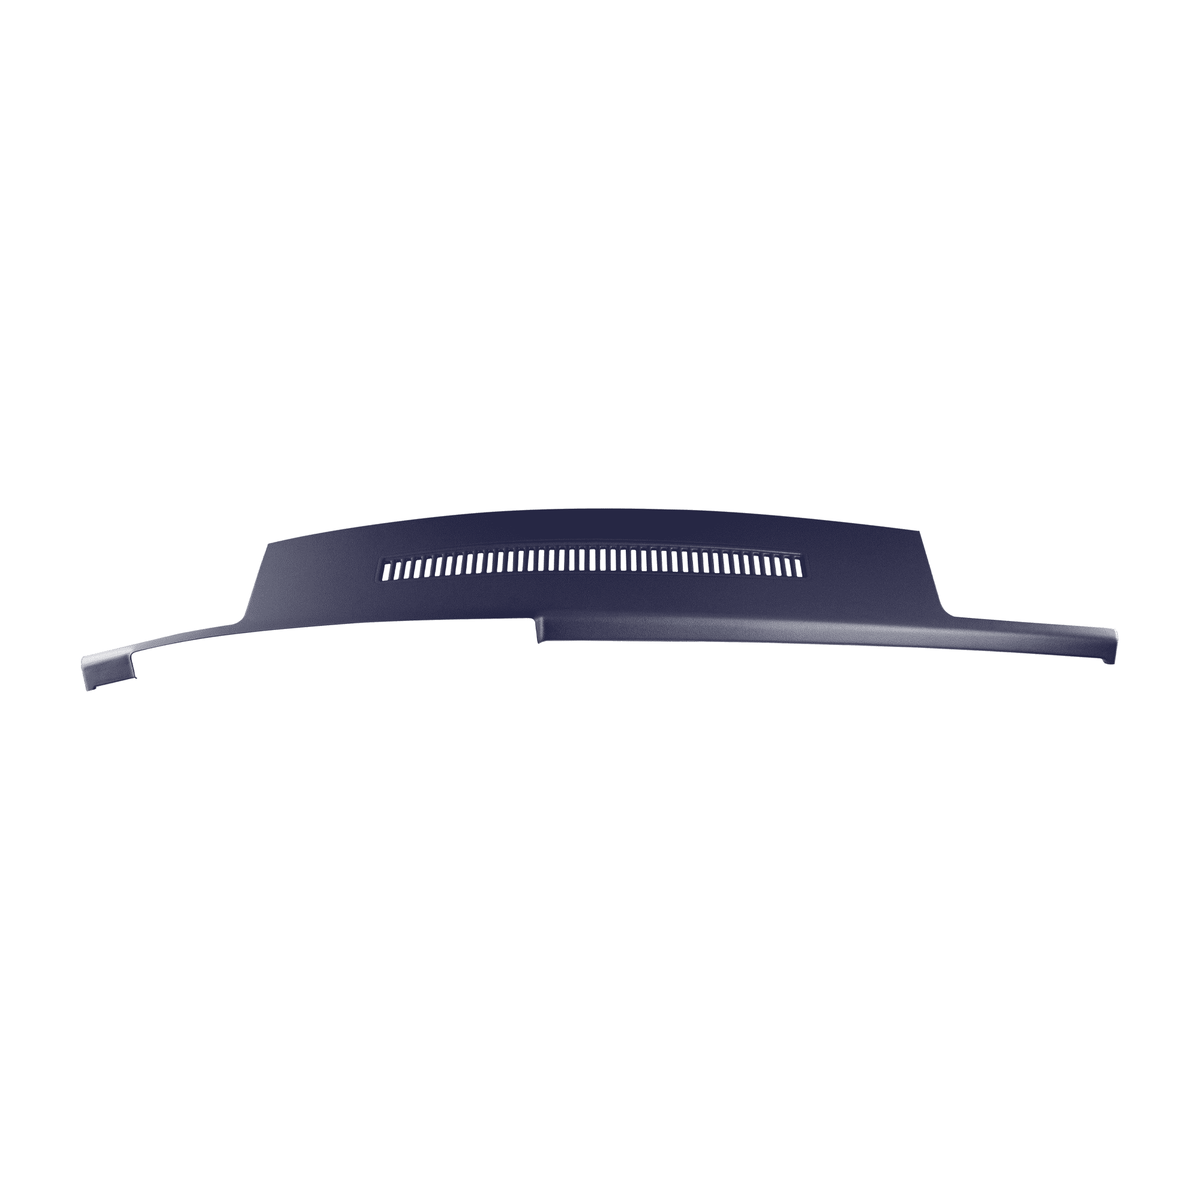
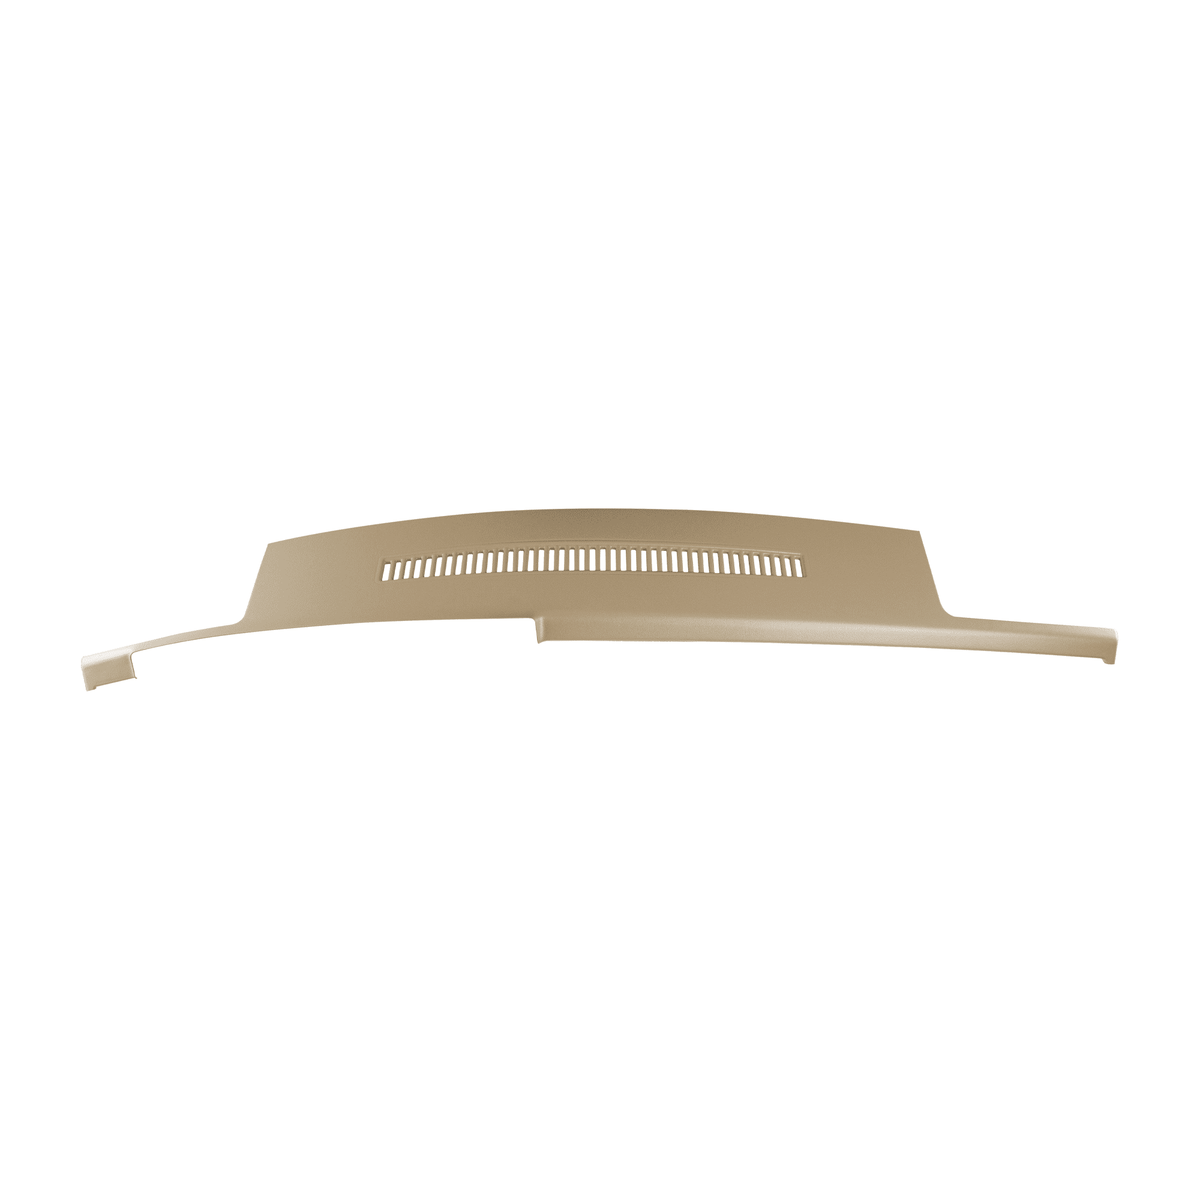
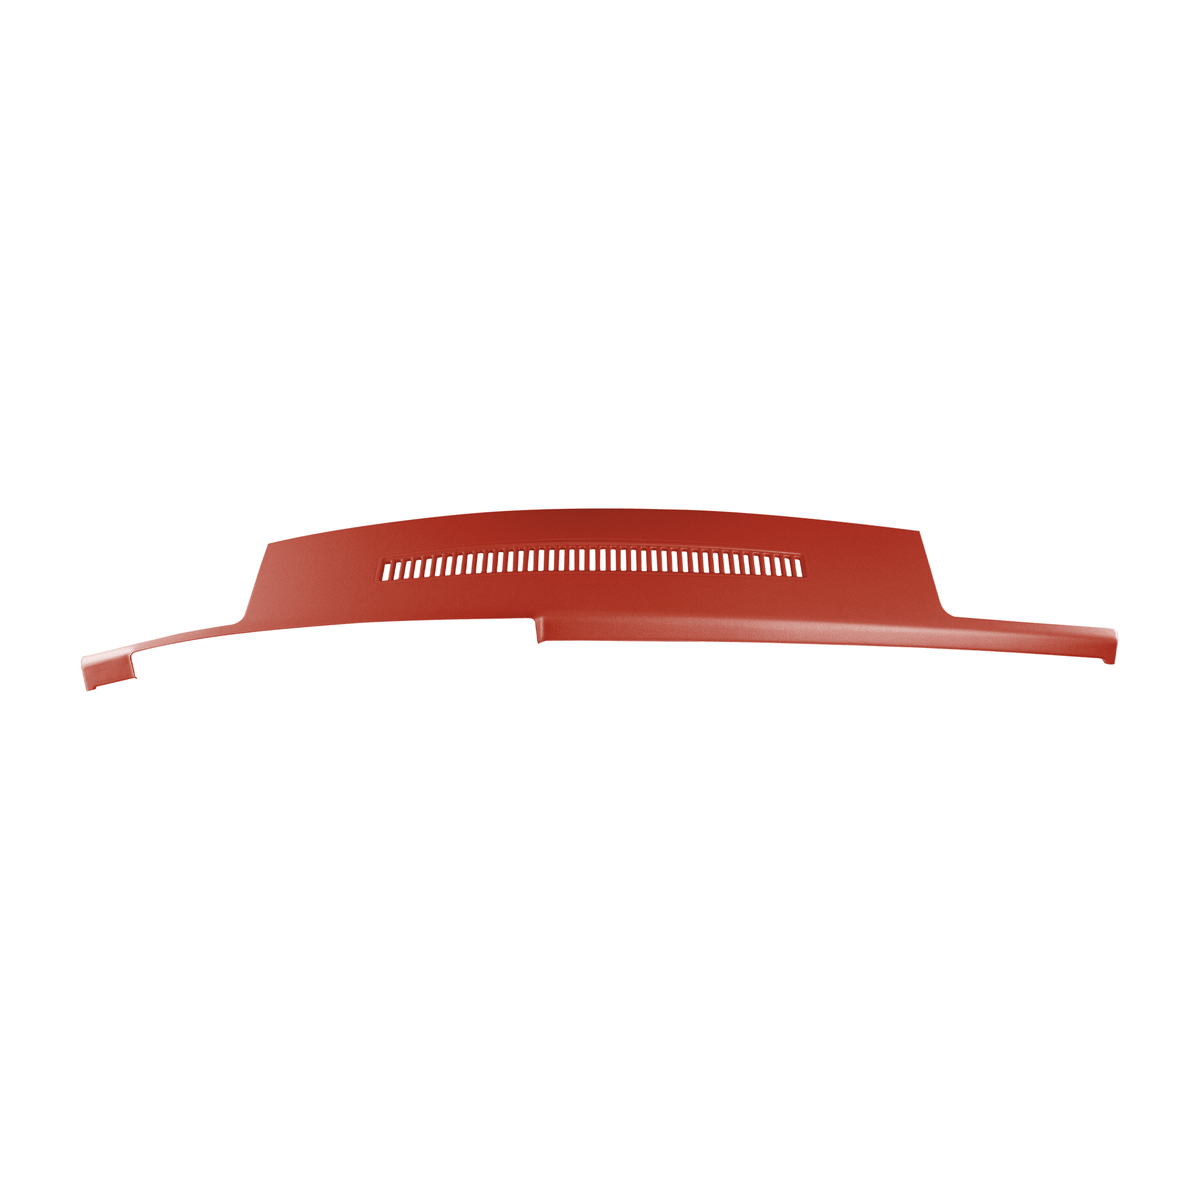
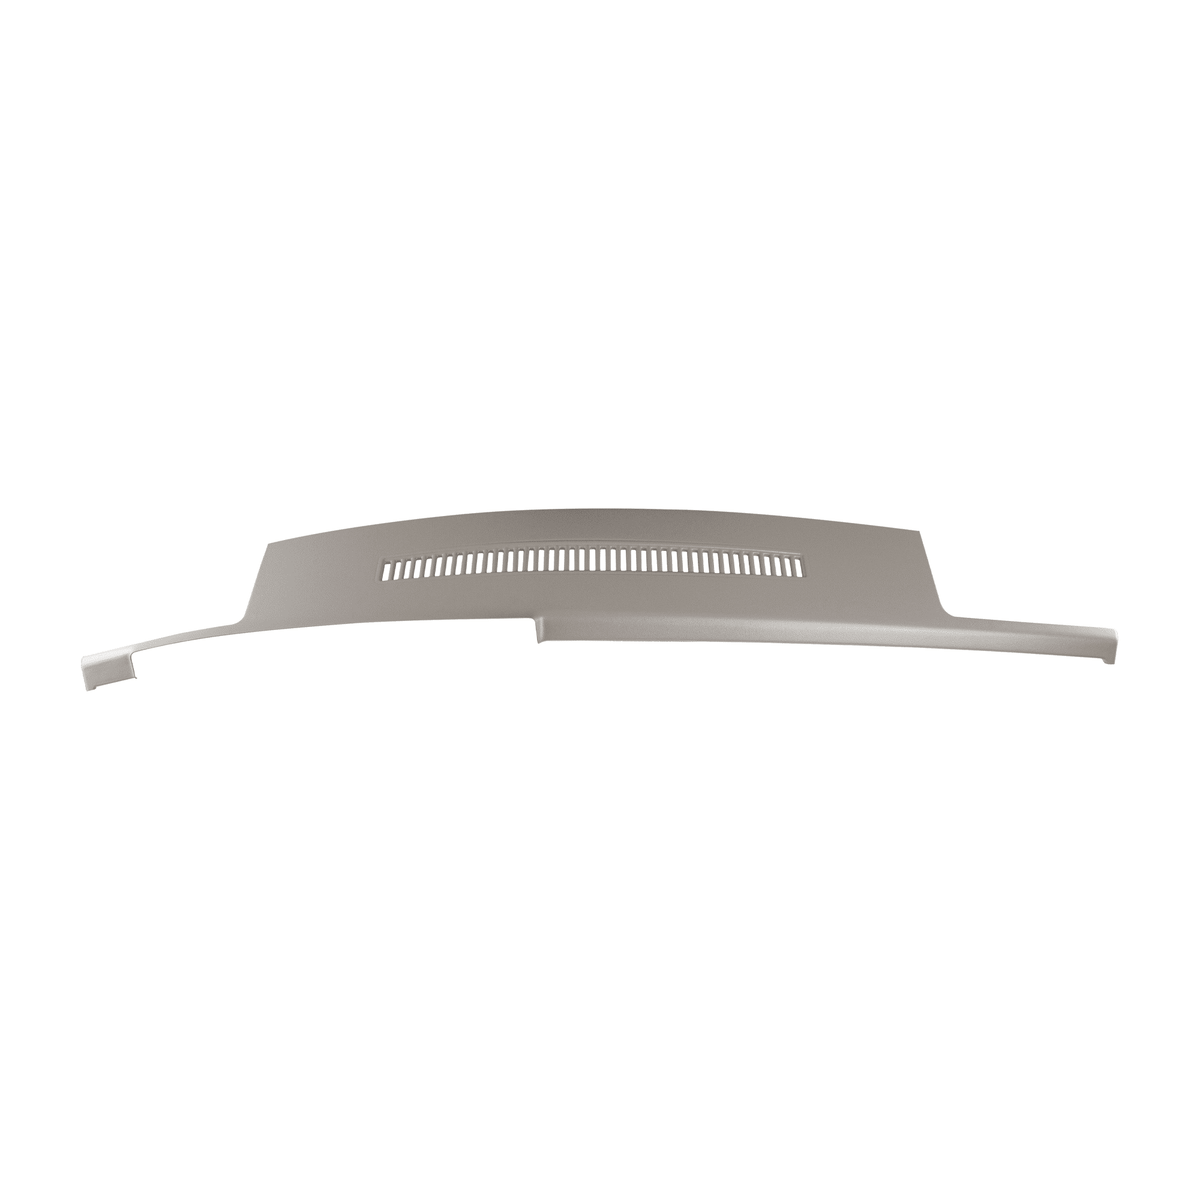
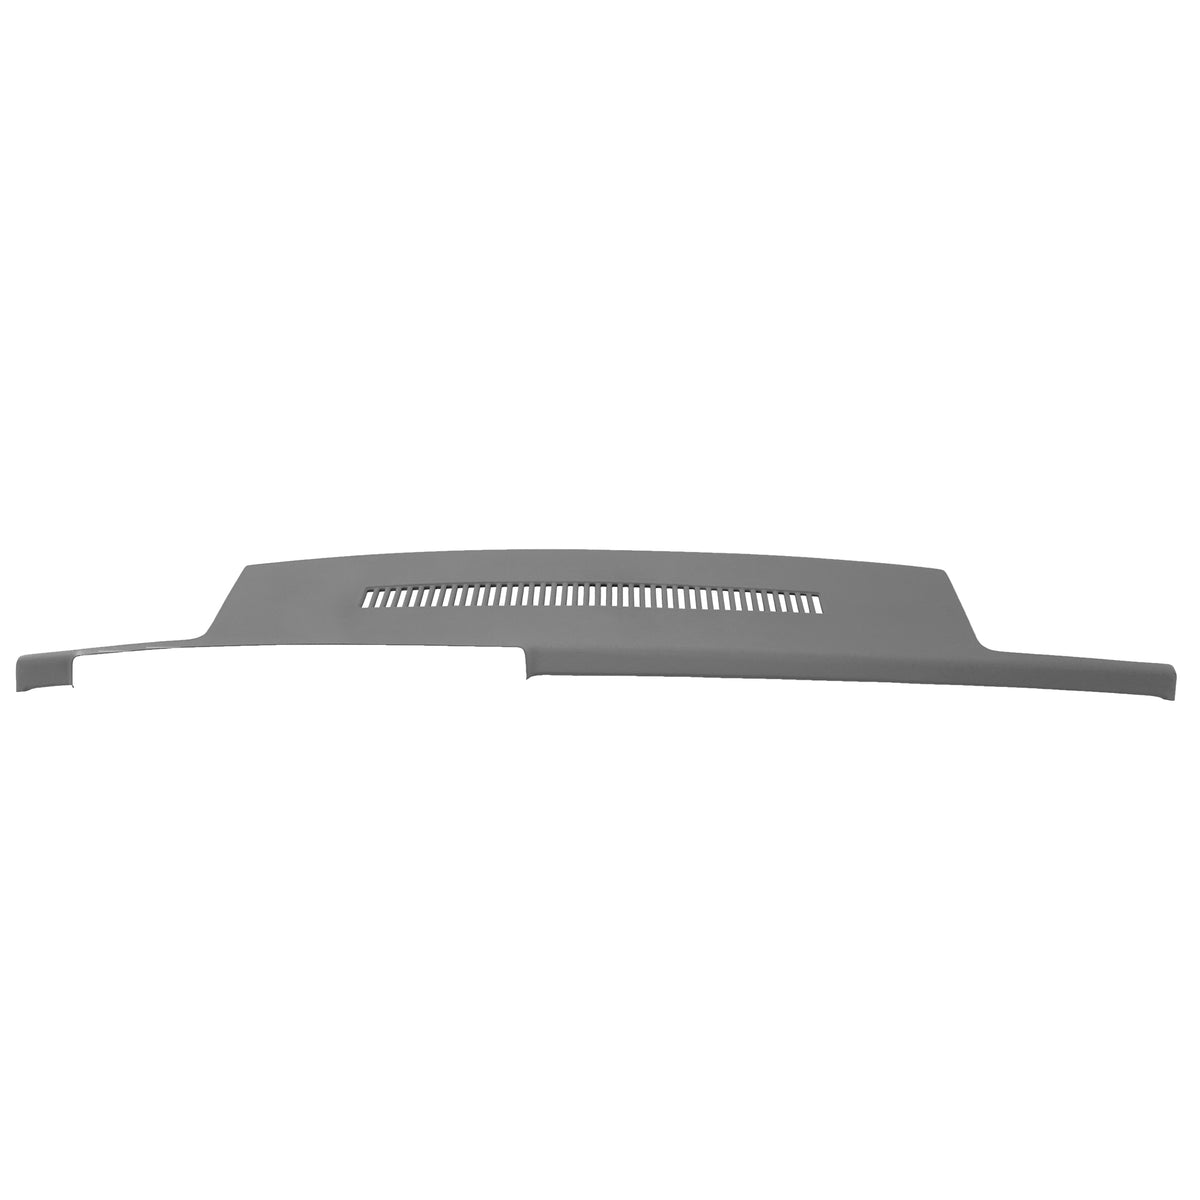
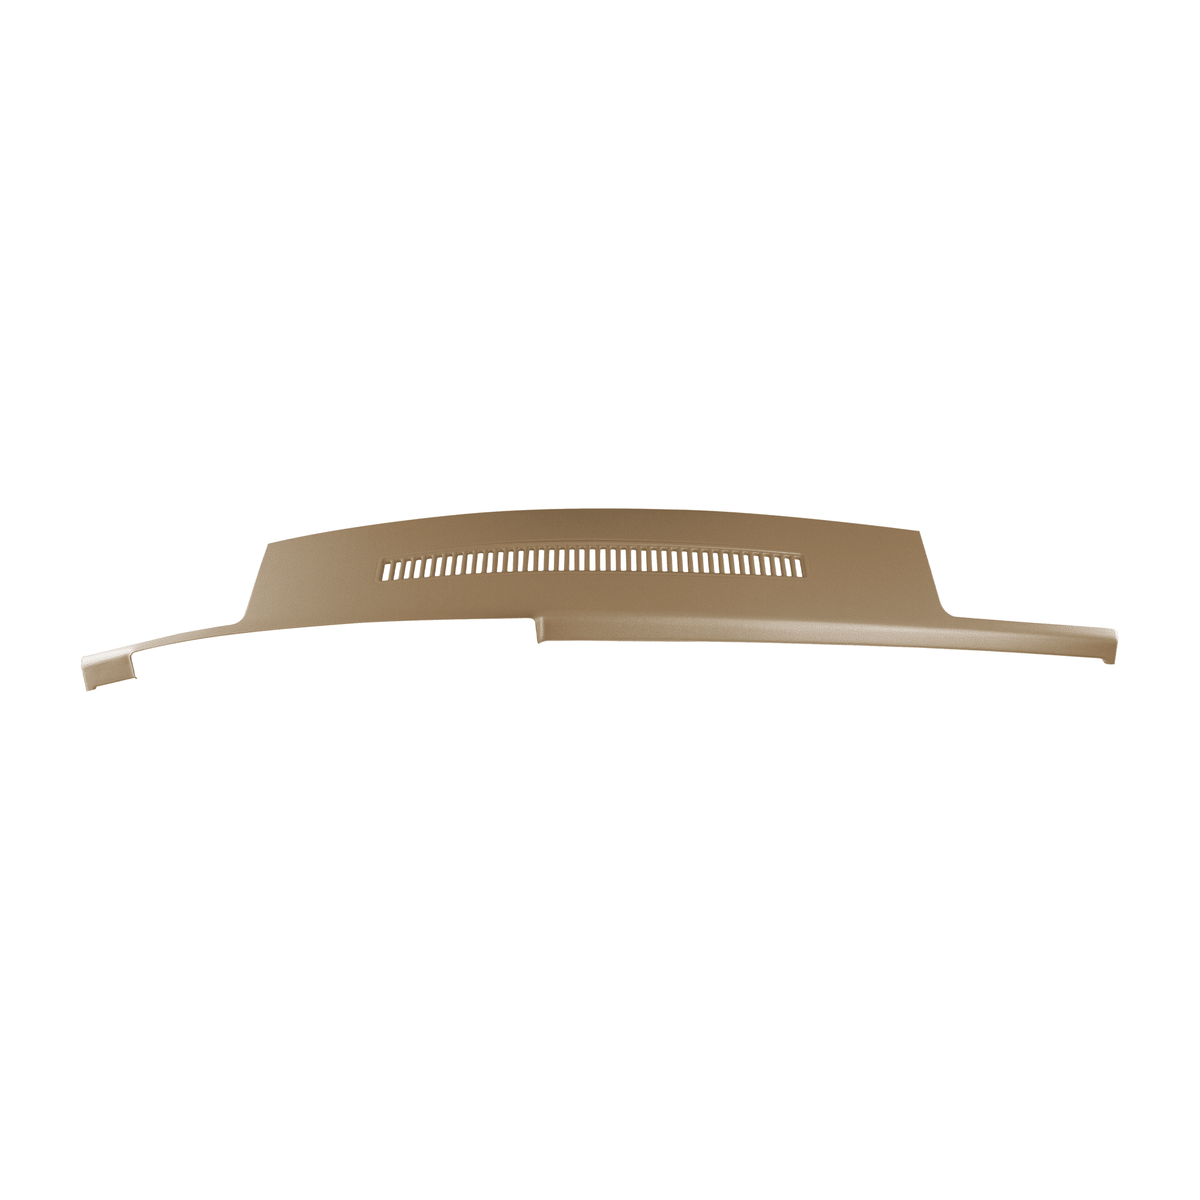
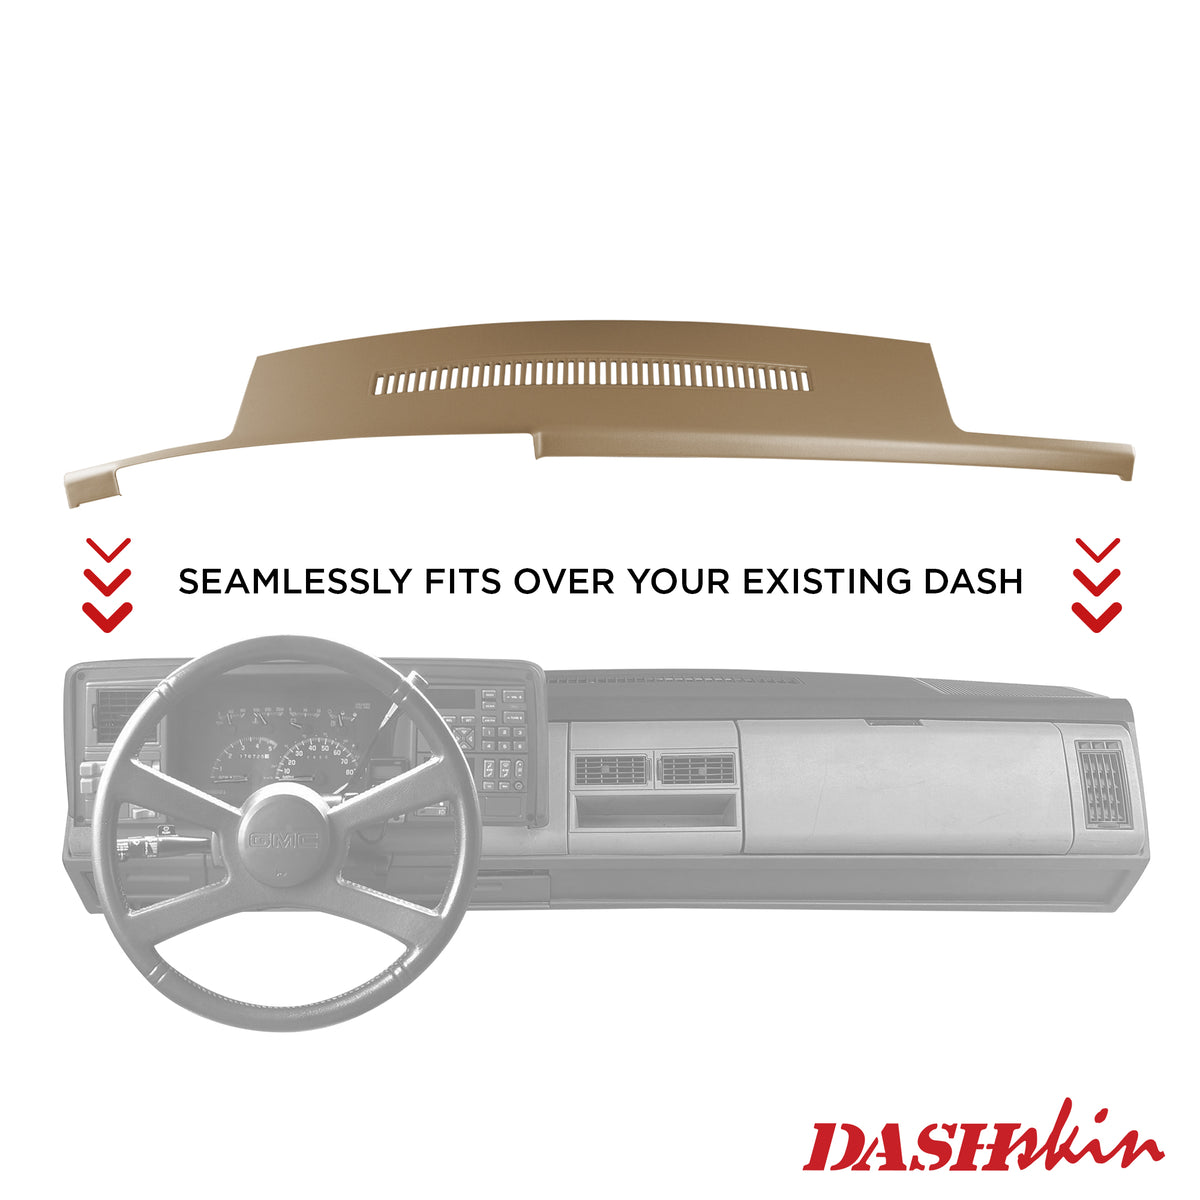
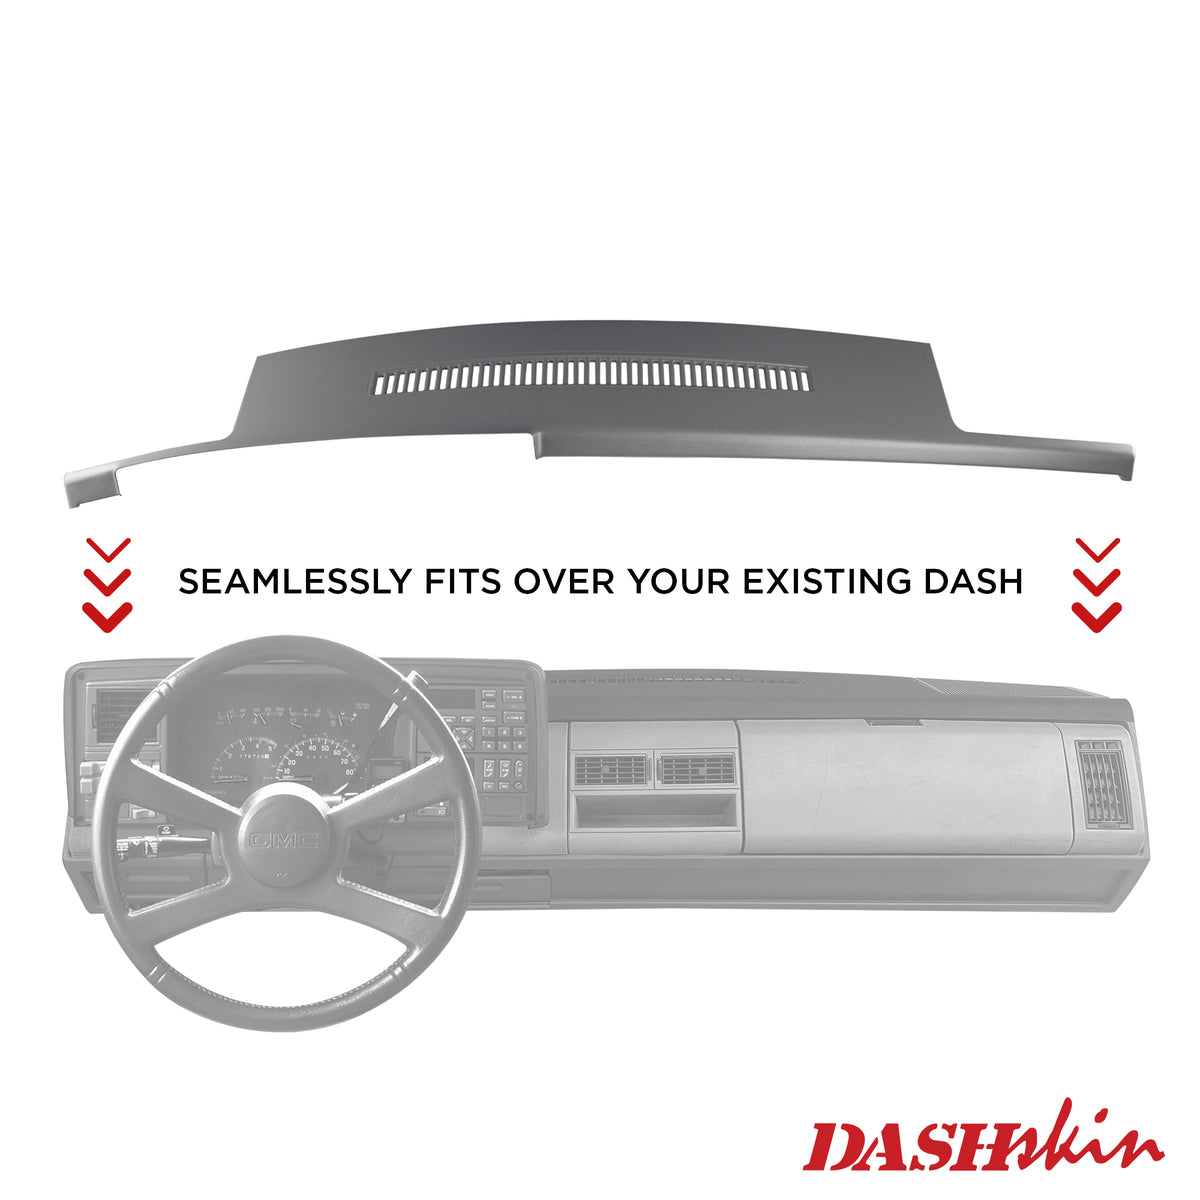
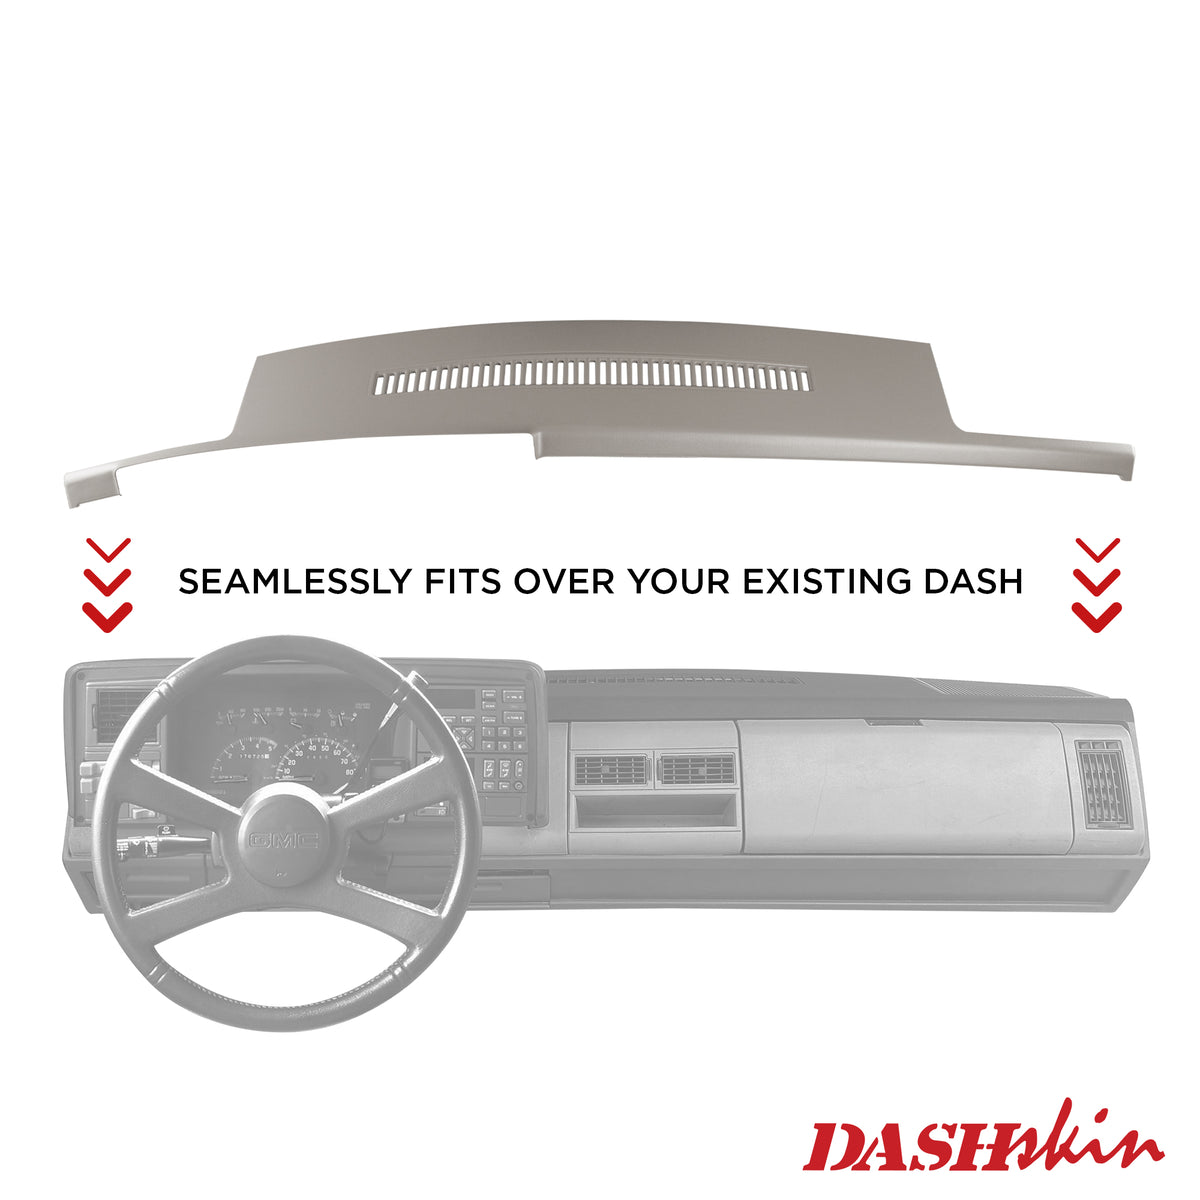
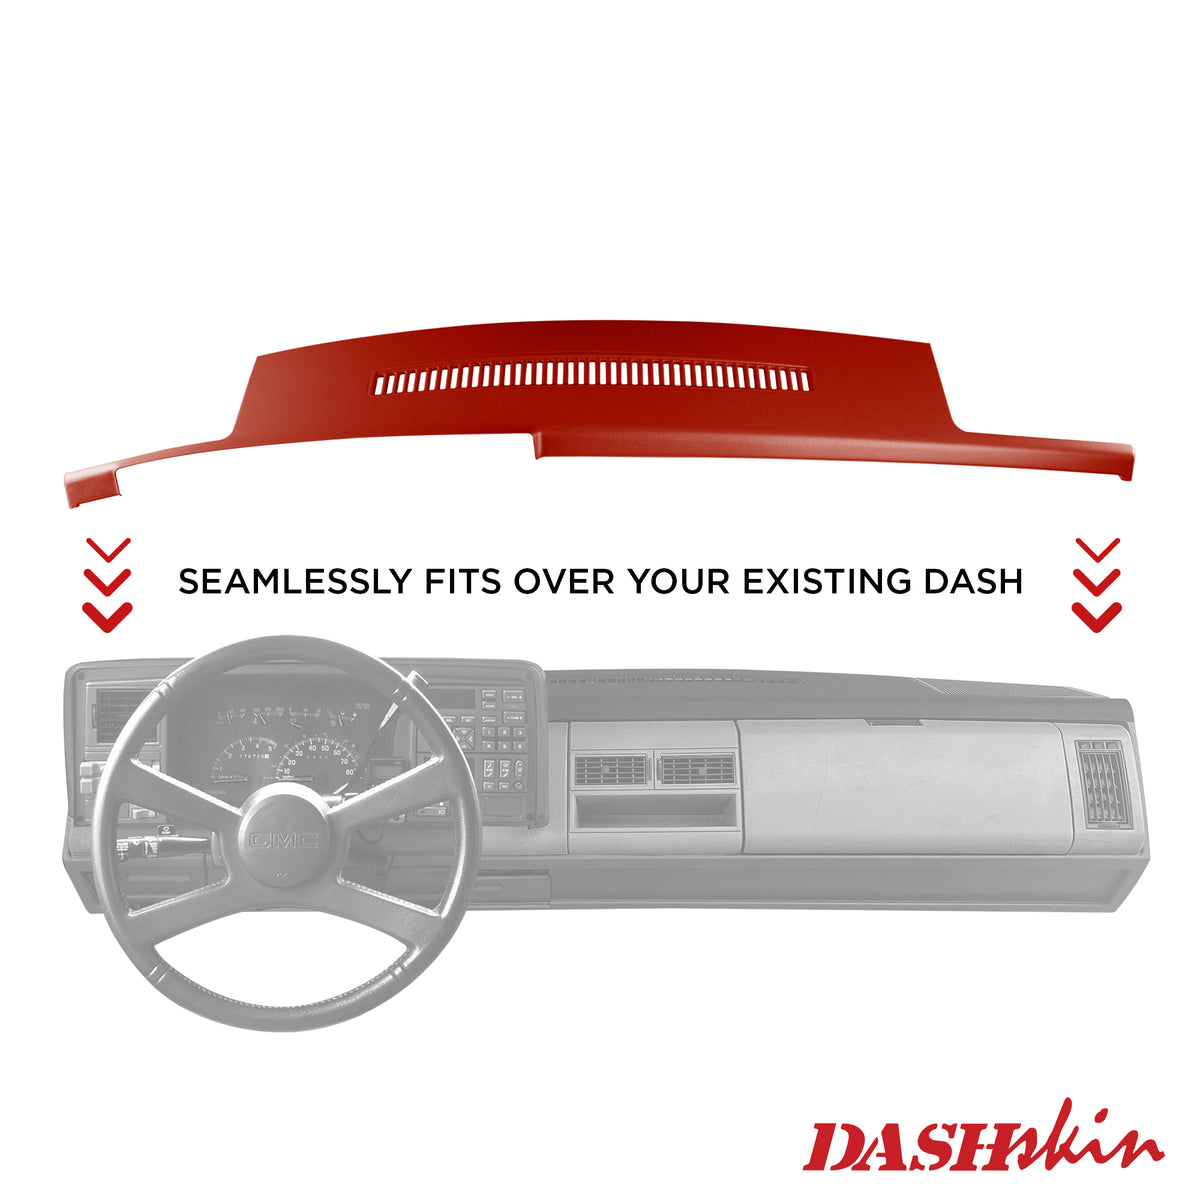
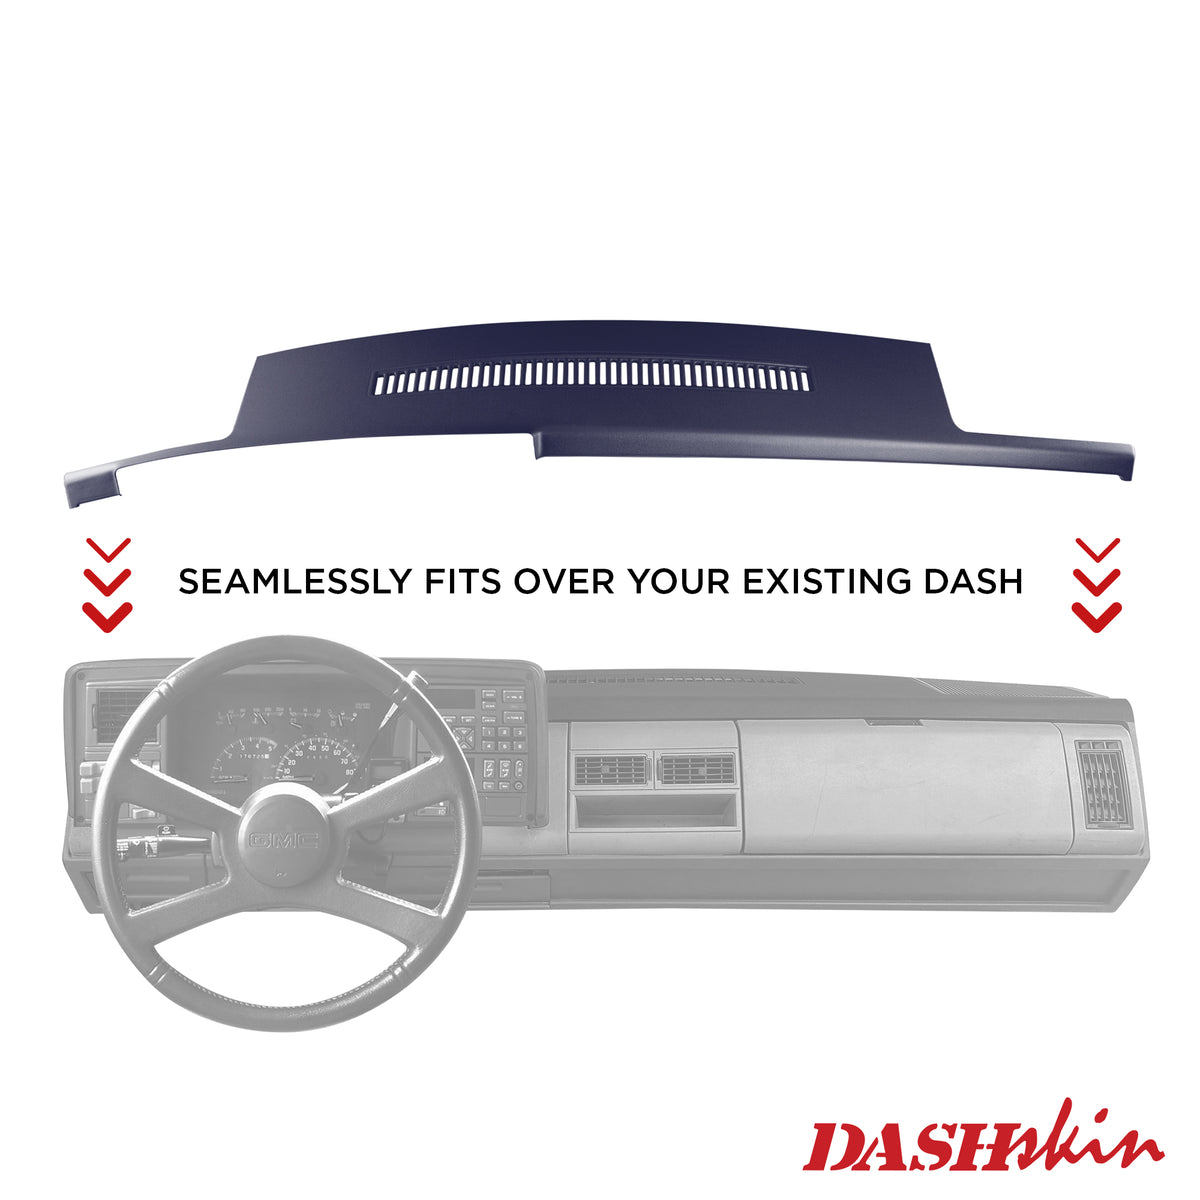
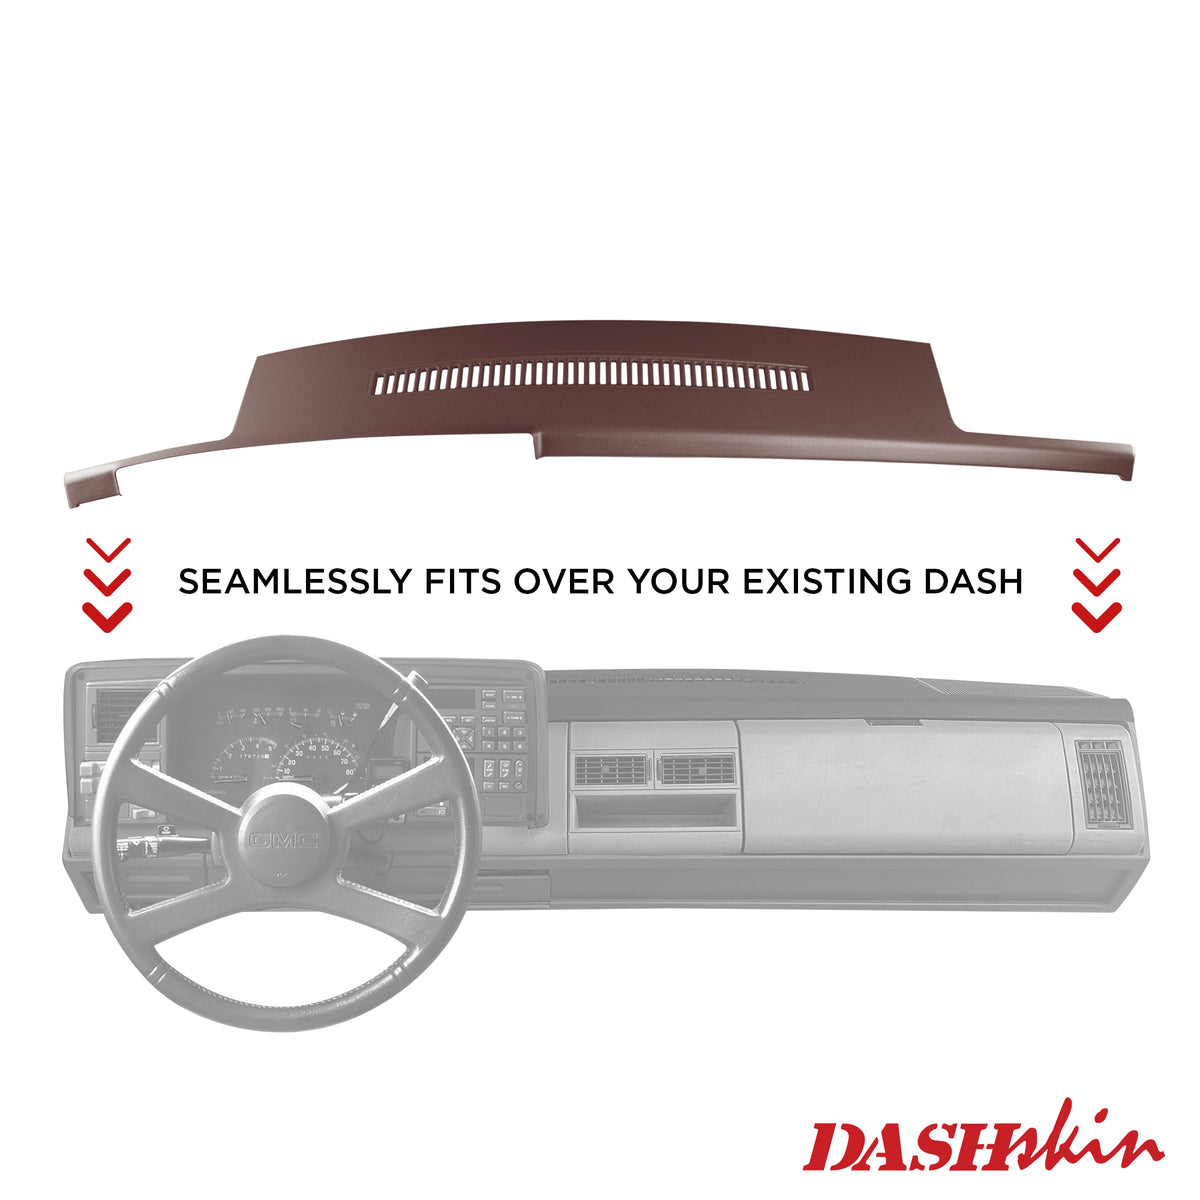
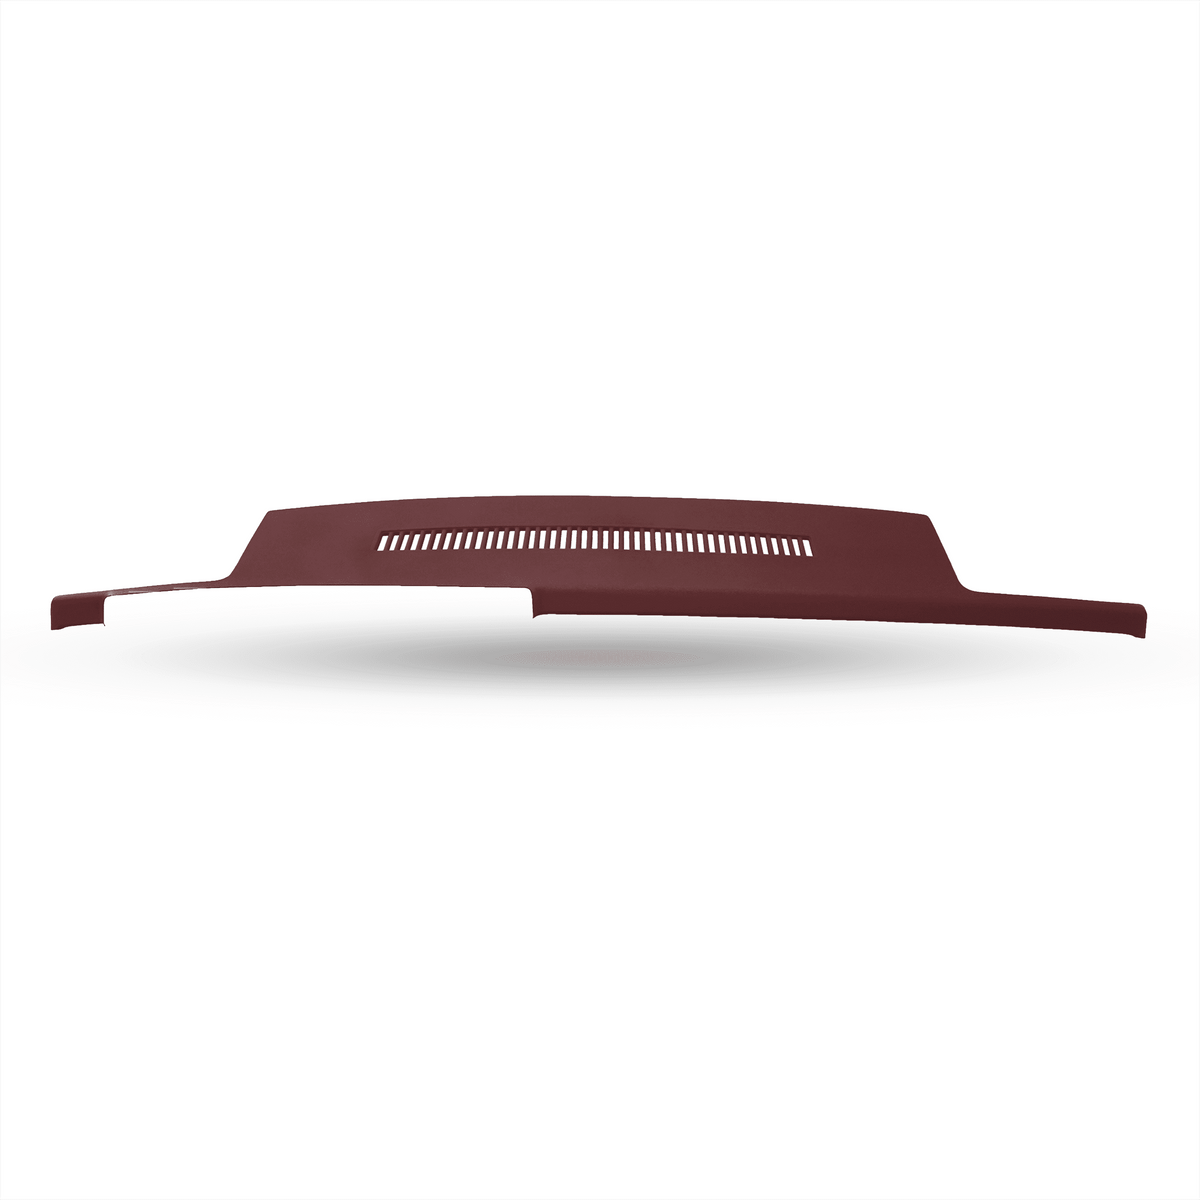
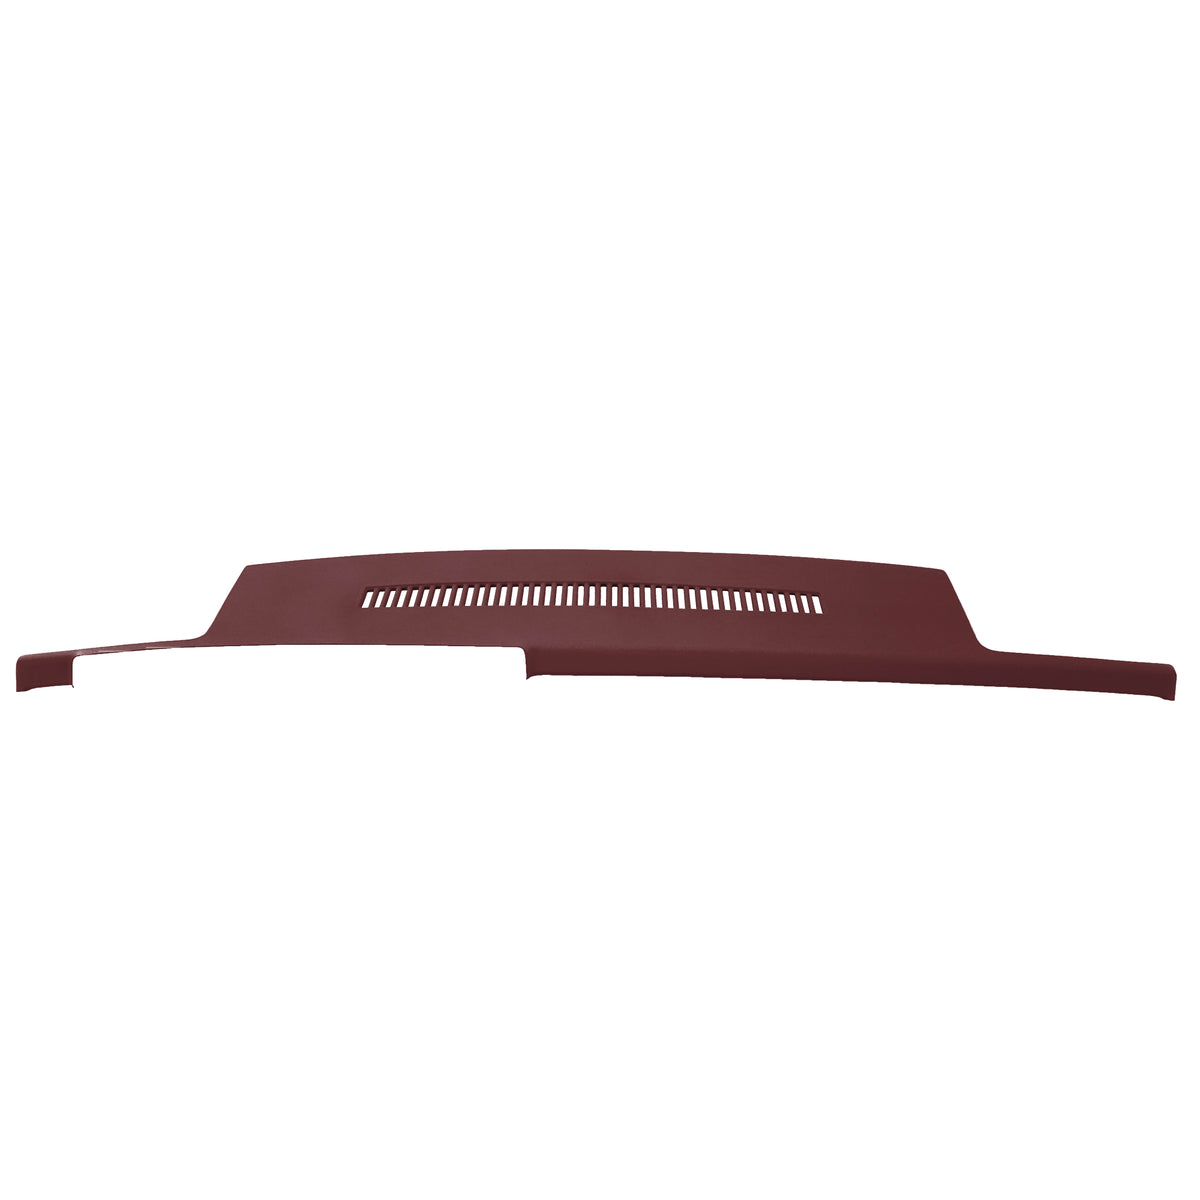
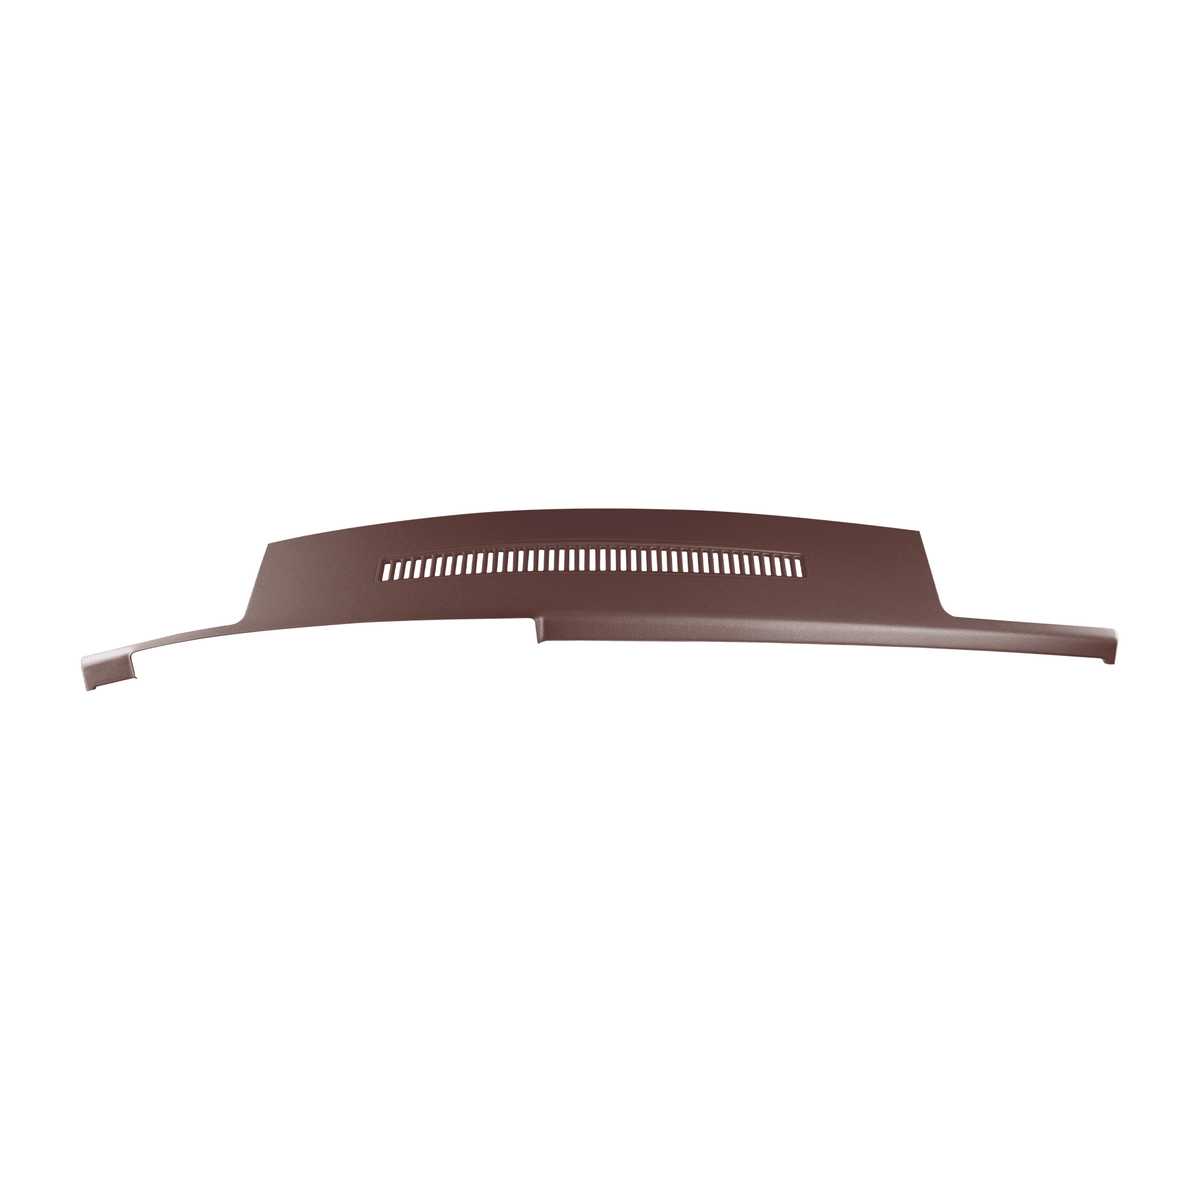
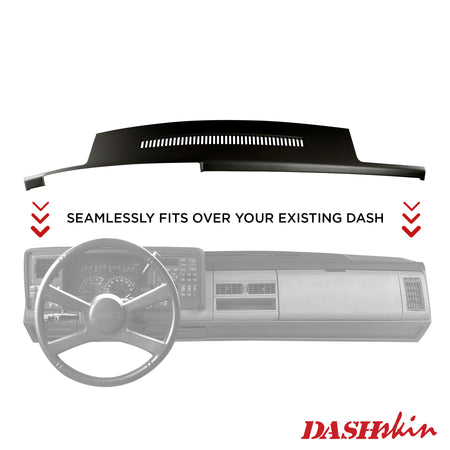
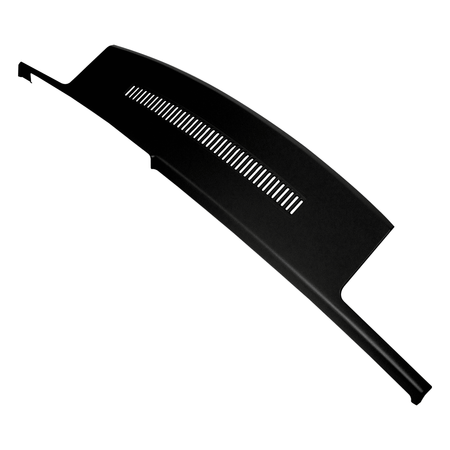
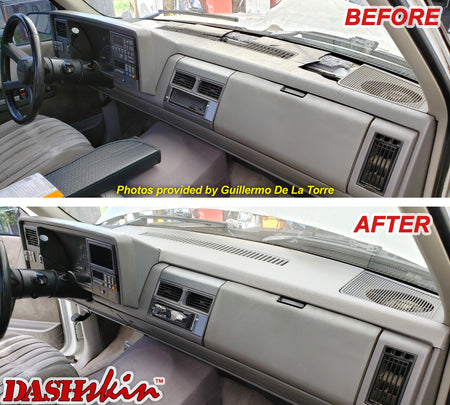
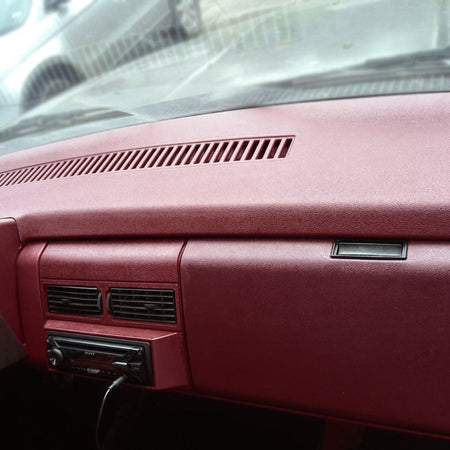
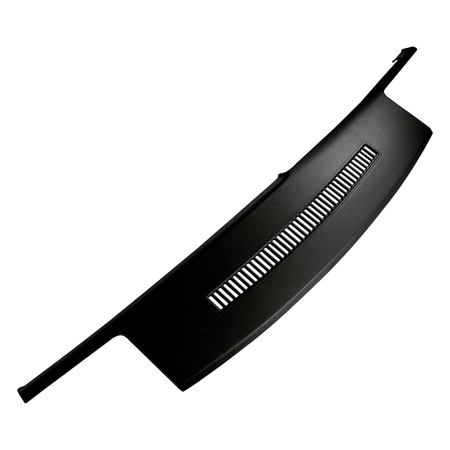
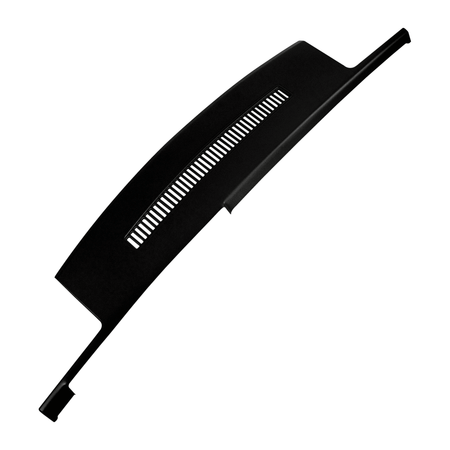
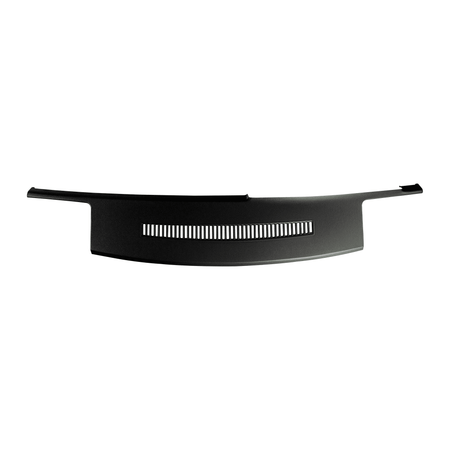
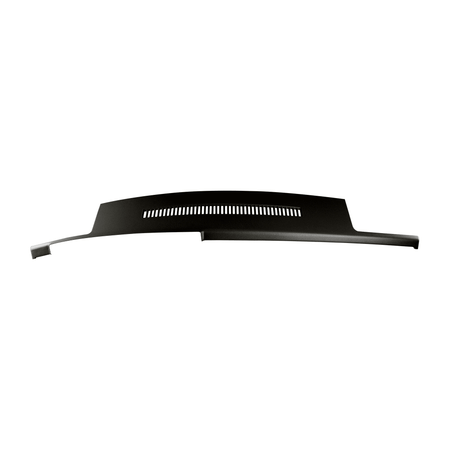
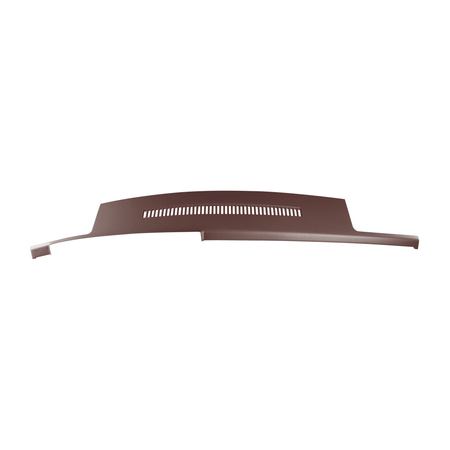
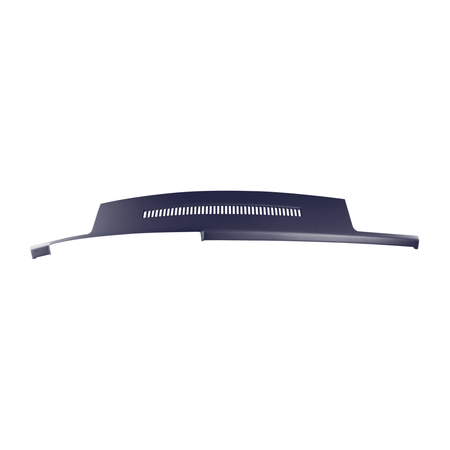
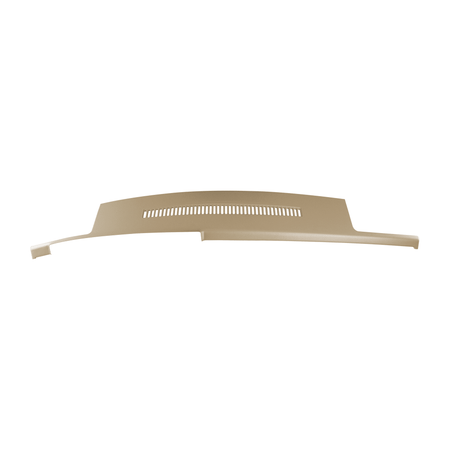
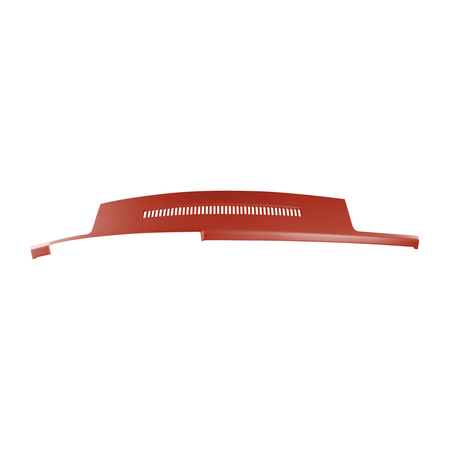
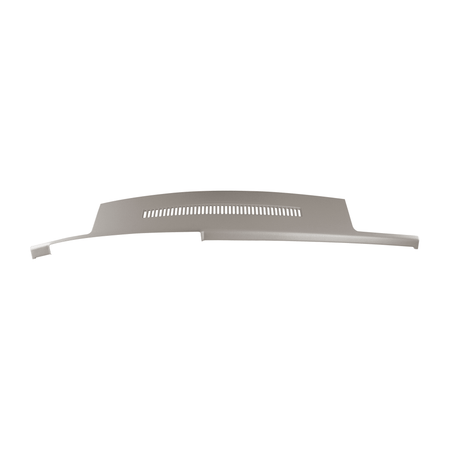
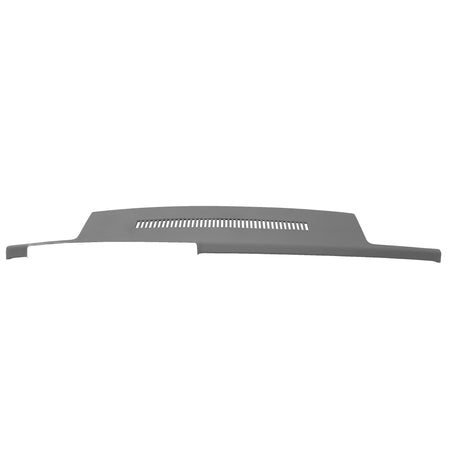
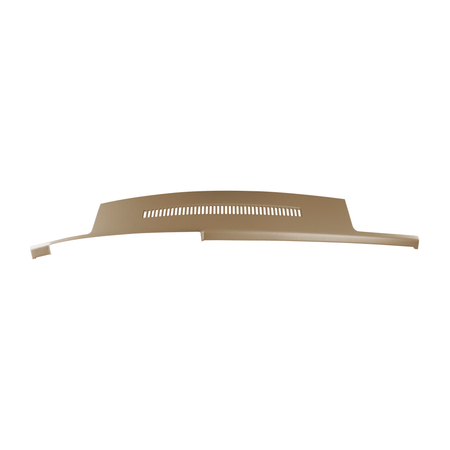
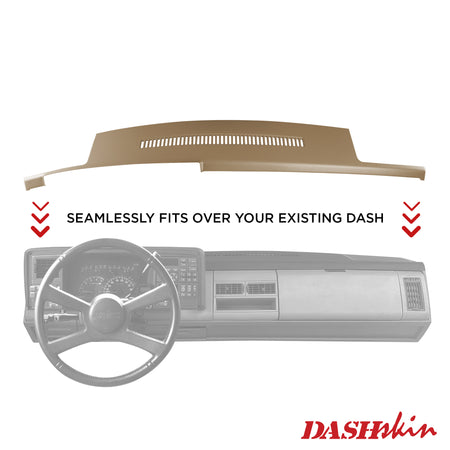
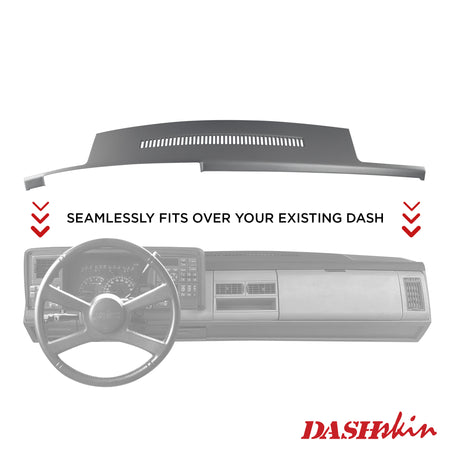
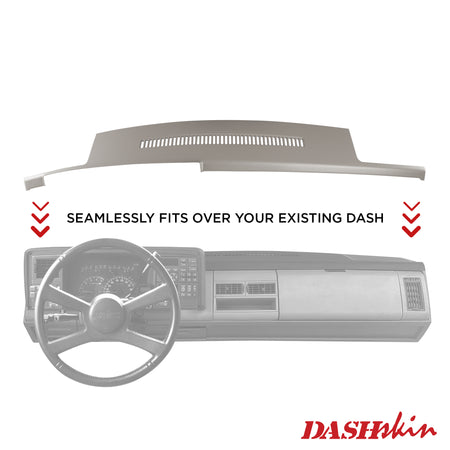
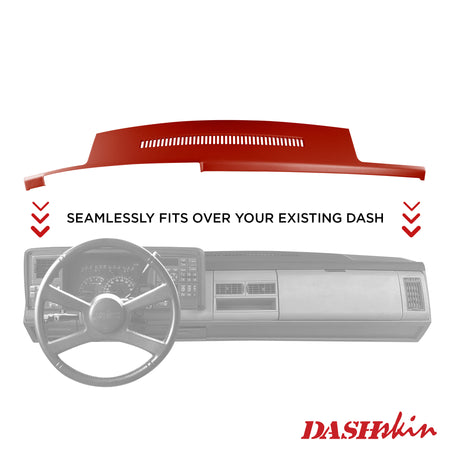
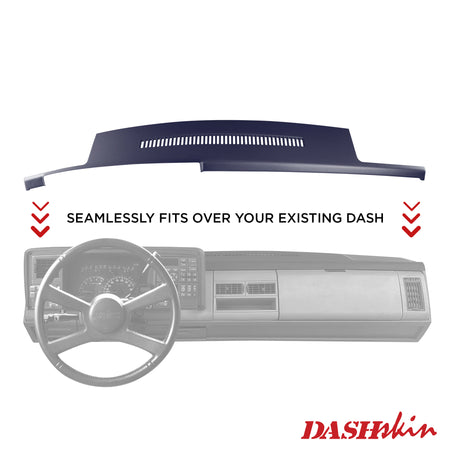
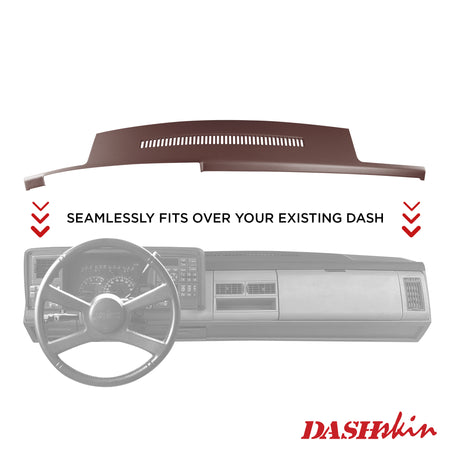
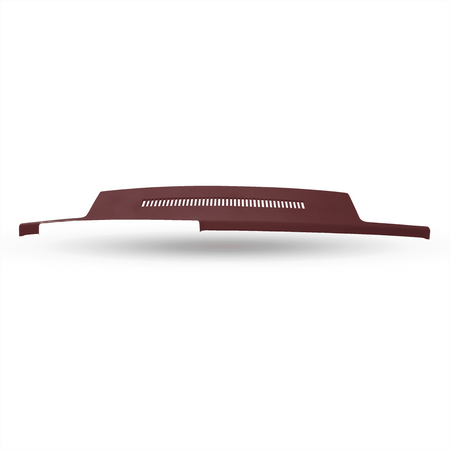
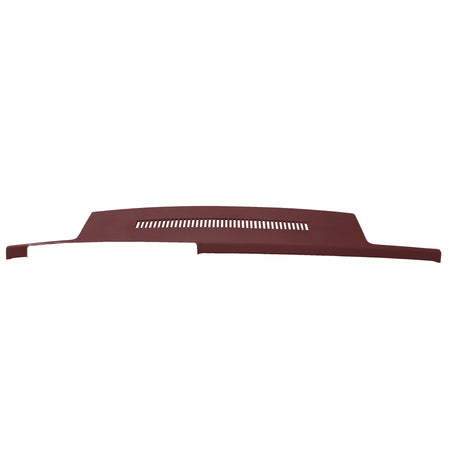
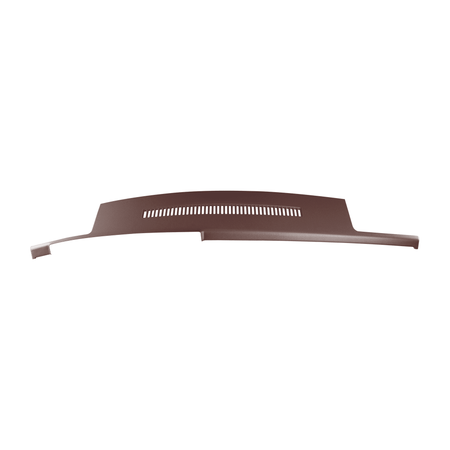
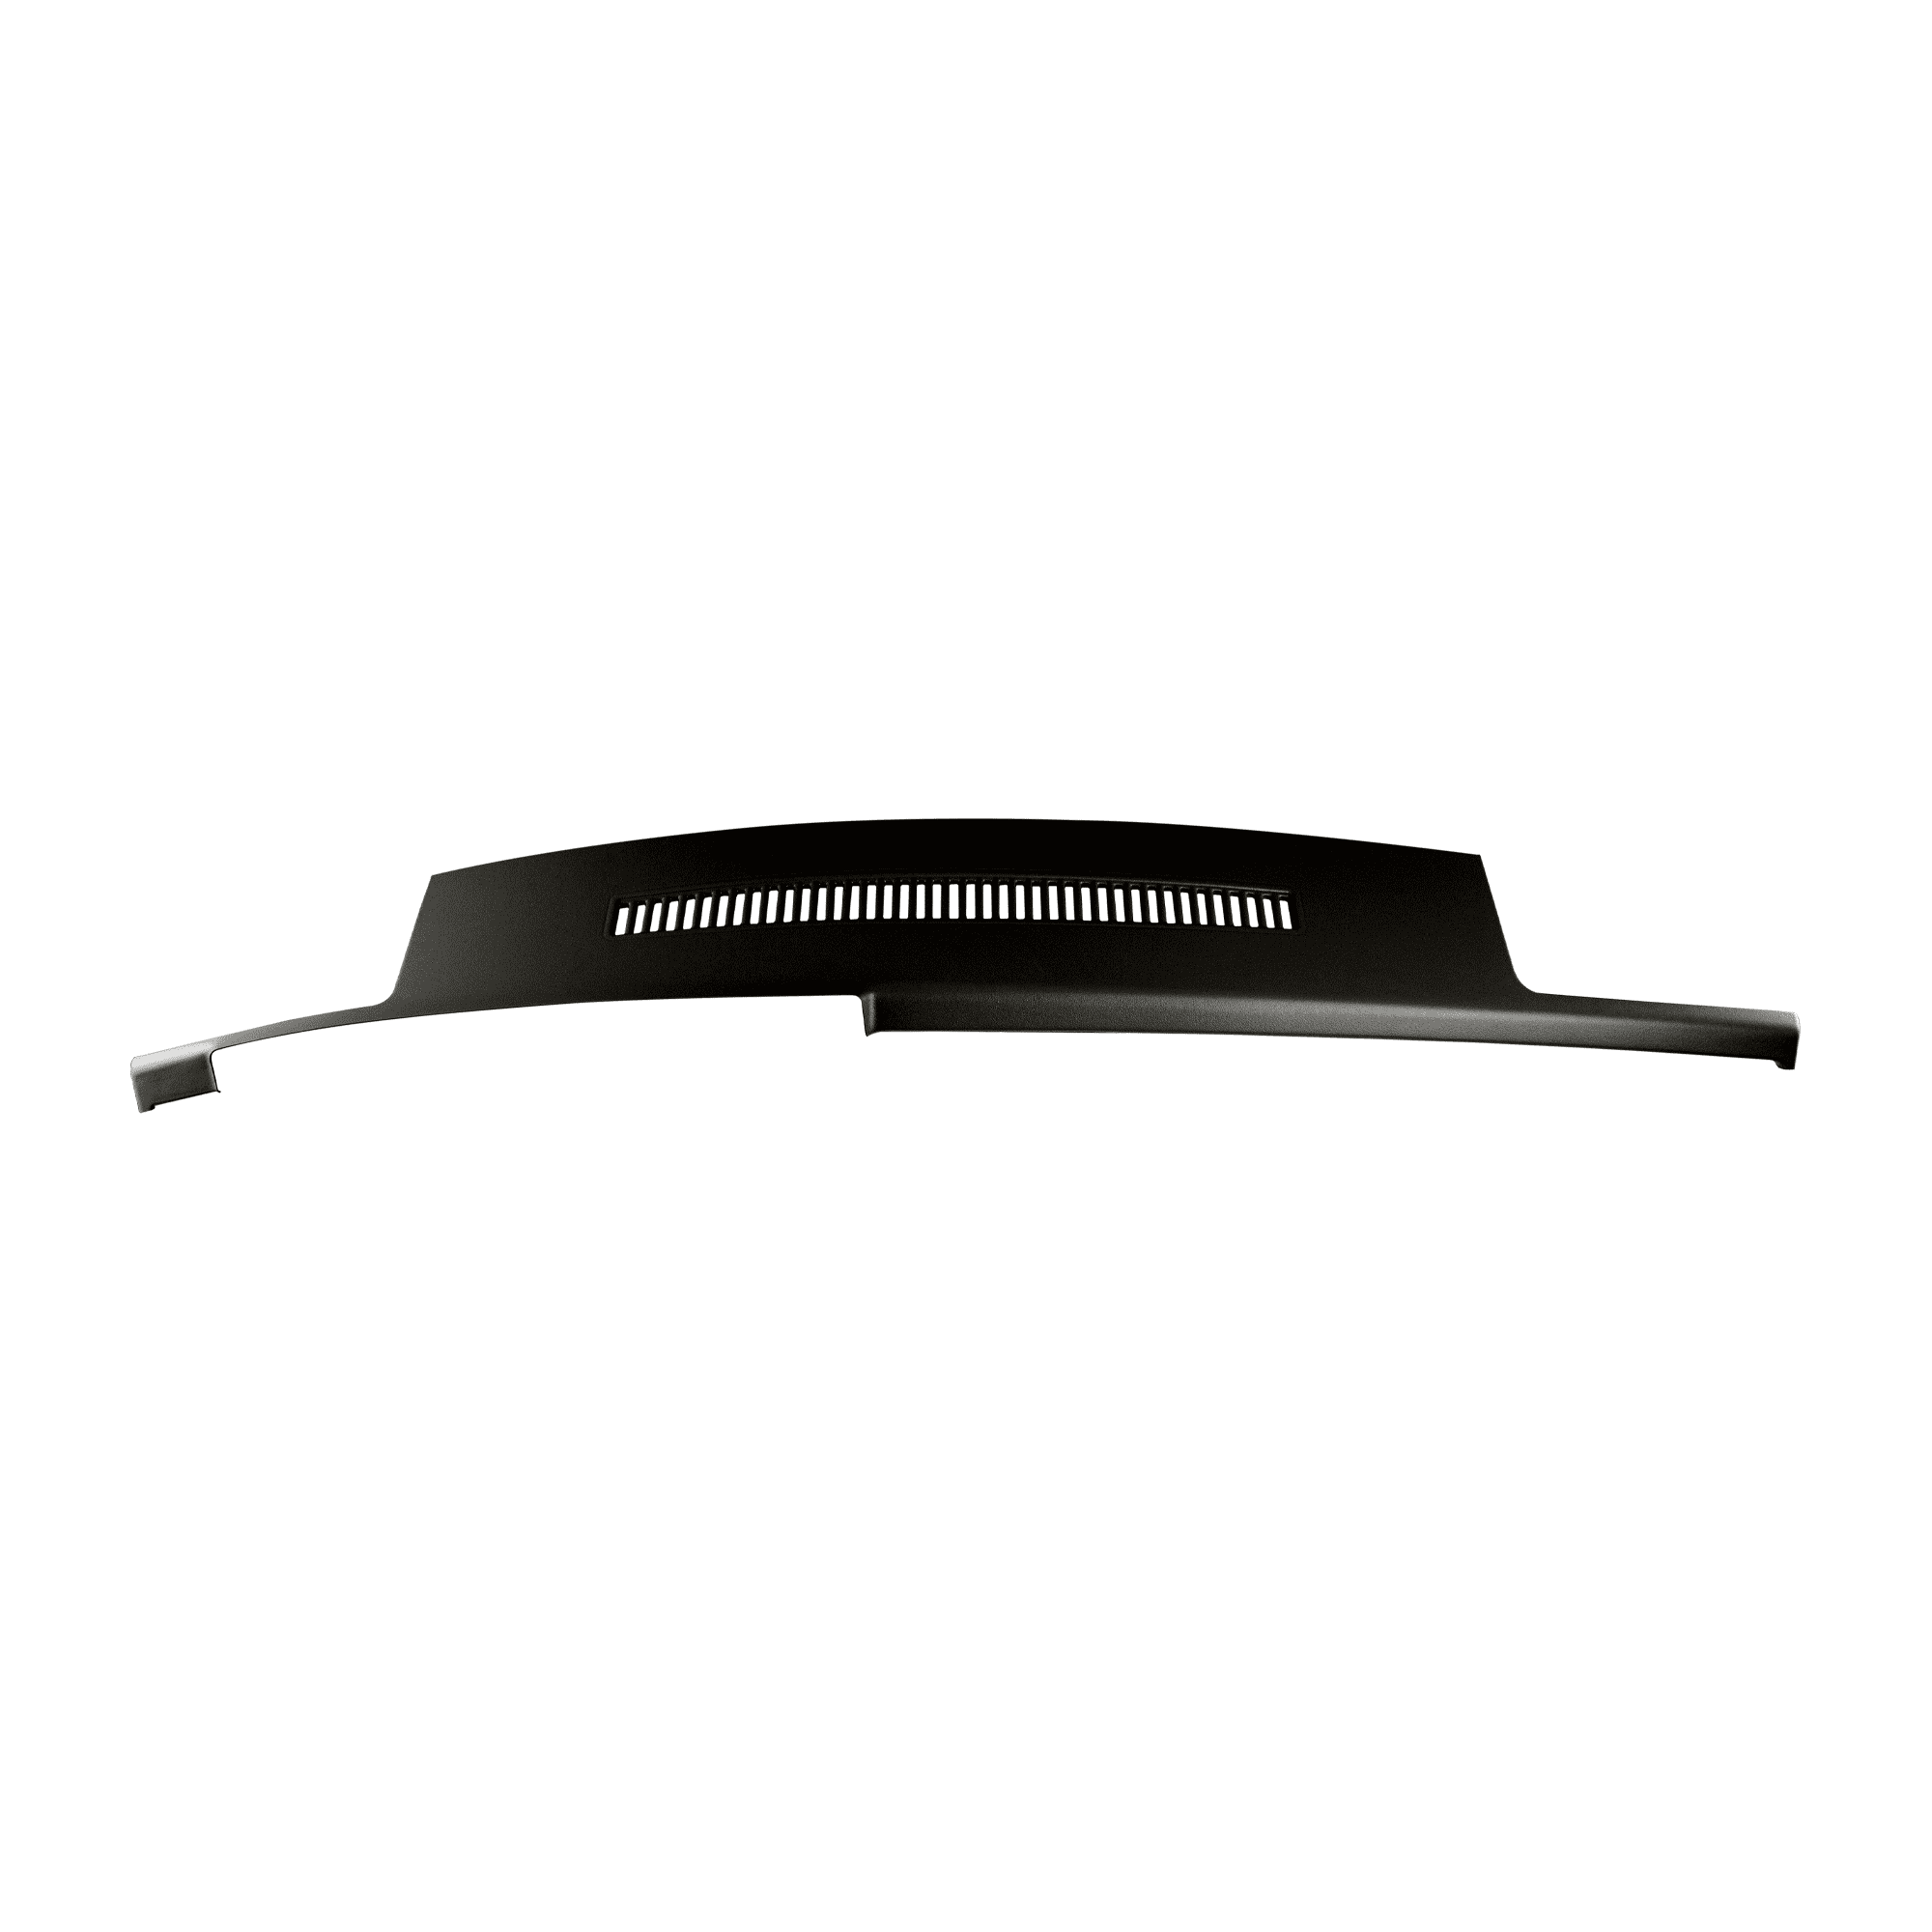
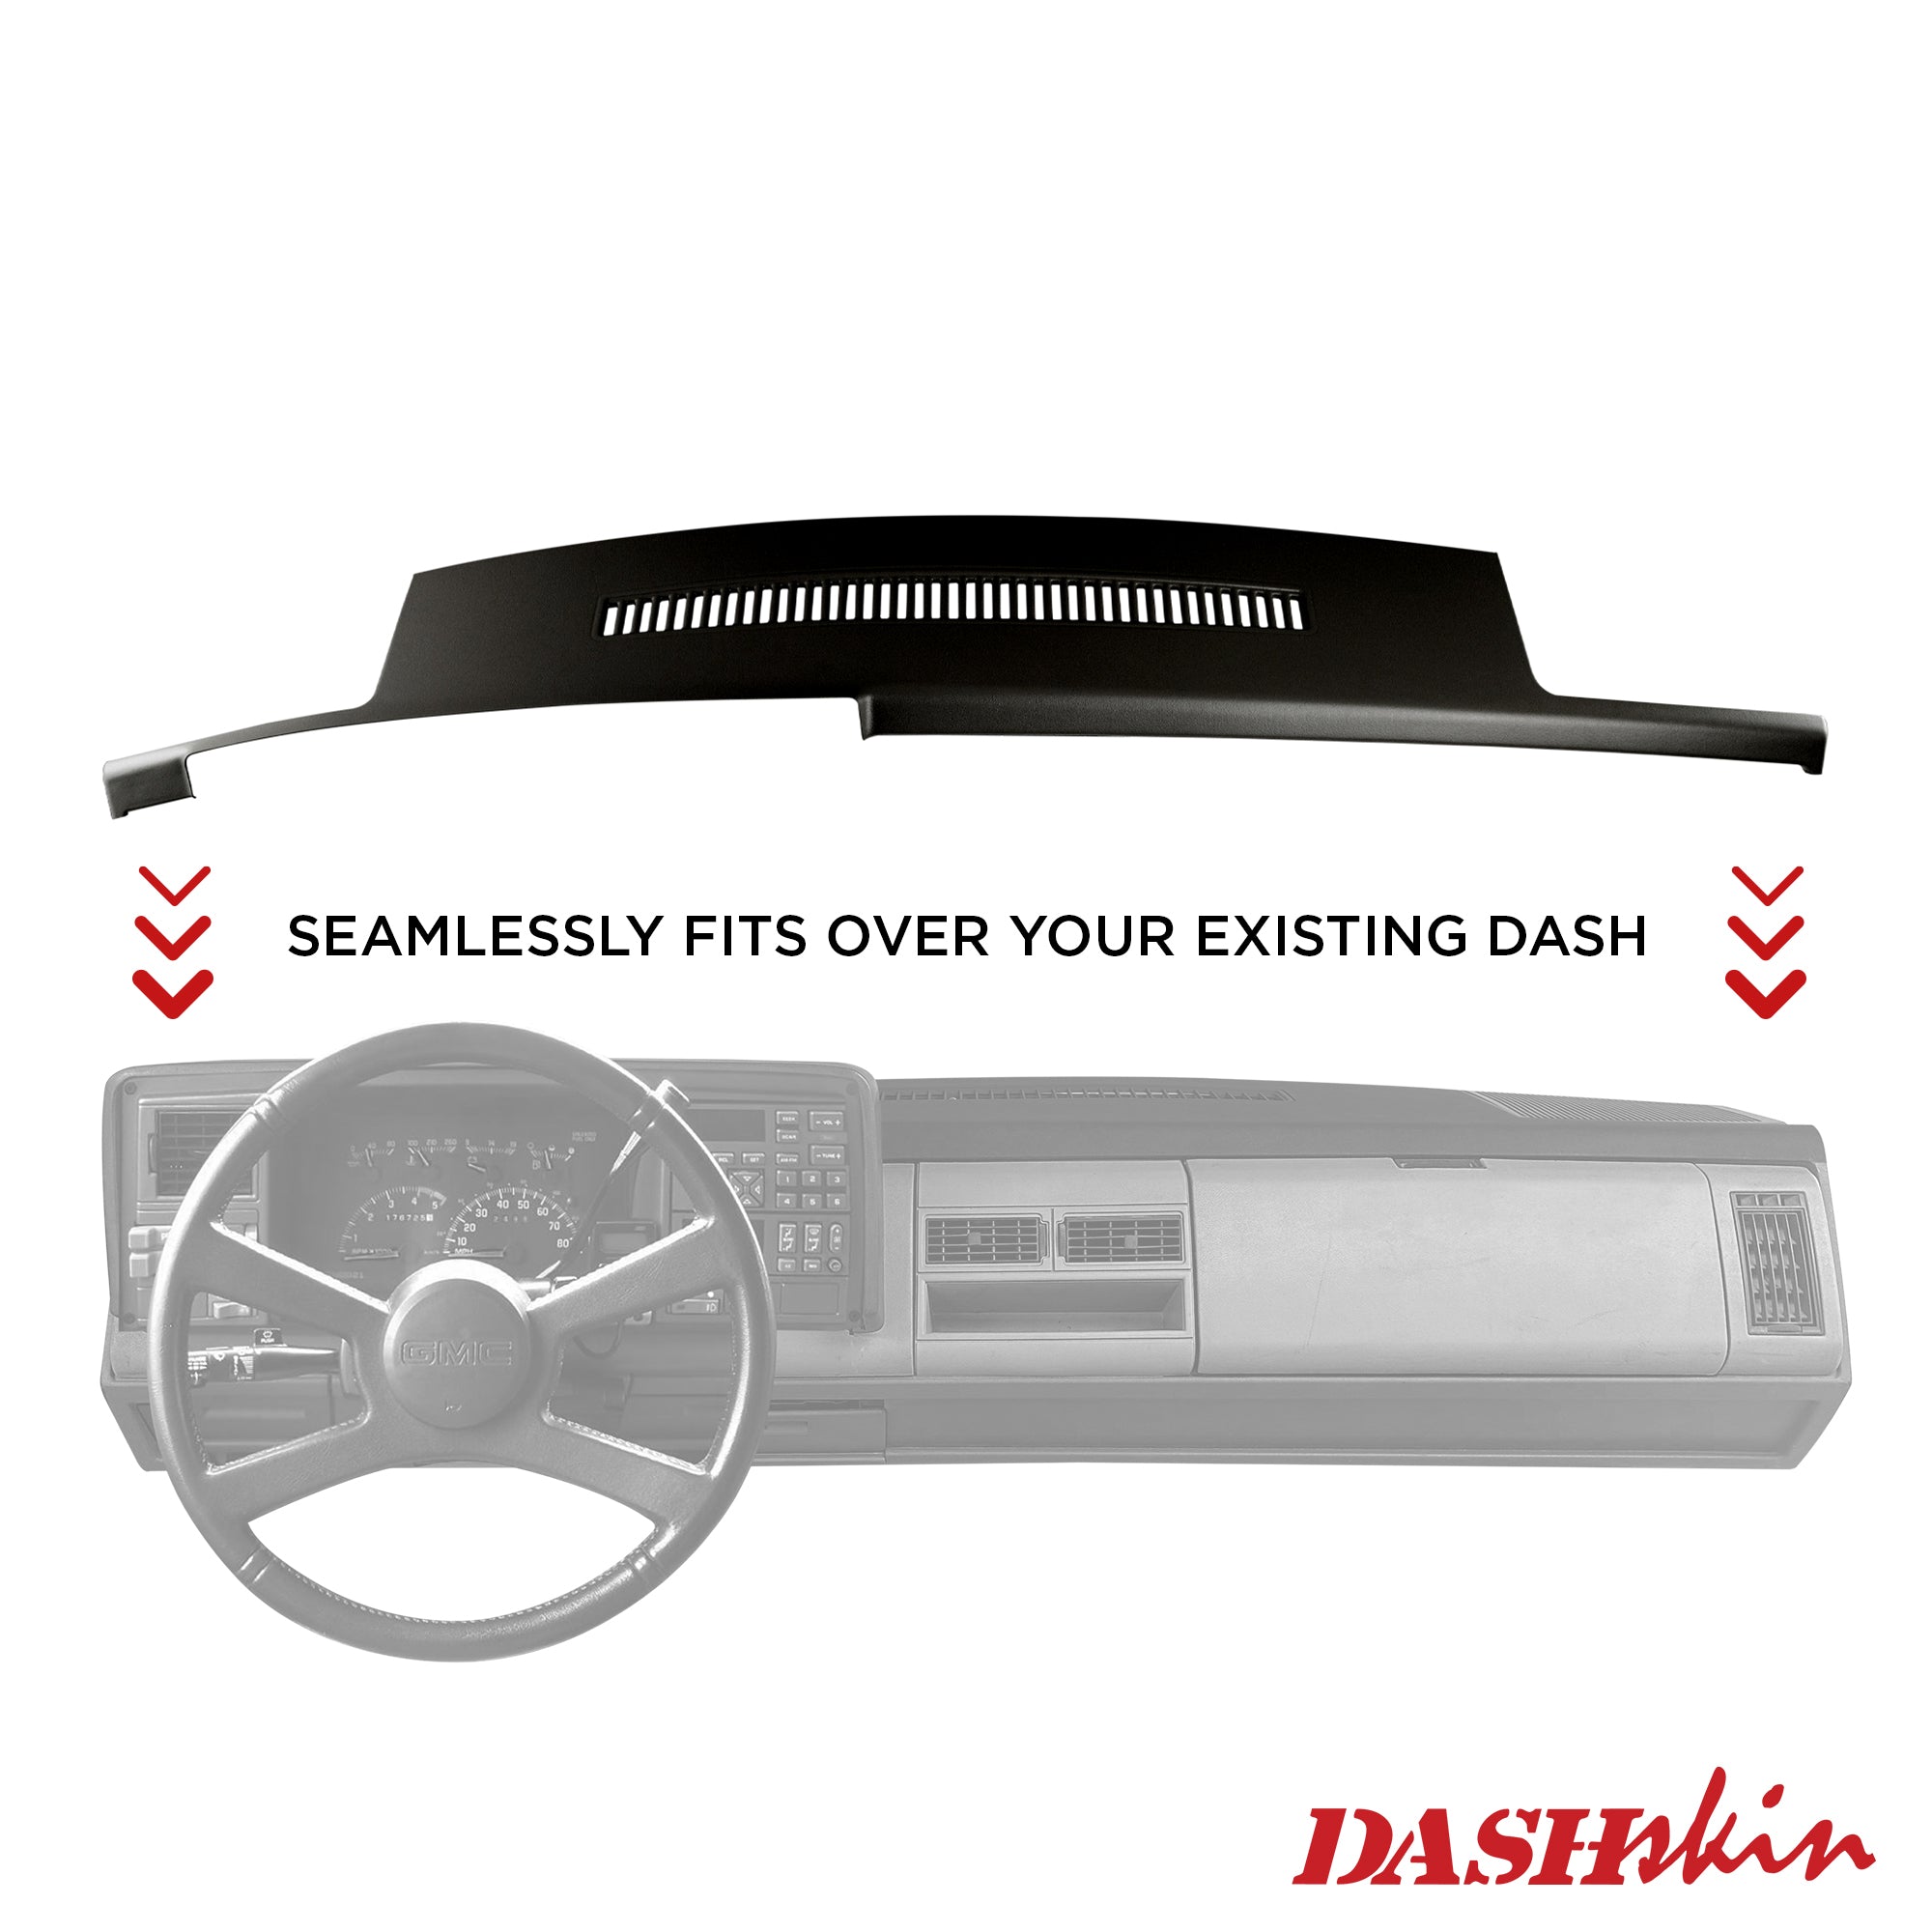
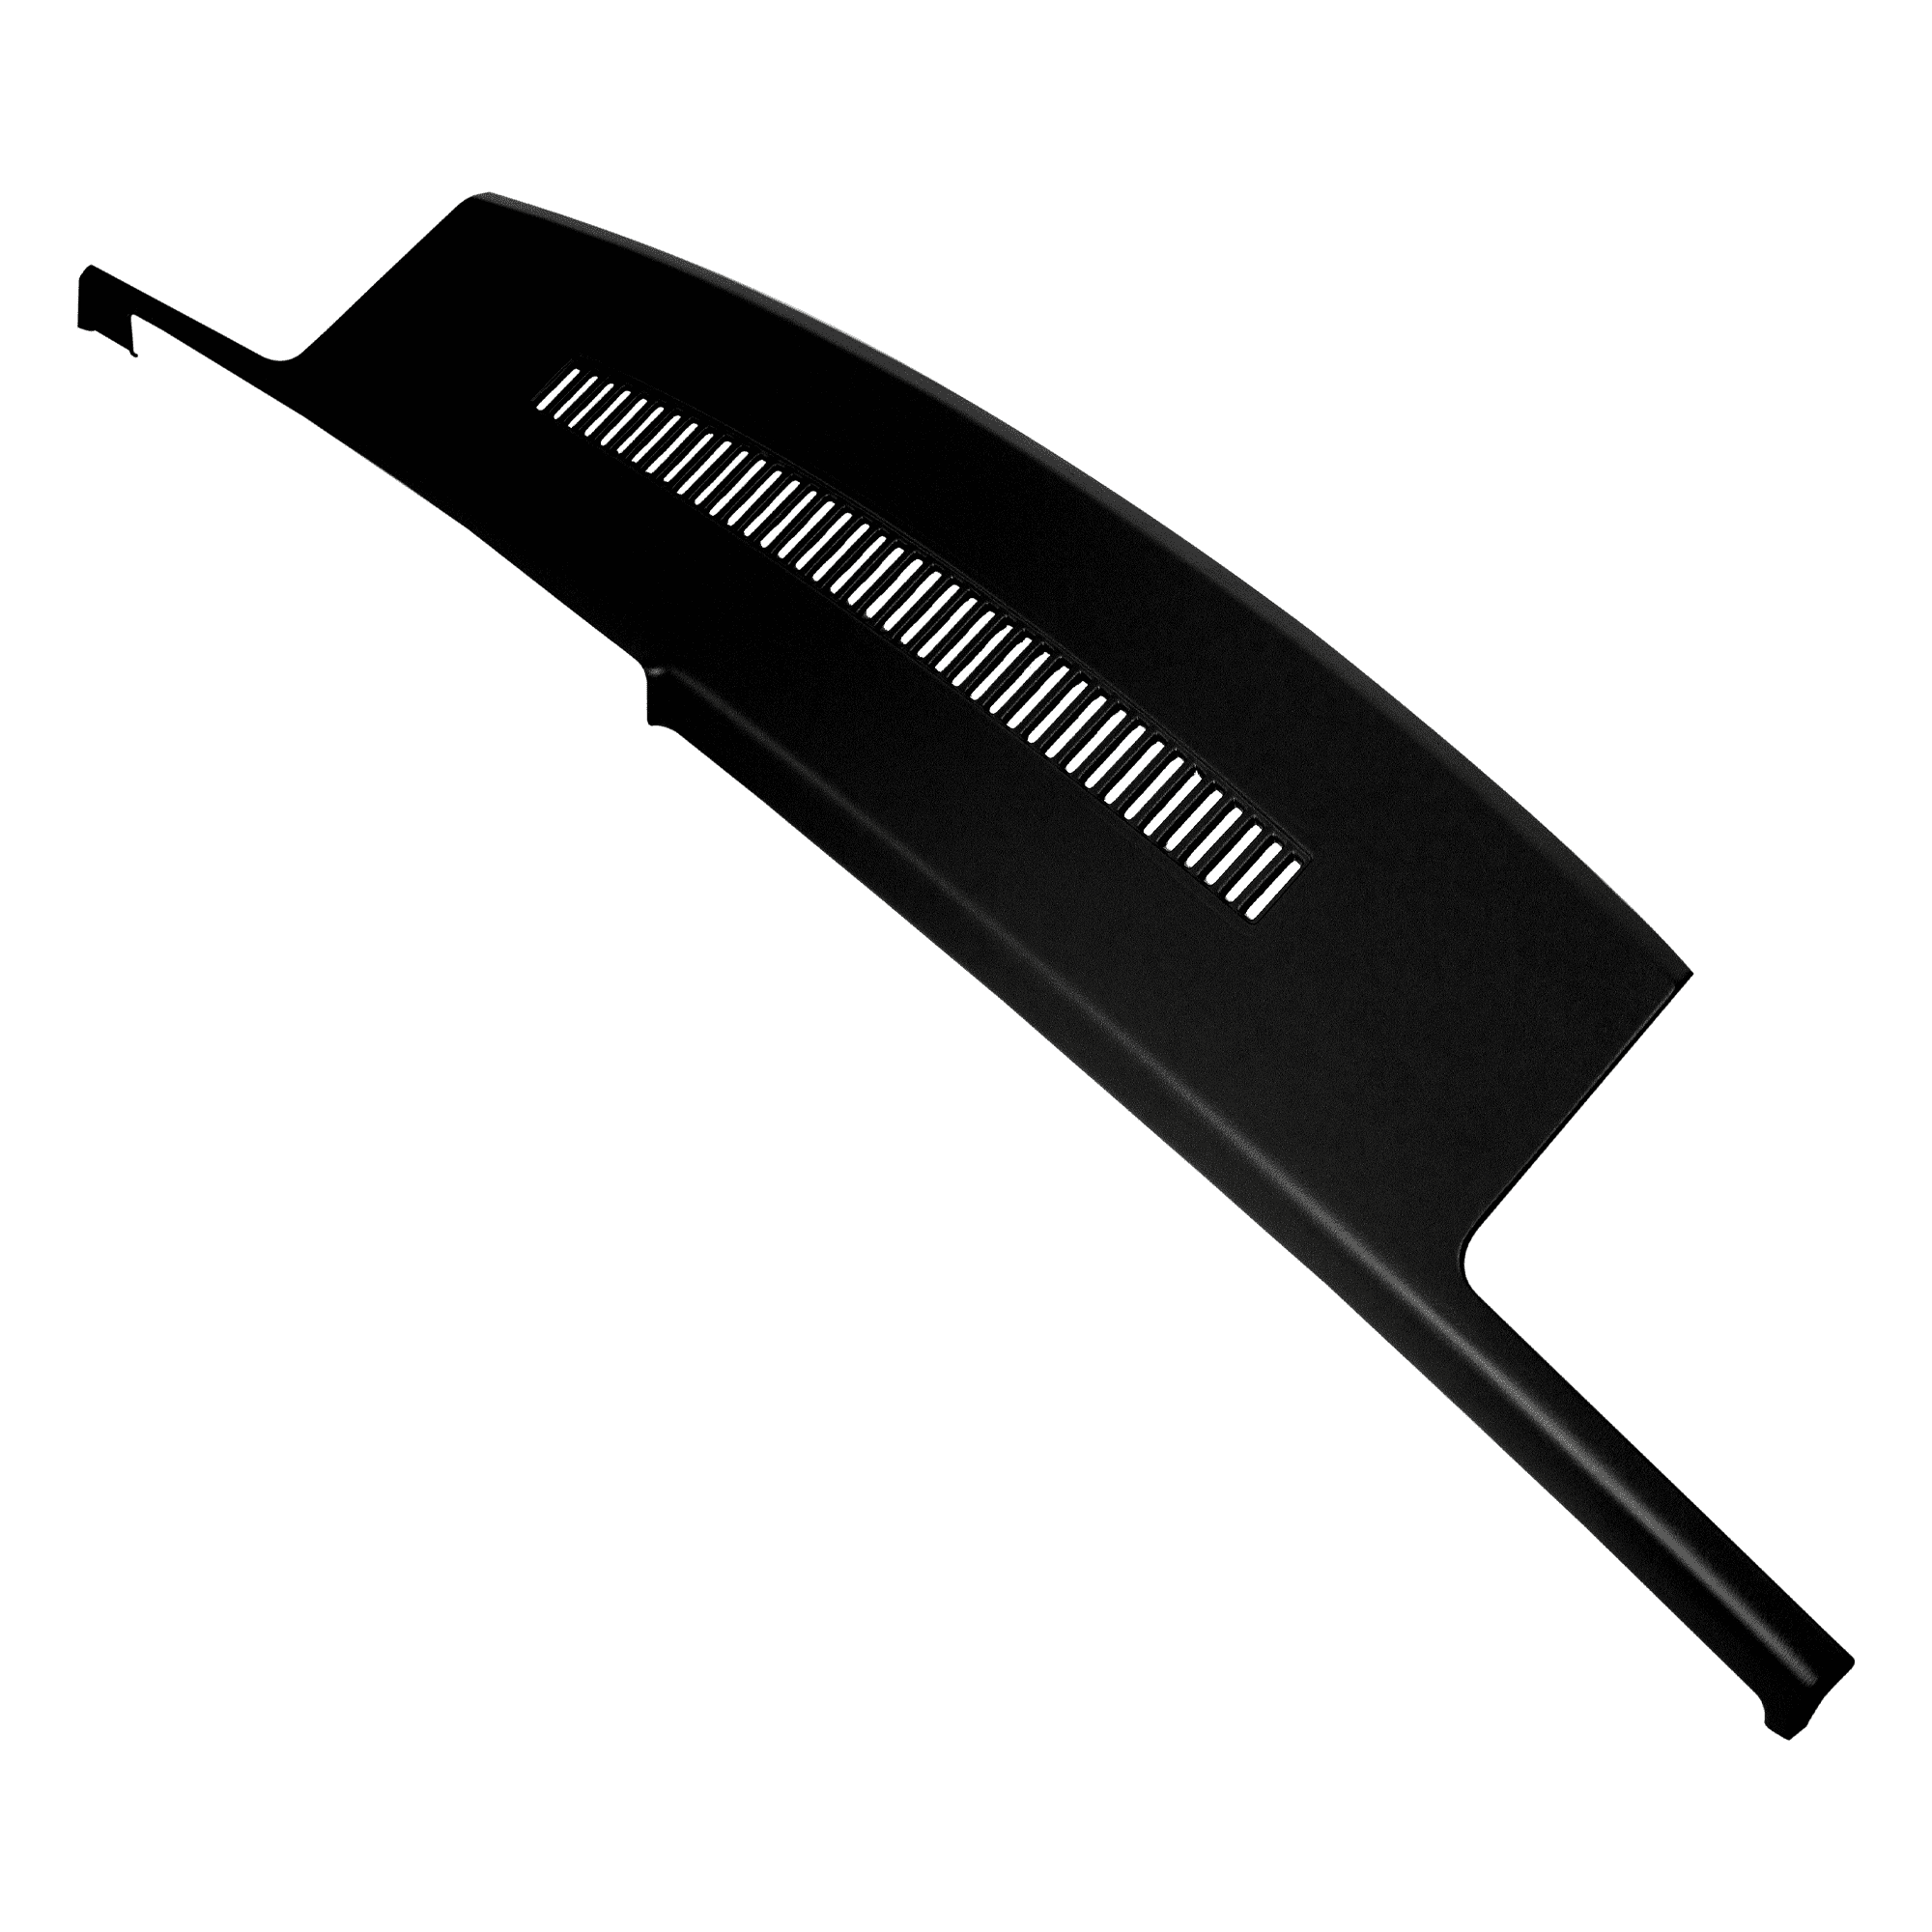
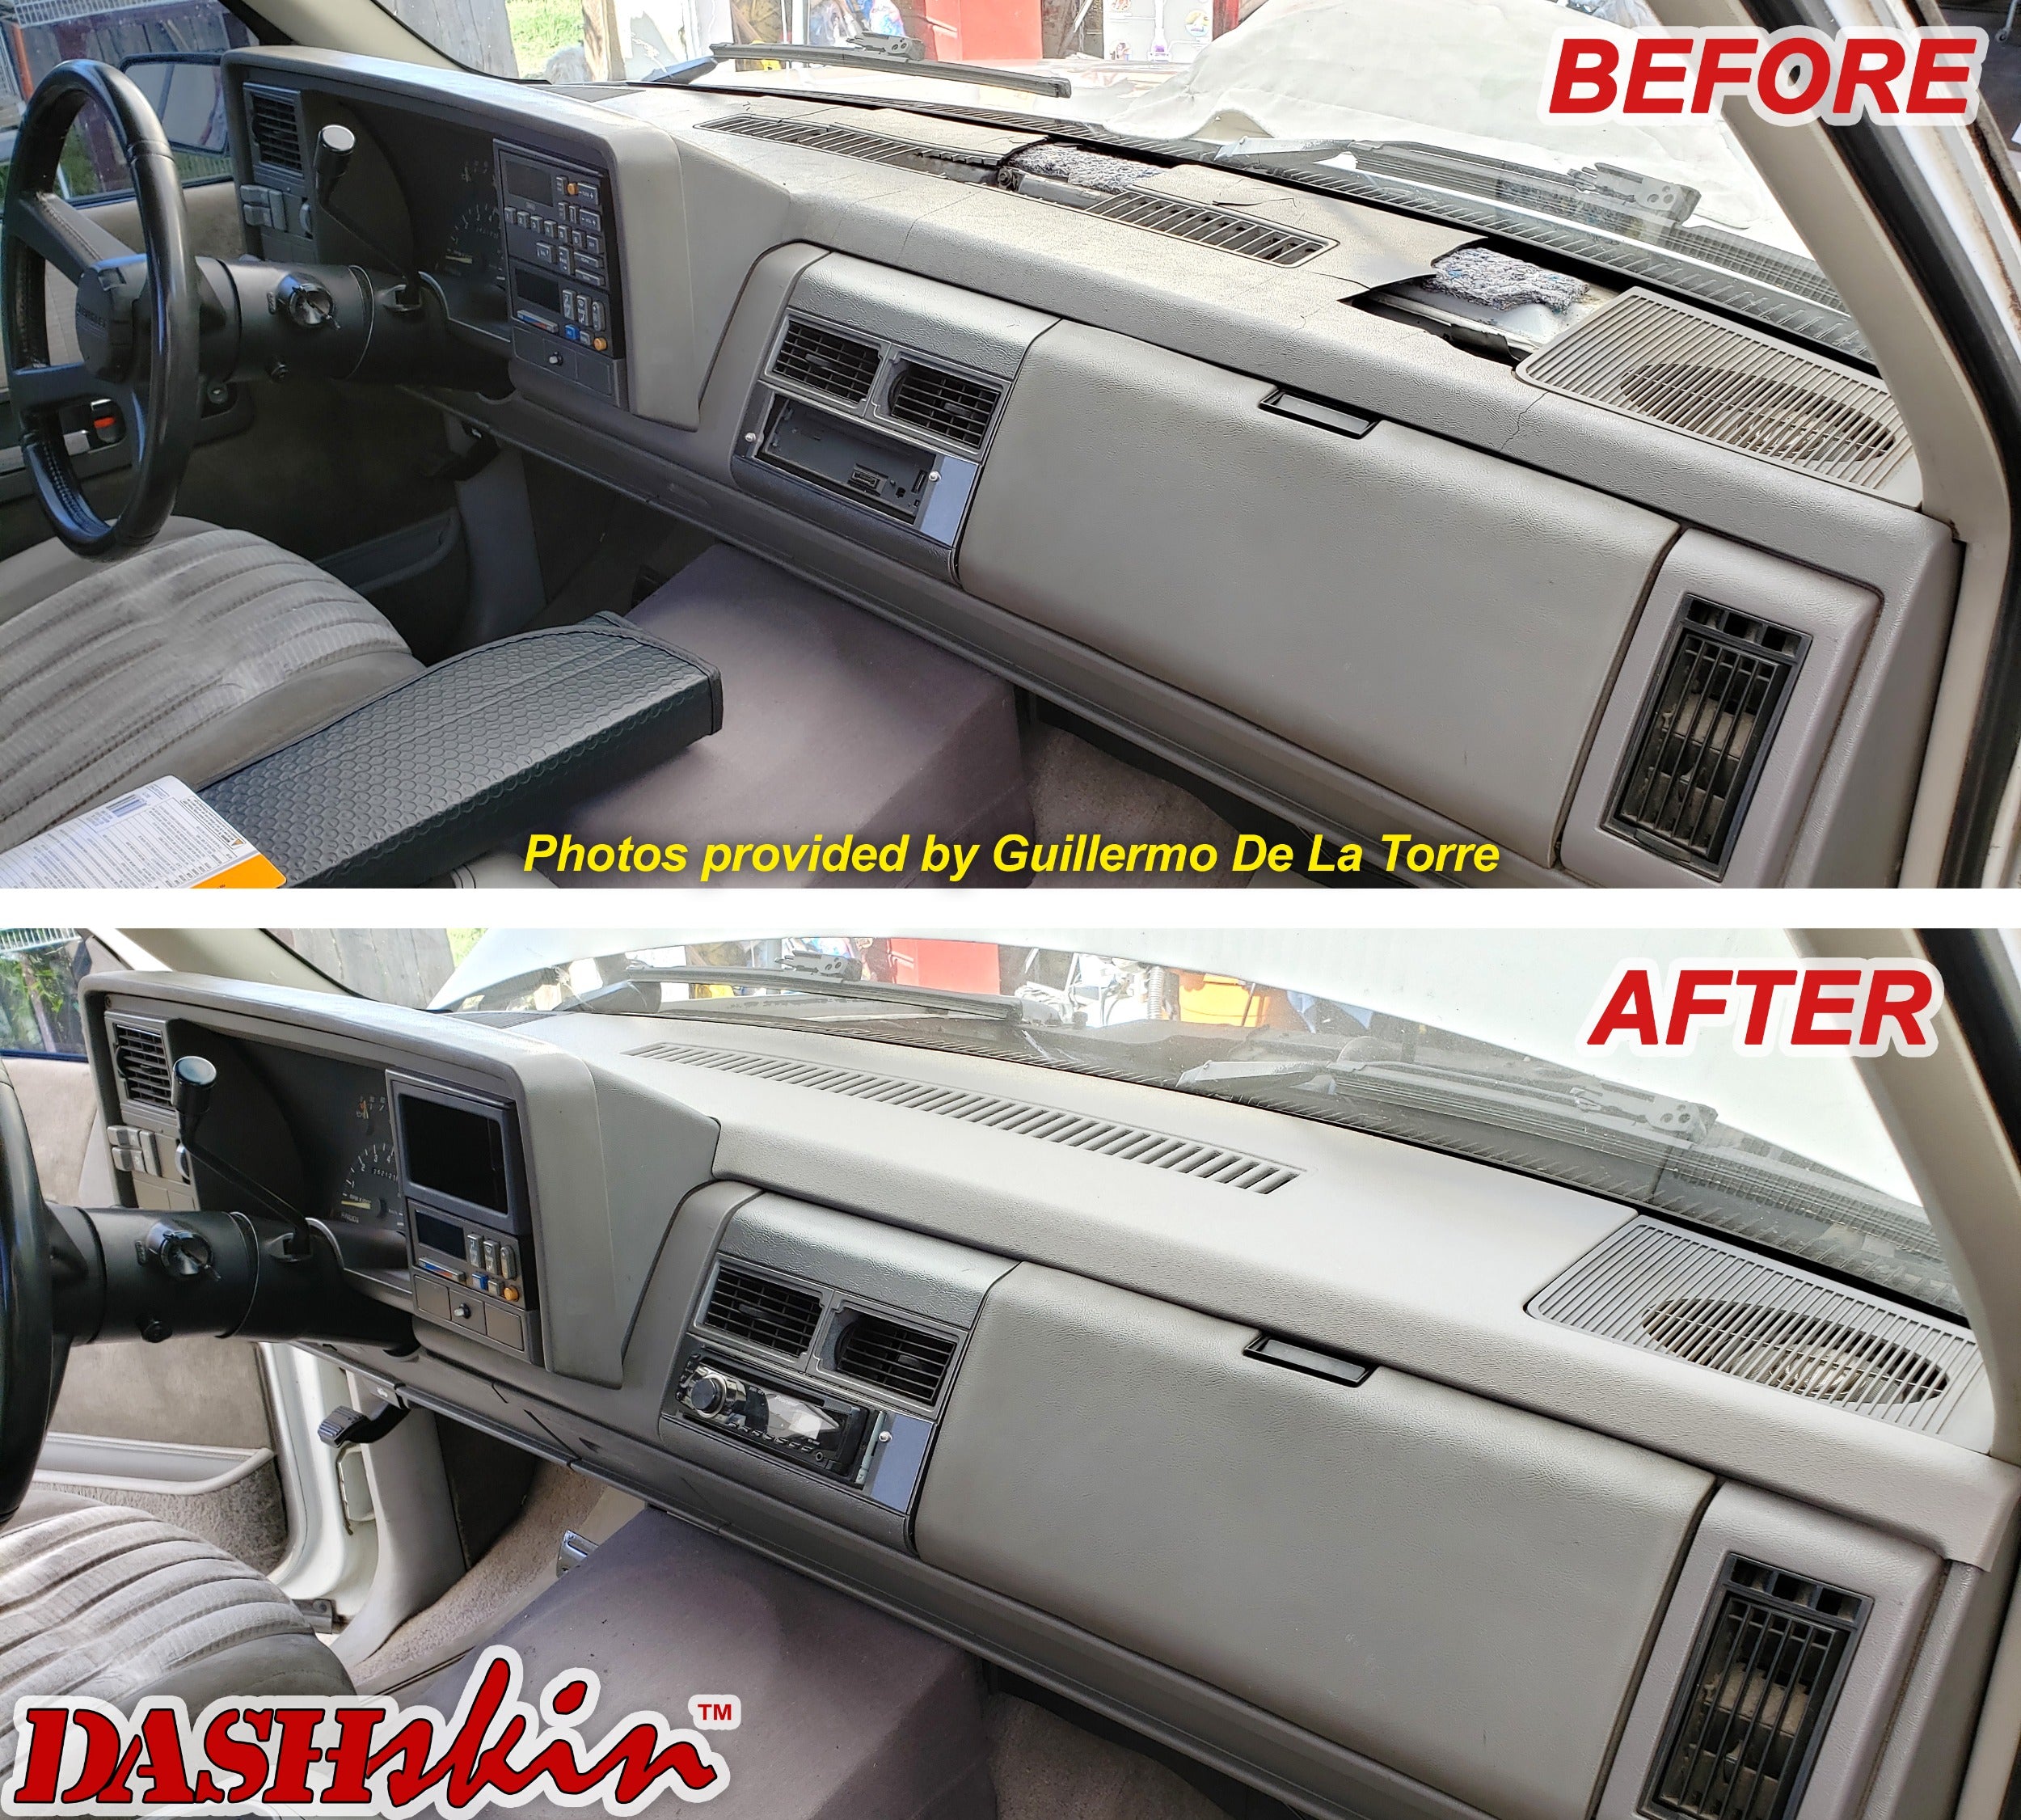
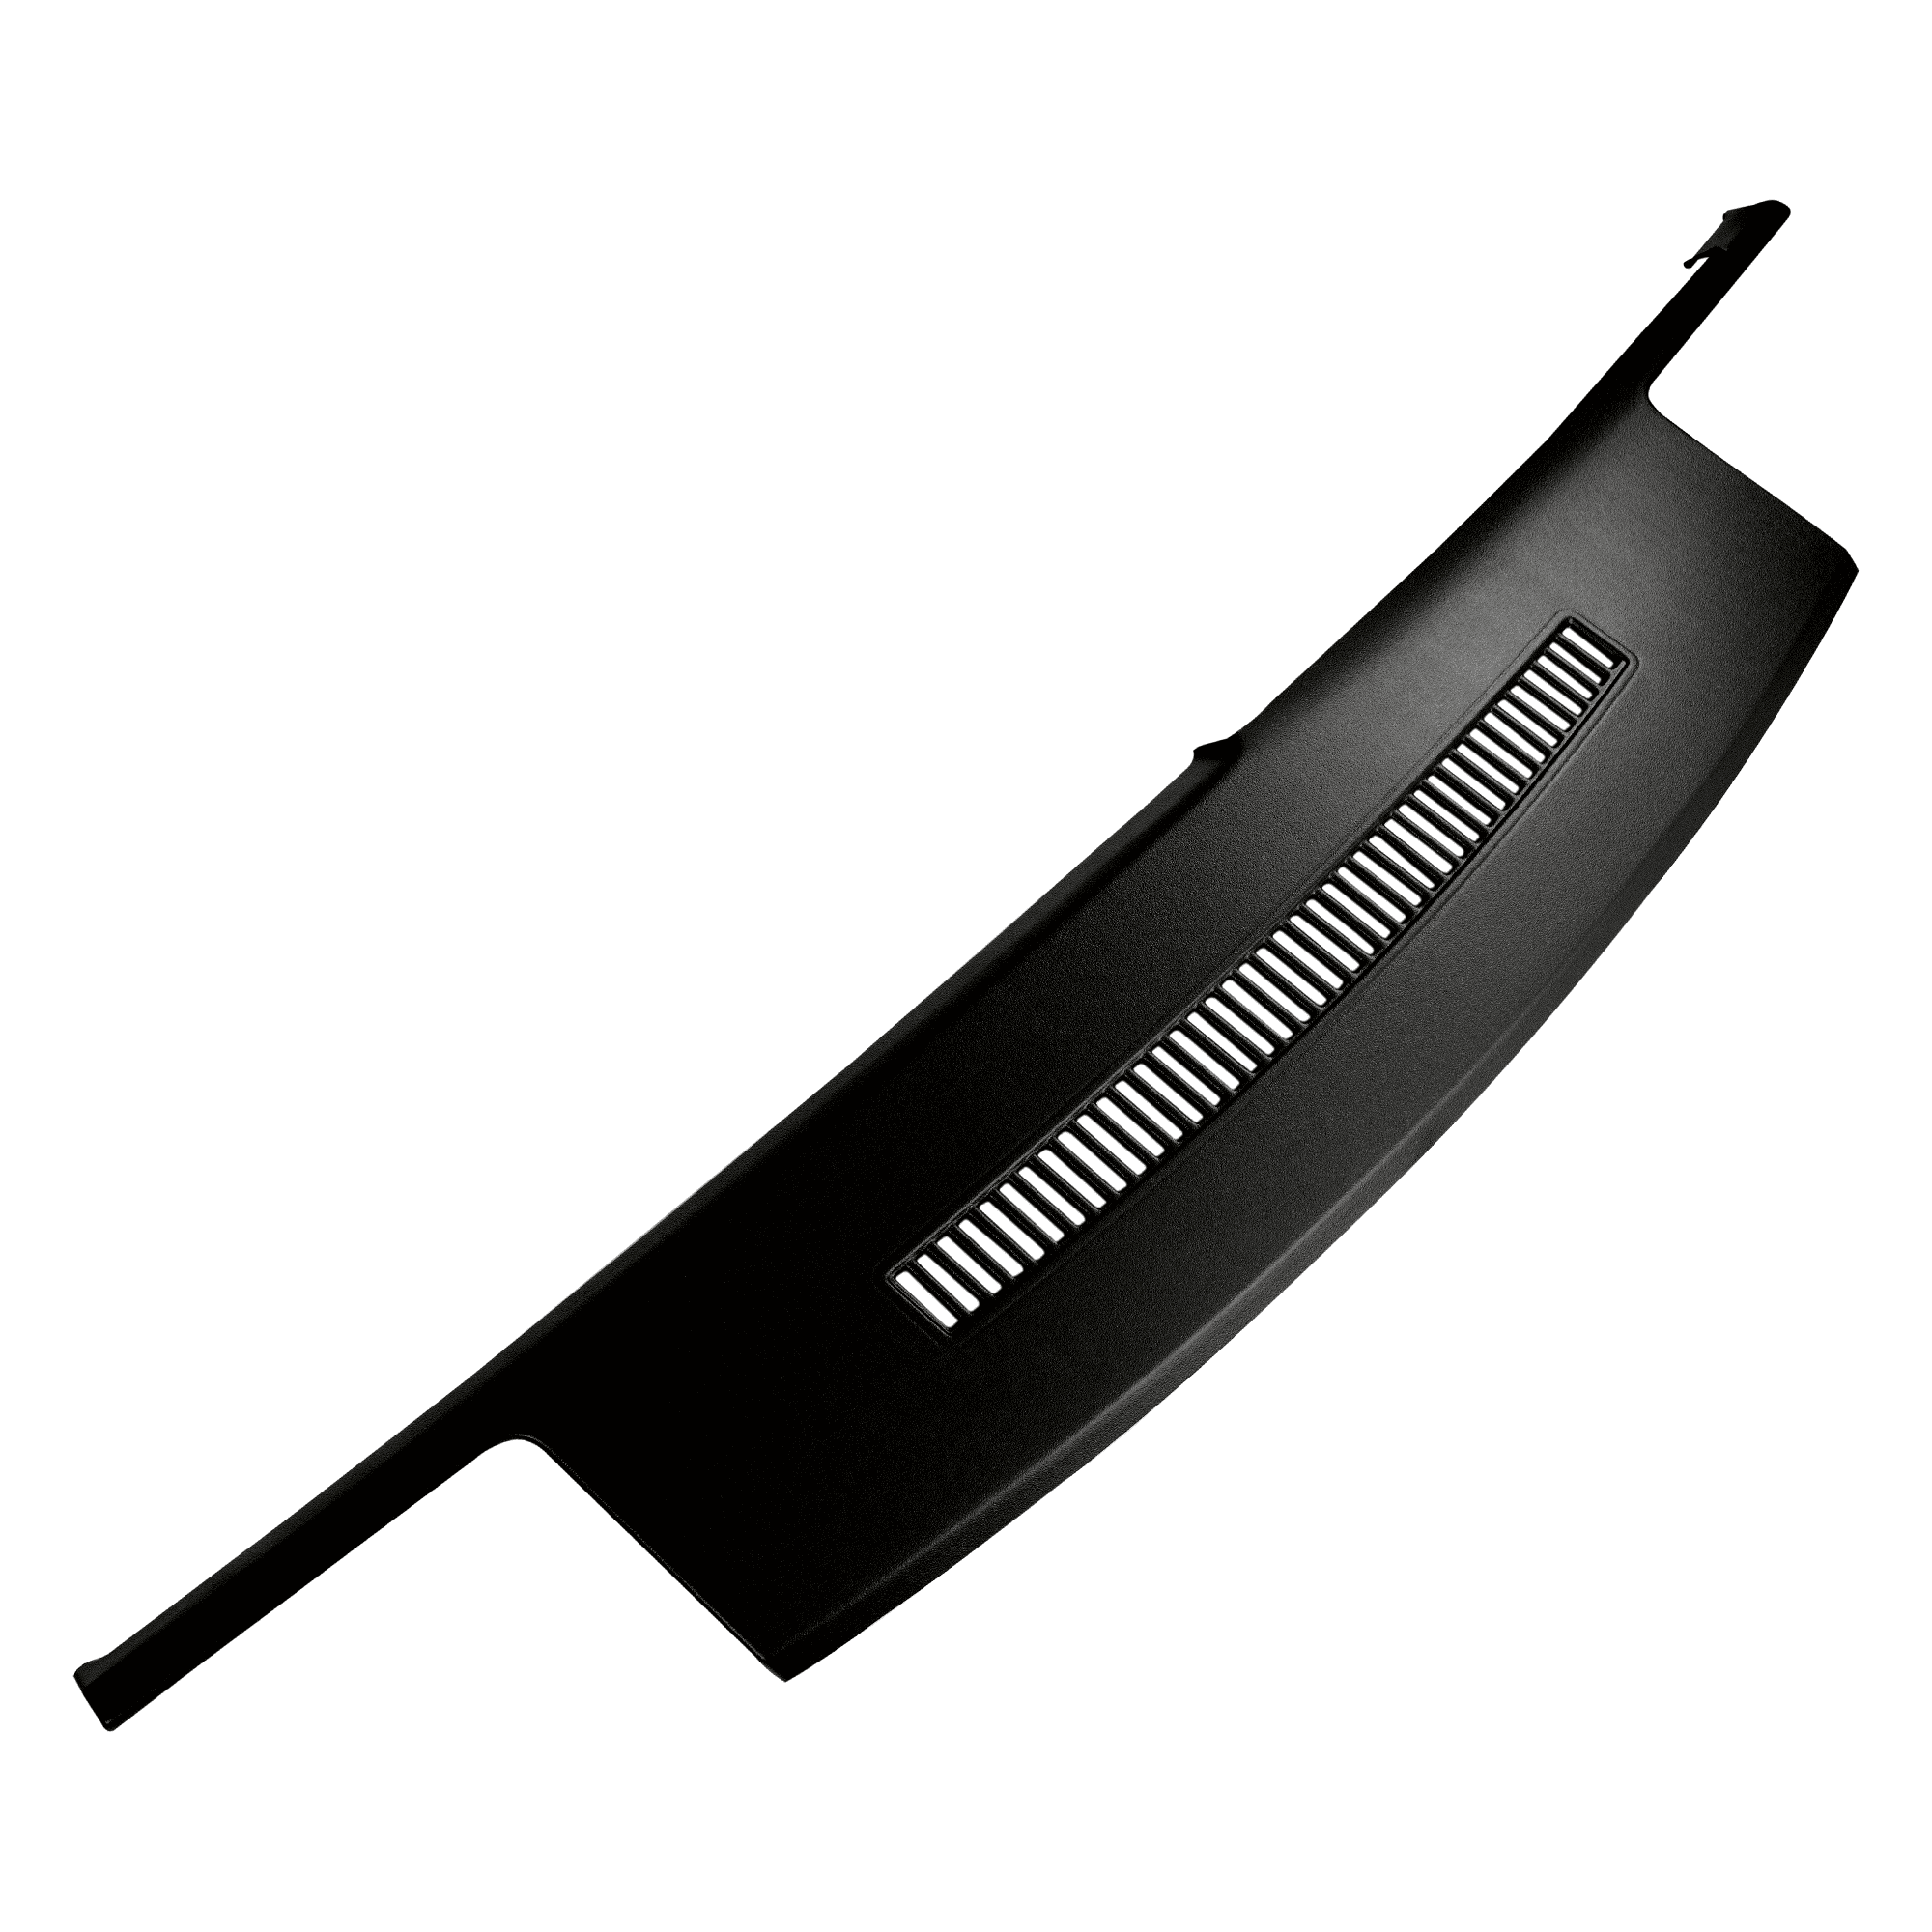
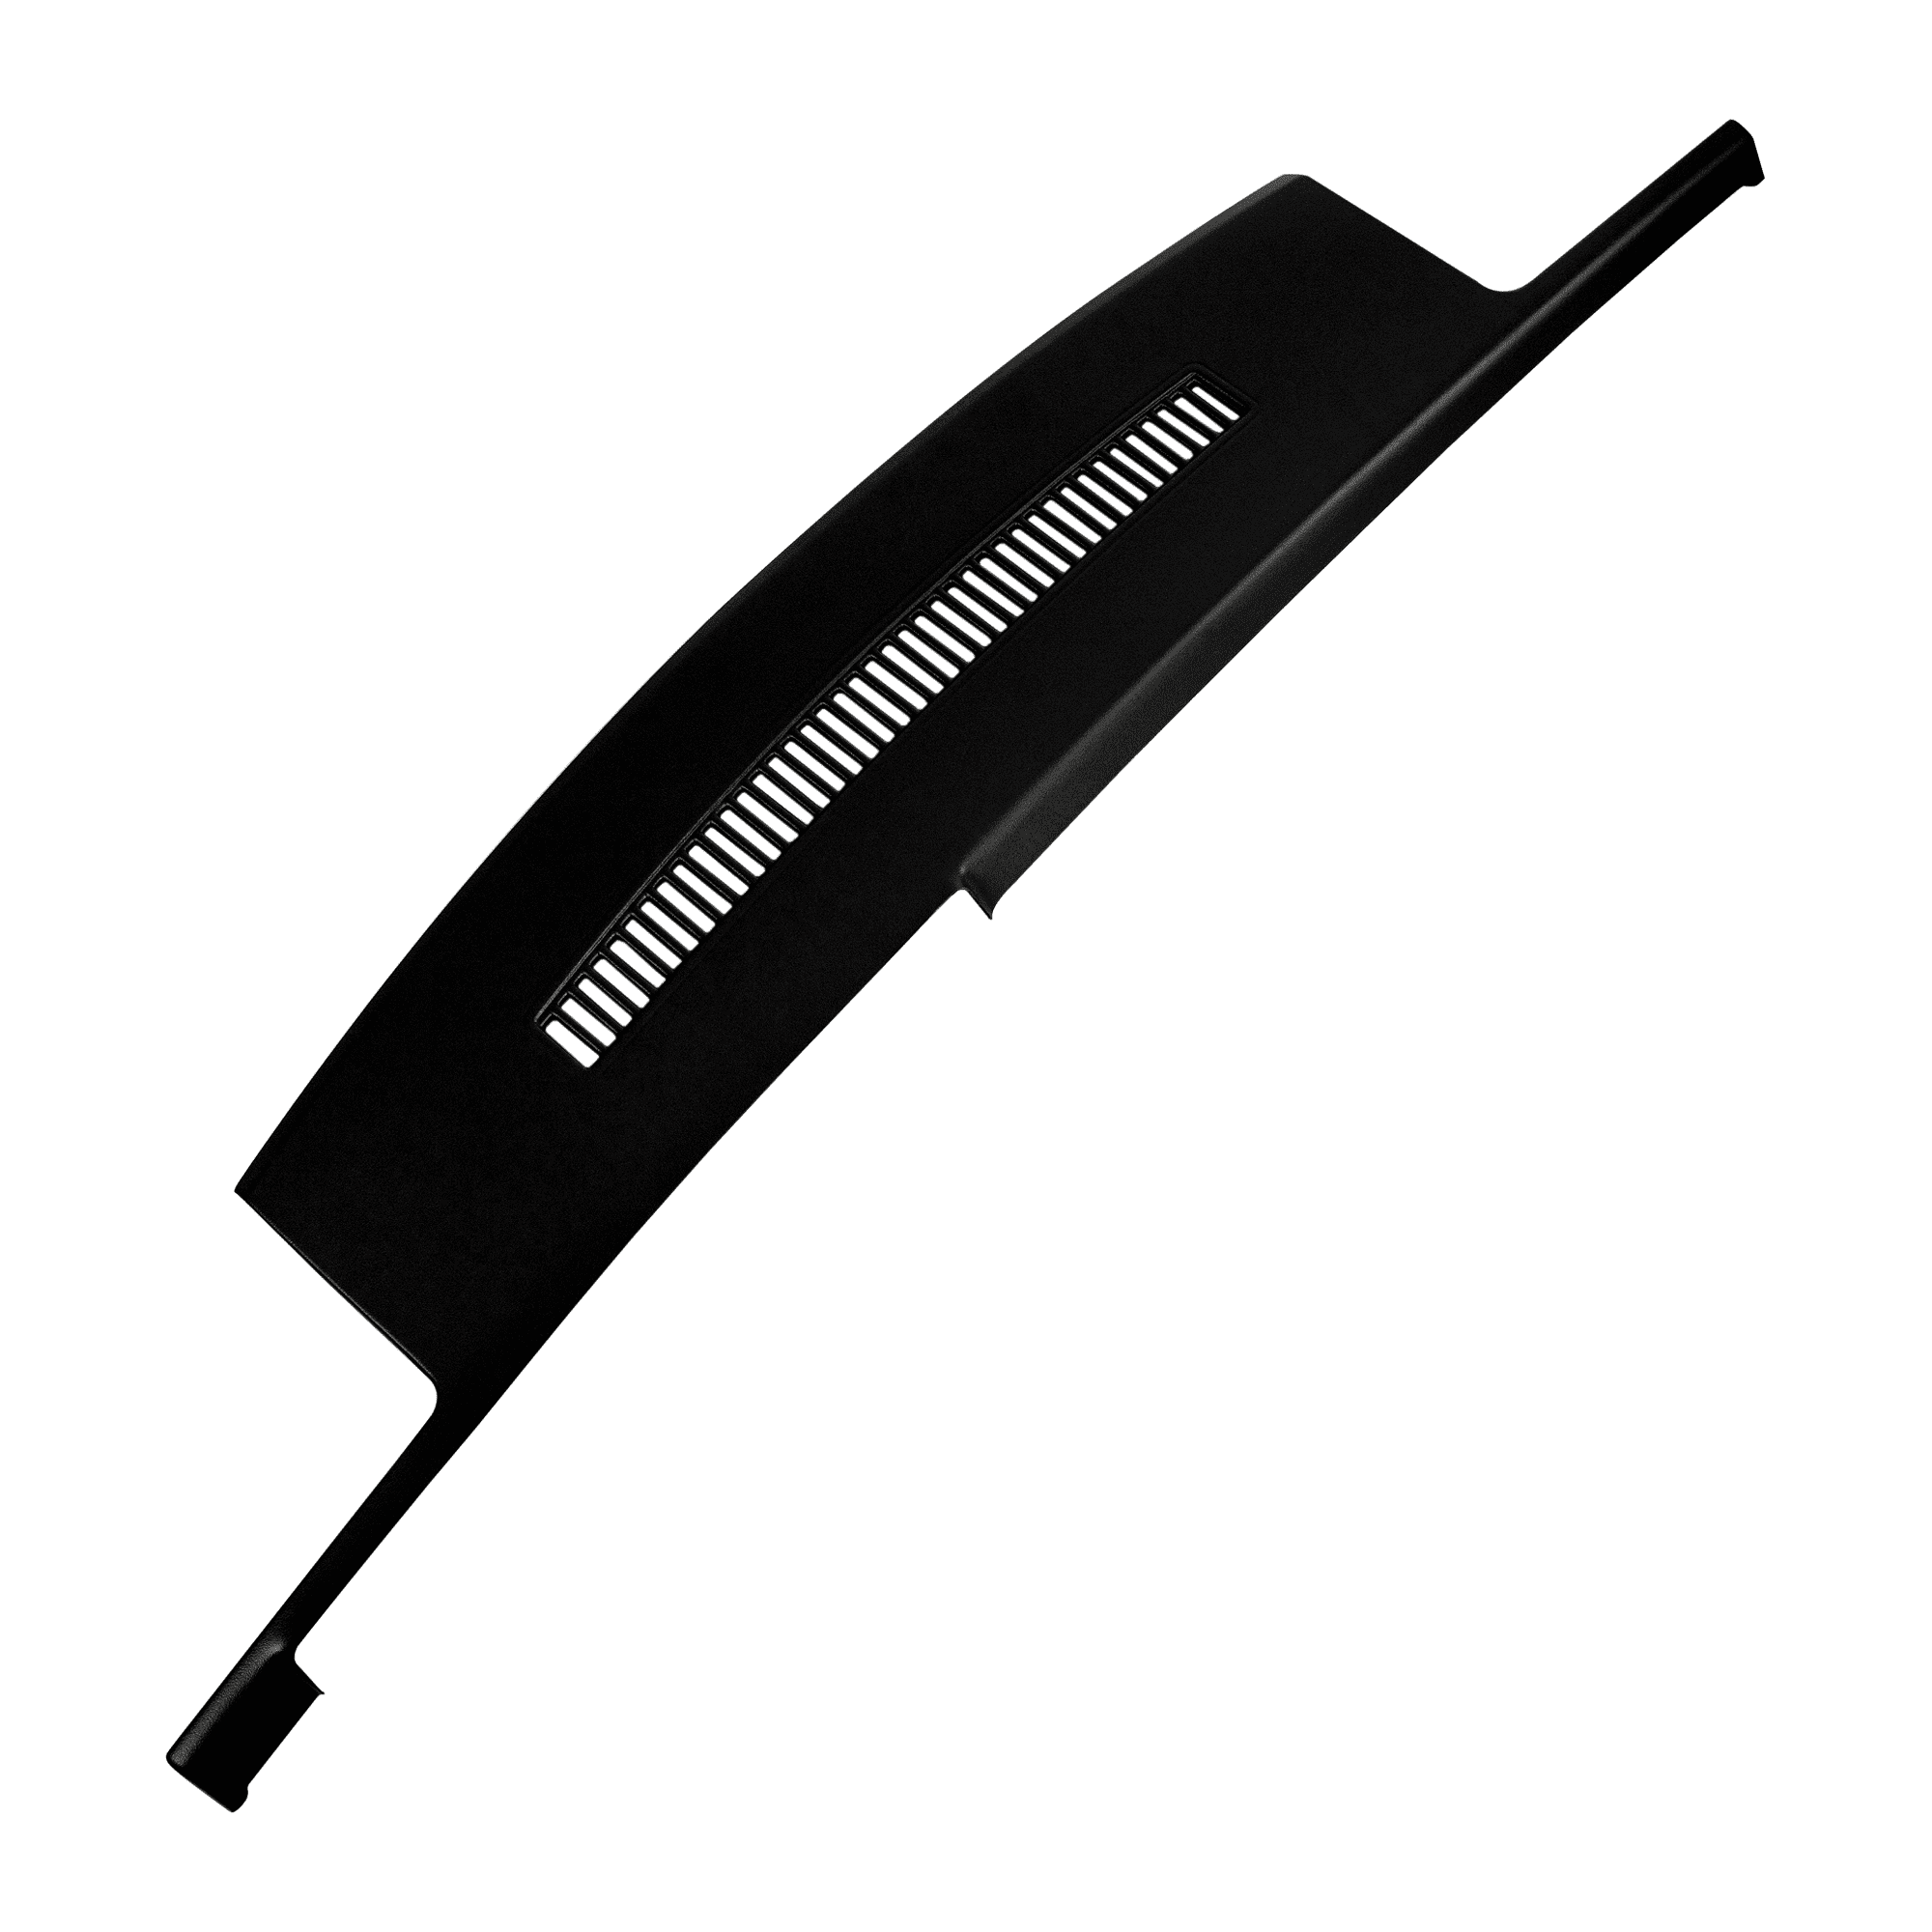
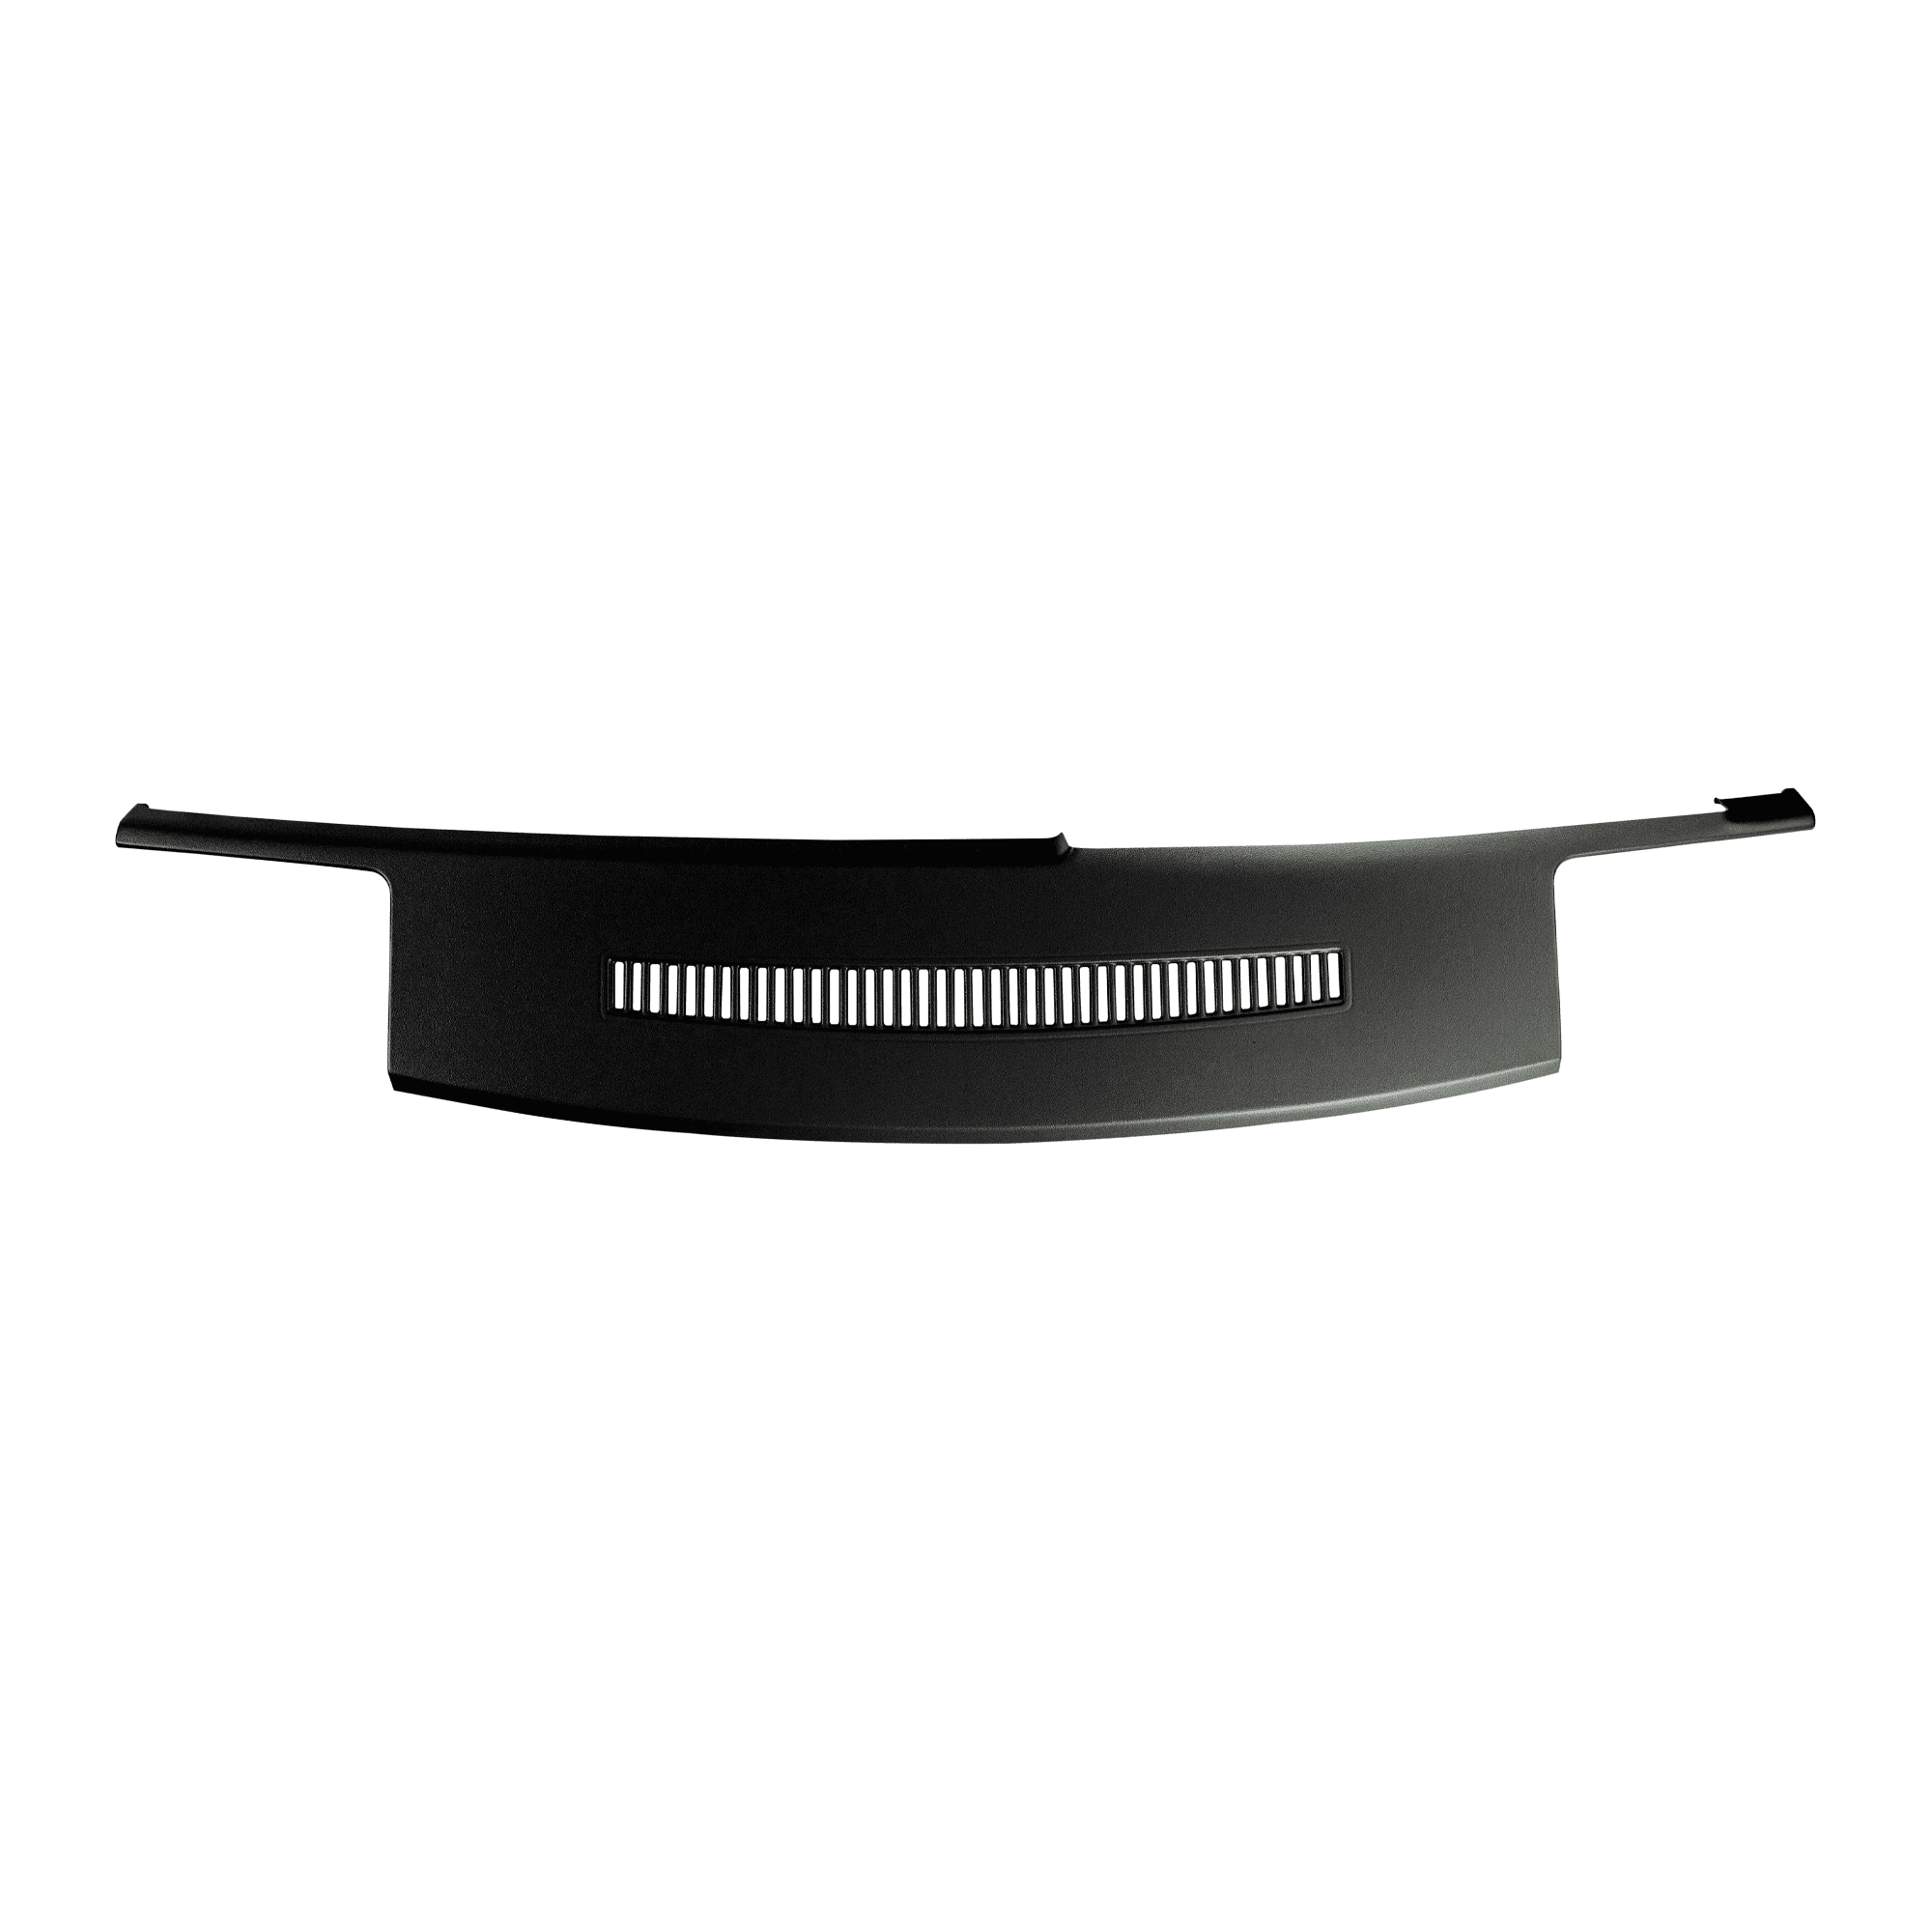
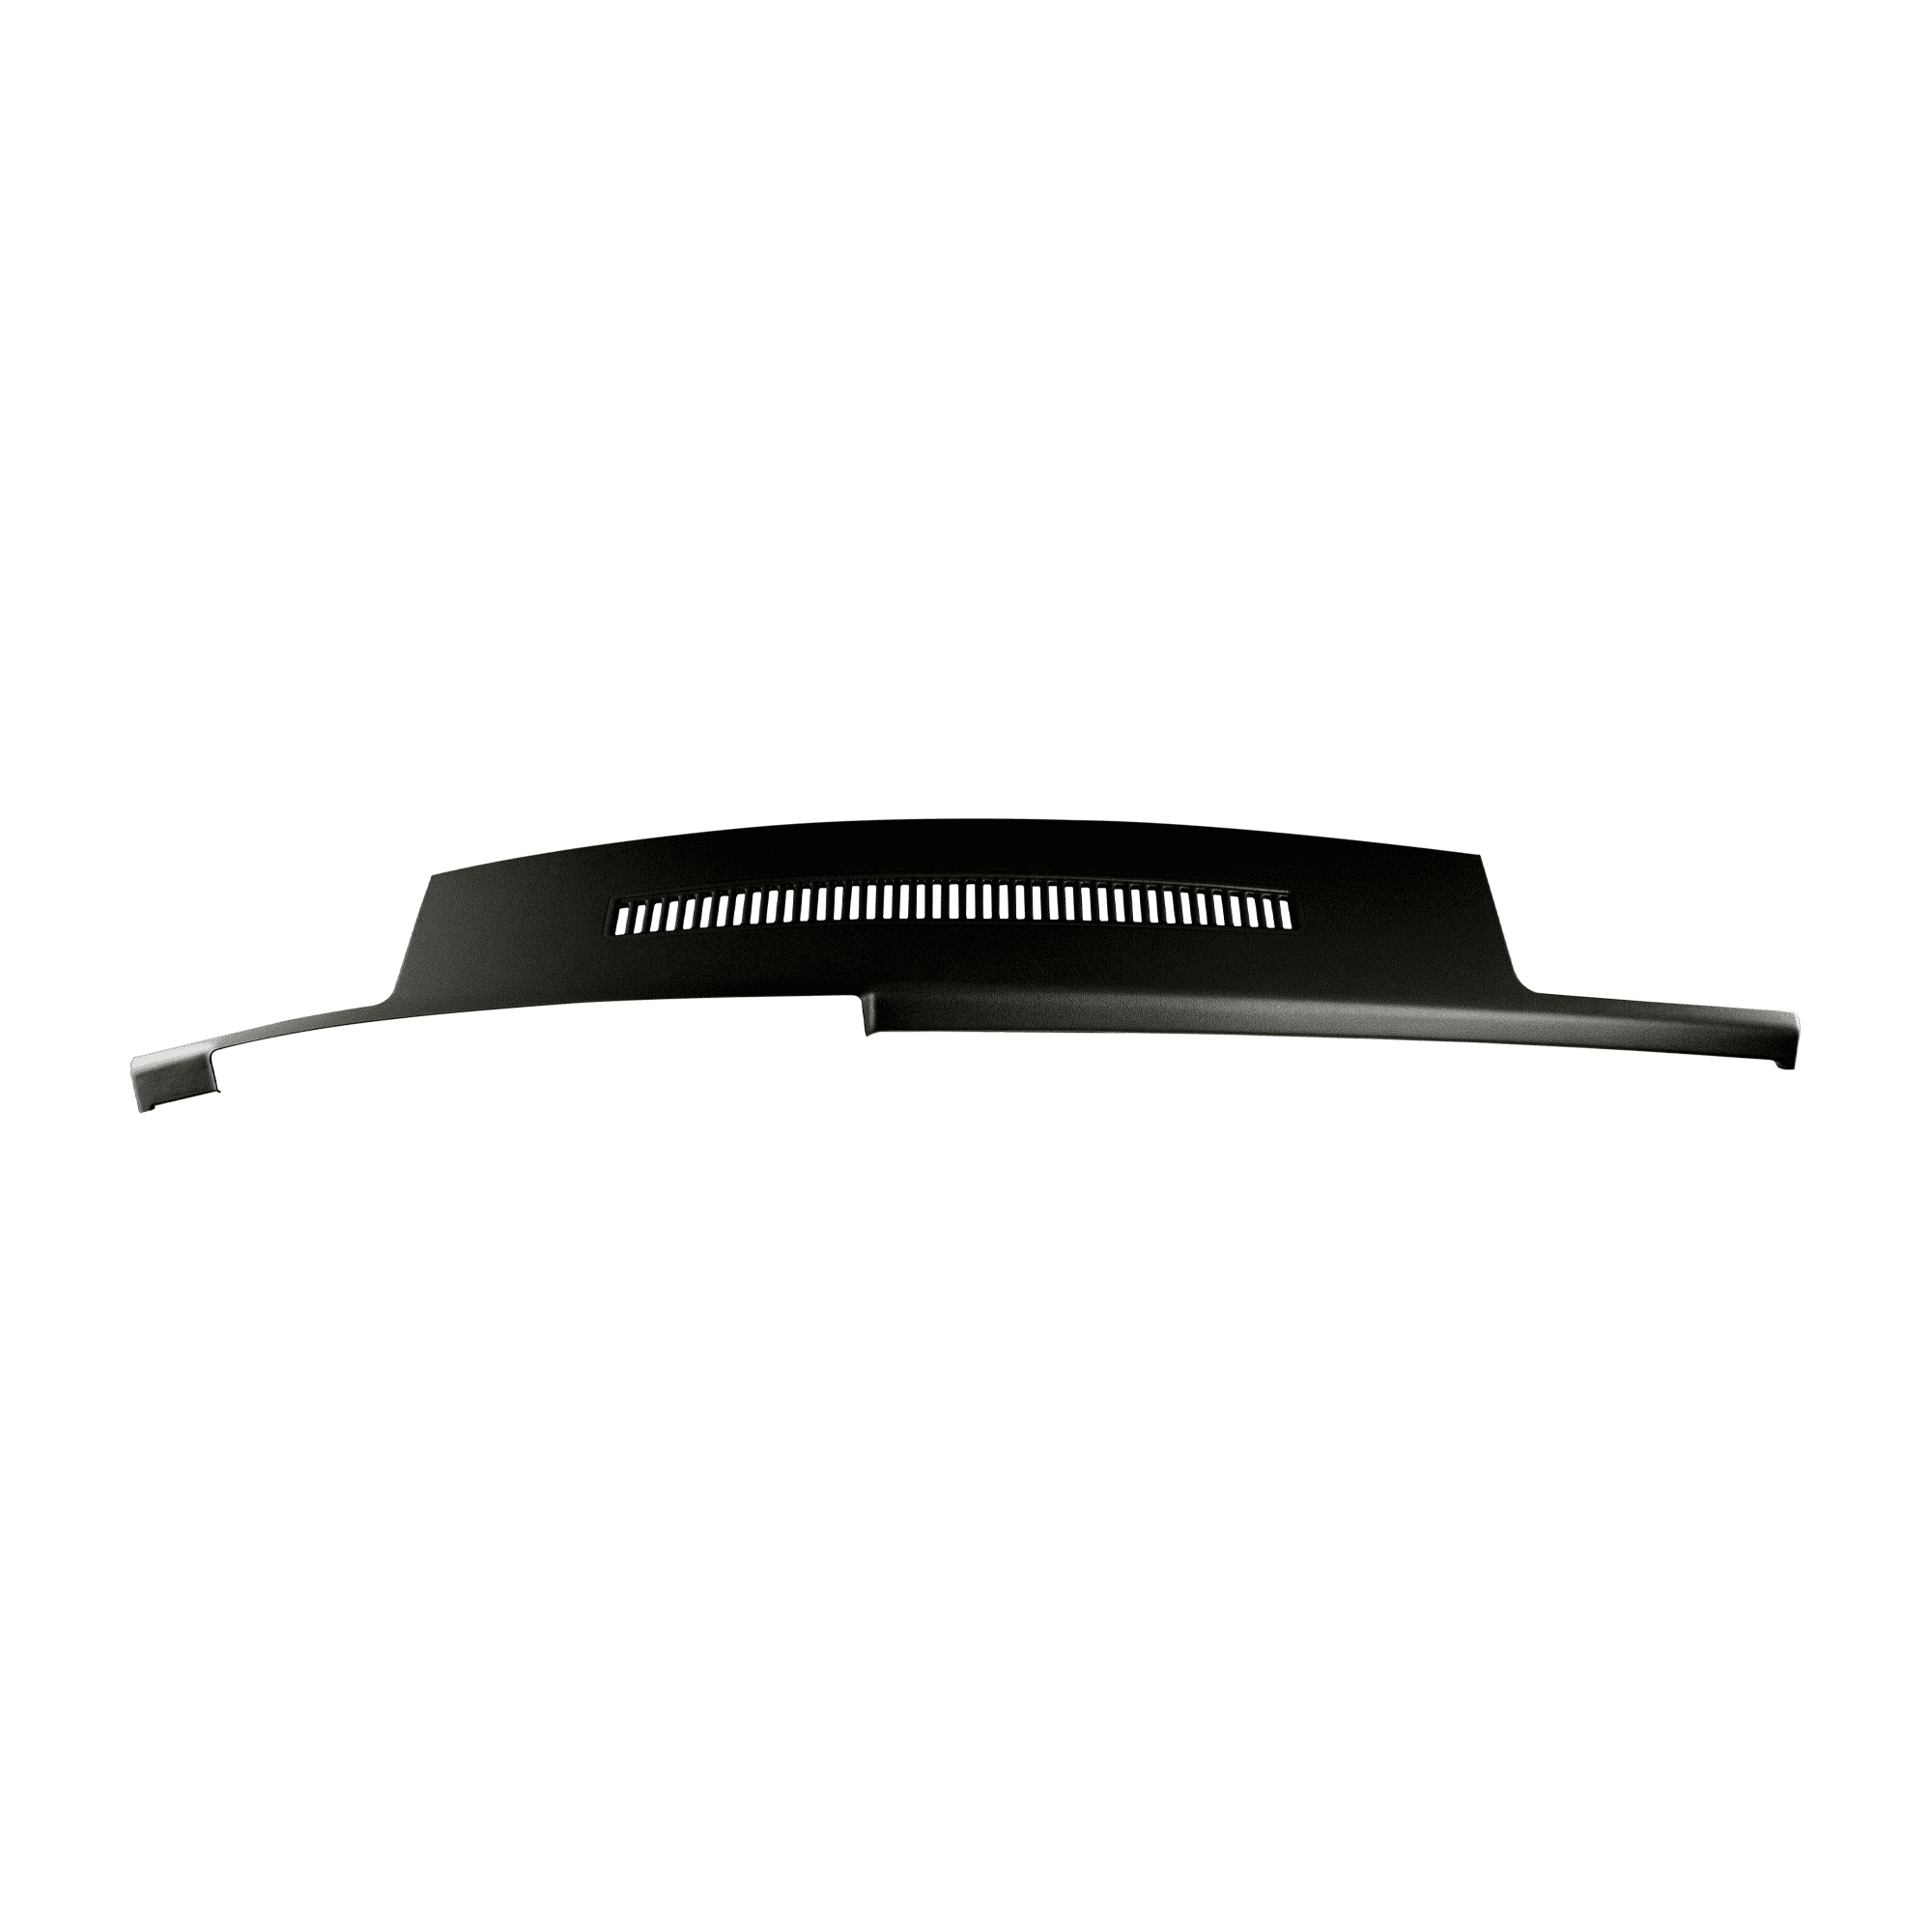
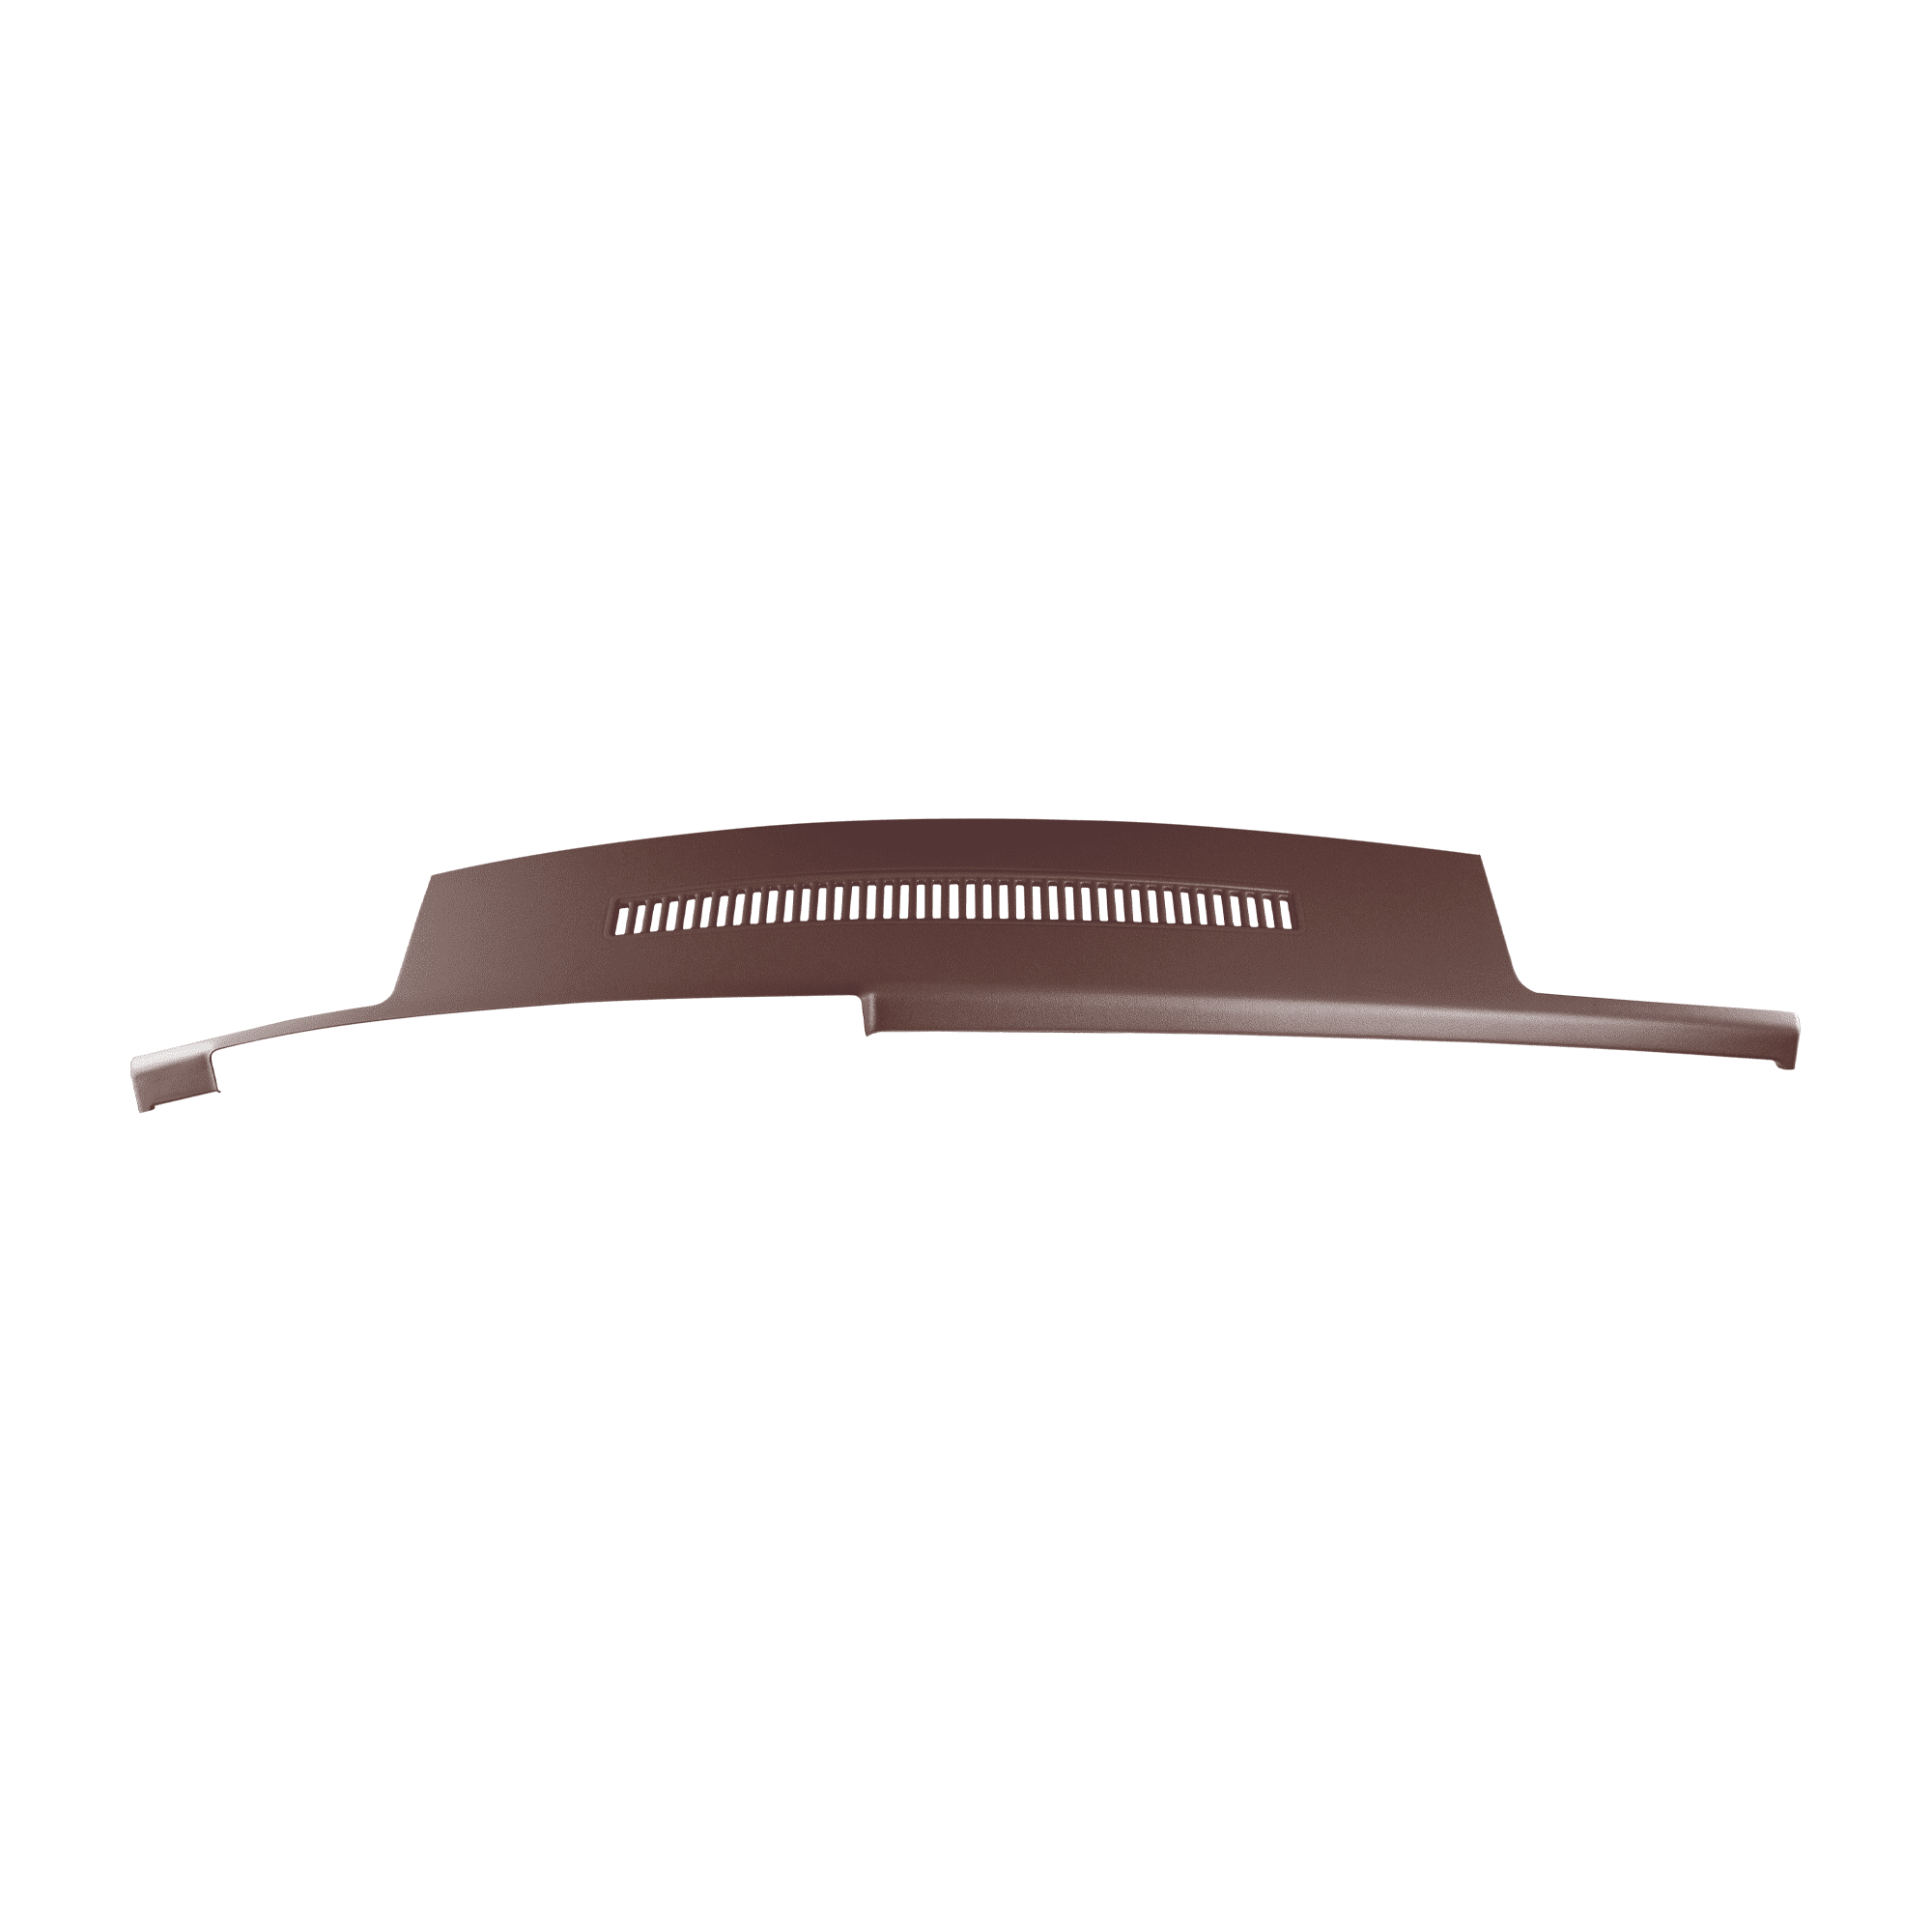
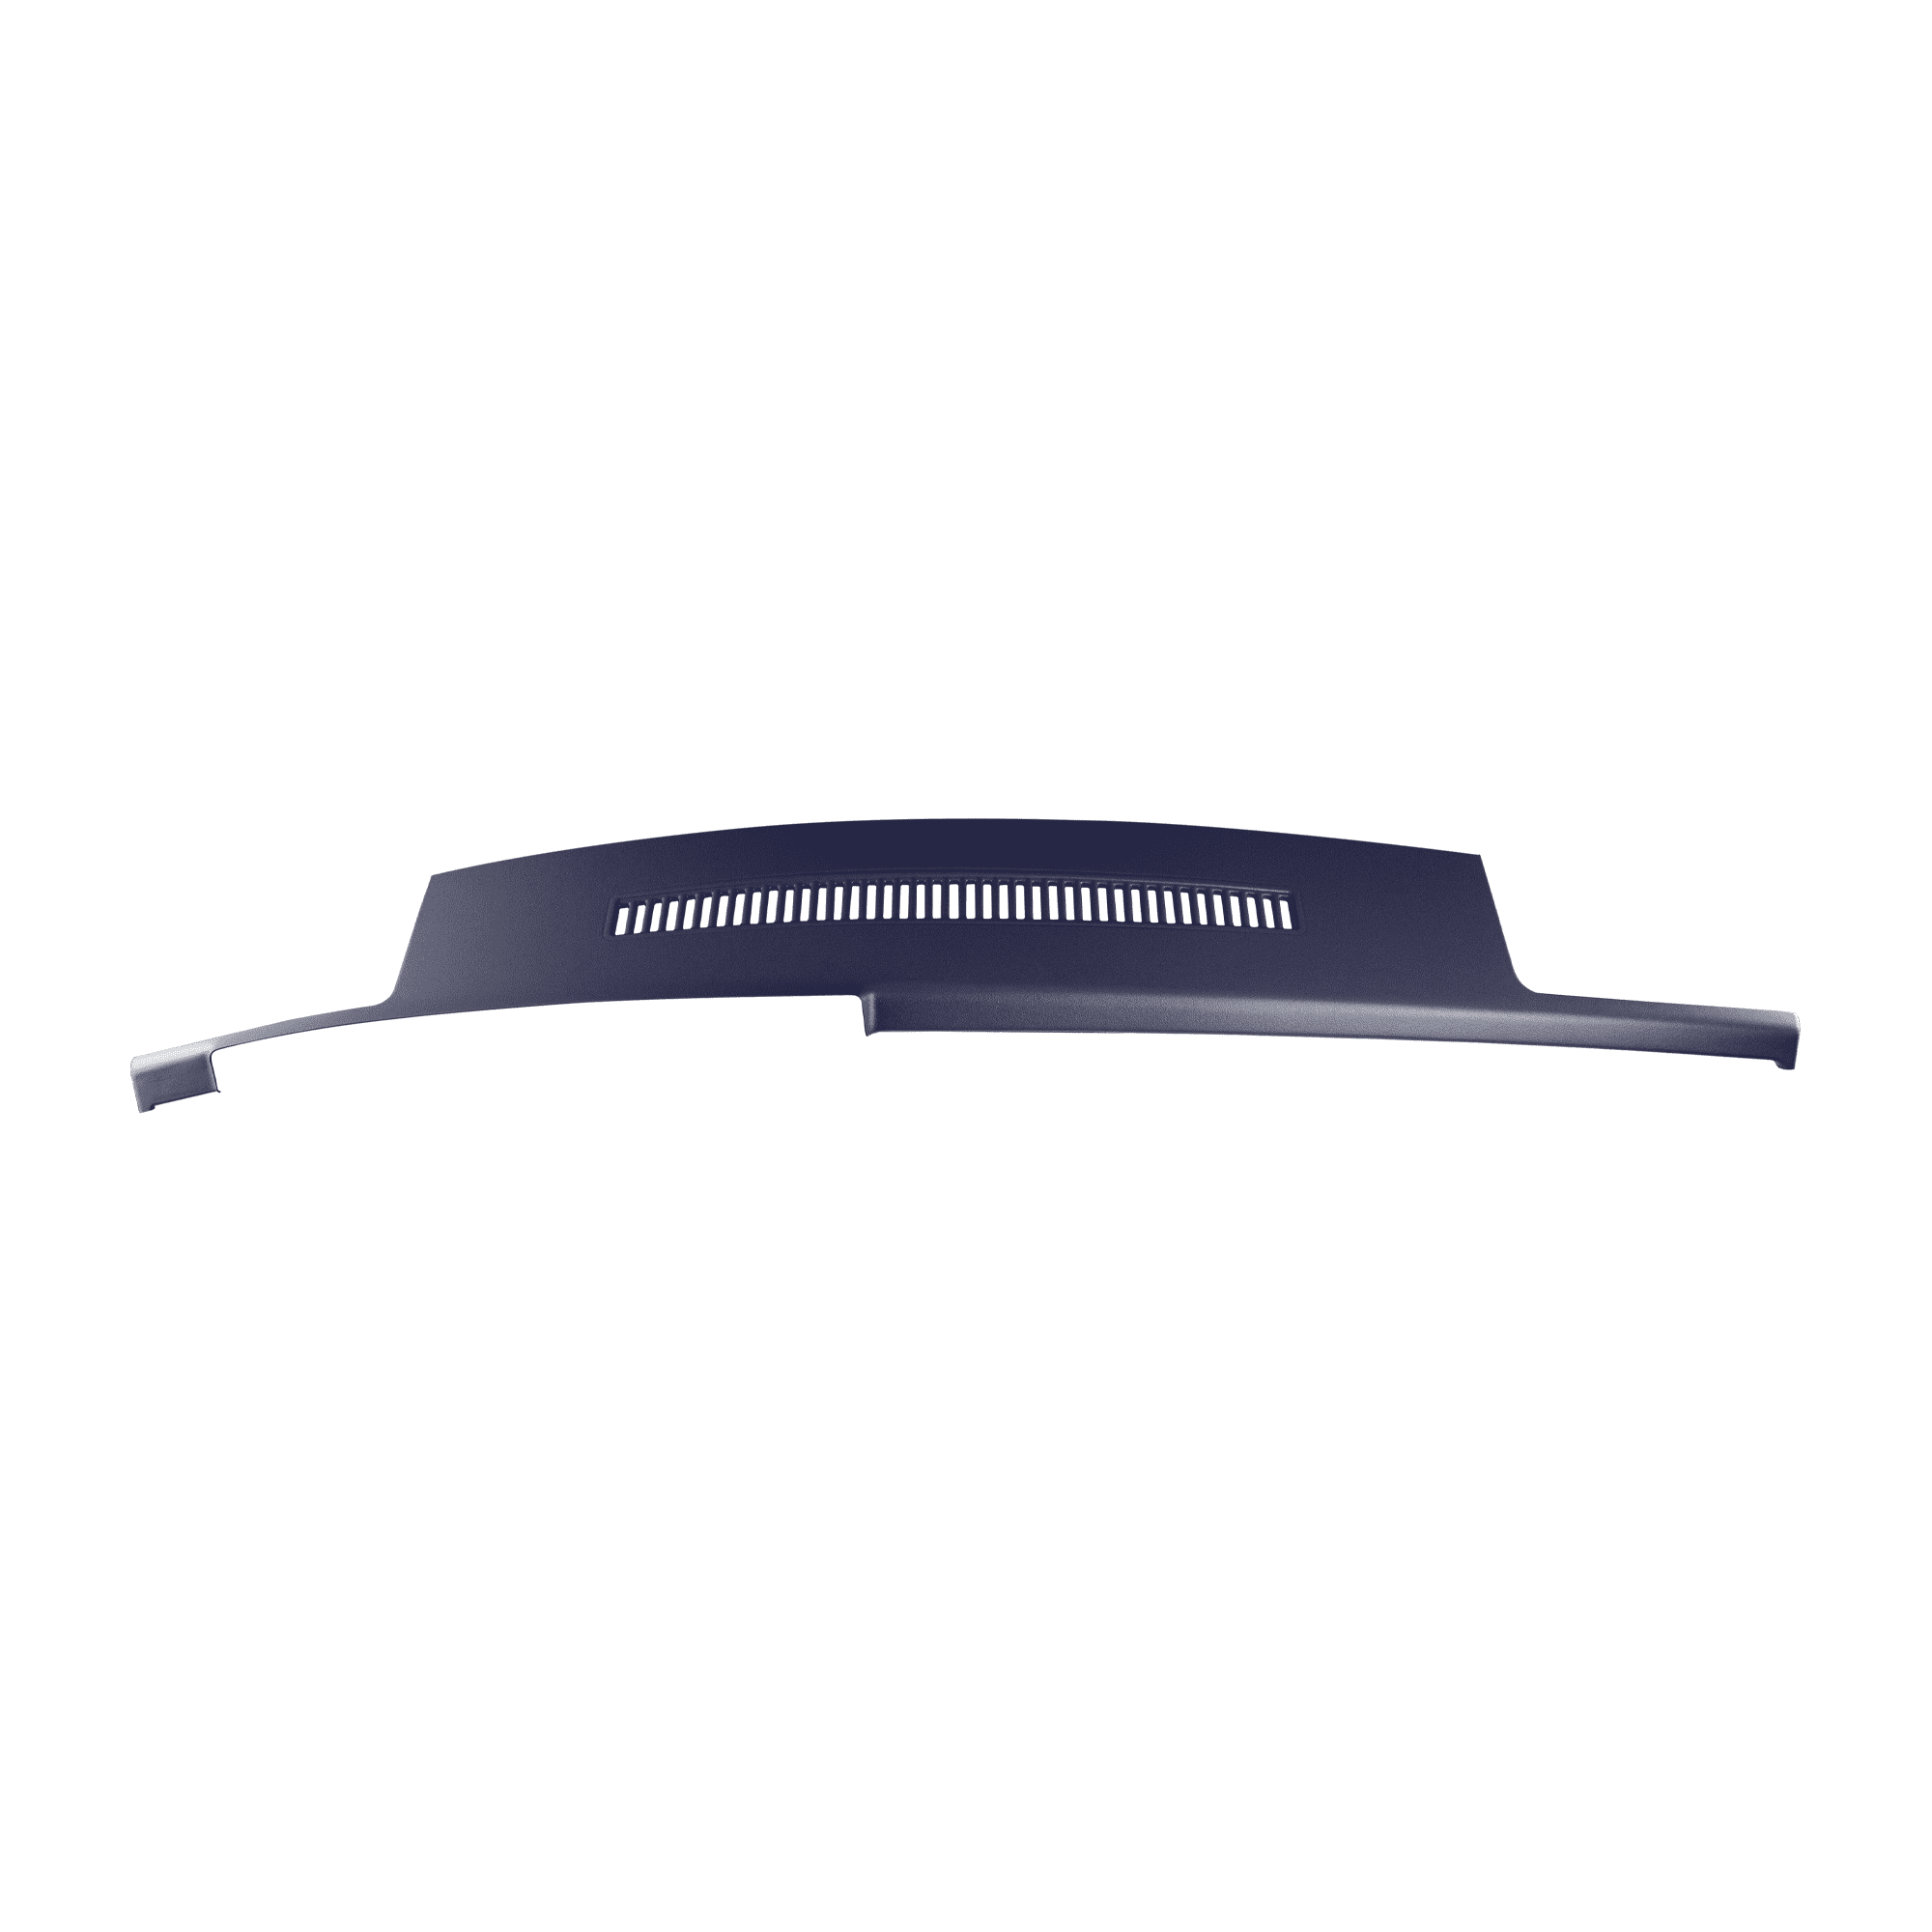
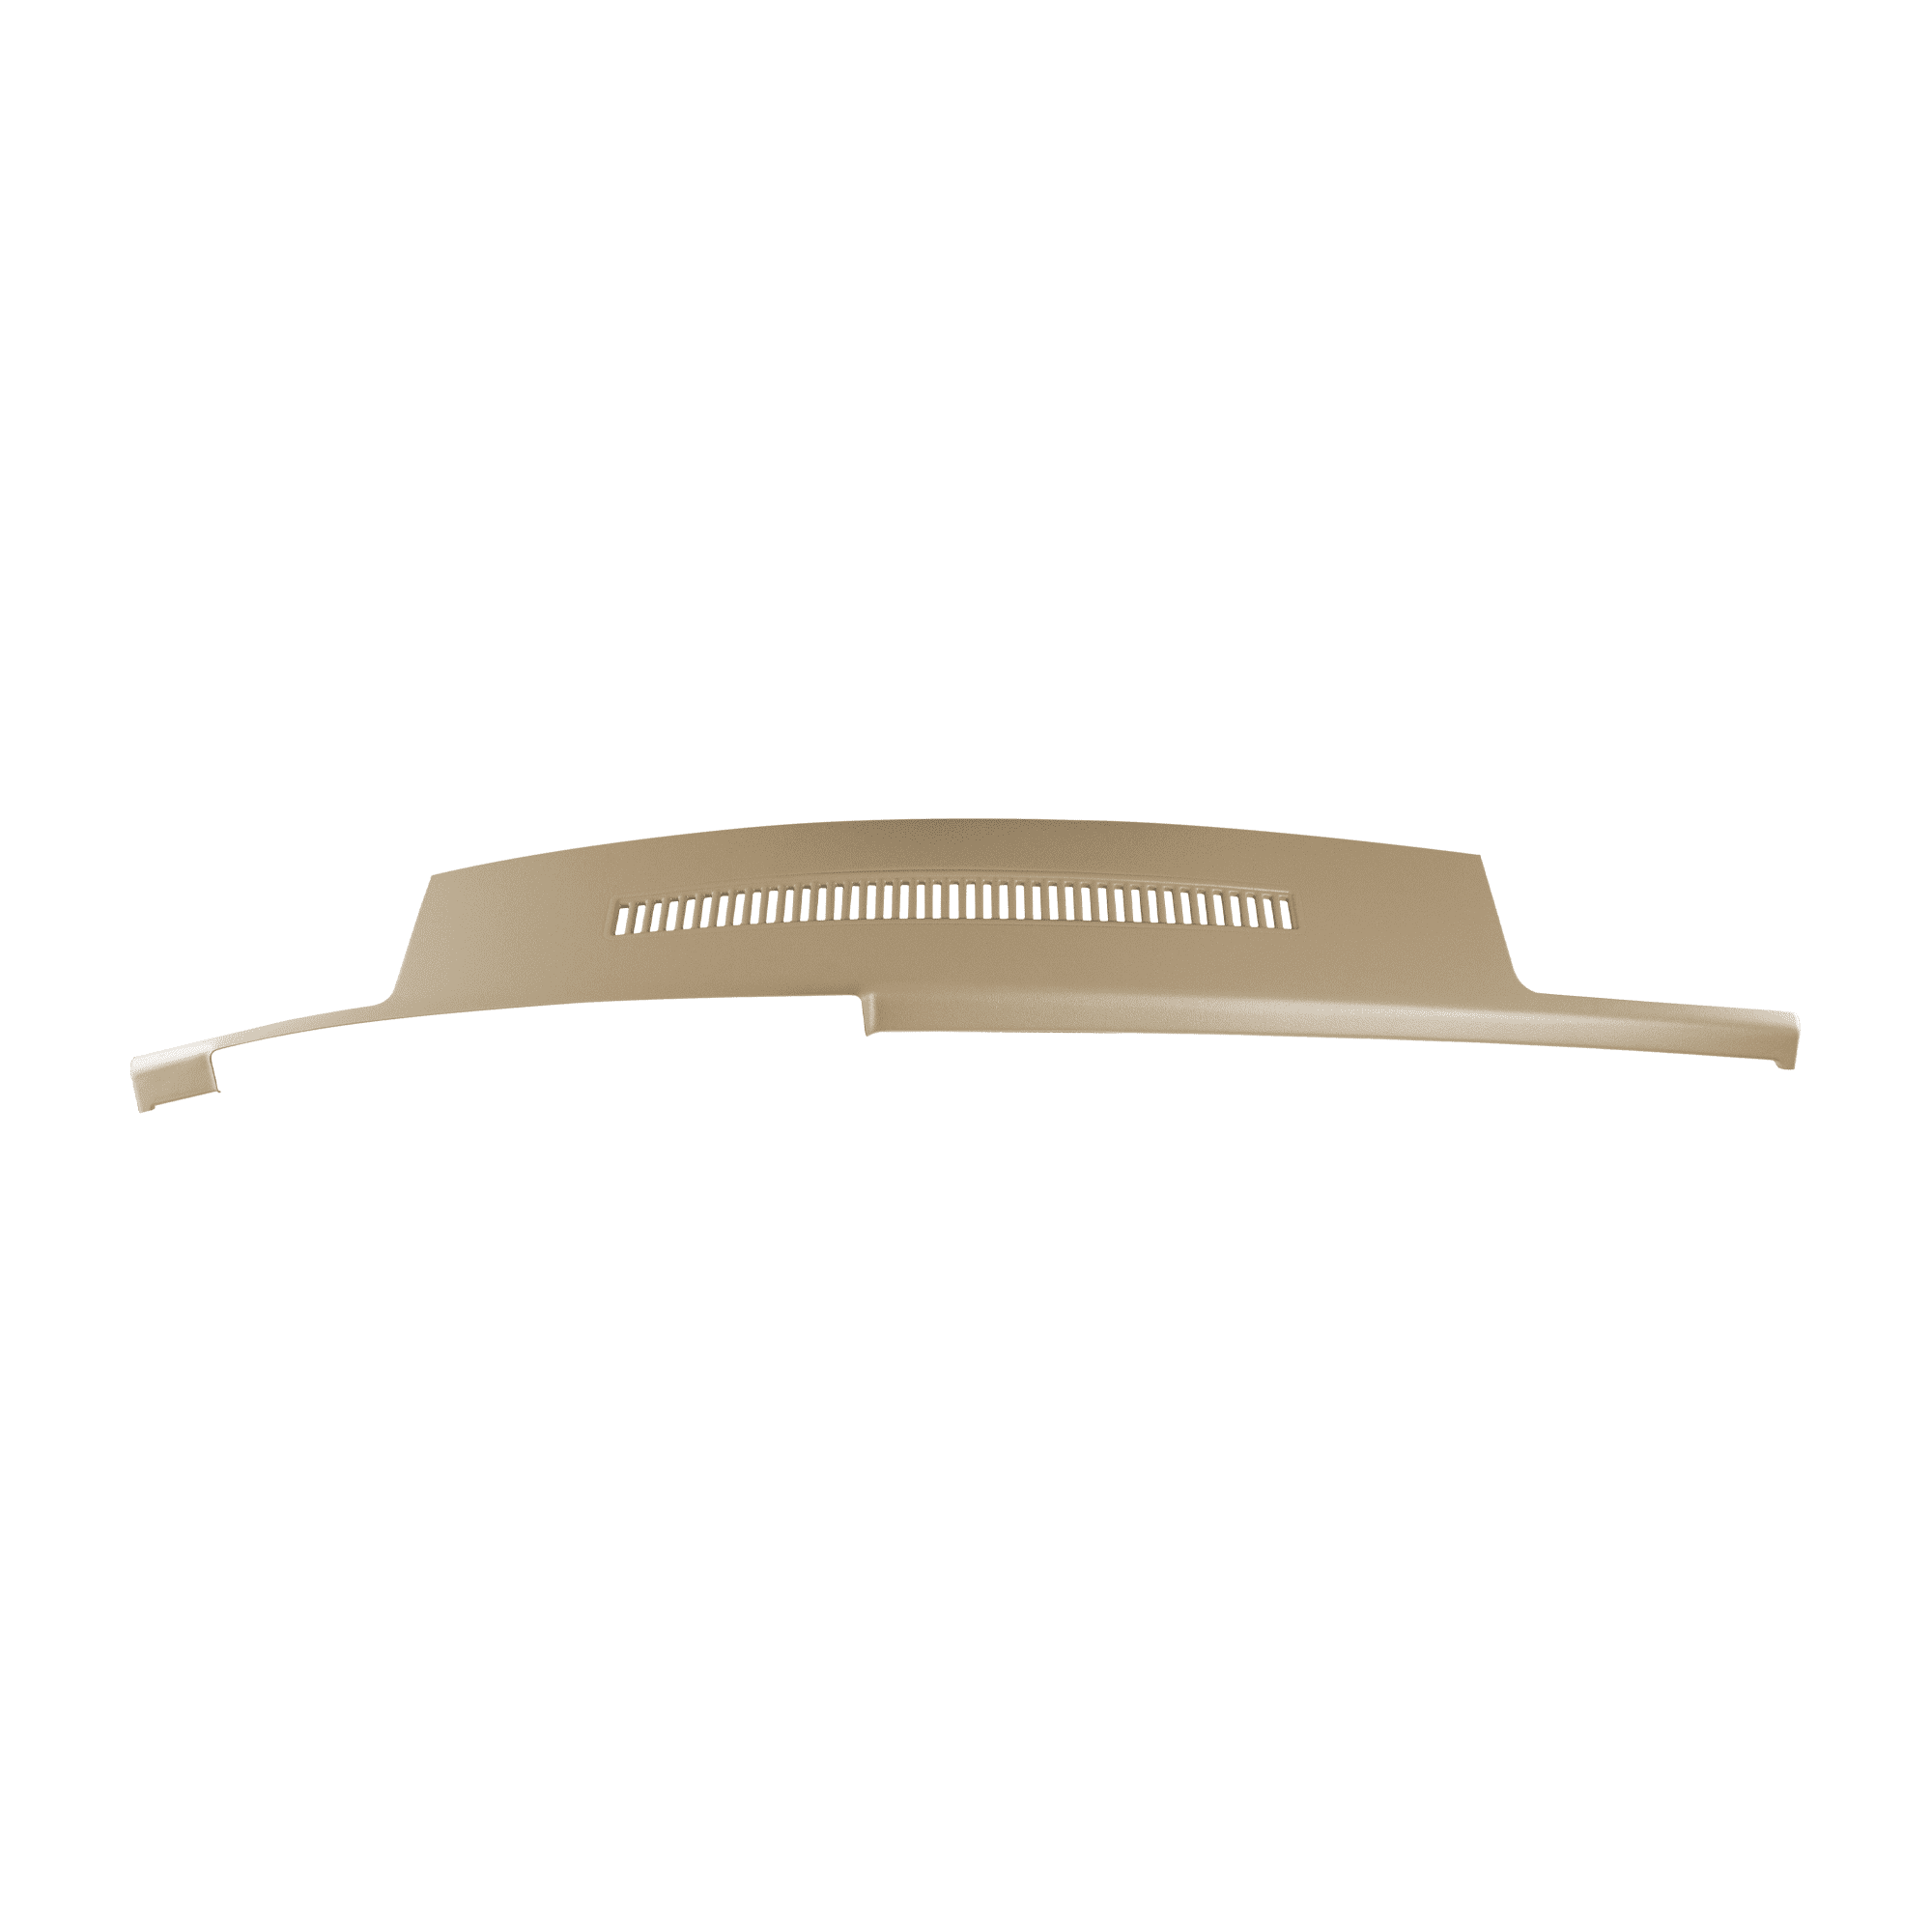
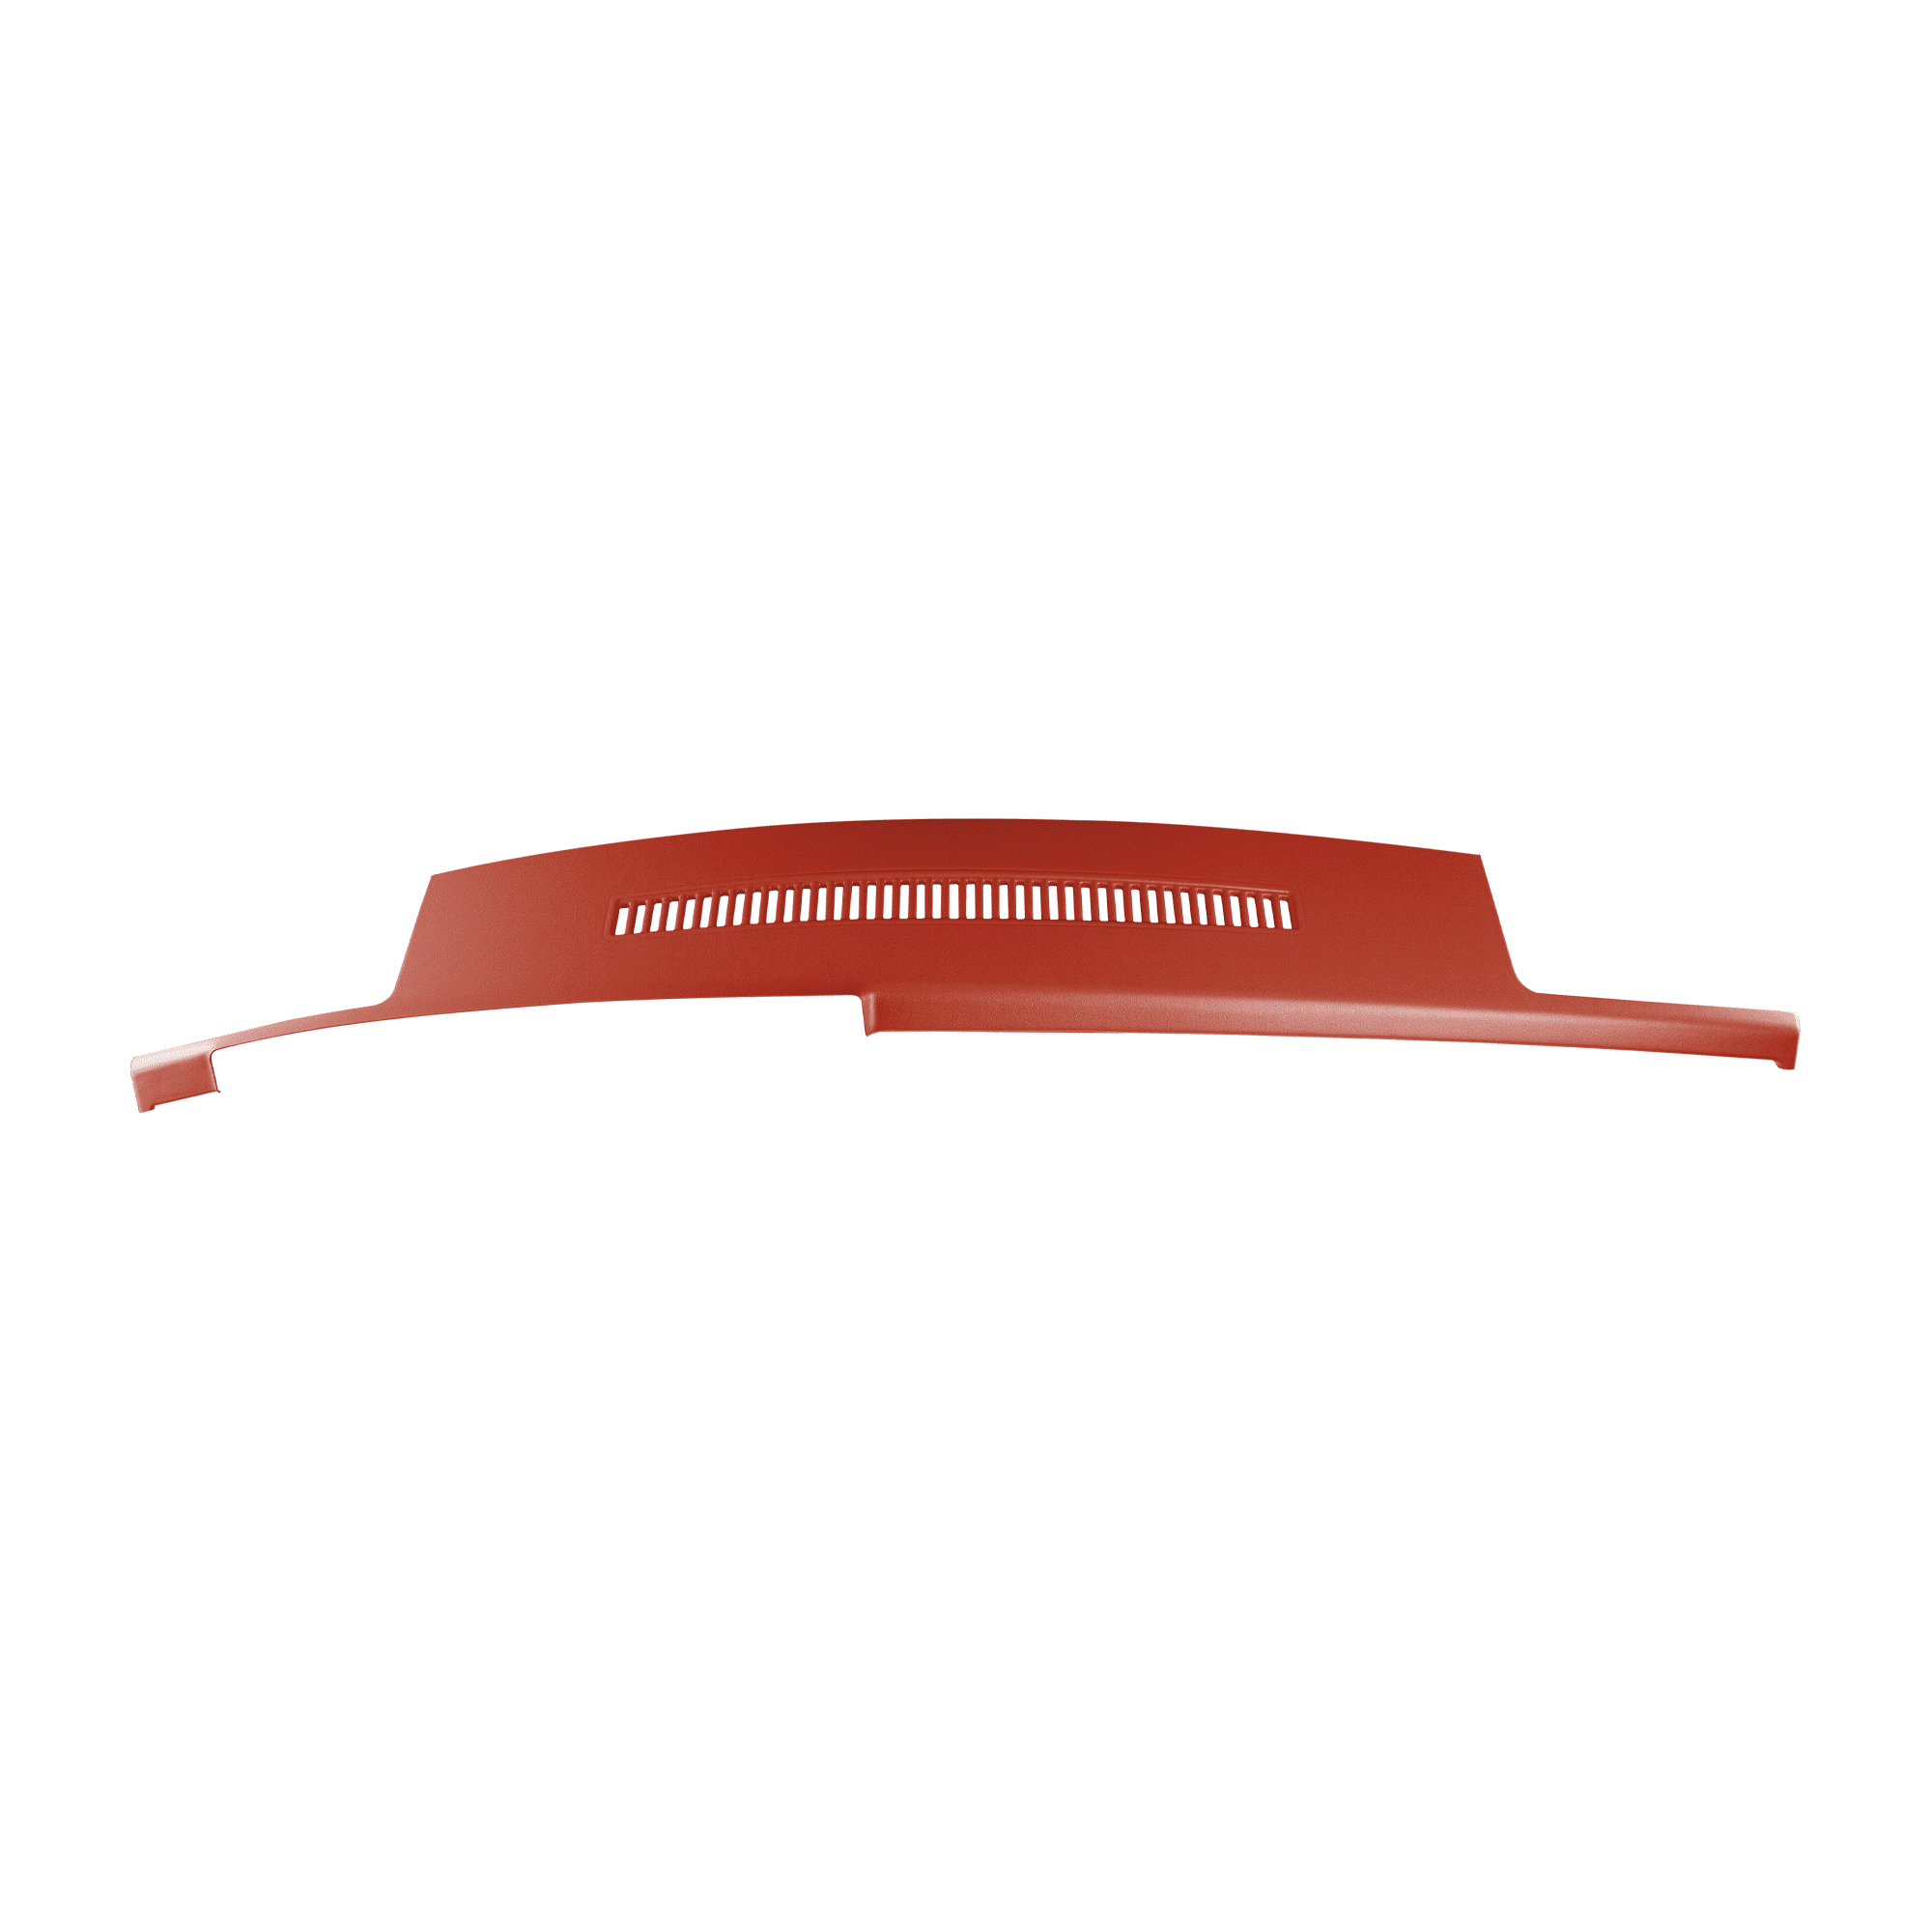
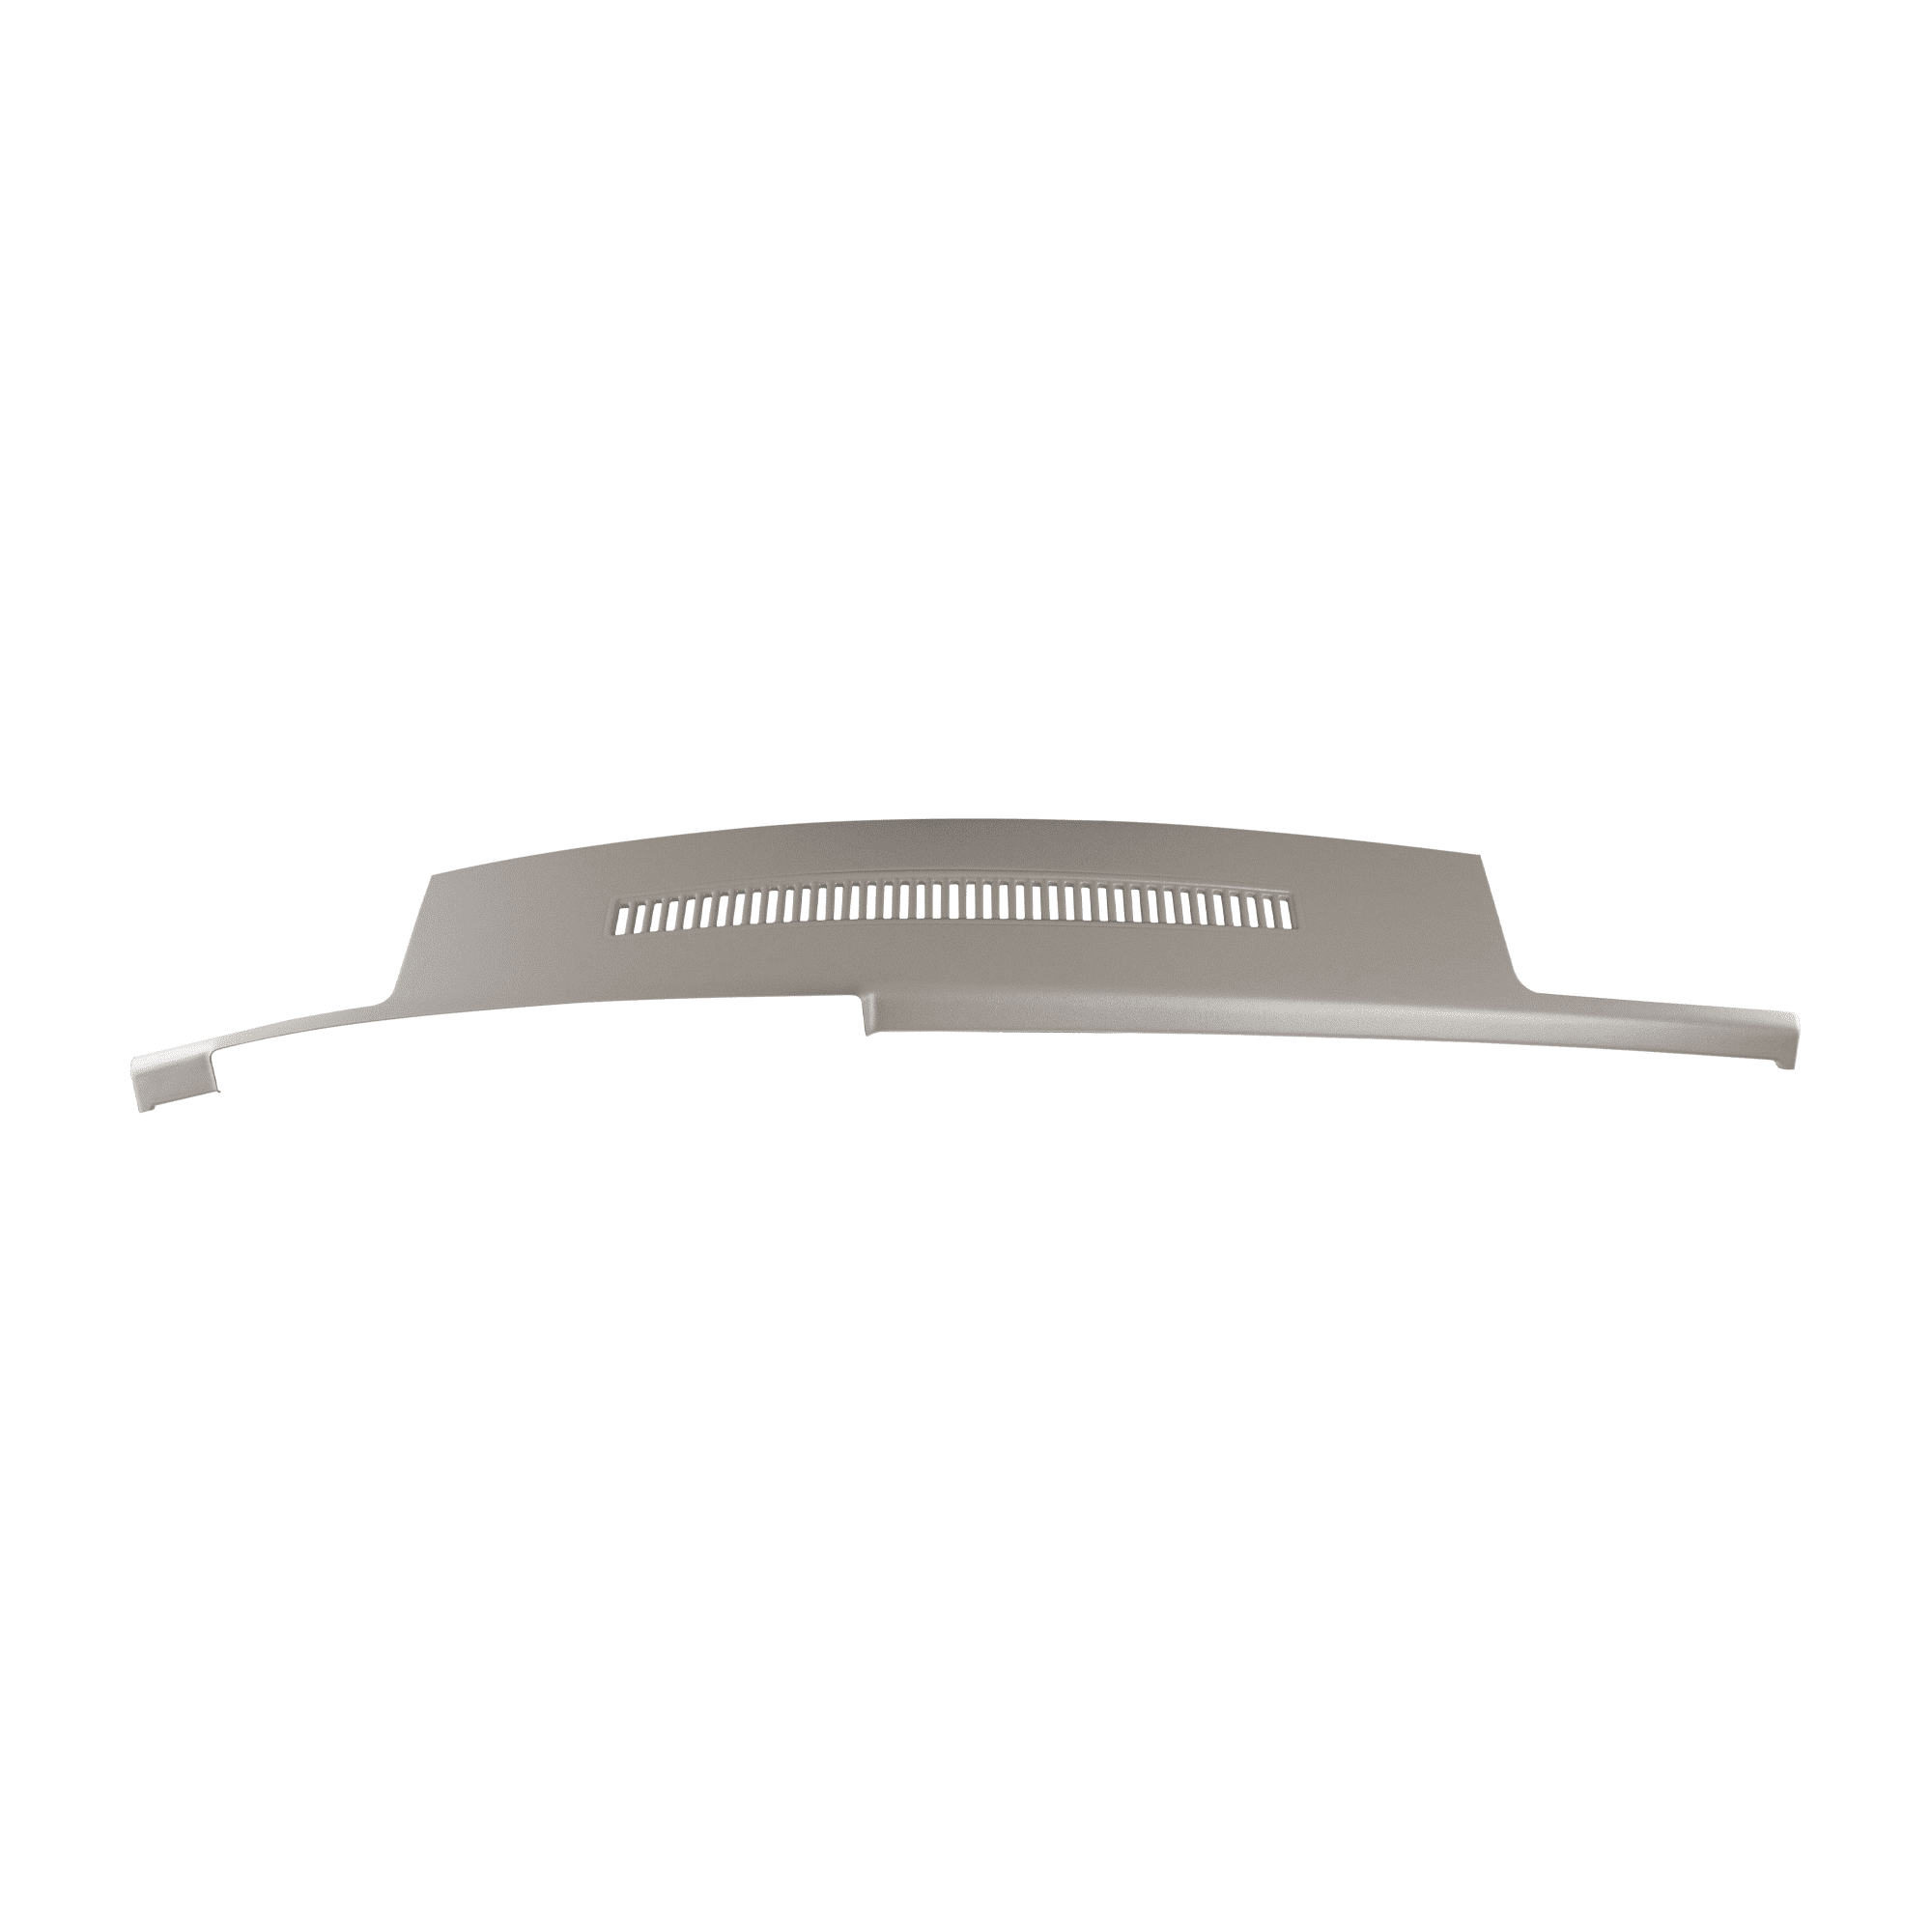
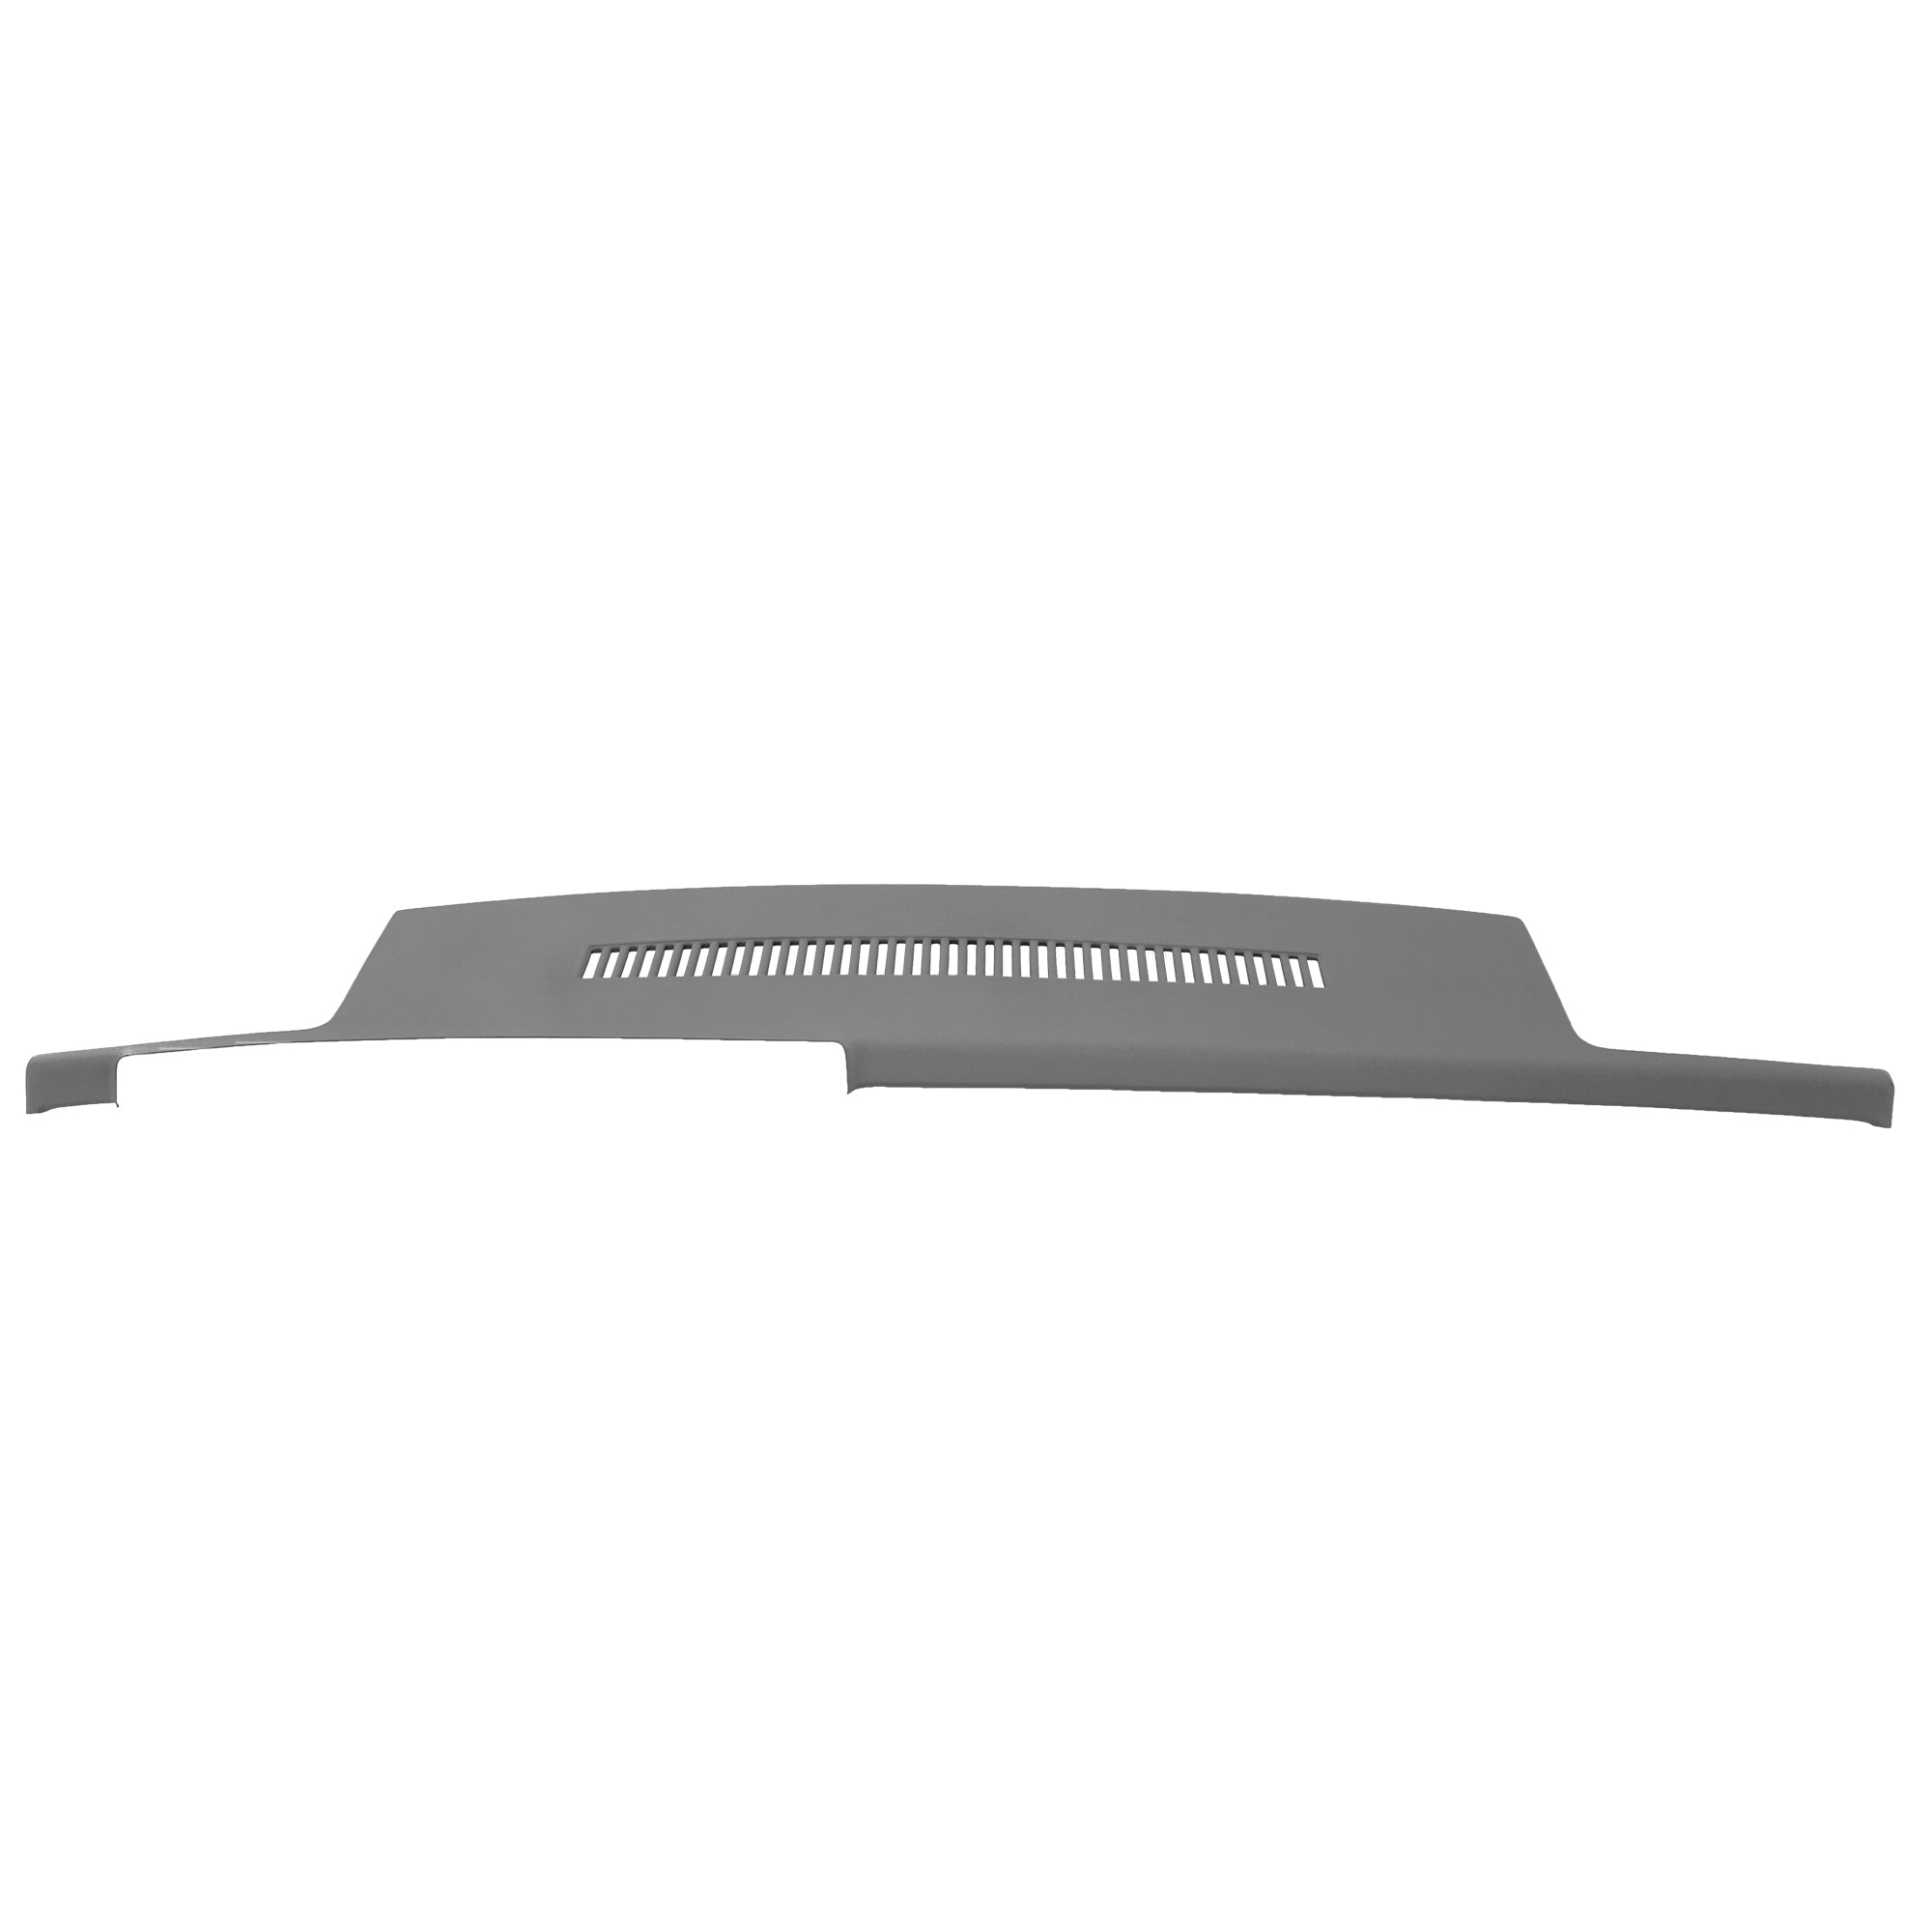
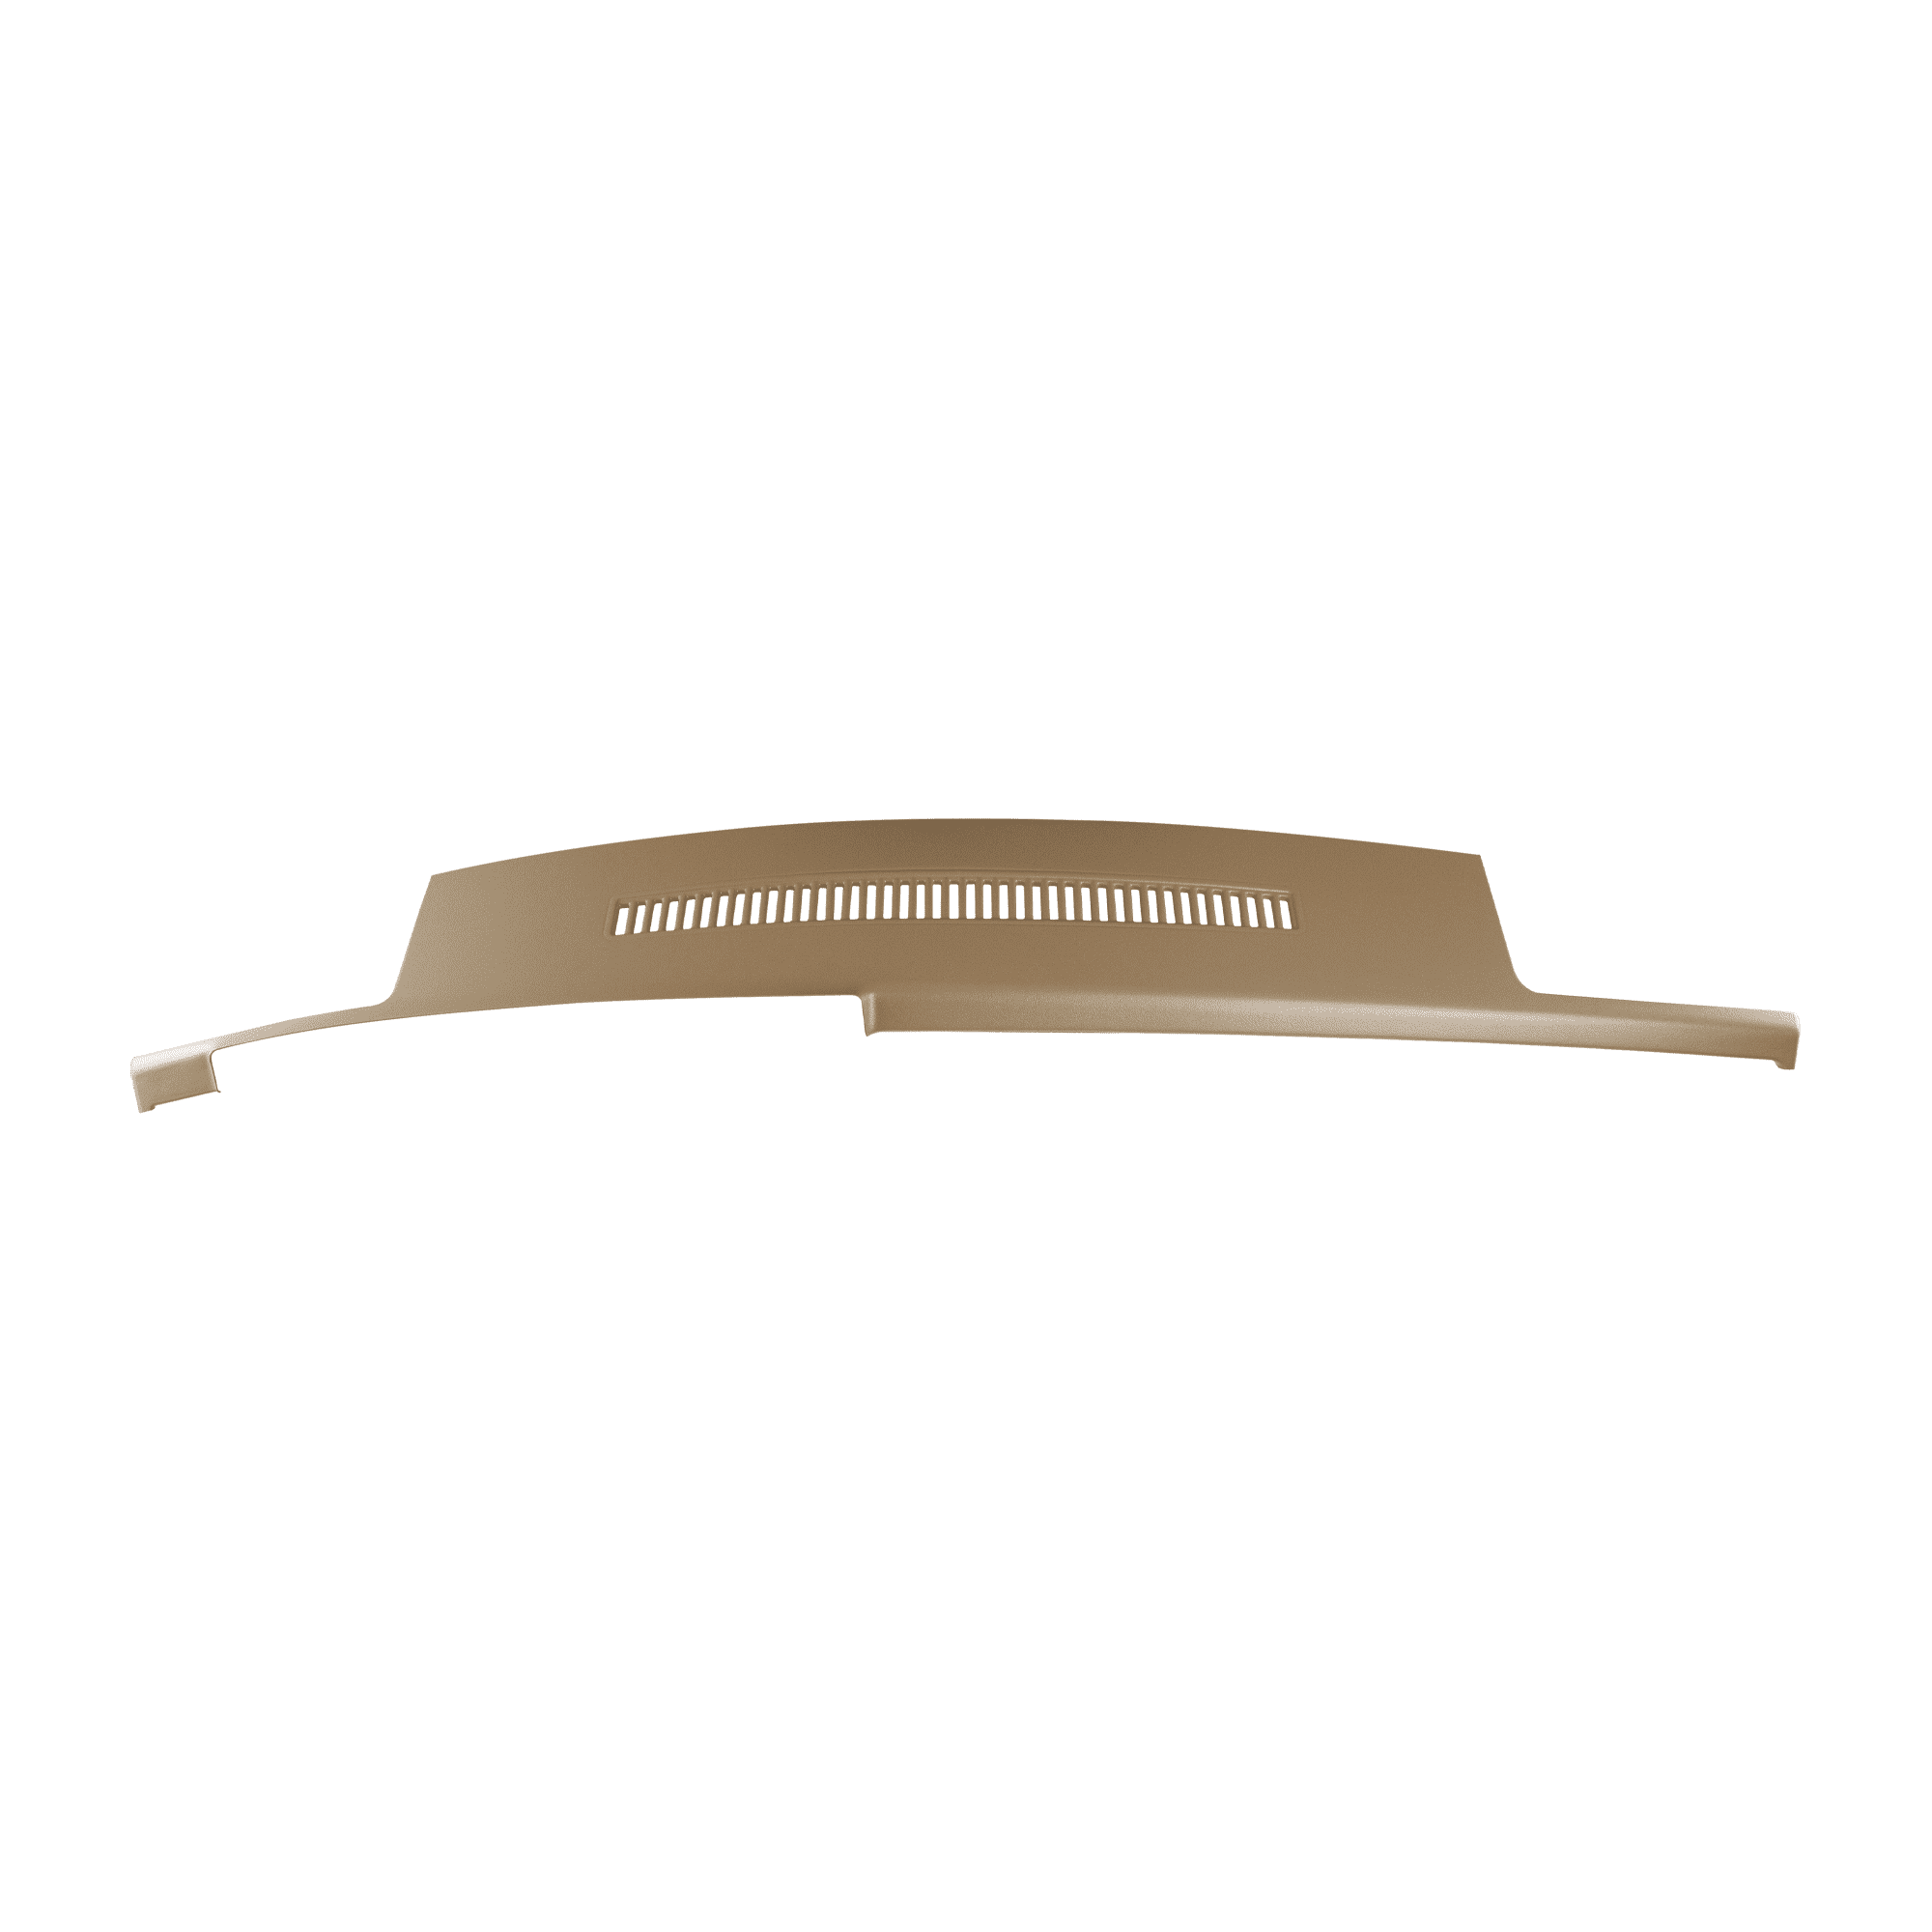
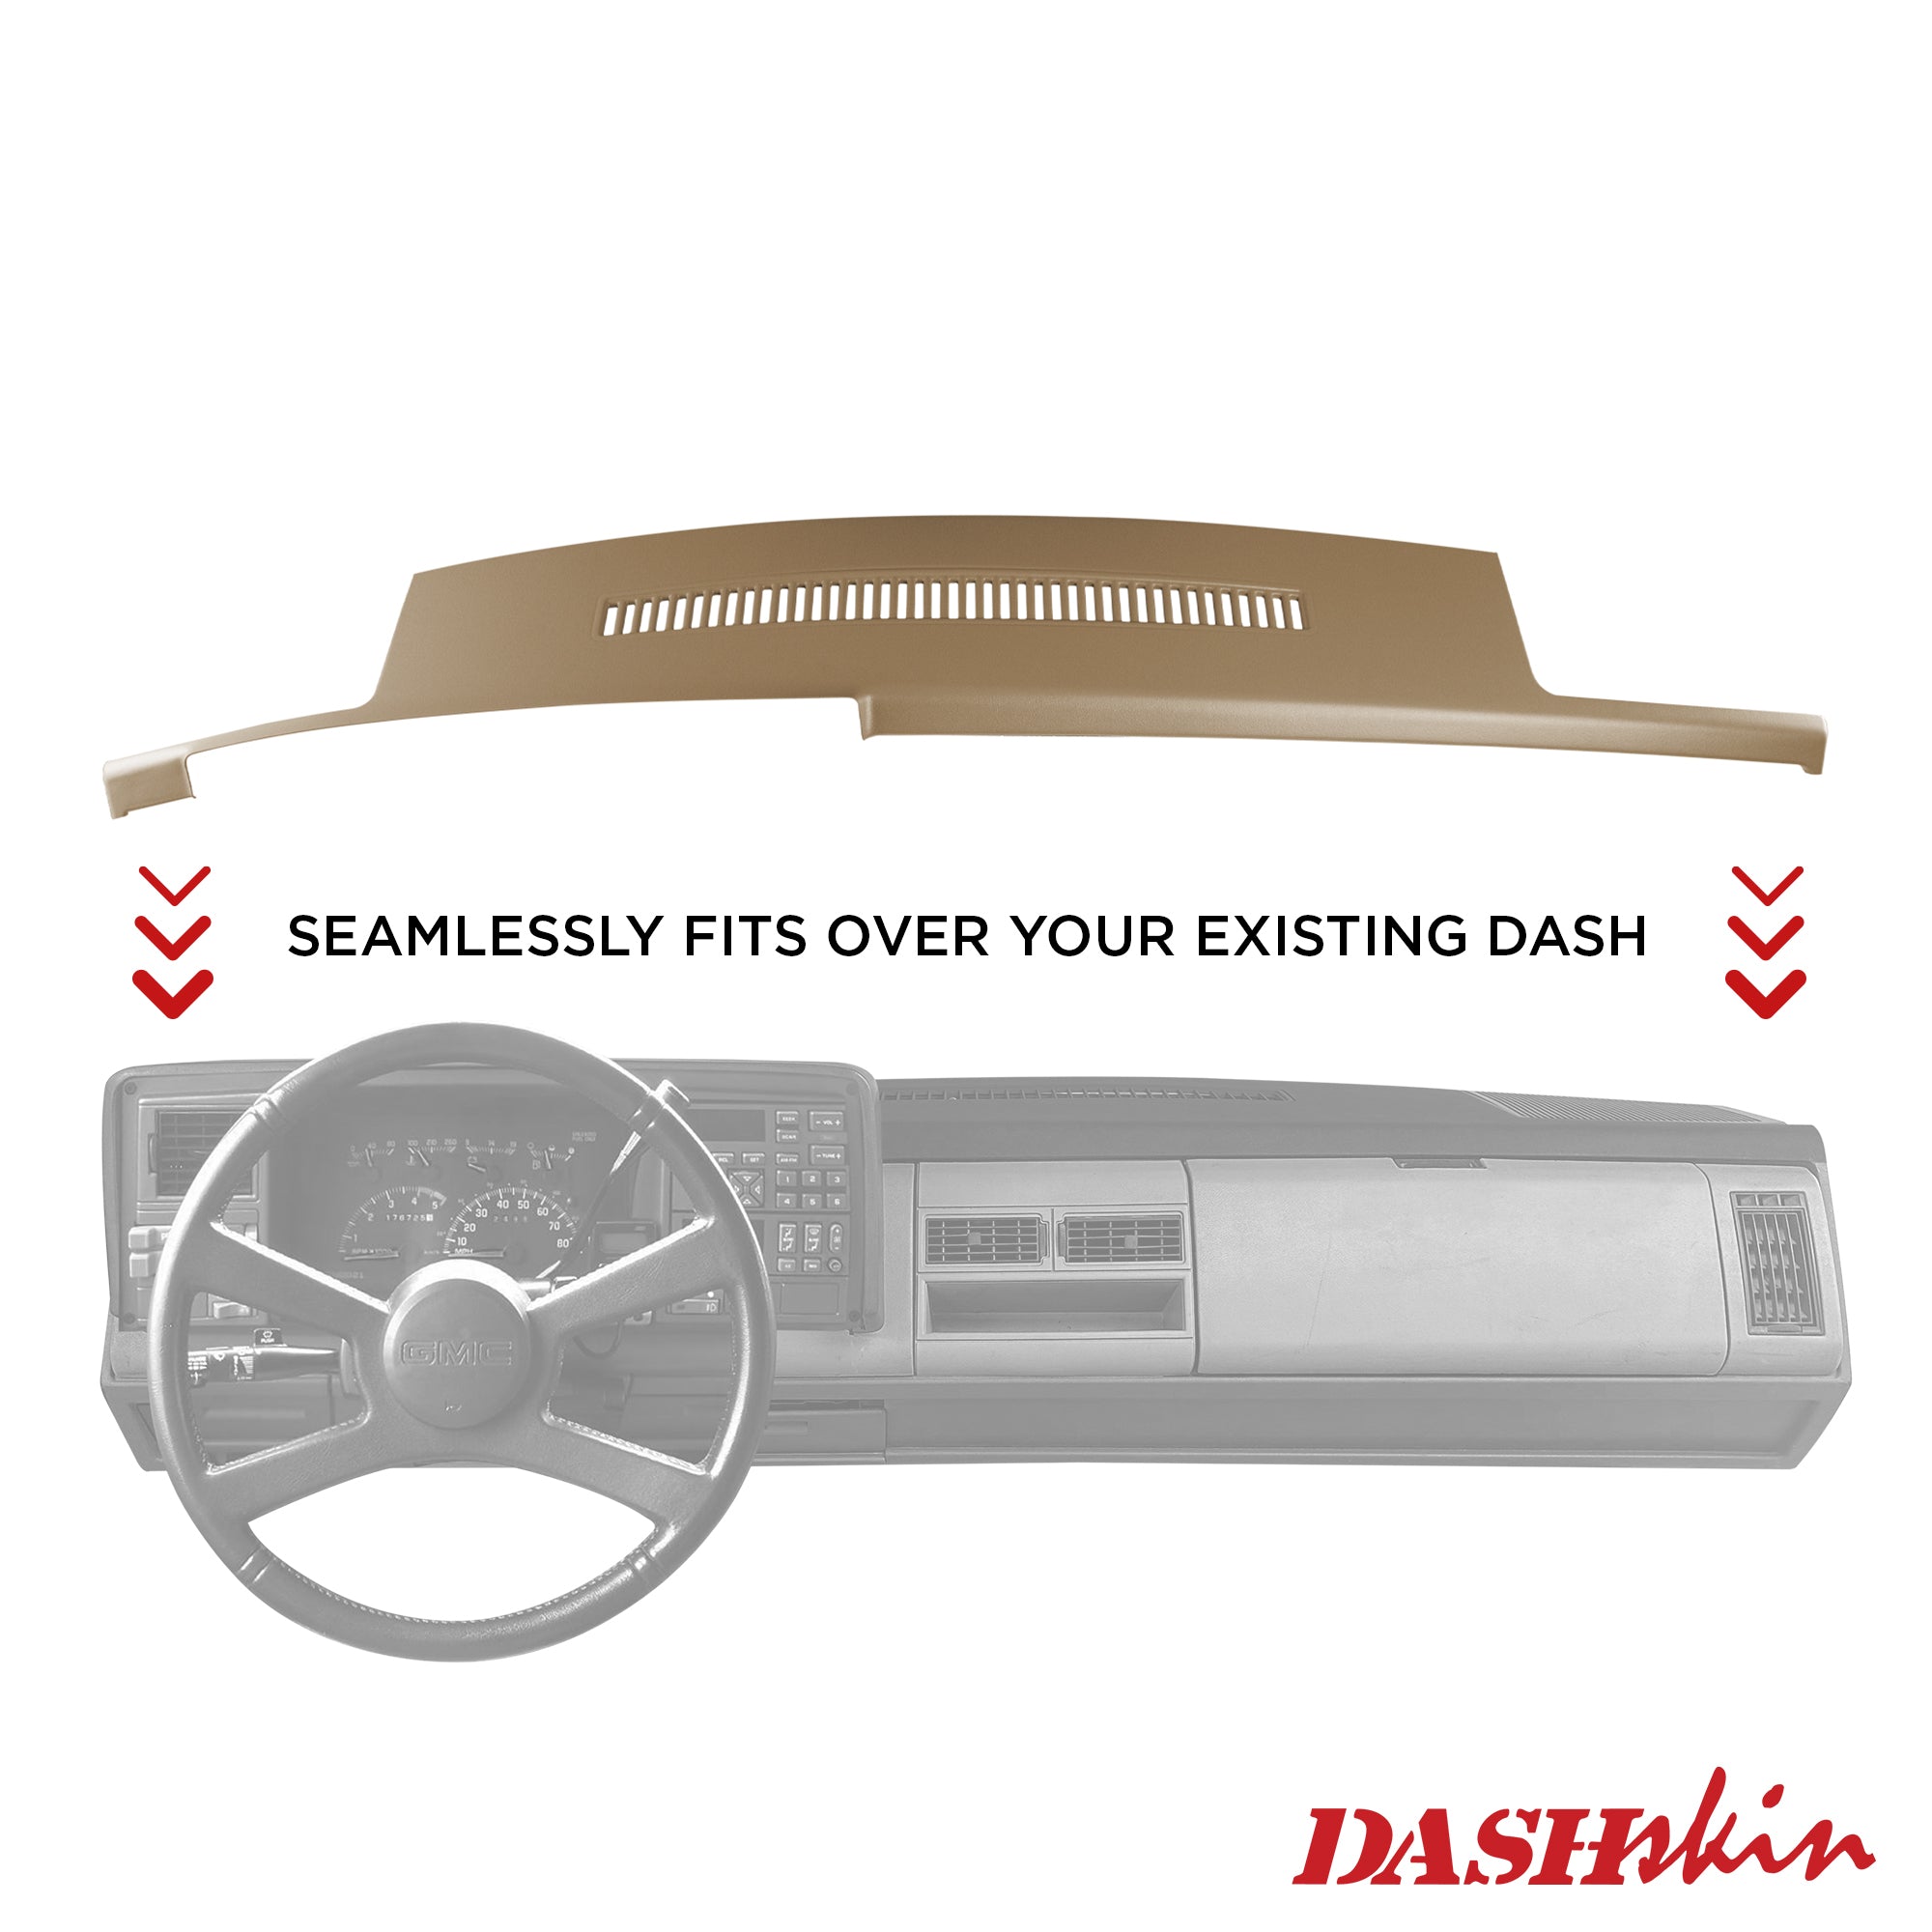
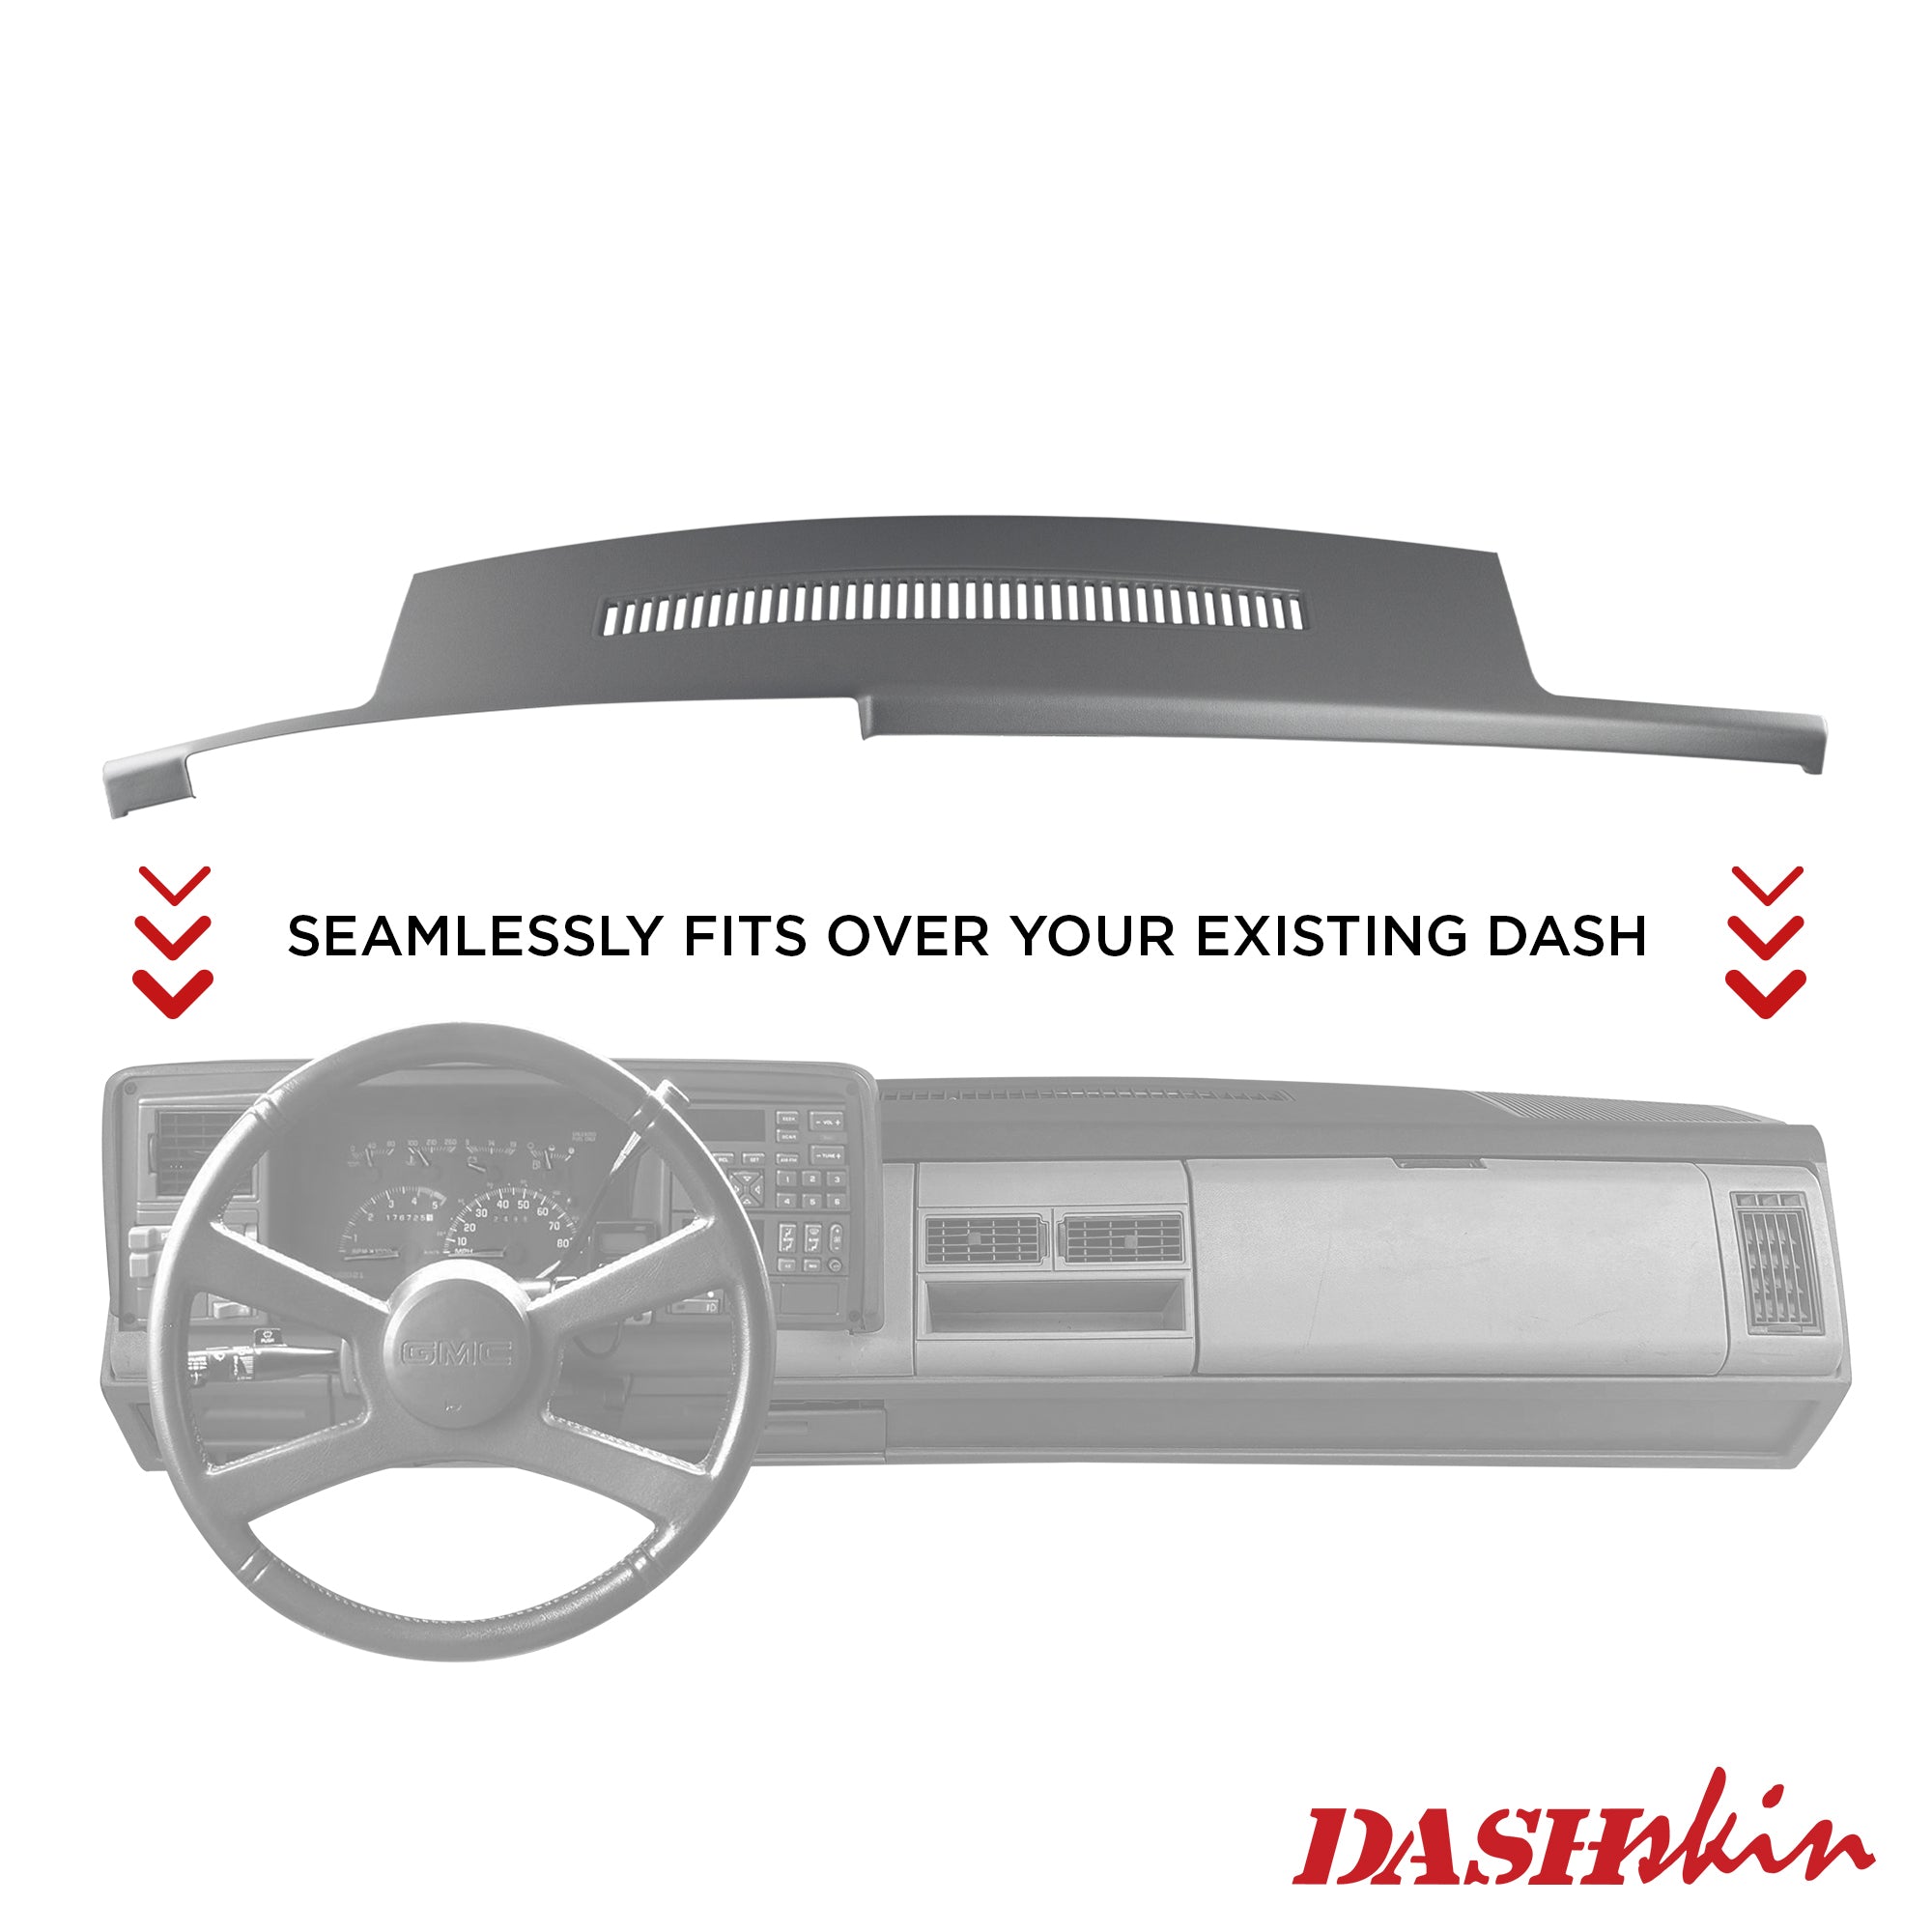
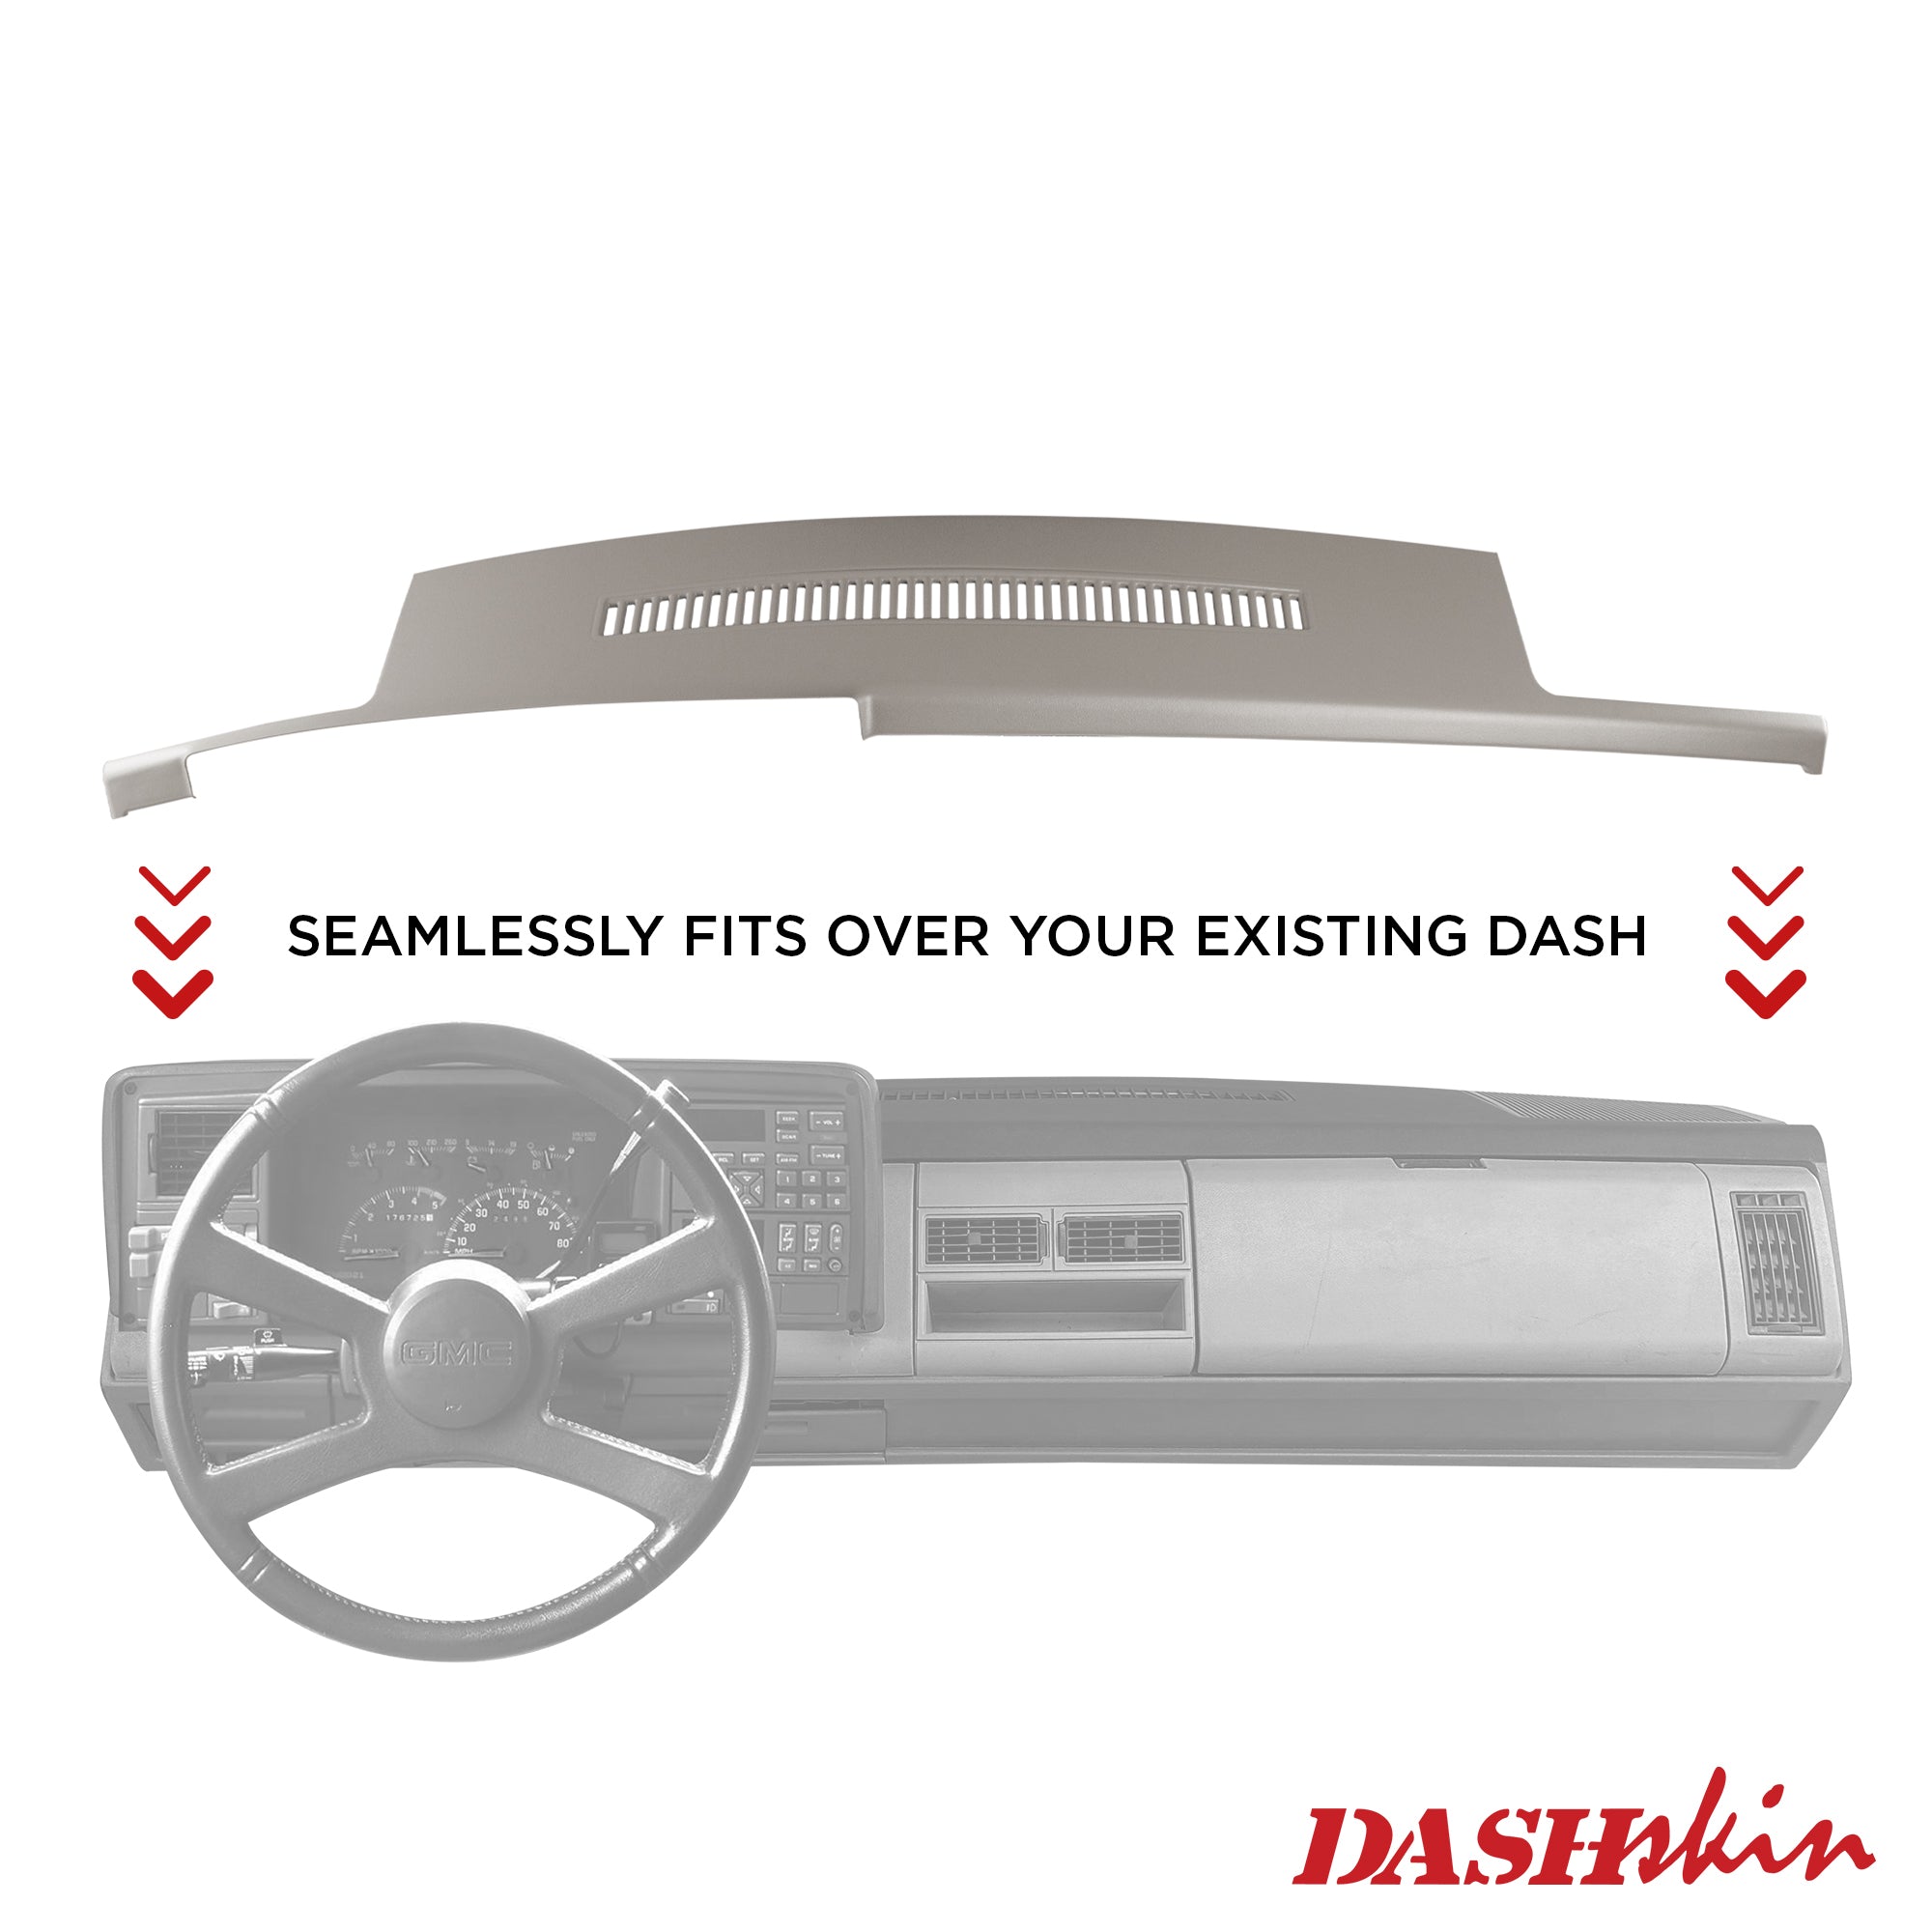
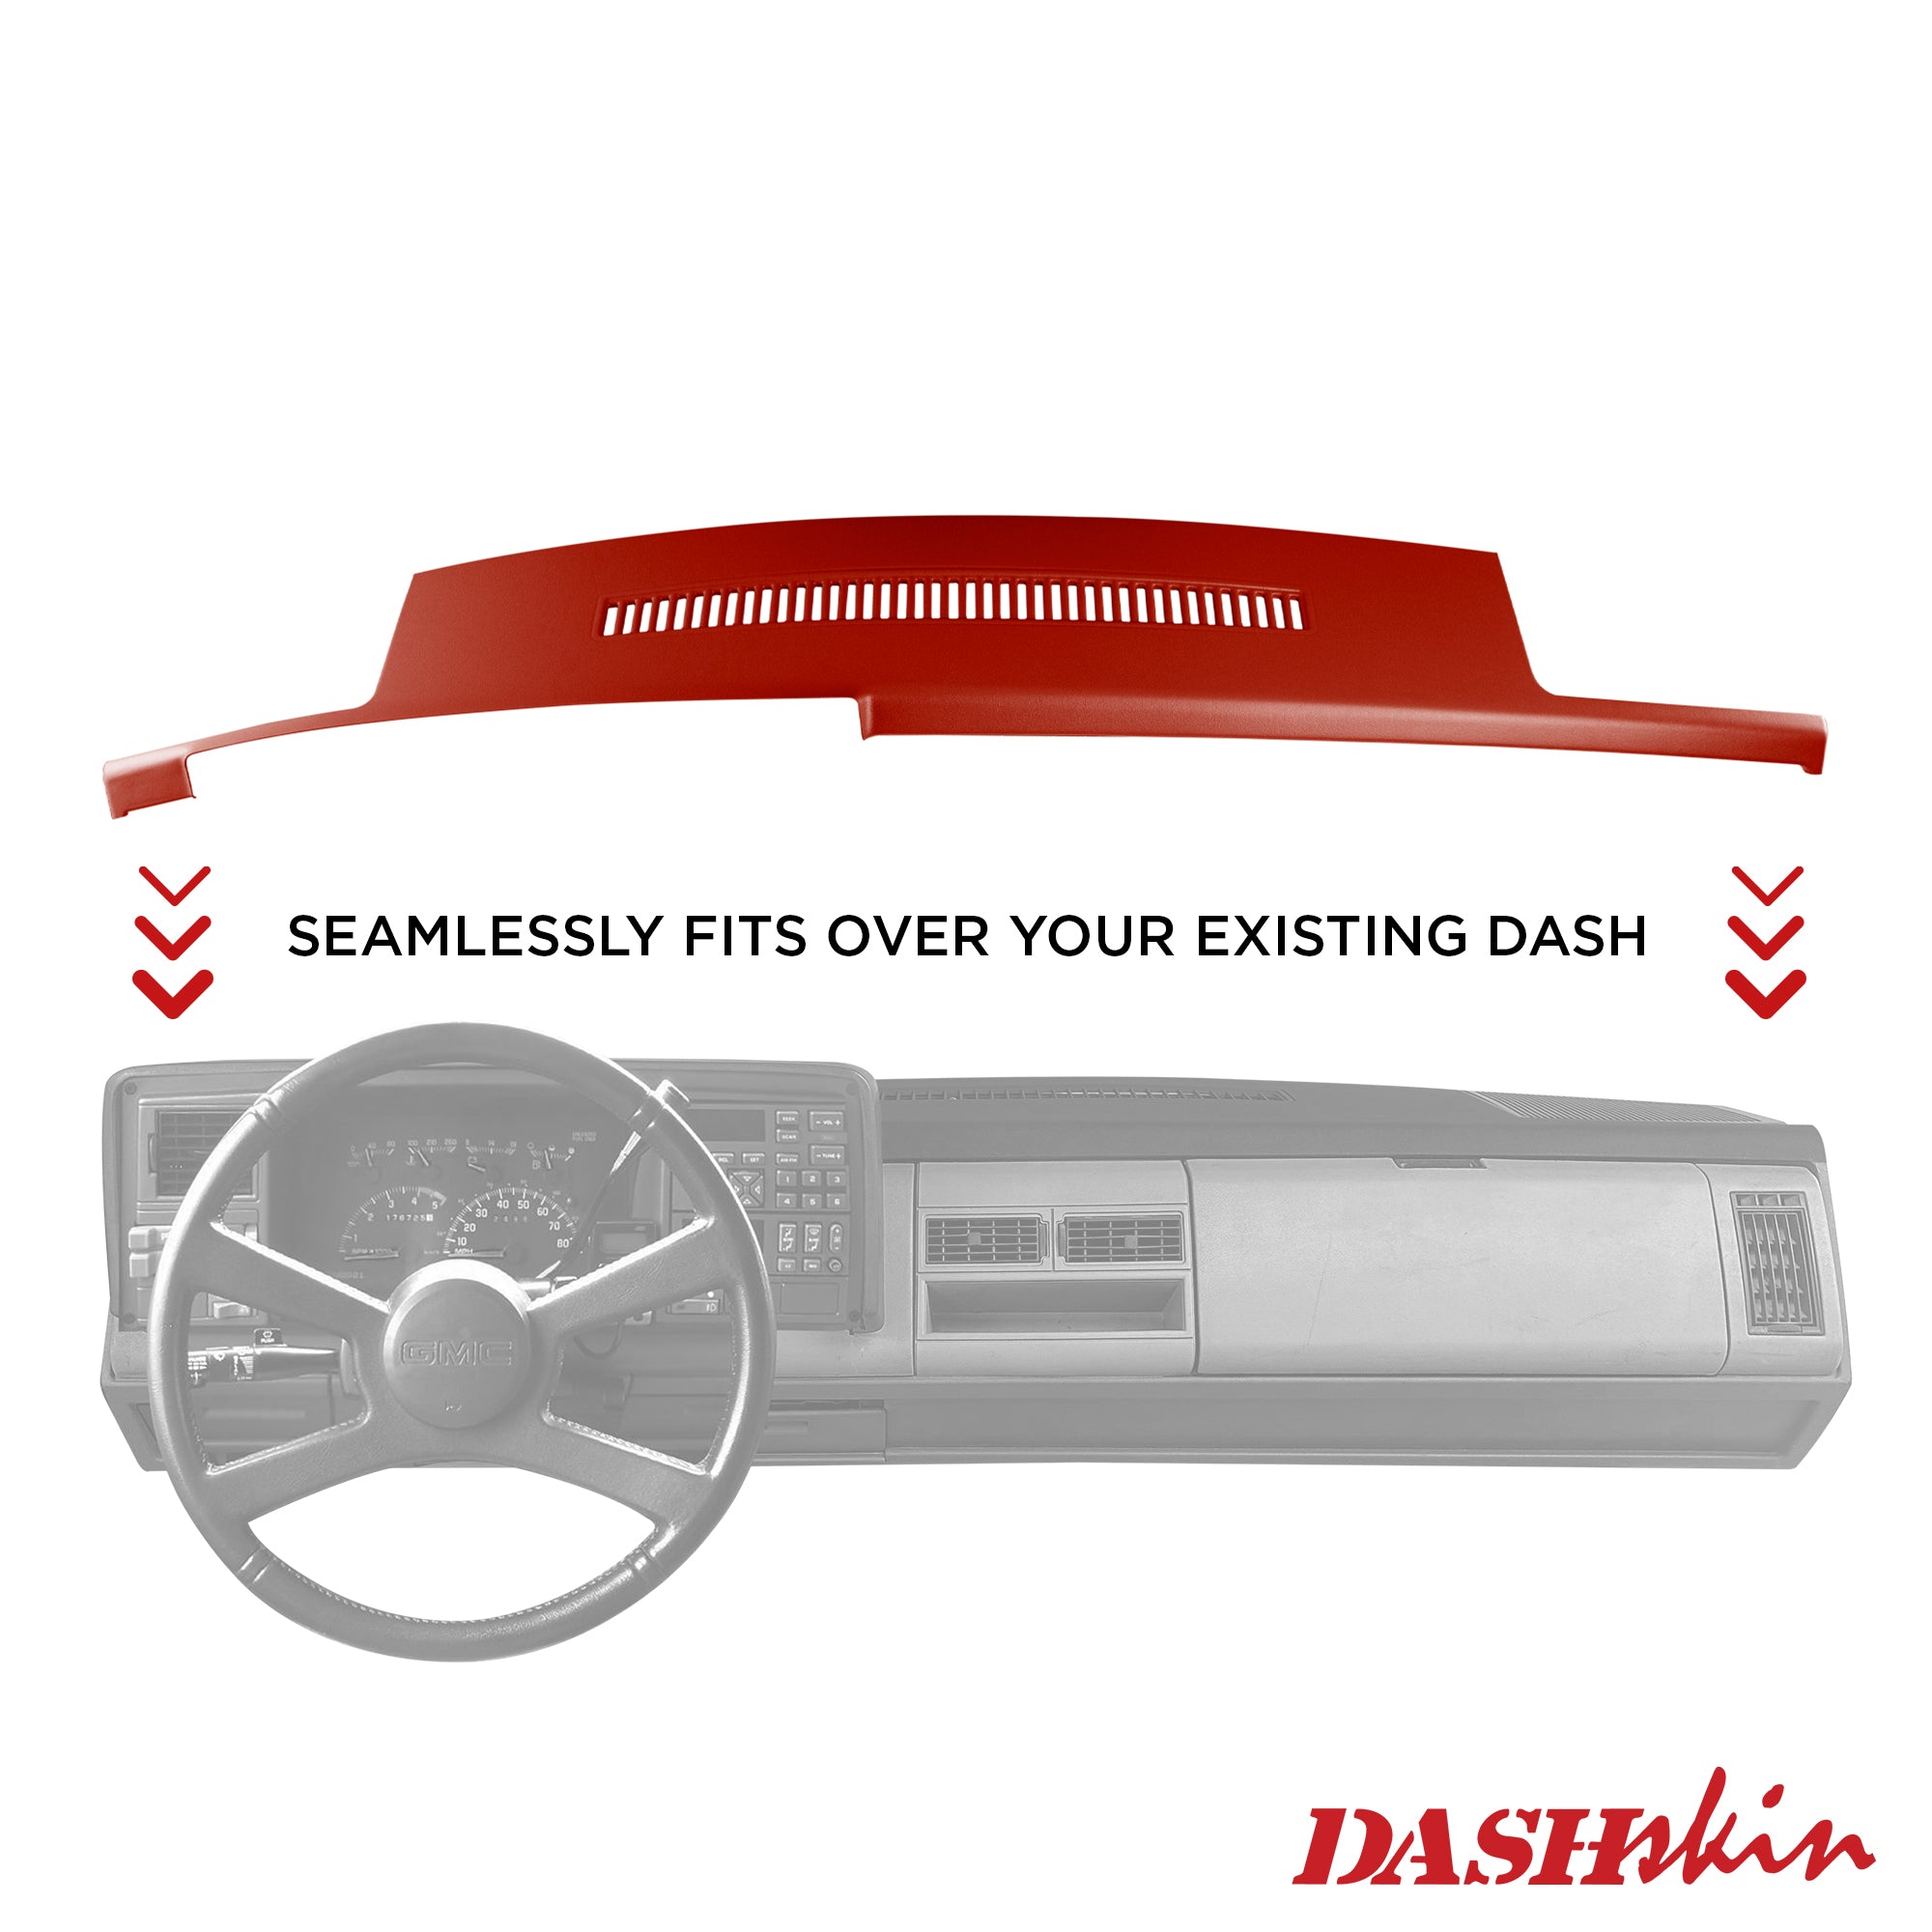
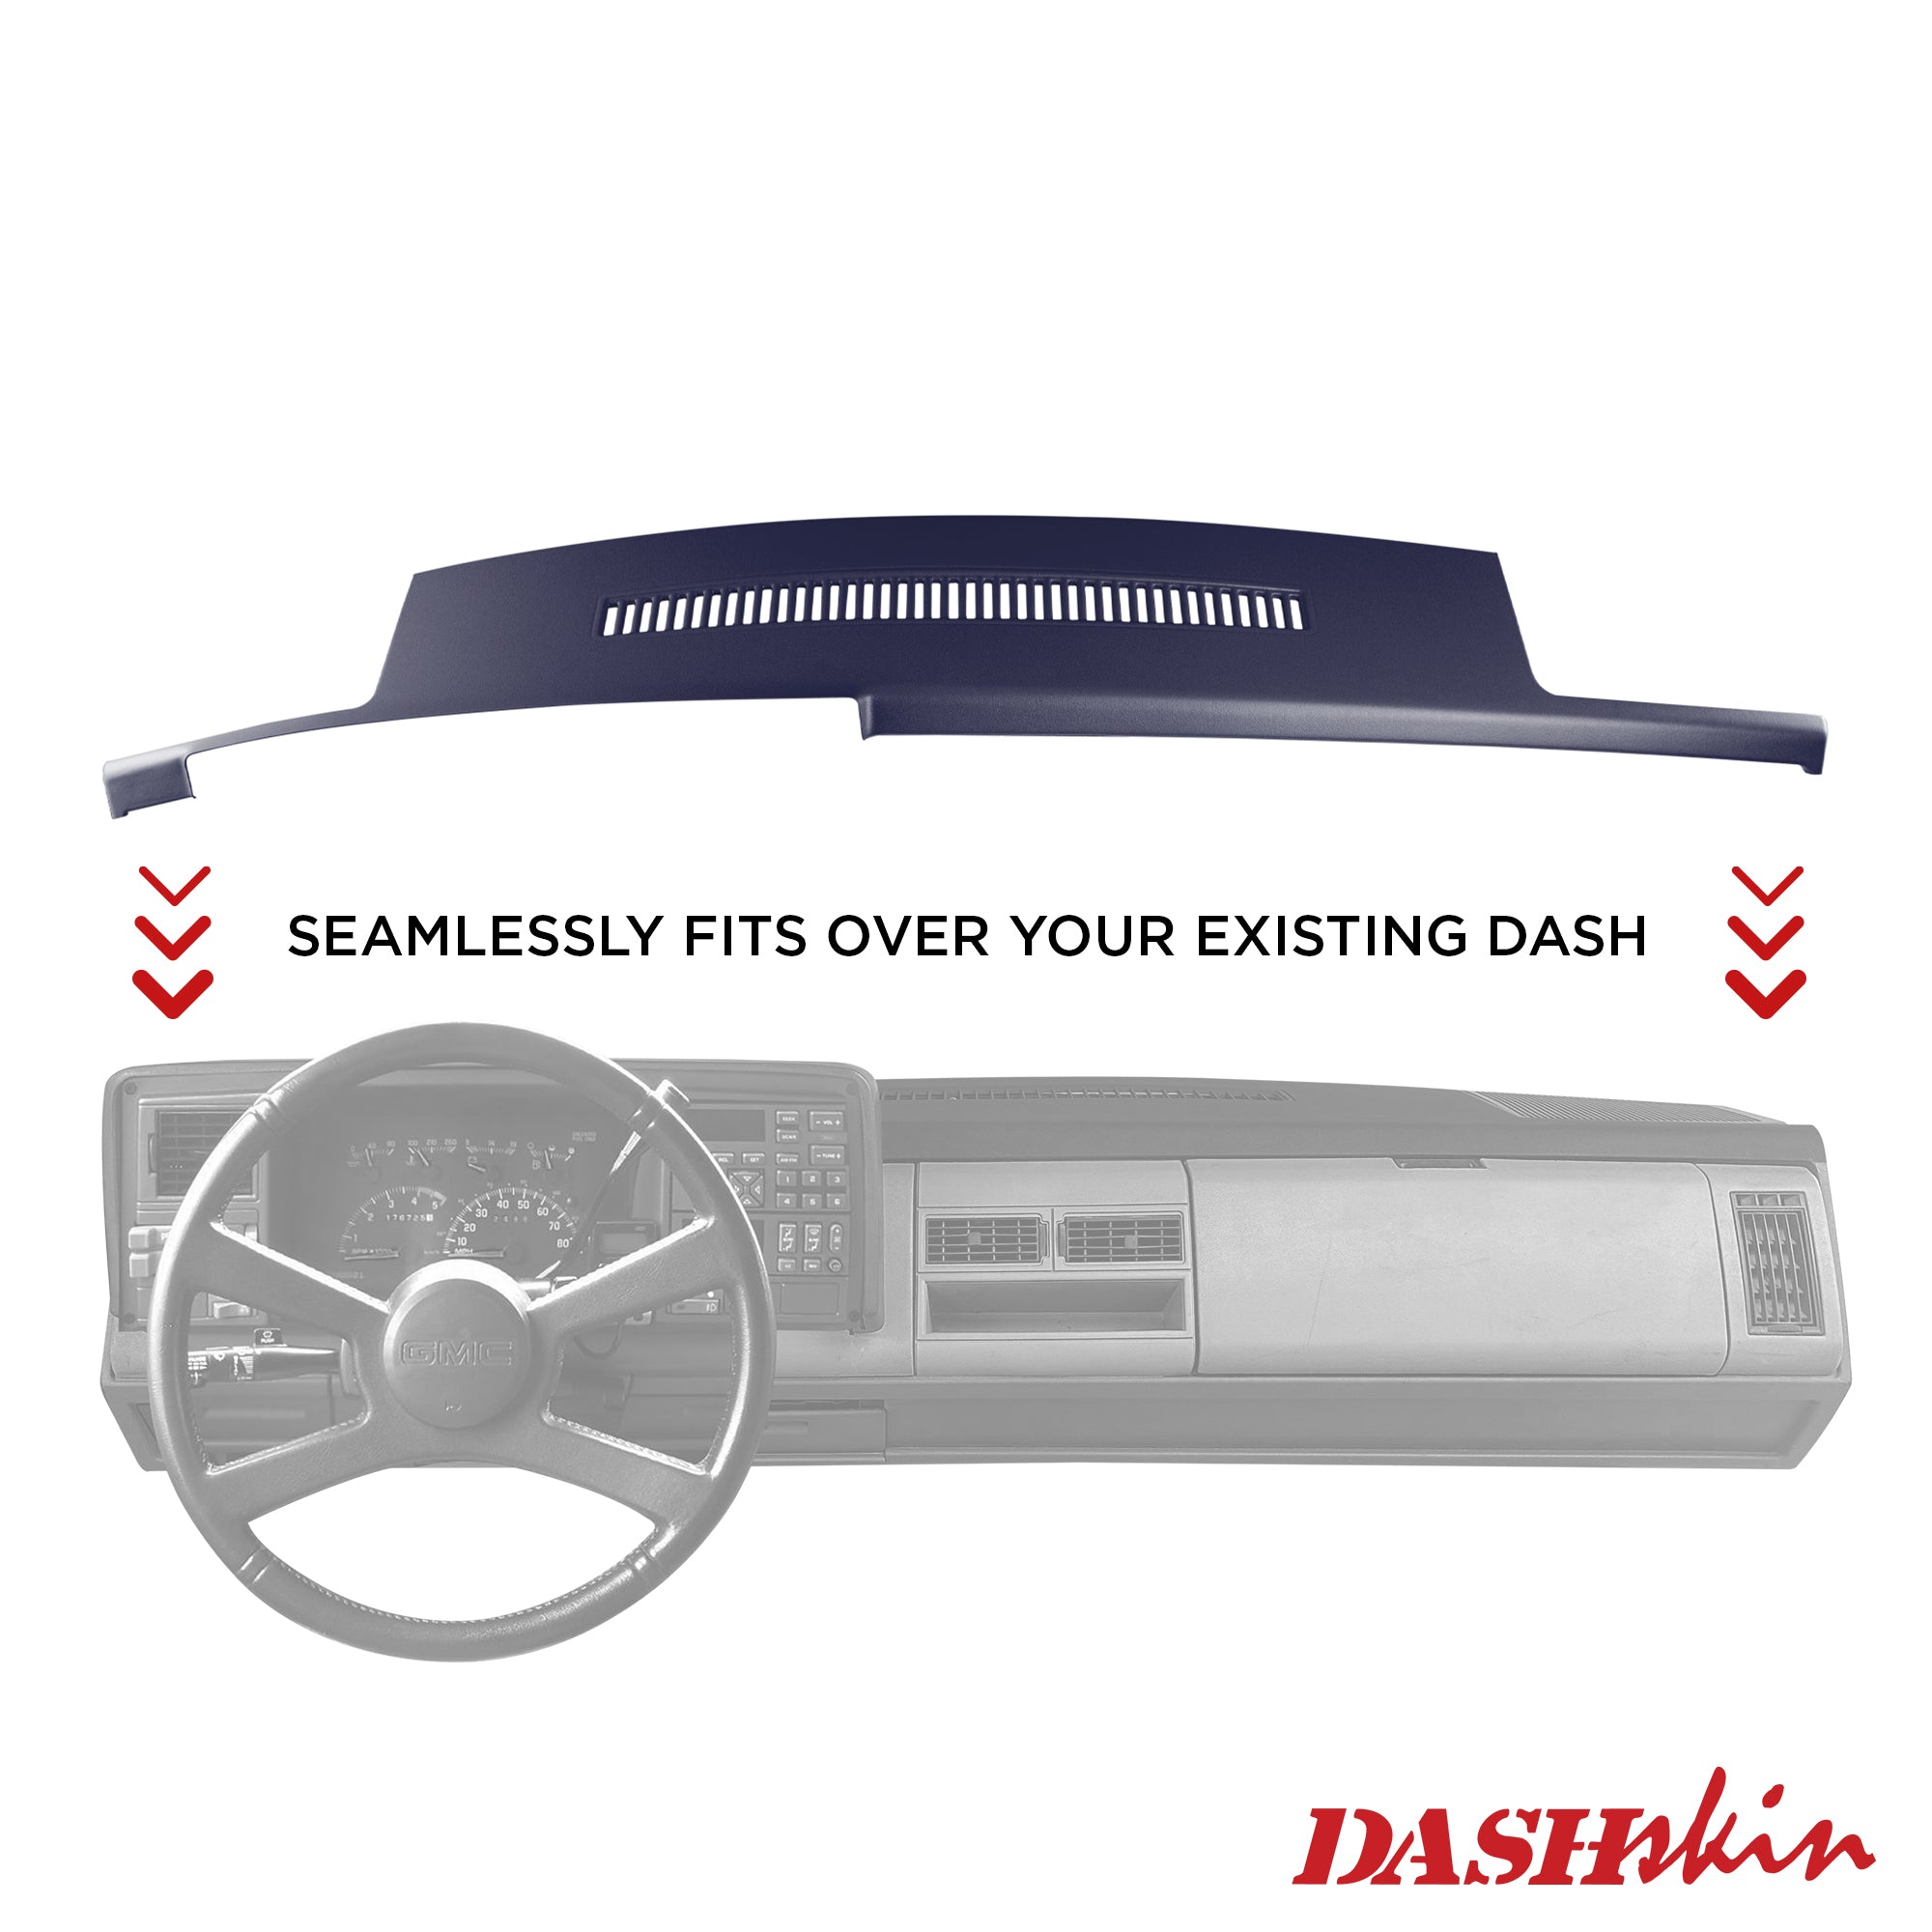
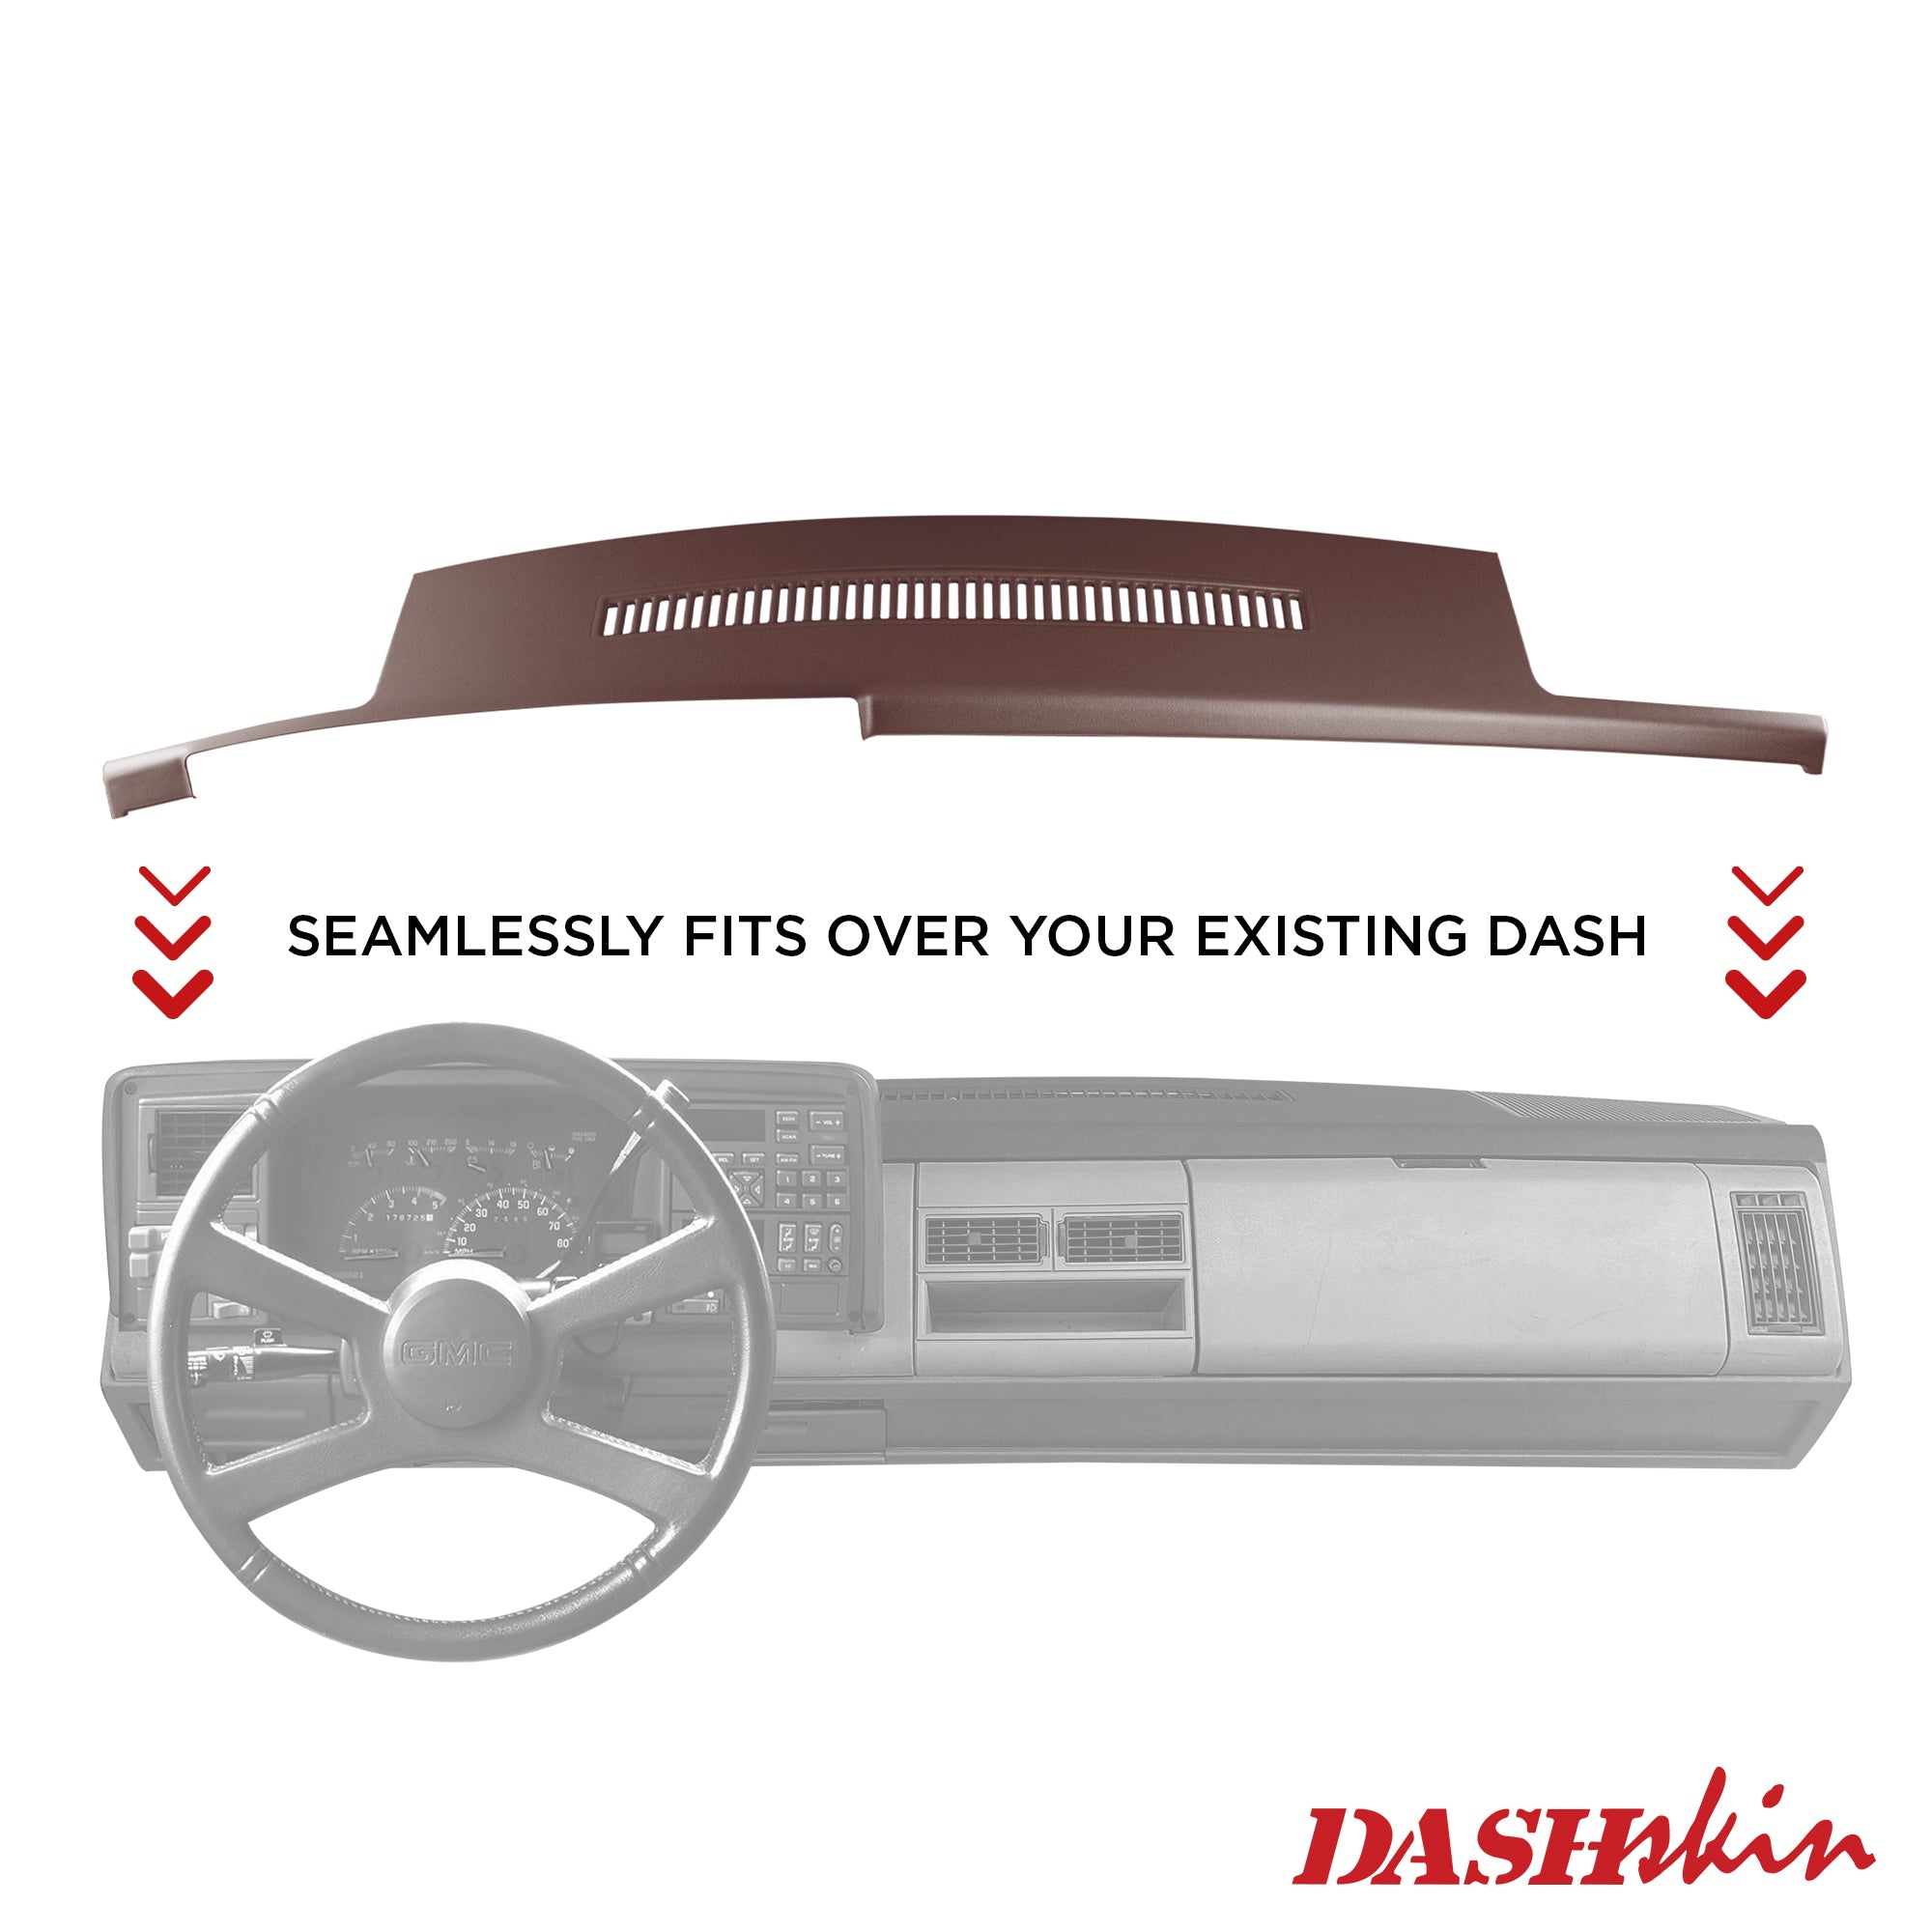
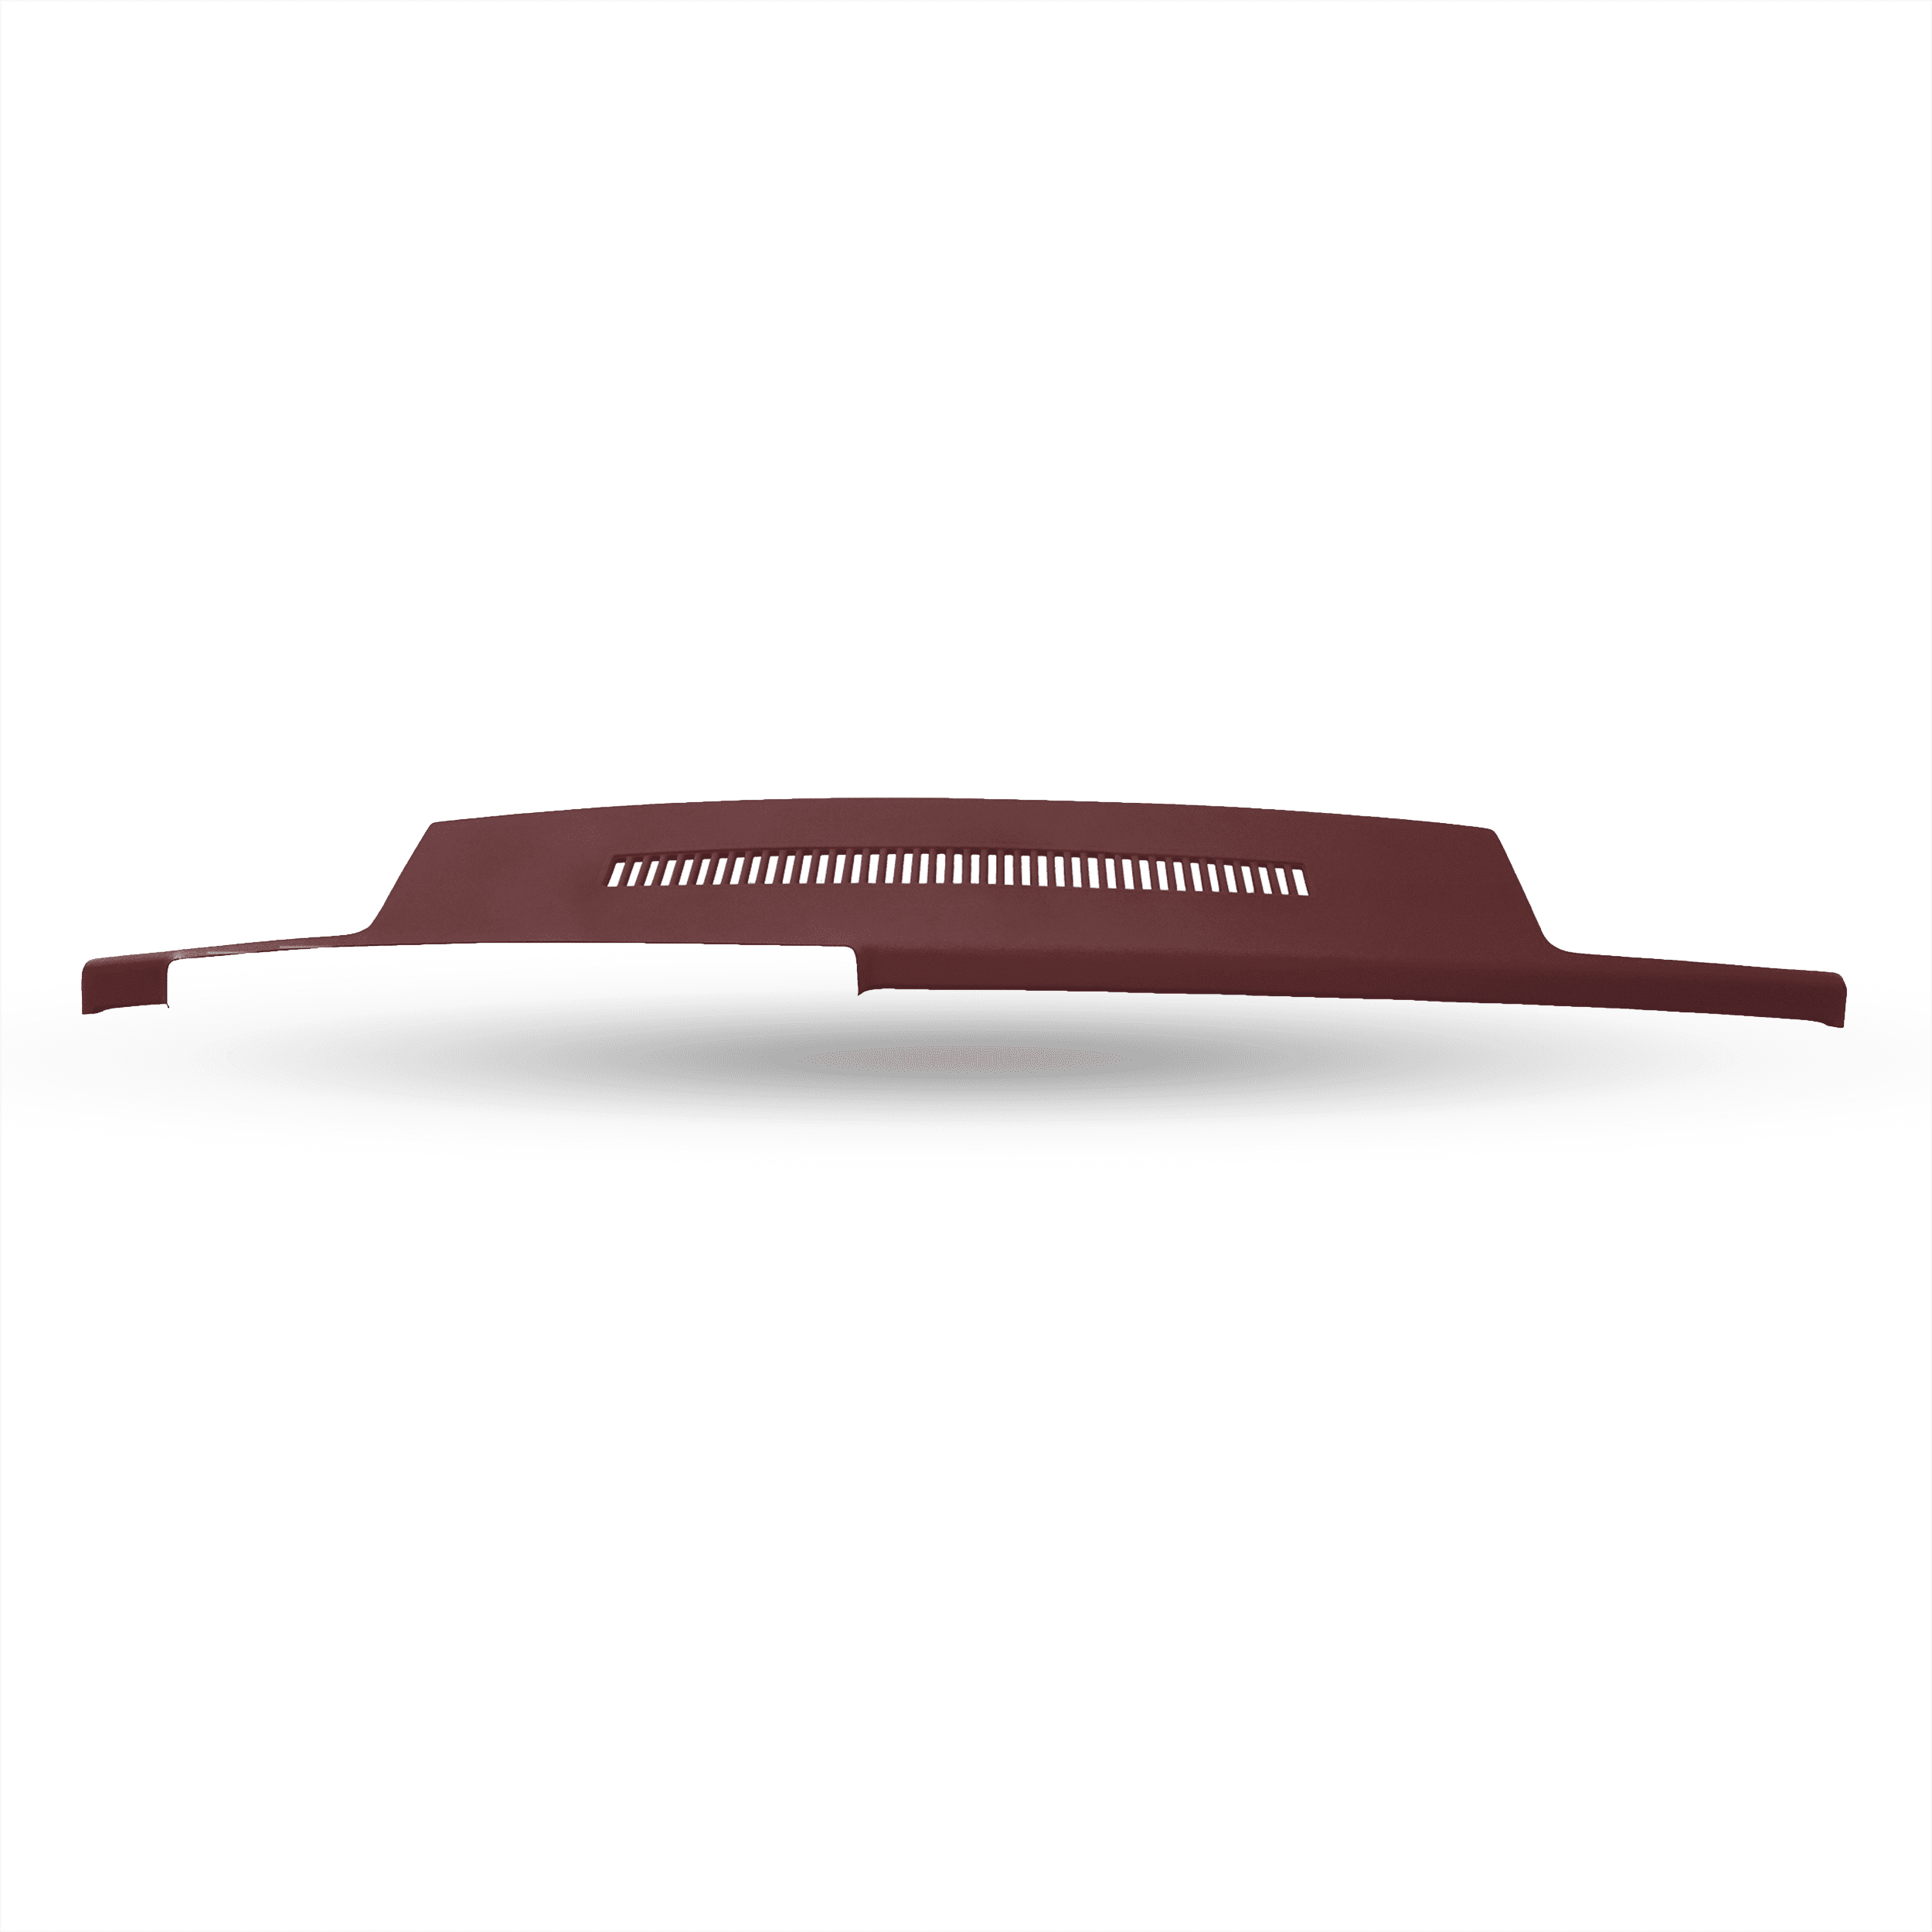
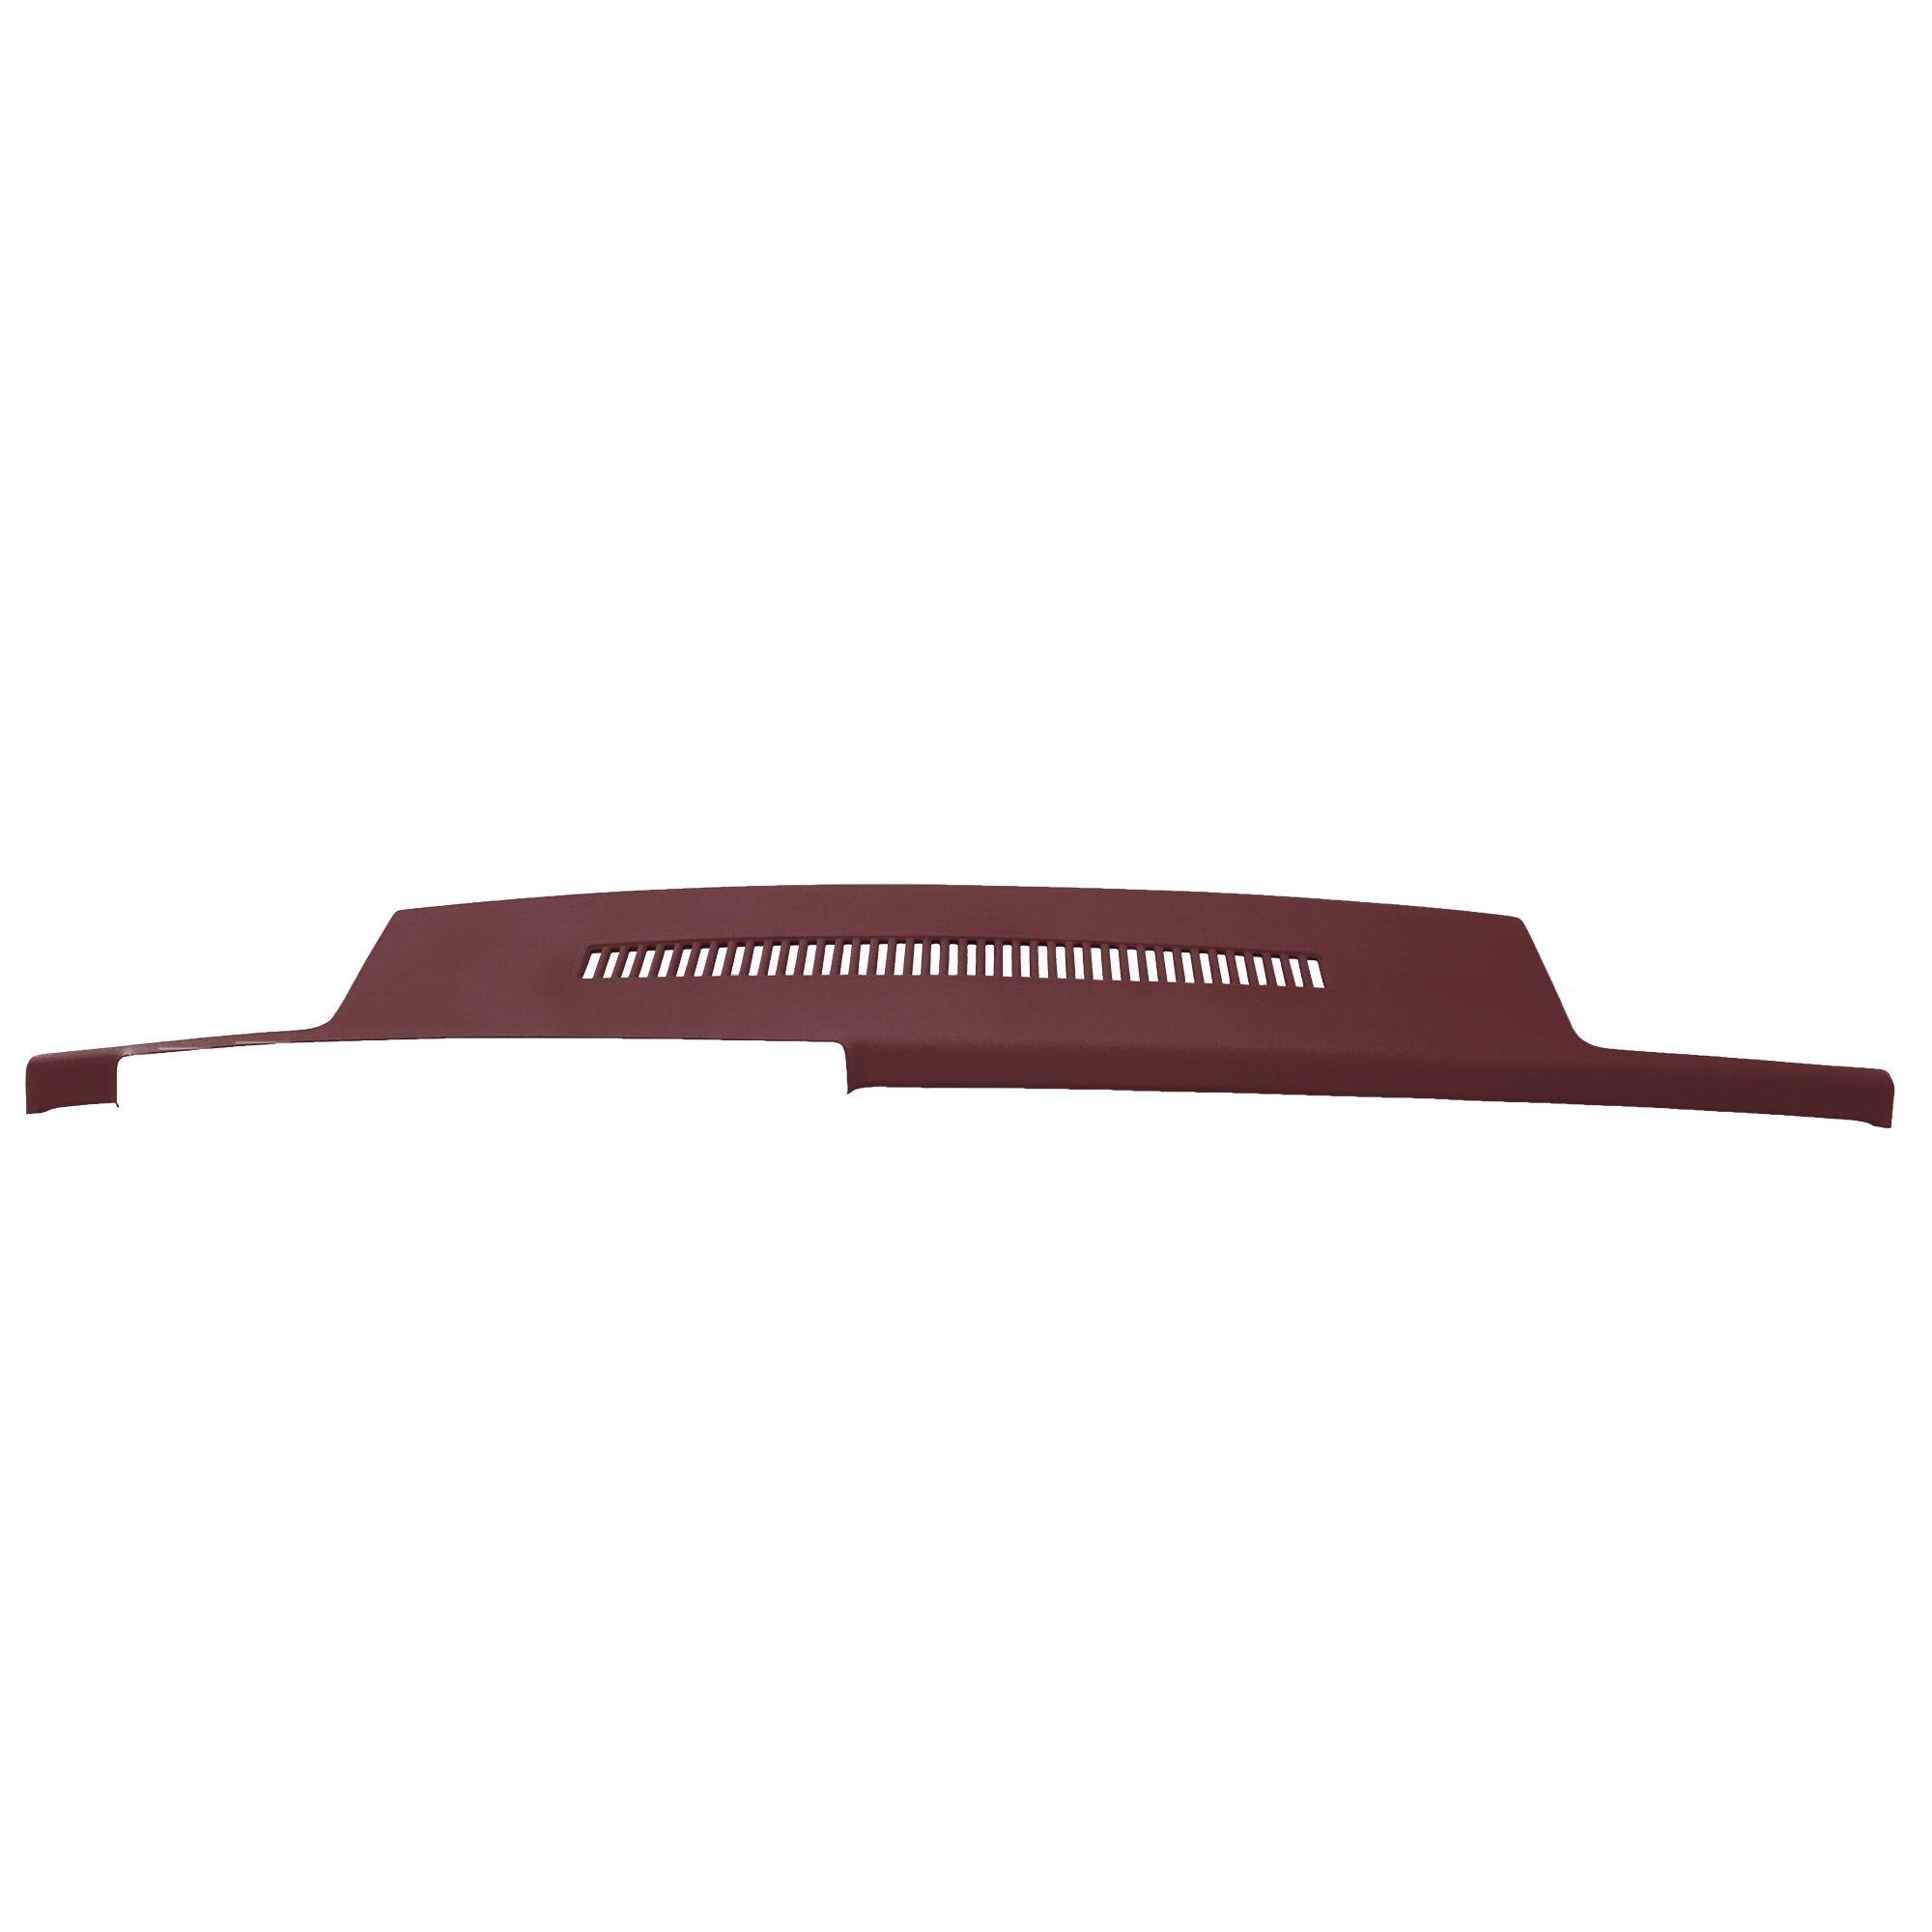
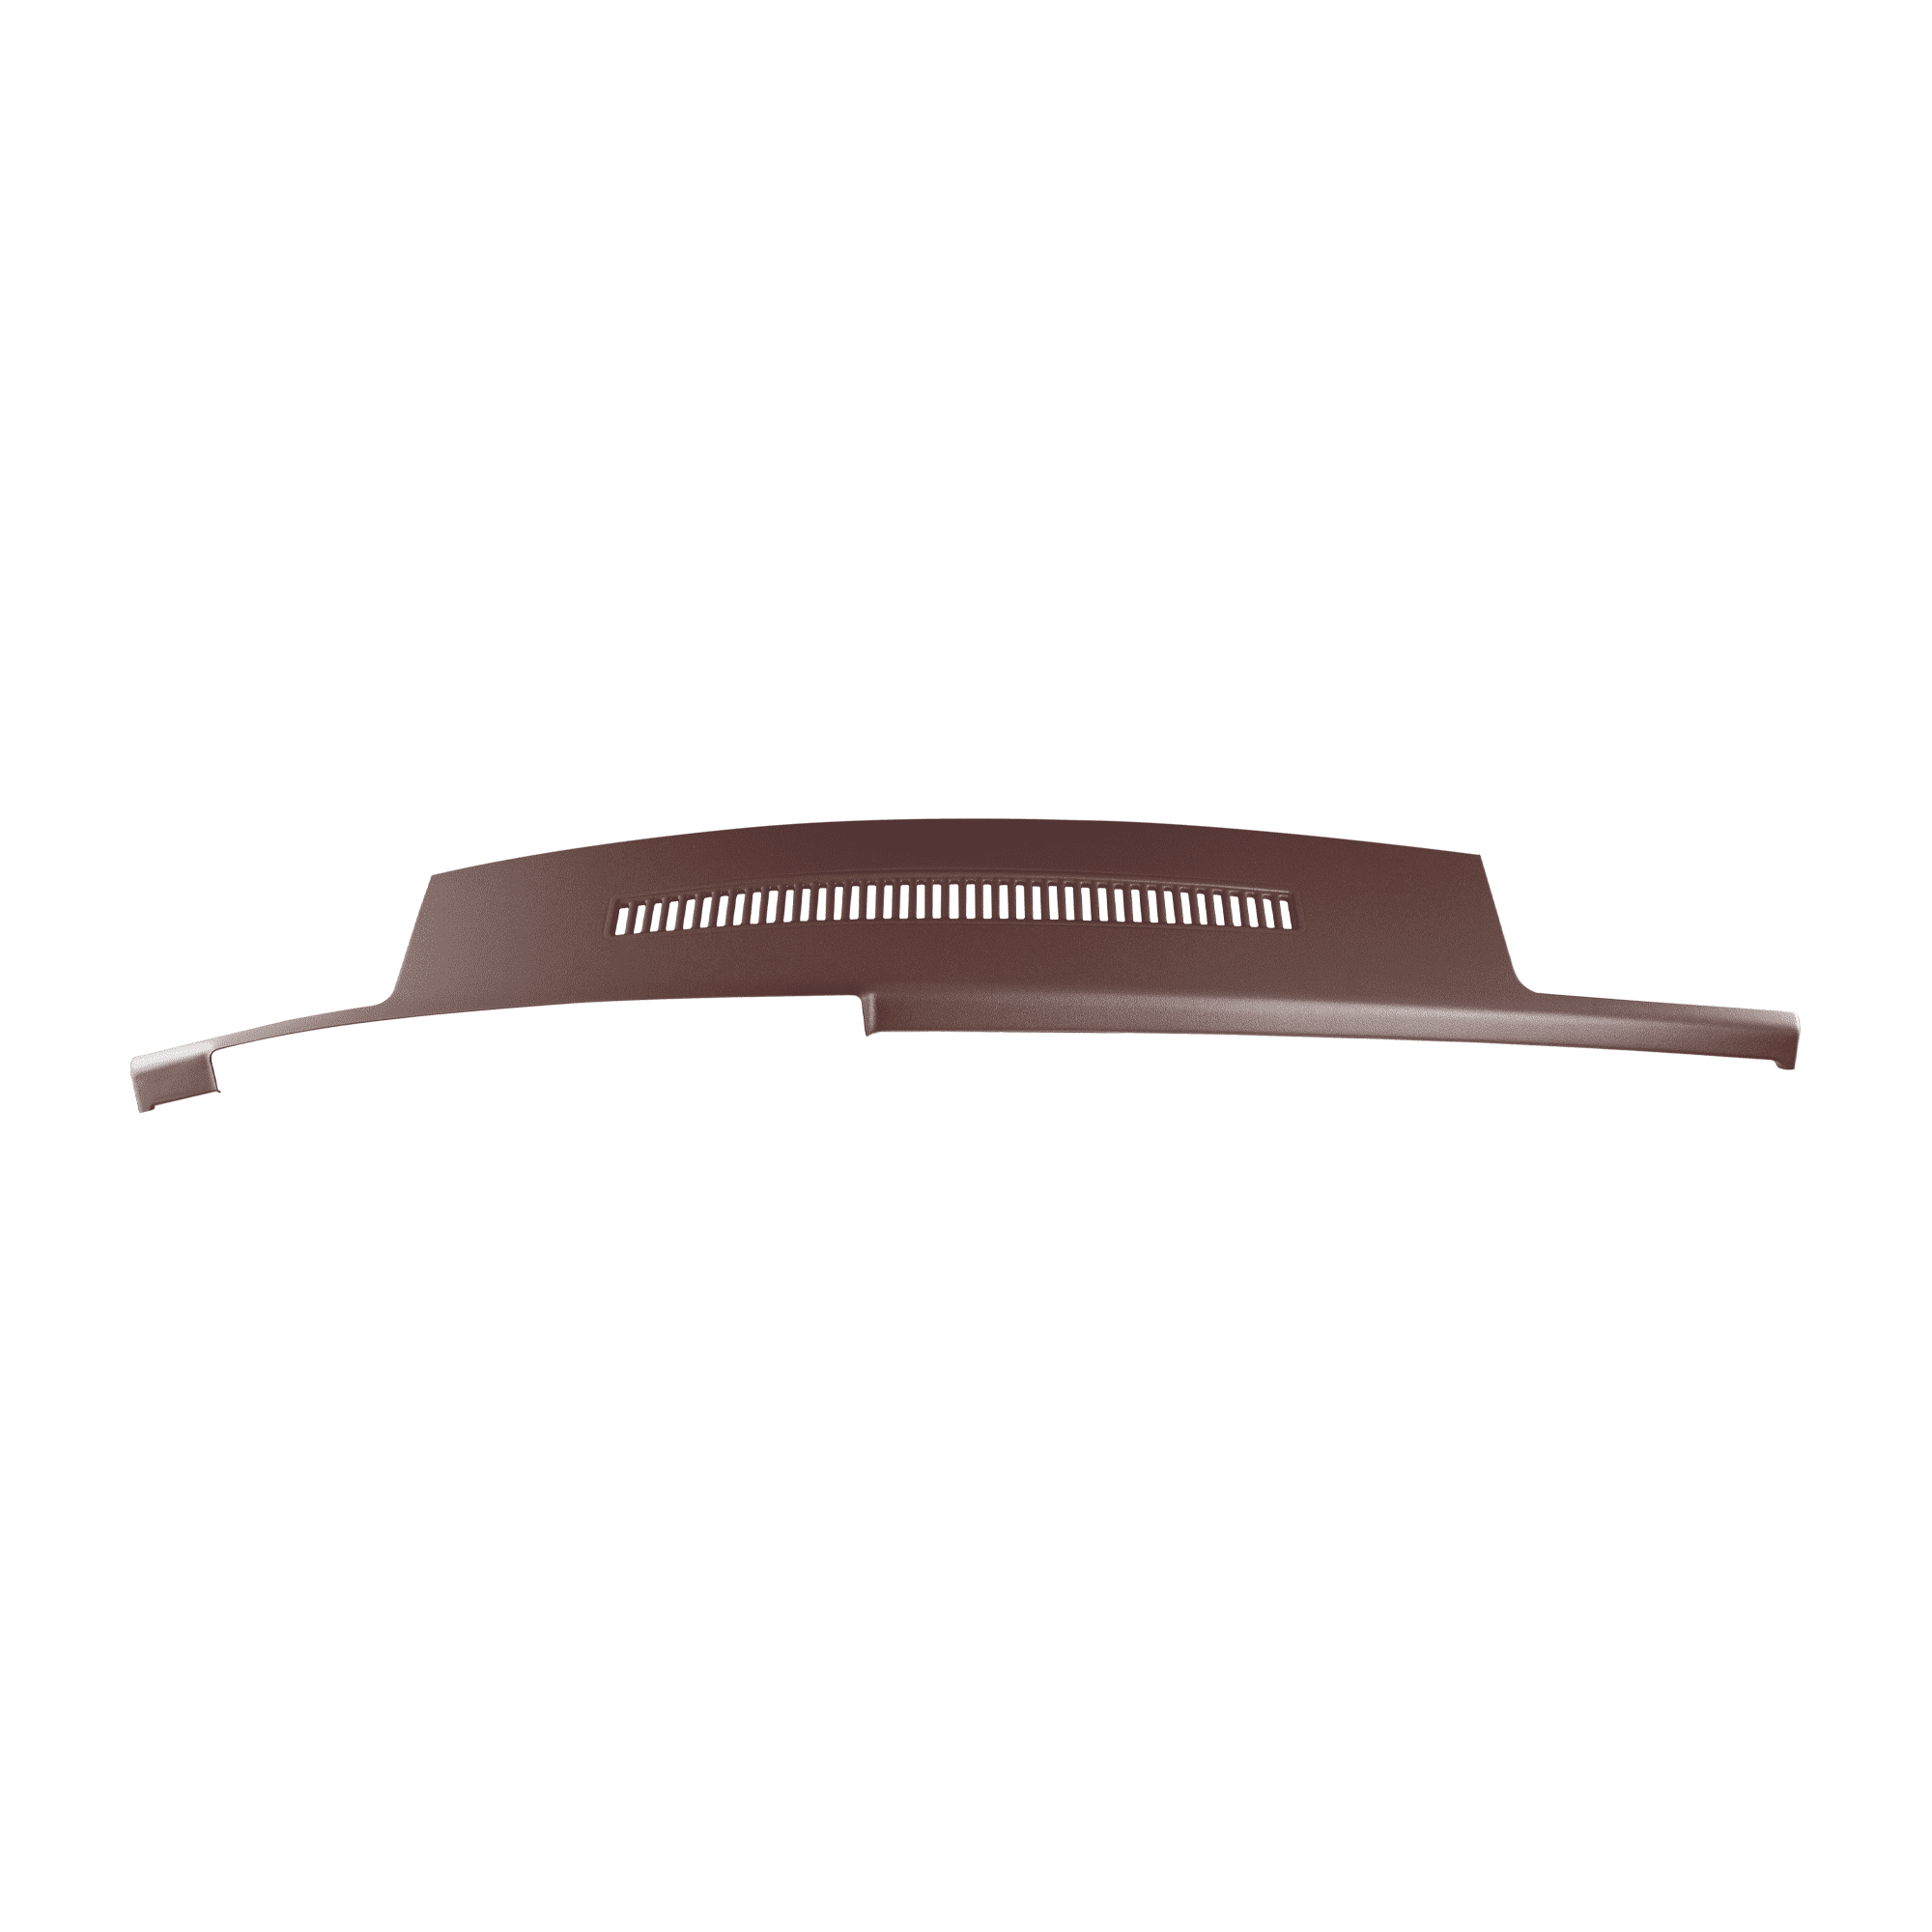
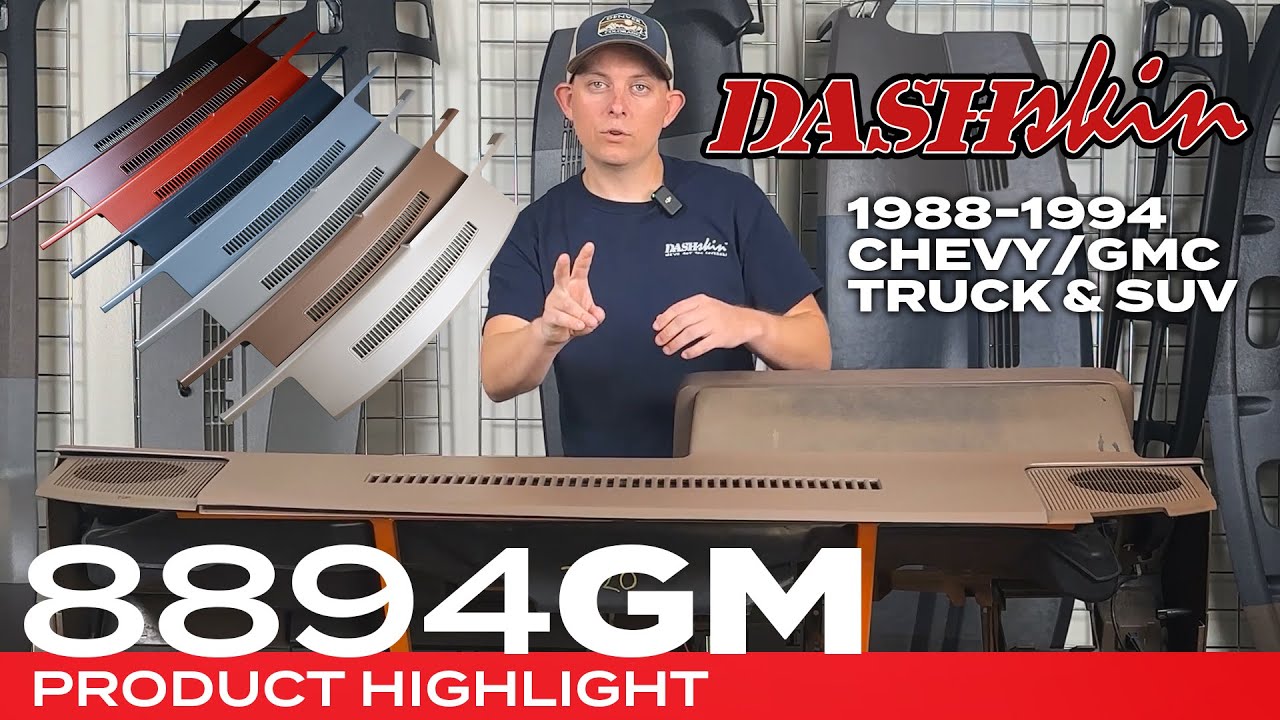
Transforming the interior of your Chevy or GMC truck or SUV from 1988 to 1994 has never been easier with DashSkin™. Our custom-fit dash covers provide a sleek and updated look while protecting your original dashboard. Follow this comprehensive guide to ensure a flawless installation.
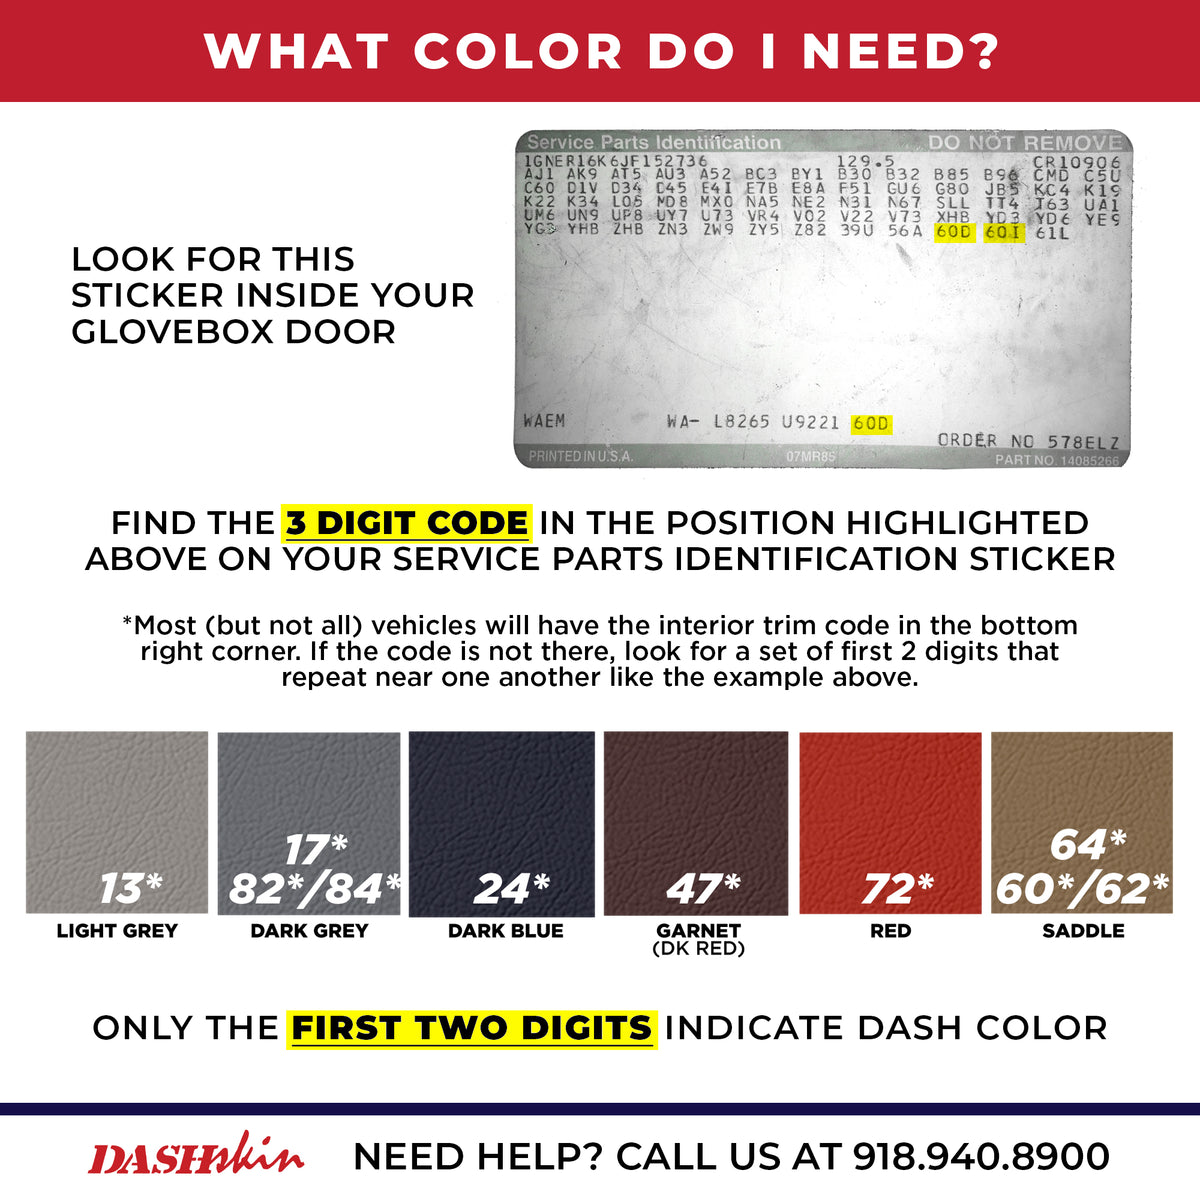
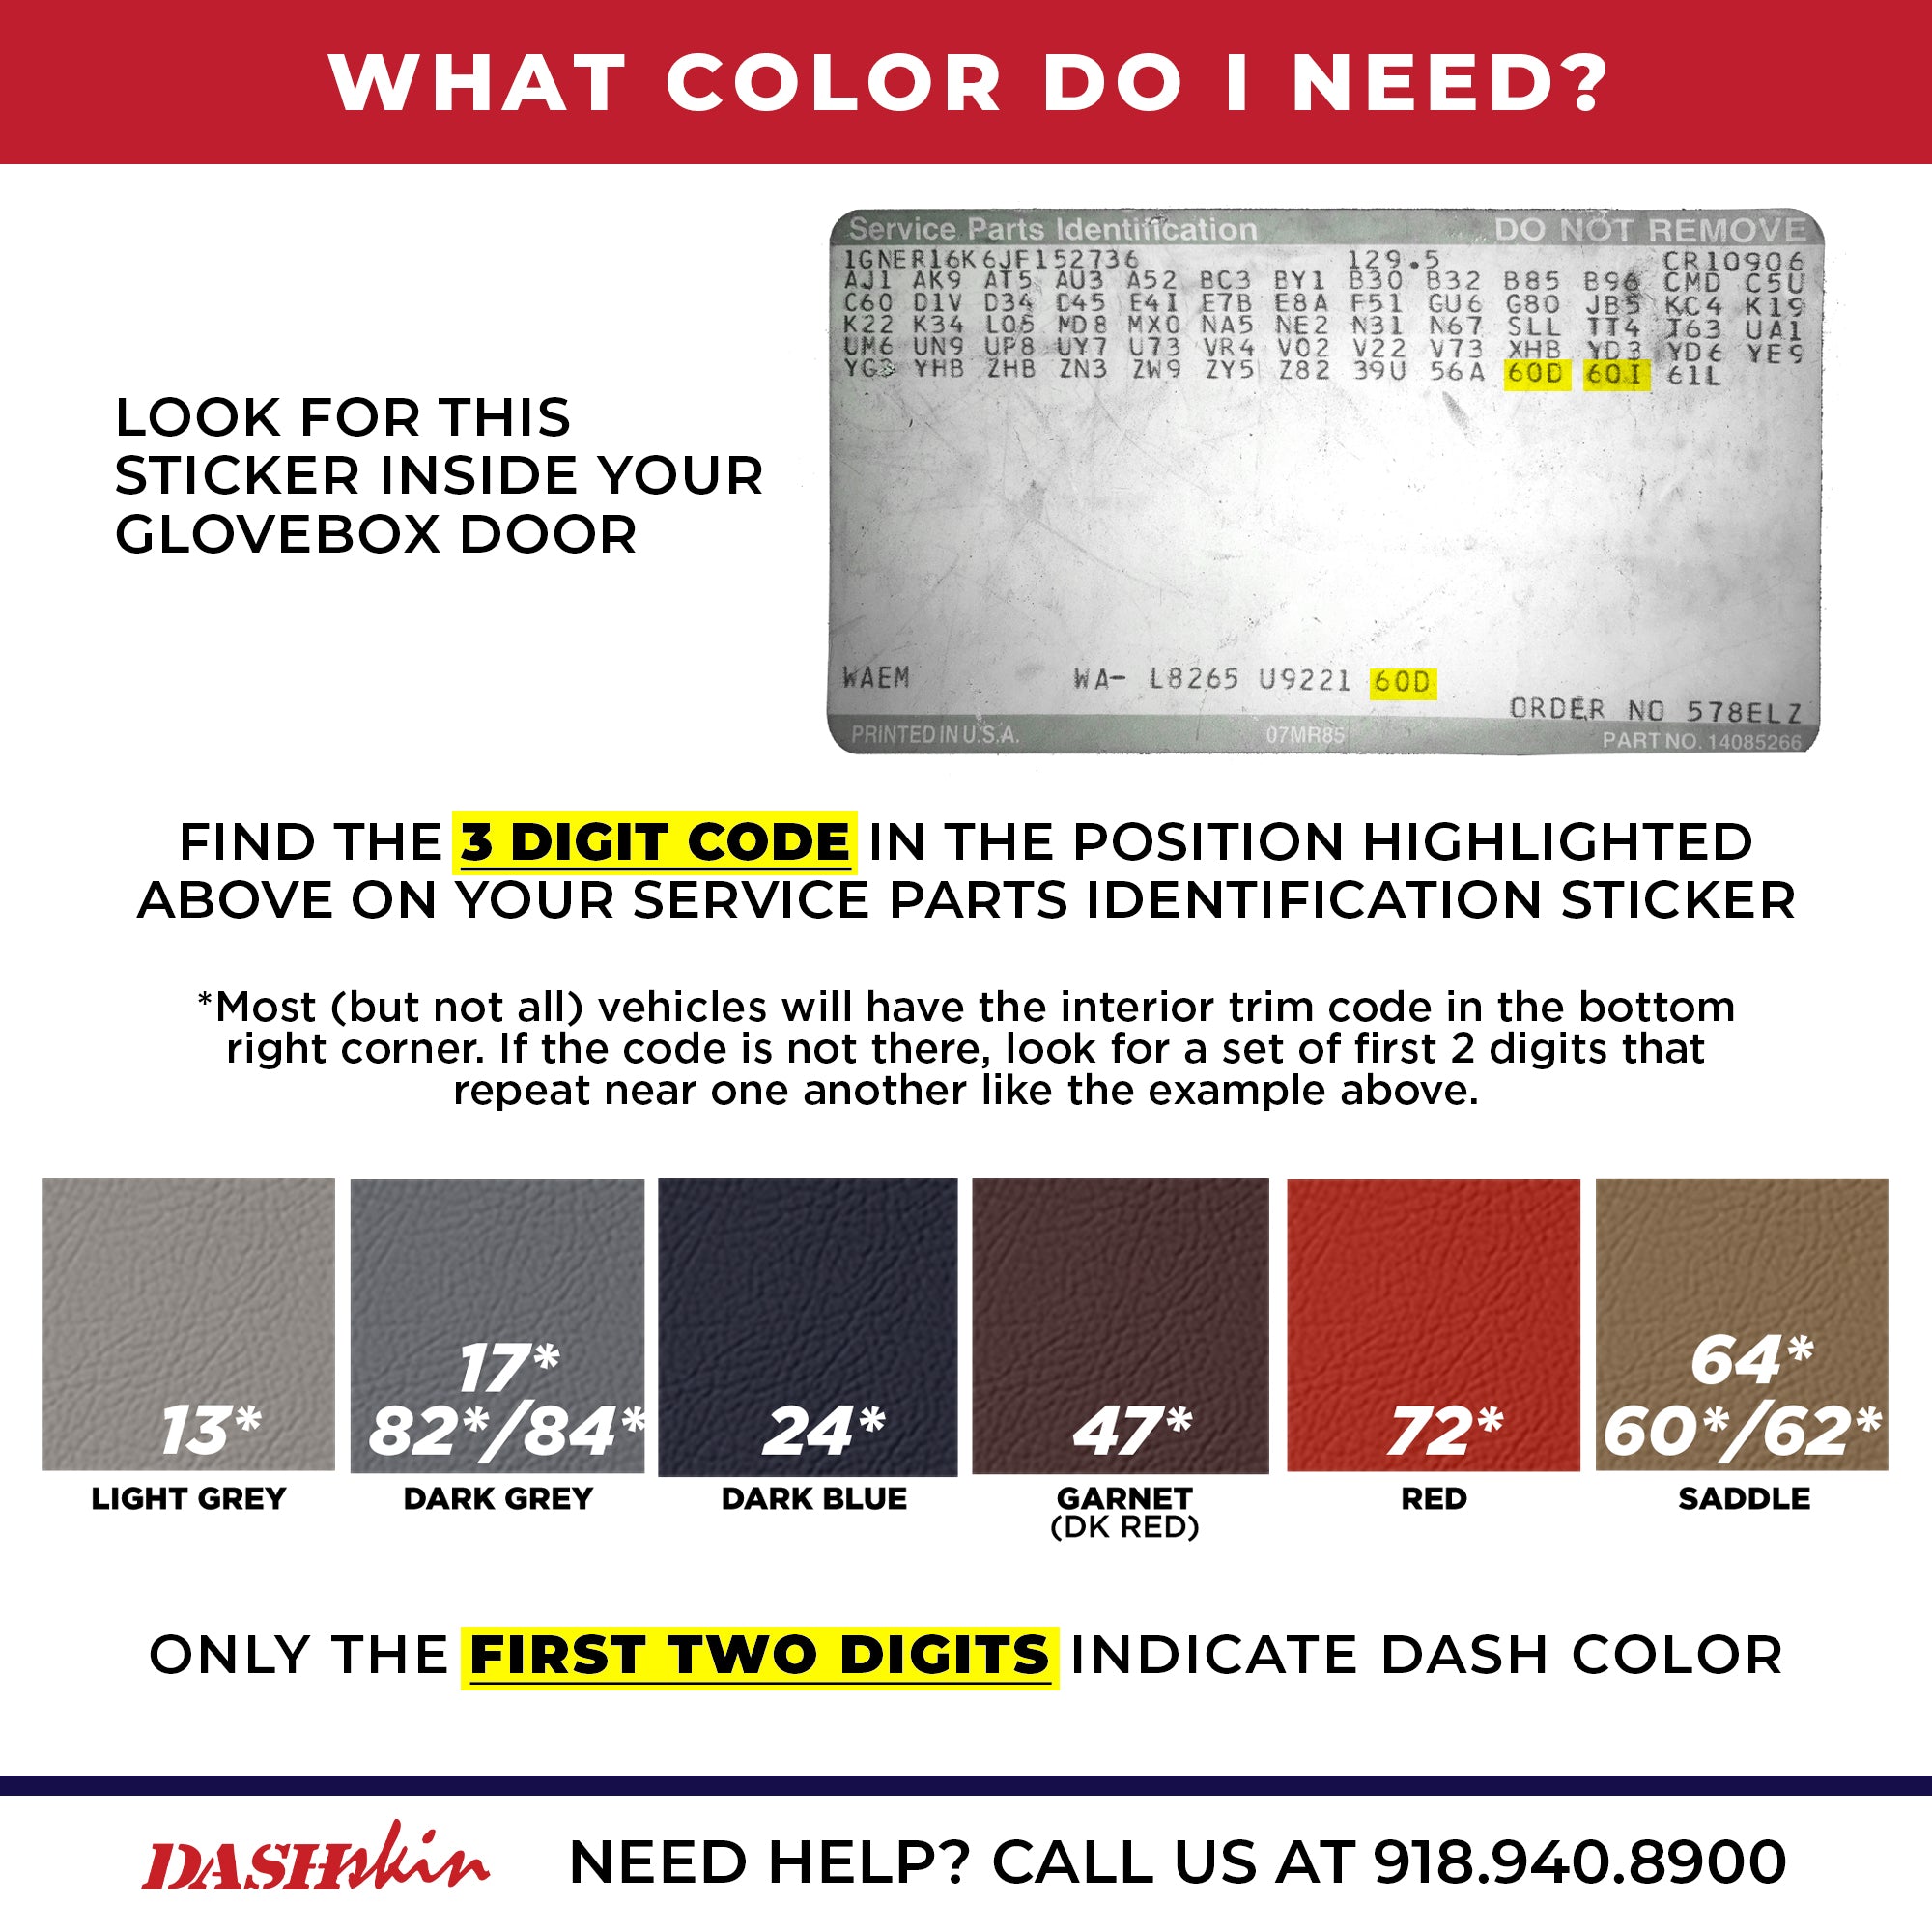
1. Confirm the Correct Color
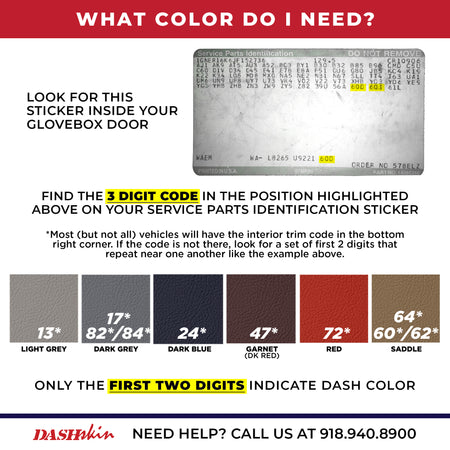
Before diving into the installation, ensure you have the right color for your DashSkin. Locate the trim code inside your glove box and compare it with our trim code guide to confirm you’ve received the correct shade. This step is crucial for achieving a seamless and professional look.
2. Clean the Original Dashboard
Begin by thoroughly cleaning your original dashboard to remove any dirt, grease, or grime. Use a commercial-grade degreaser like Zep Purple Power, Purple Power, or Simple Green. This ensures that the adhesive will bond properly and prevents any contamination that could affect the fitment of your DashSkin.
3. Dry Fit the DashSkin
Next, dry fit the DashSkin over your original dashboard. This step is vital to check alignment and fitment before applying any adhesives. Plan where you will place weights to ensure the DashSkin adheres evenly. This will help avoid any surprises during the final installation.
4. Prepare the Dash for Adhesion
Inspect your original dashboard for any cracks or holes. We recommend applying silicone to these areas to fill in cracks and outline holes. This preparation step will help the DashSkin adhere better and ensure a smoother finish.
5. Apply Silicone to the DashSkin
Follow the pattern illustrated in your installation guide to apply silicone to the underside of the DashSkin. This adhesive will help bond the cover to your original dashboard. Ensure even application to avoid any gaps or bubbles.
6. Place and Align the DashSkin
Carefully place the DashSkin onto the original dashboard. Press down on all seams and edges, making sure everything lines up perfectly. Before applying weights, double-check alignment to prevent any misplacement.
7. Apply Weights for Proper Adhesion
To ensure the DashSkin adheres properly, apply weights across the entire dashboard. If you can’t place weights near the windshield, use rolled-up rags and push them between the windshield and the dash. This will apply even pressure while the silicone cures. You can use sandbags, reams of printer paper, or even phone books as weights.
For the front surface, use a telescoping prop rod to apply pressure evenly. Alternatively, a piece of PVC or wood cut to length with a rag on each end can be used. This helps maintain pressure and ensure proper adhesion across all areas.
8. Allow Time for Curing
Allow the adhesive at least 6 HOURS to cure before removing your weights. Drier environments (low relative humidity) require longer curing time. If possible, leave the vehicle overnight for best results..
9. Final Touches
Once the silicone has fully cured, remove any weights and check for any areas that might need additional attention. Clean up any excess silicone and ensure the DashSkin is securely in place.
10. Enjoy Your New Dashboard
With the installation complete, enjoy the refreshed look of your Chevy or GMC truck or SUV. DashSkin products are proudly made in the USA, ensuring quality and durability.
Thank you for choosing DashSkin for your dashboard transformation needs. Our commitment to quality and precision means that you can trust our products to enhance the interior of your vehicle.

