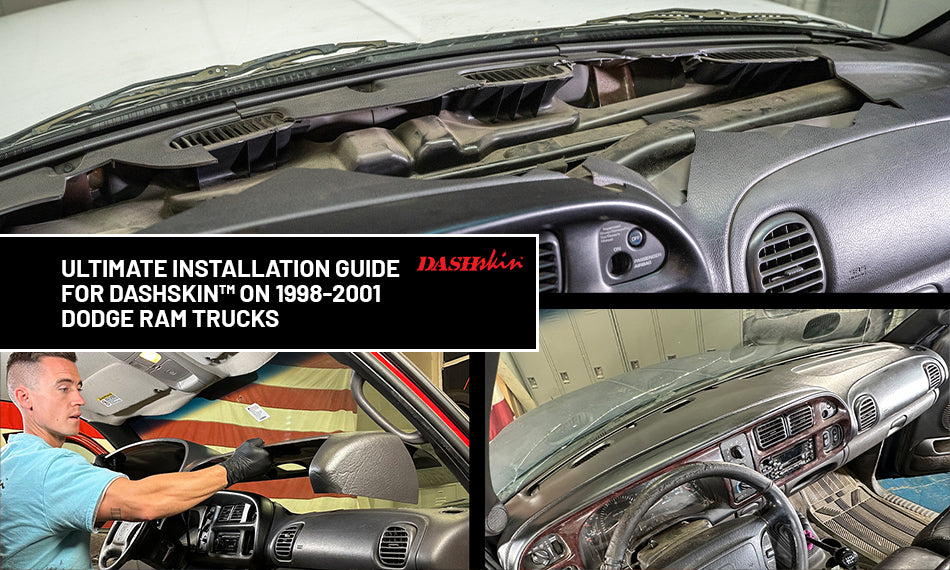
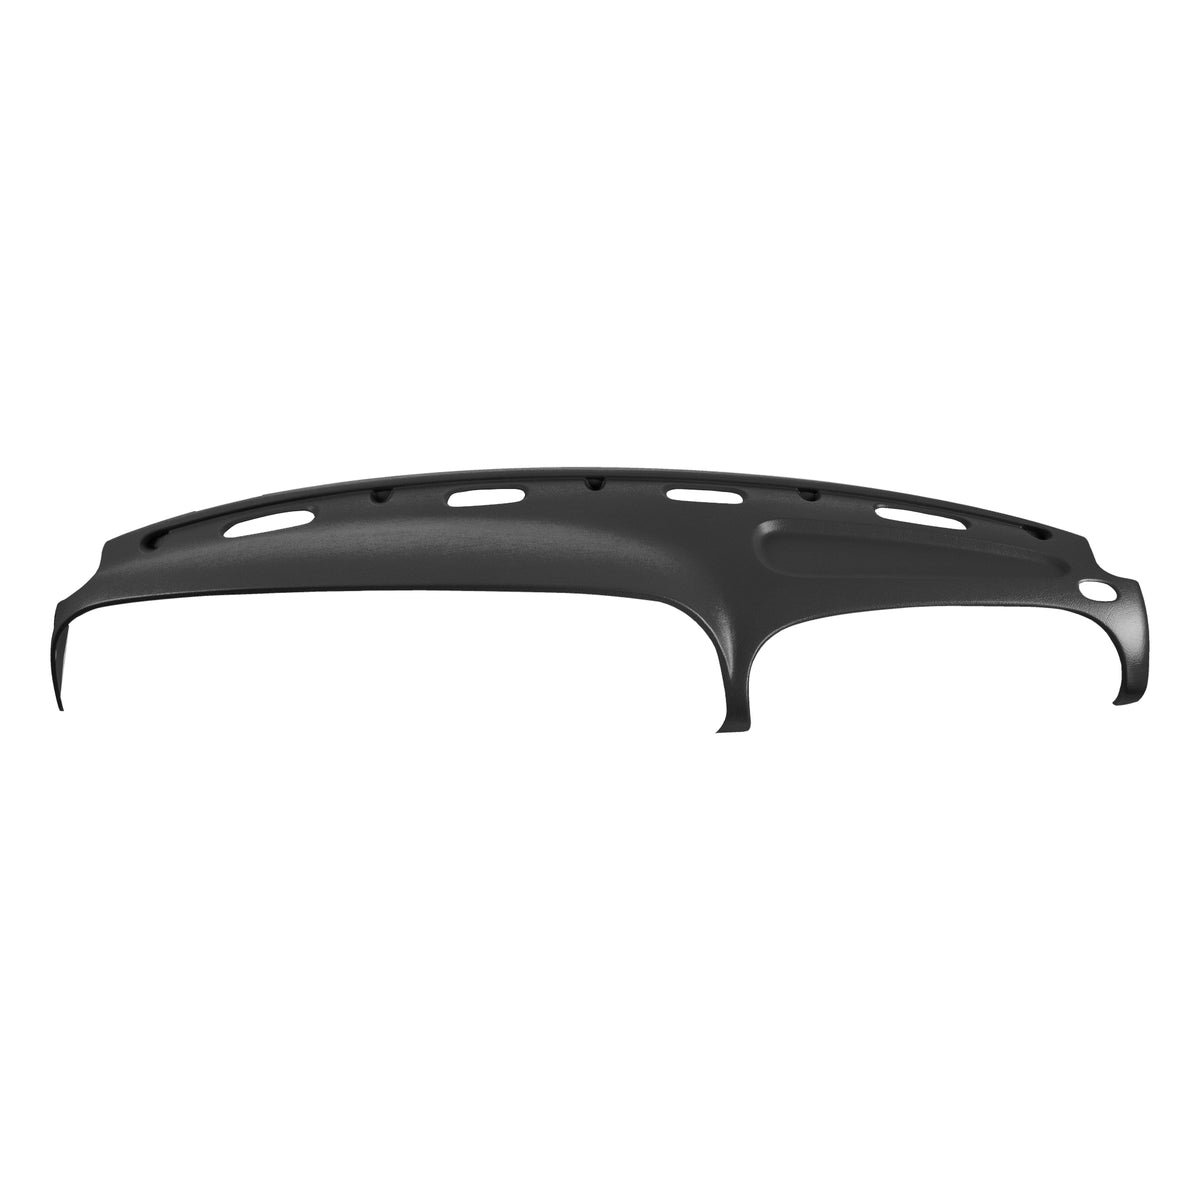
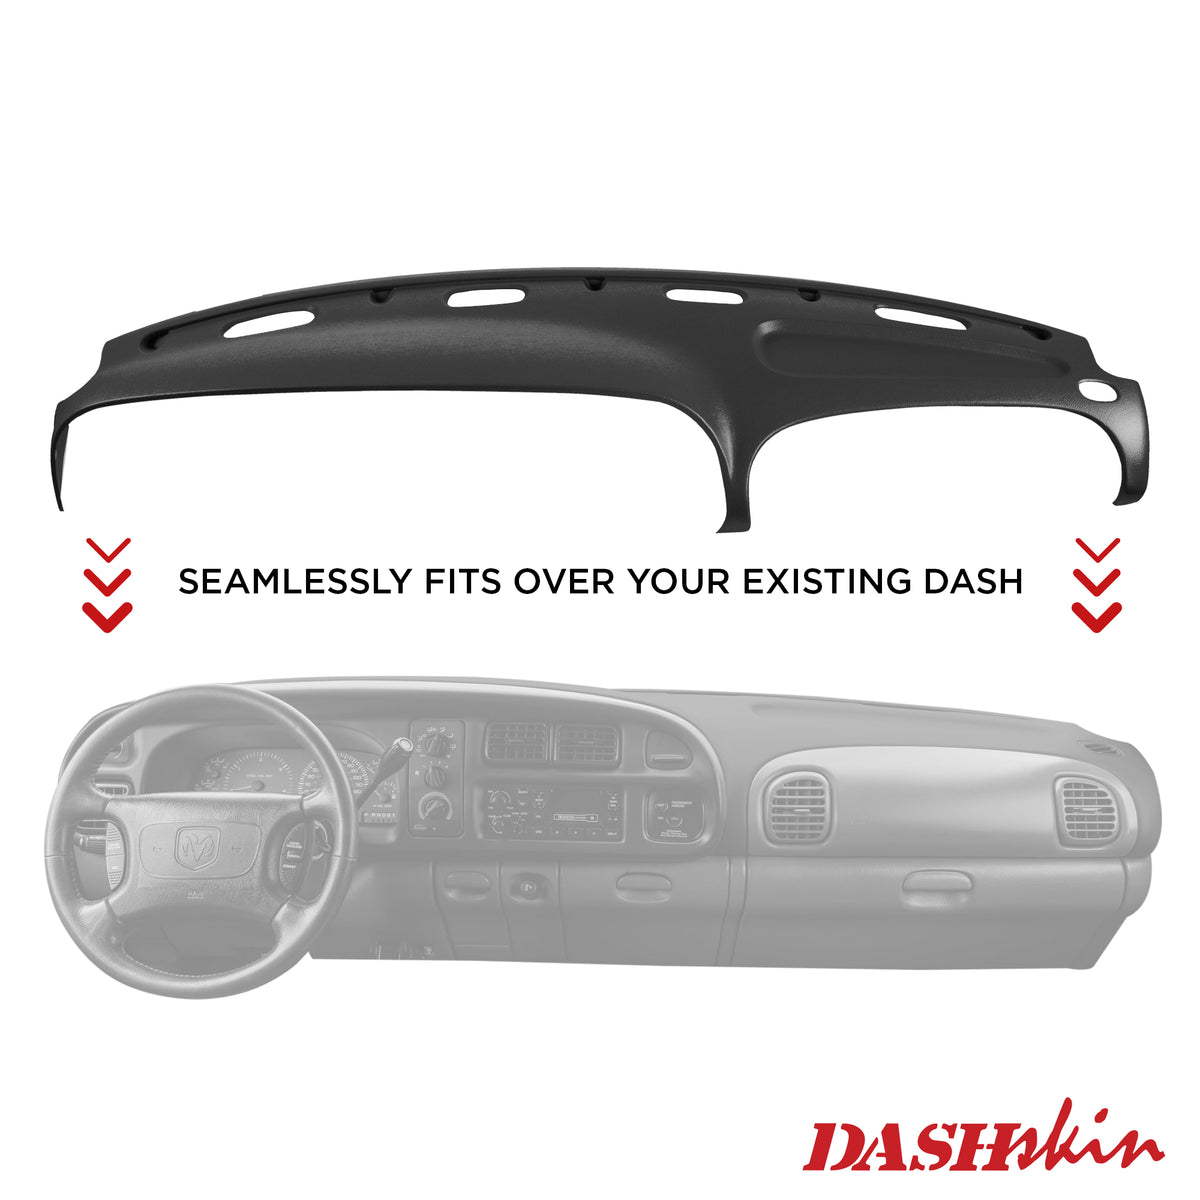
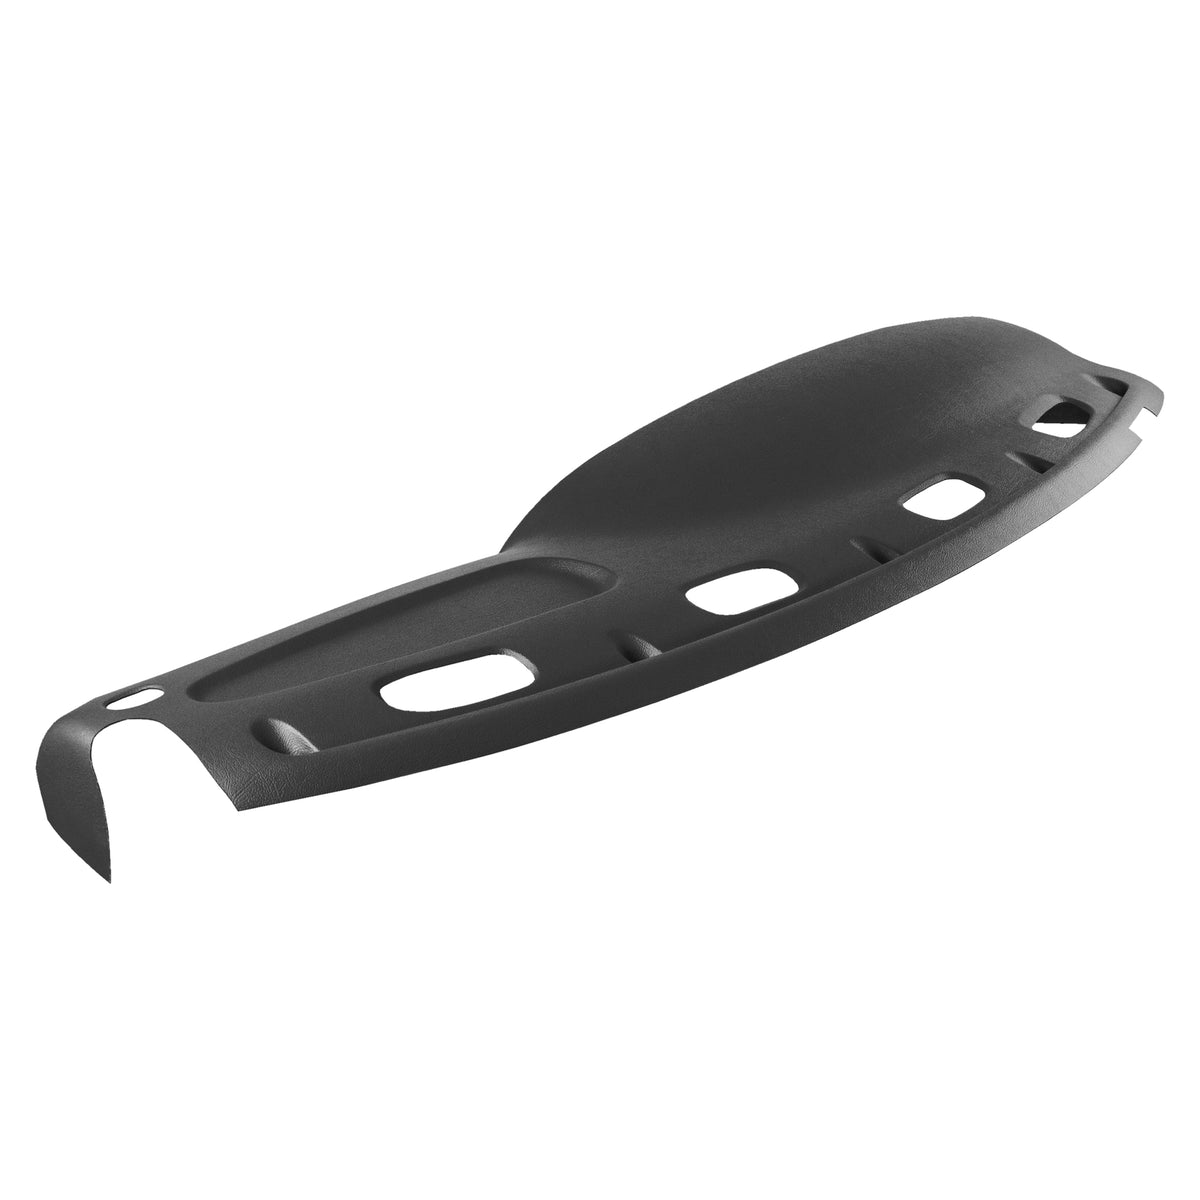
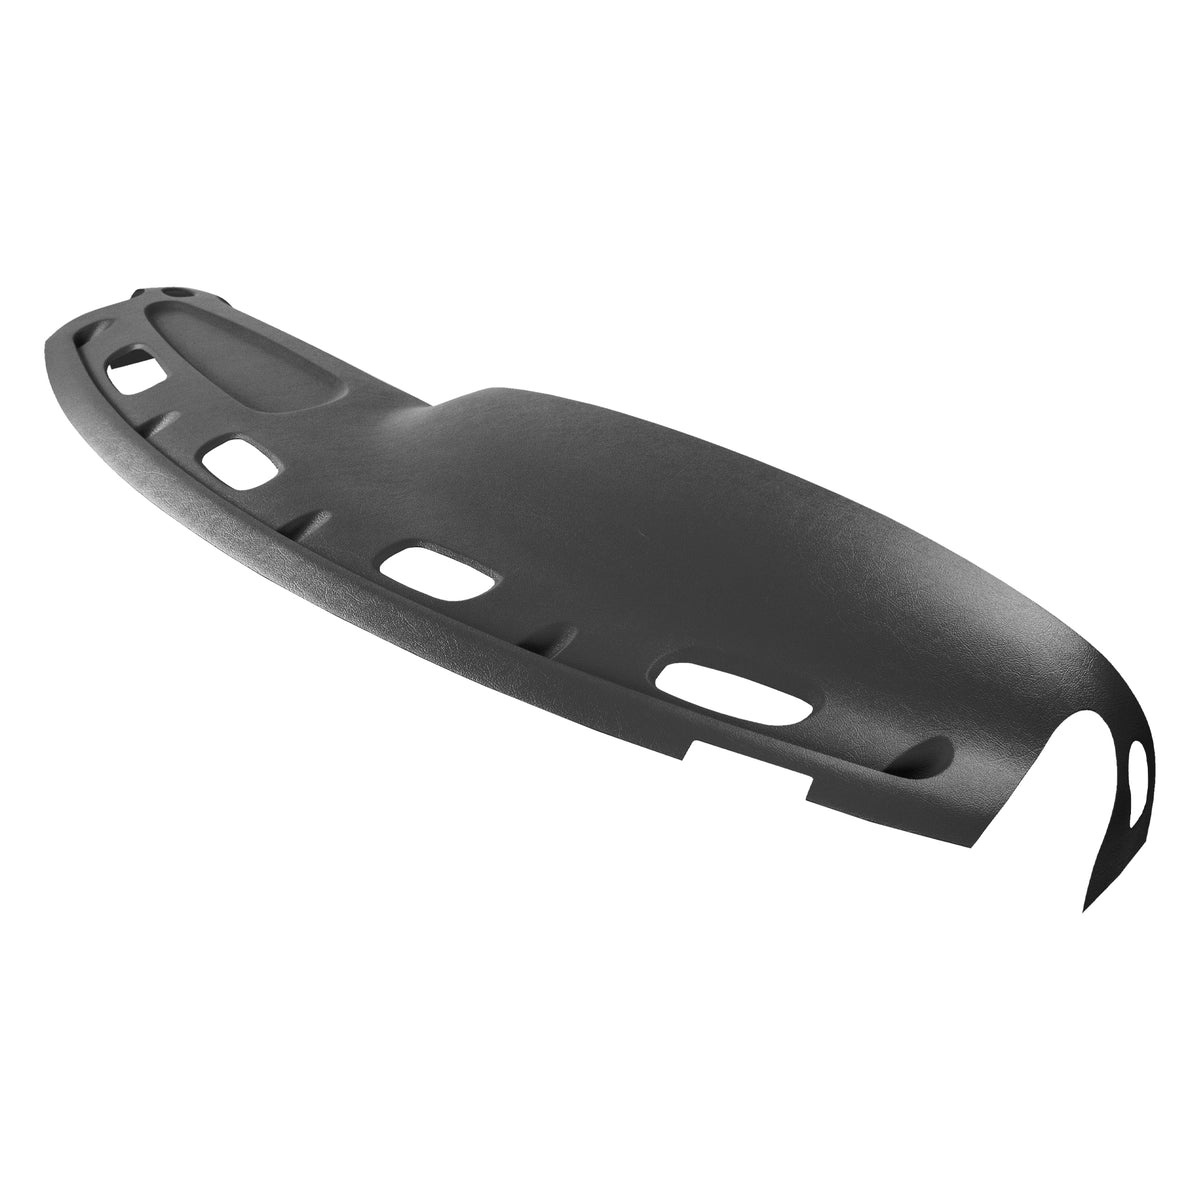
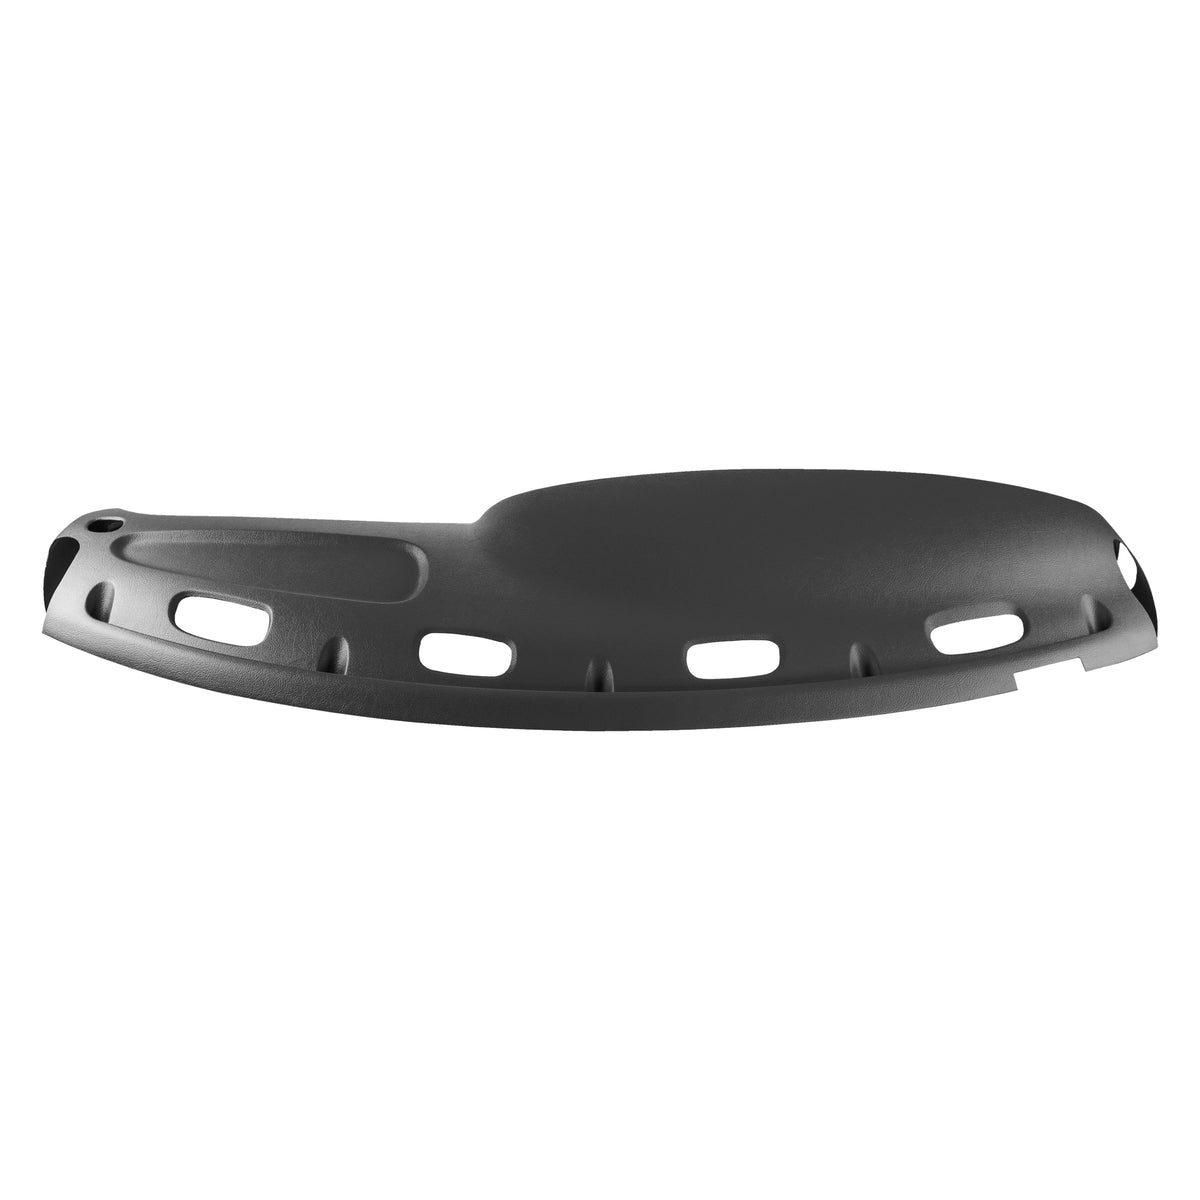
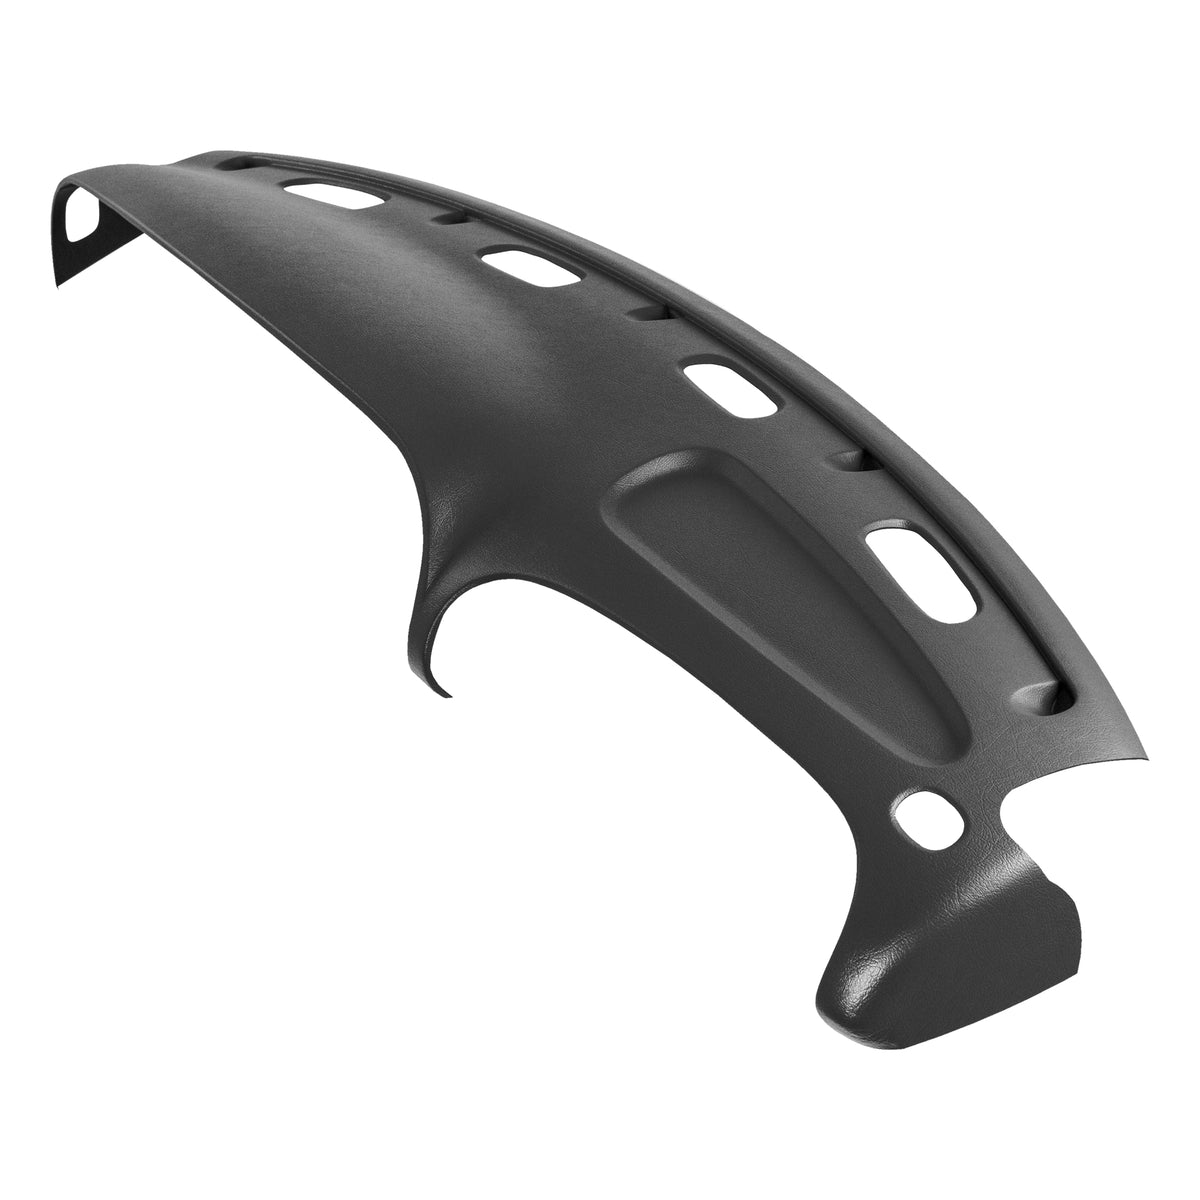
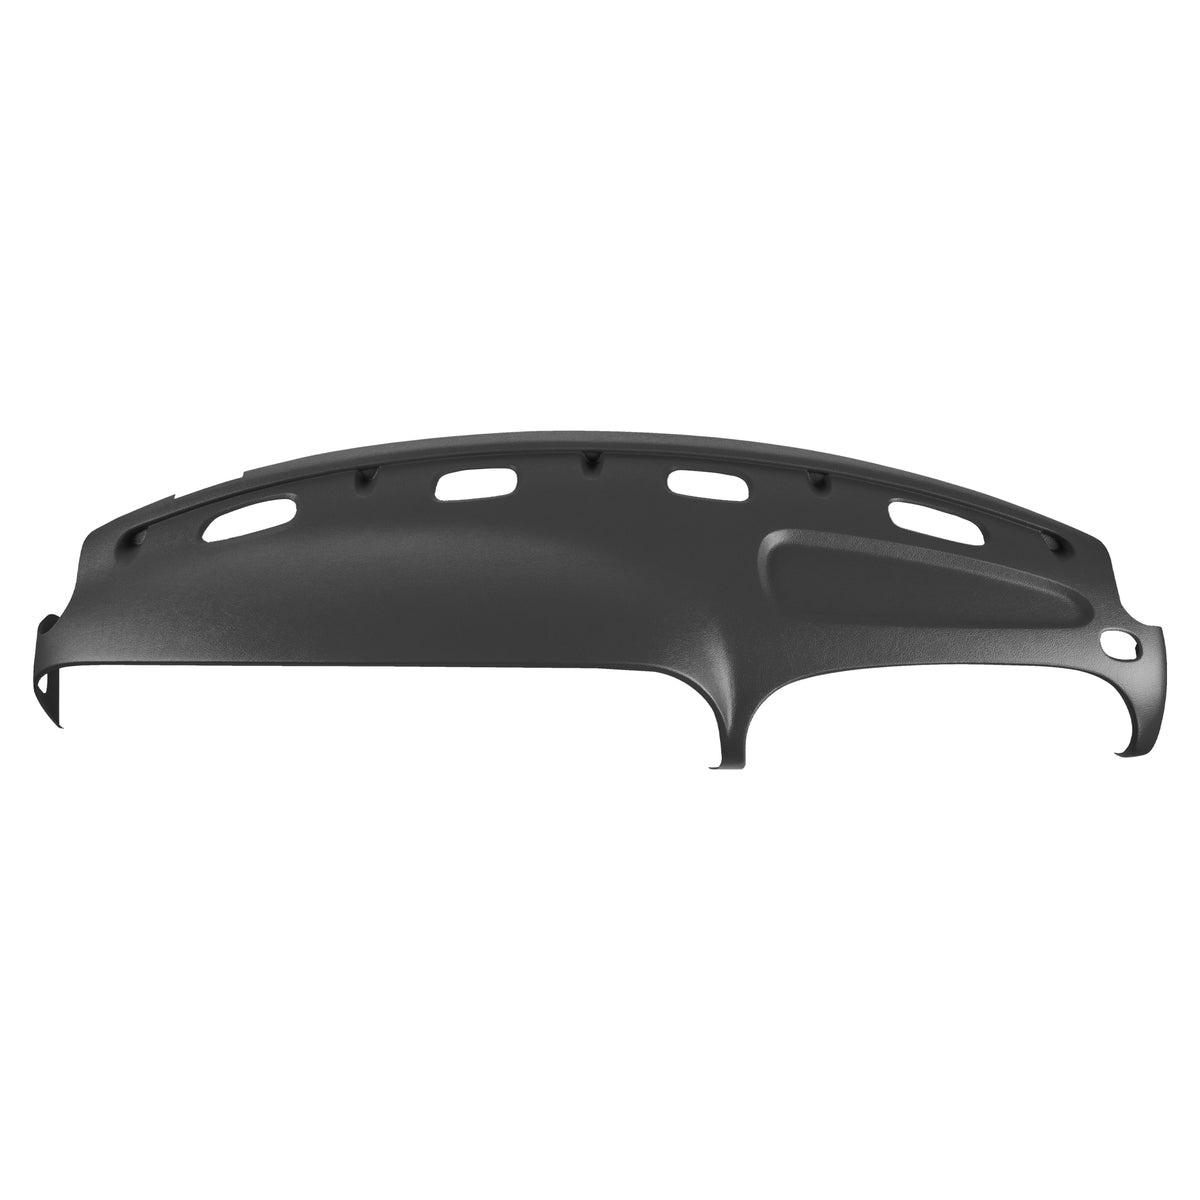
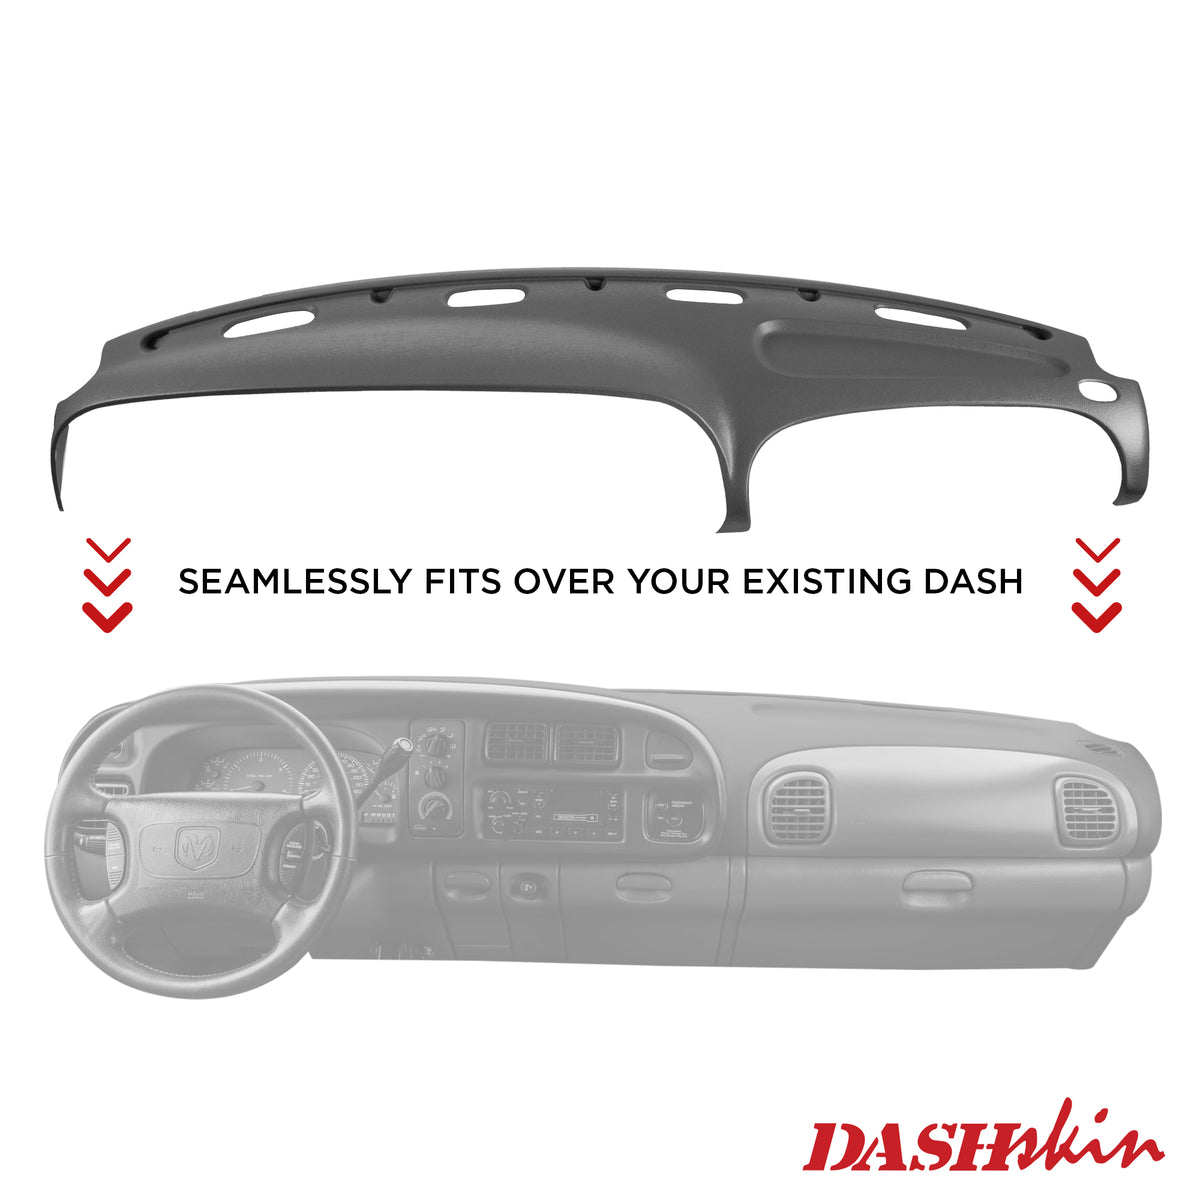
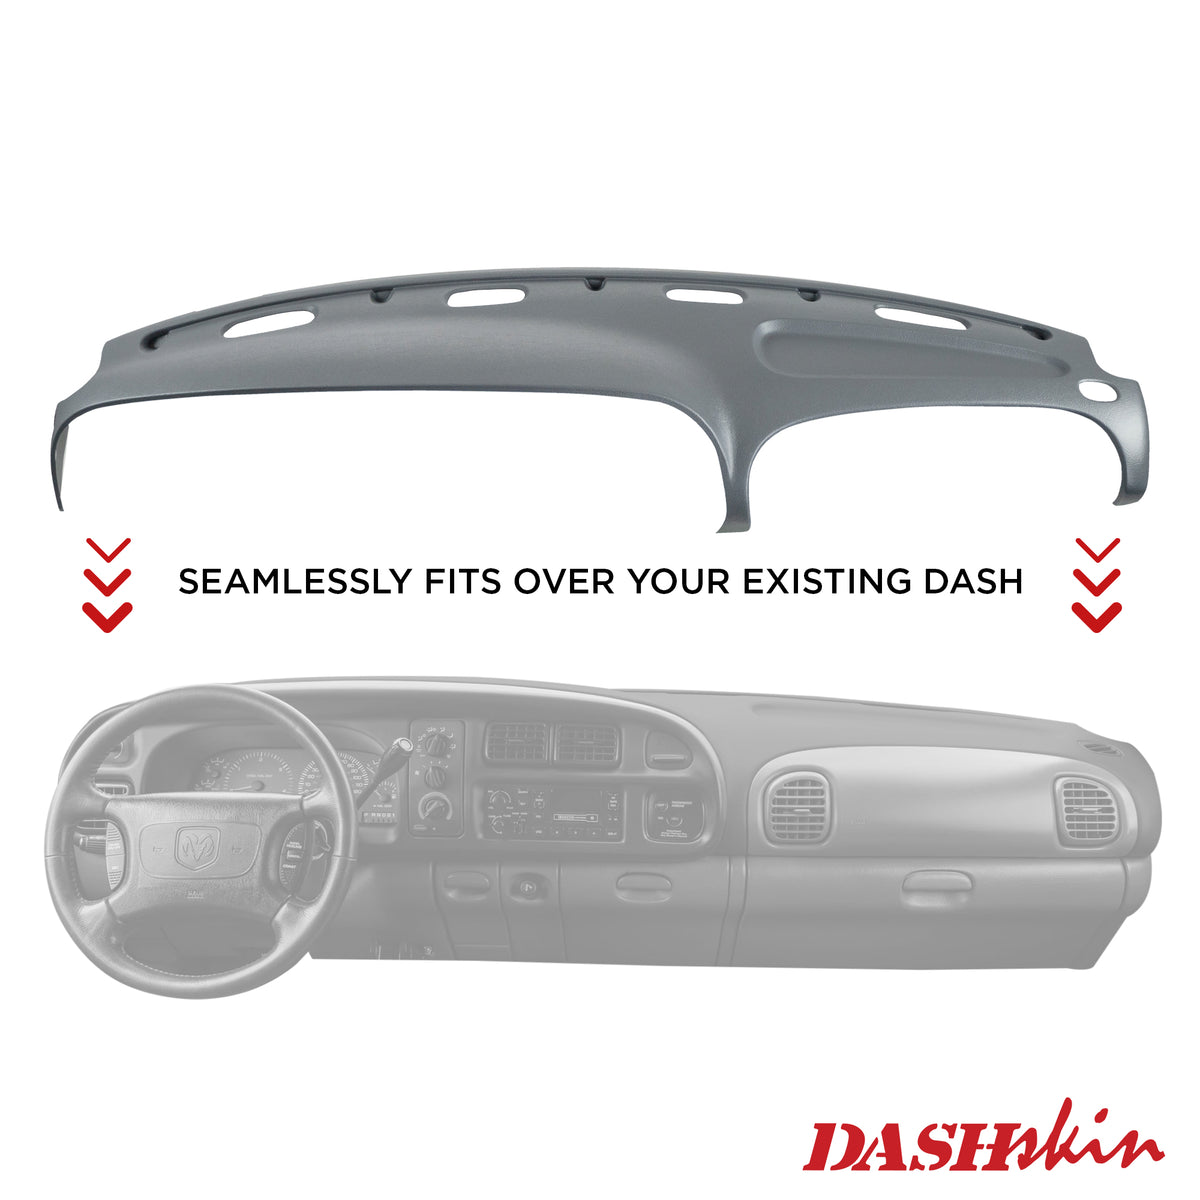
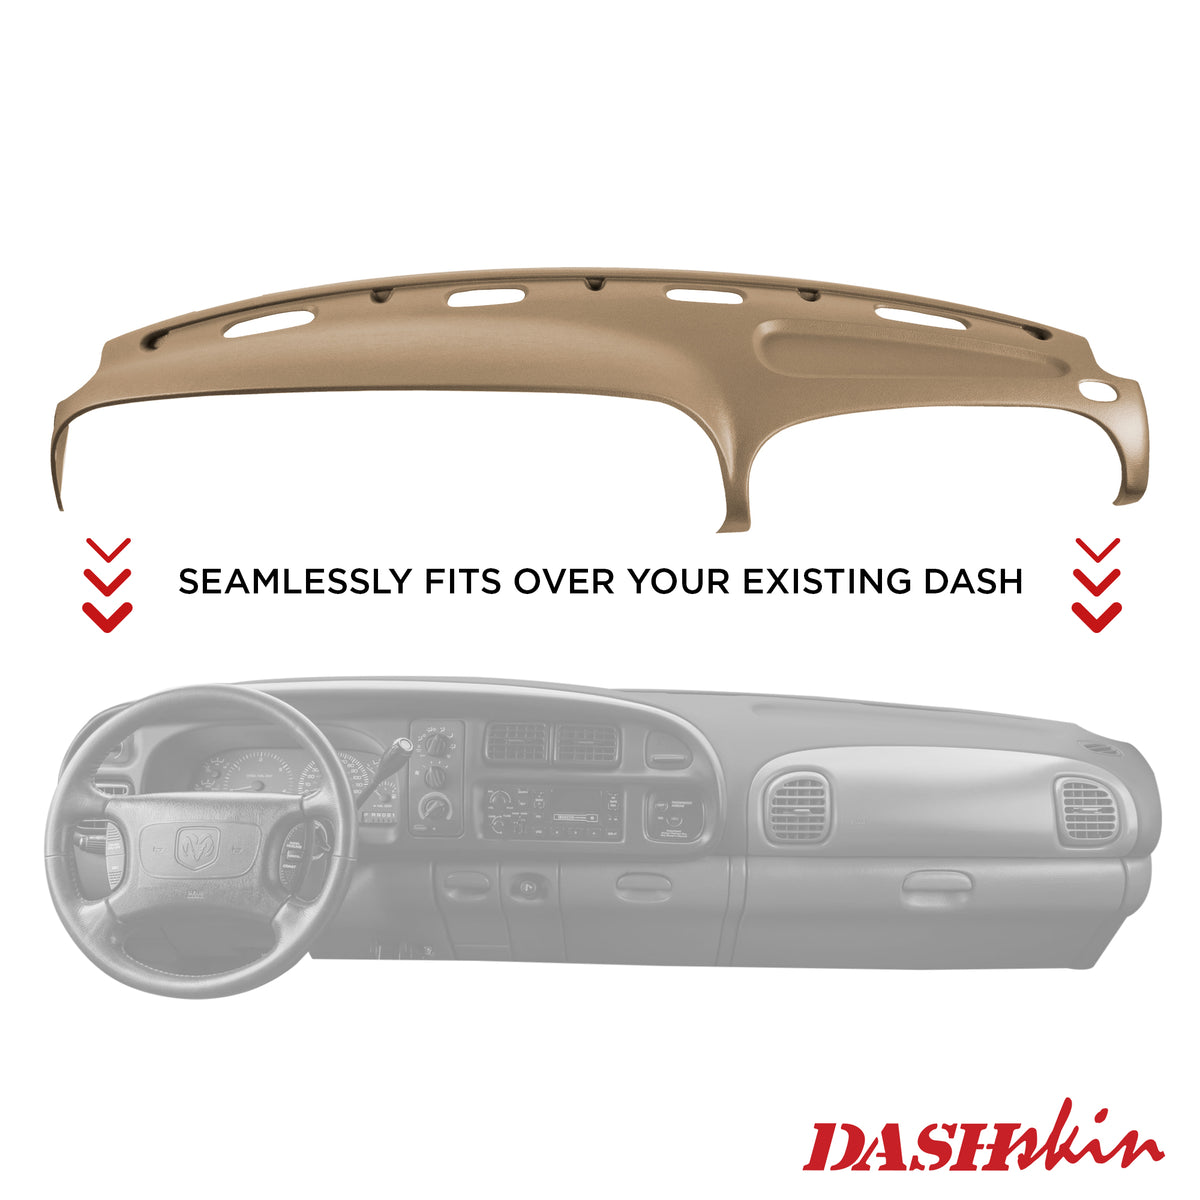
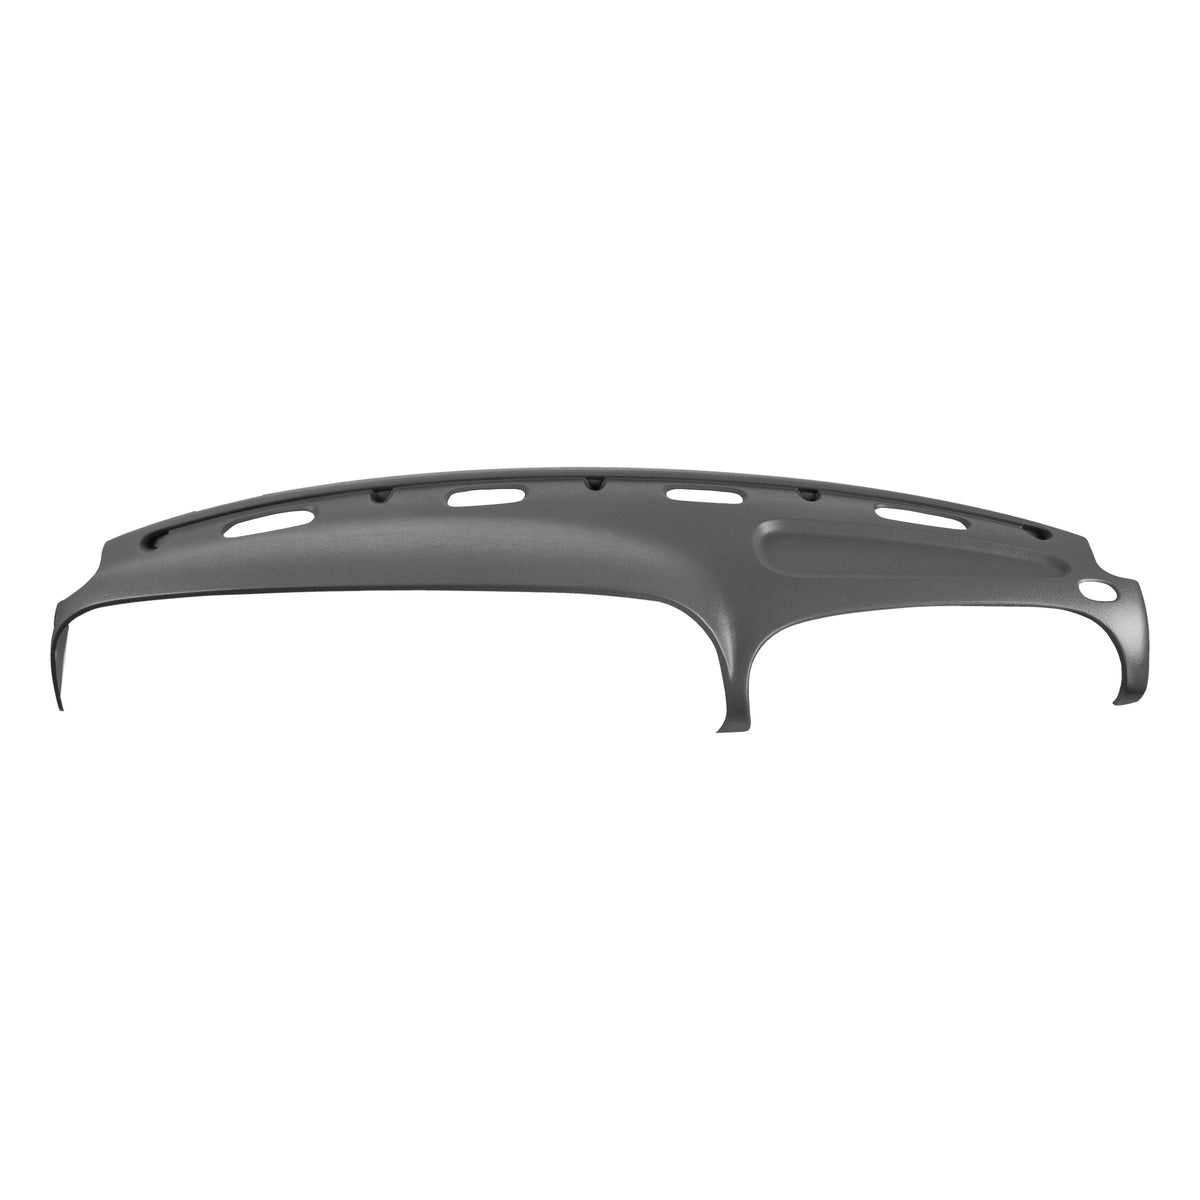
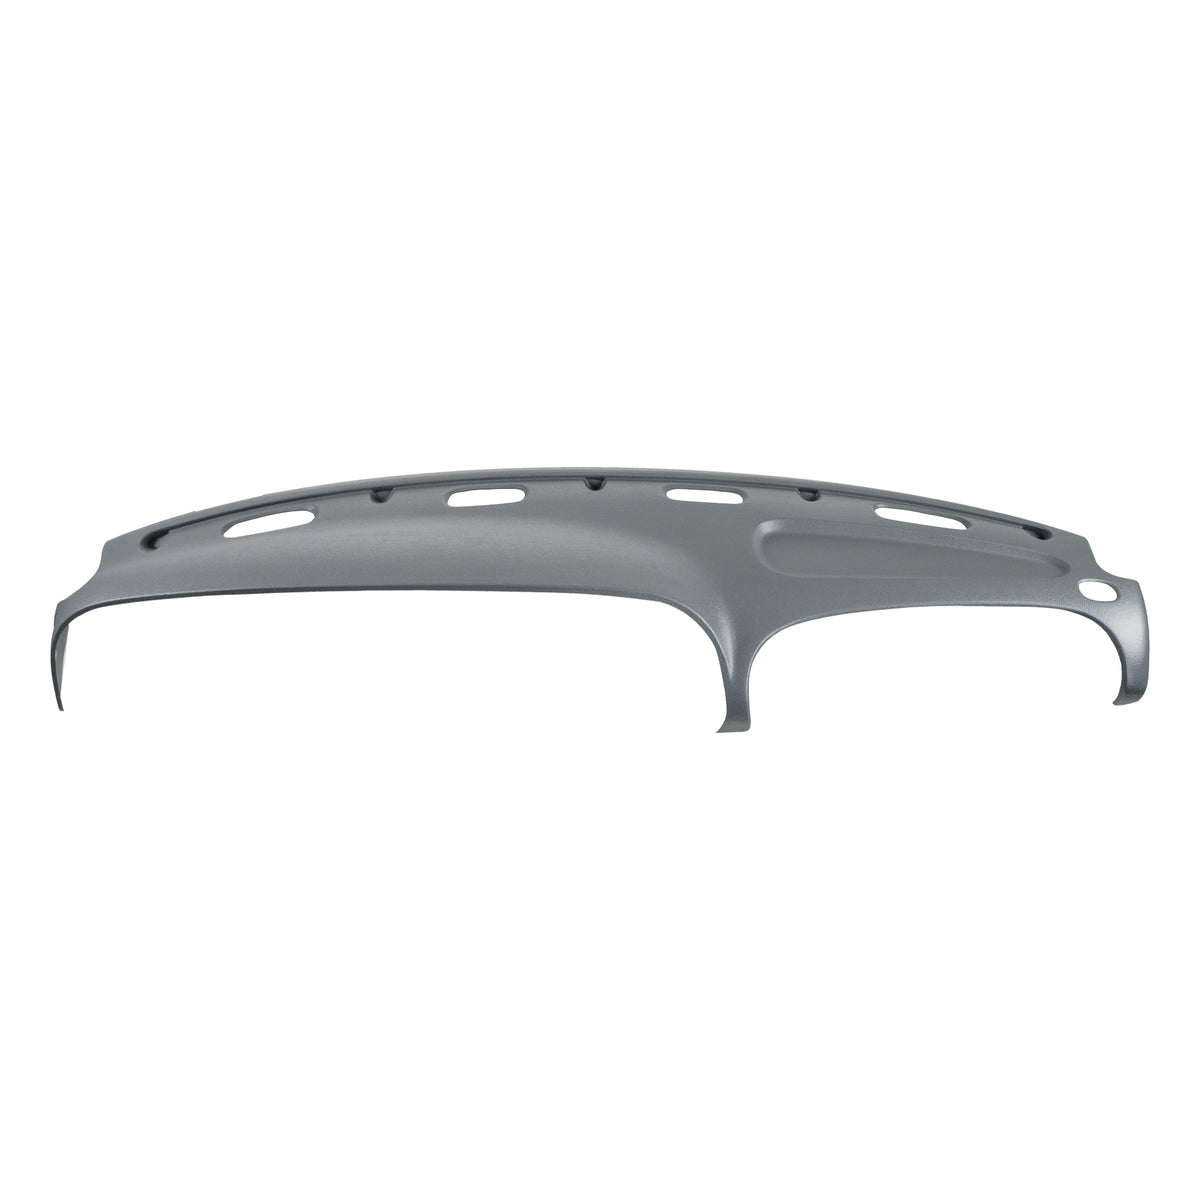
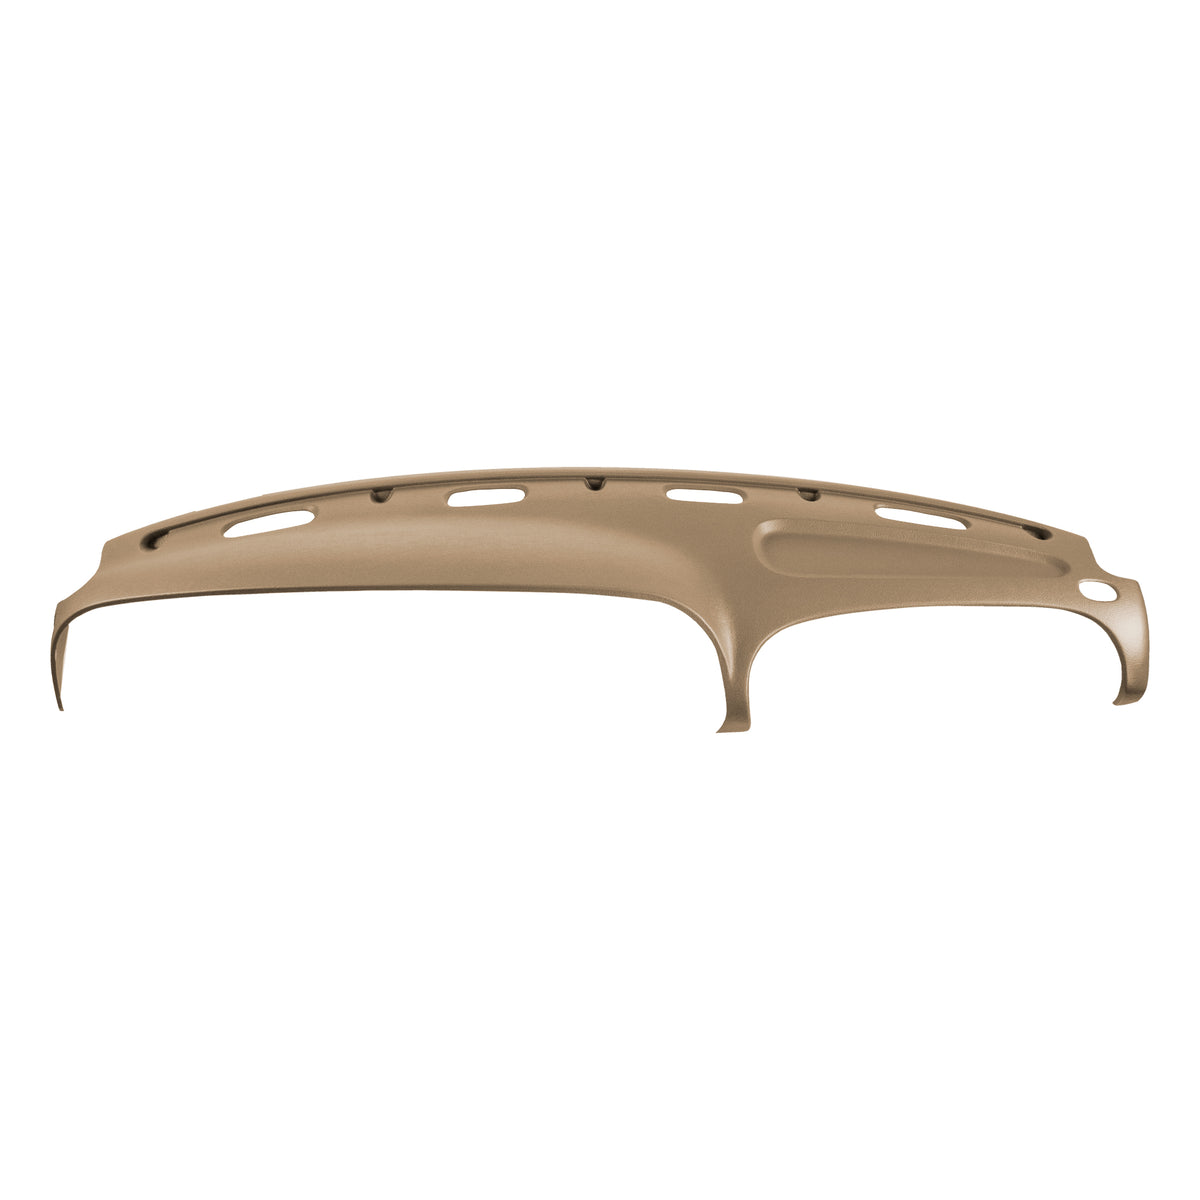
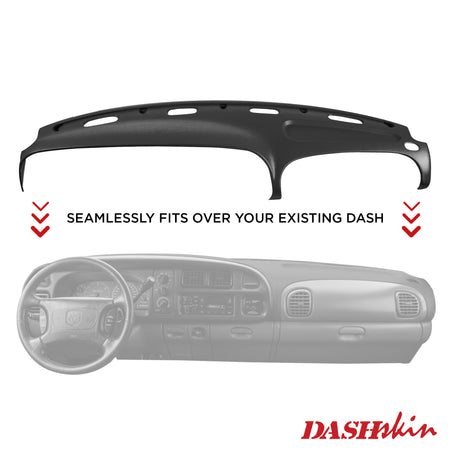
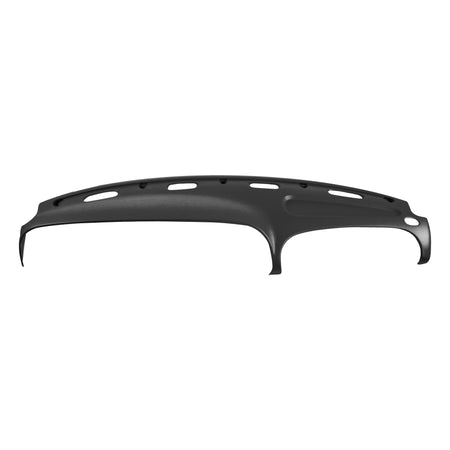
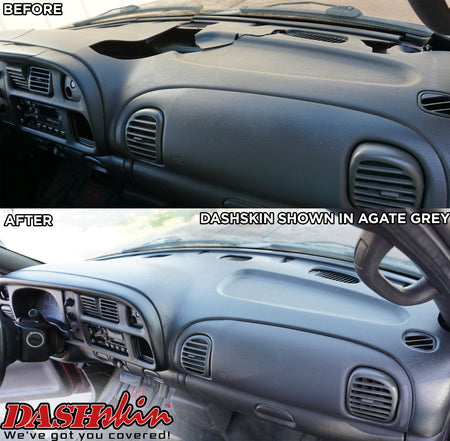
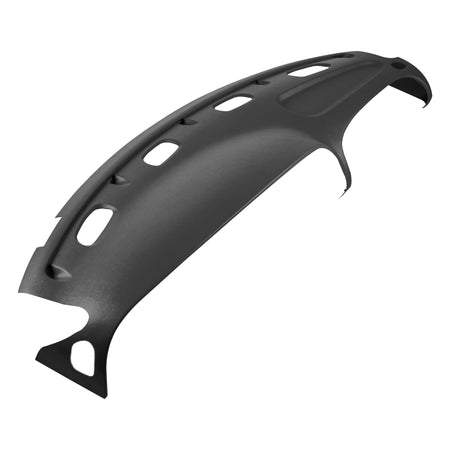
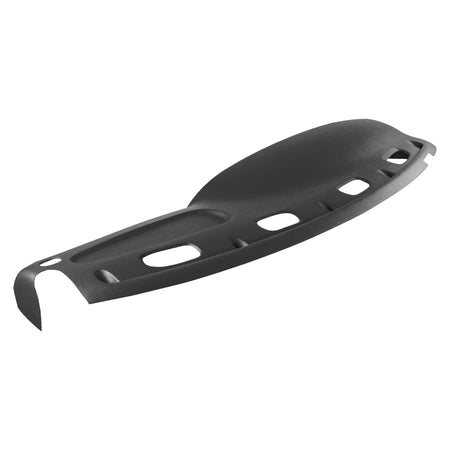
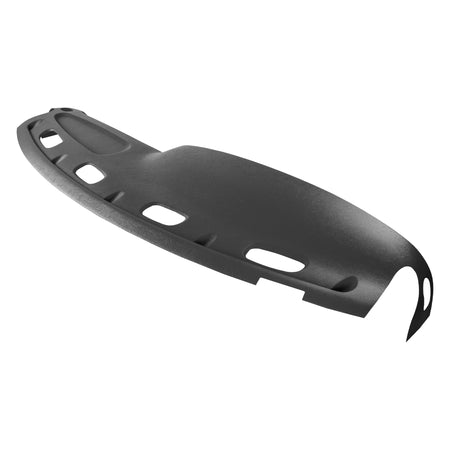
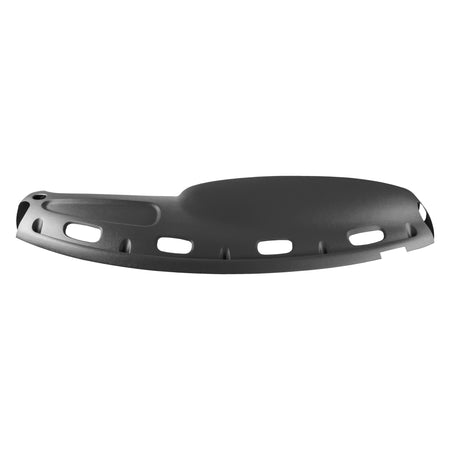
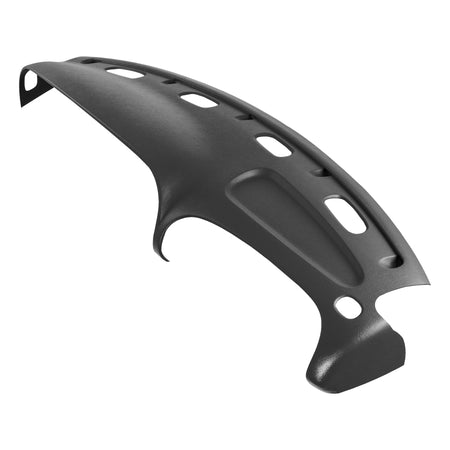
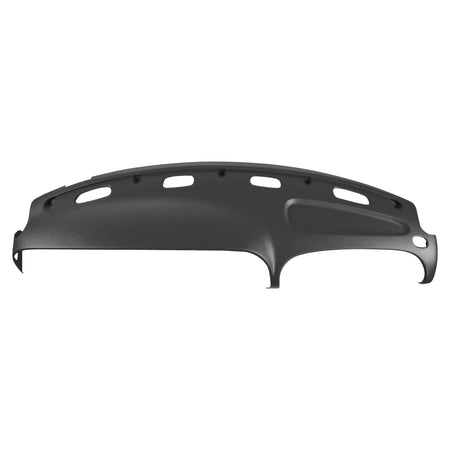
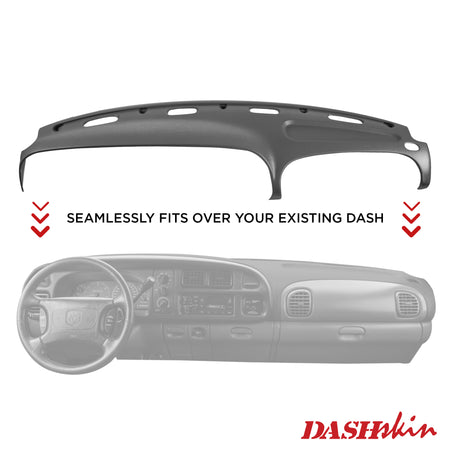
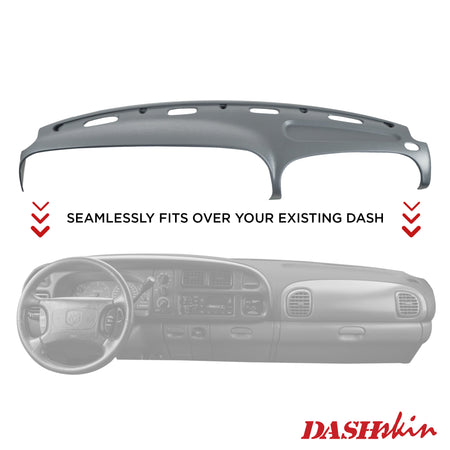
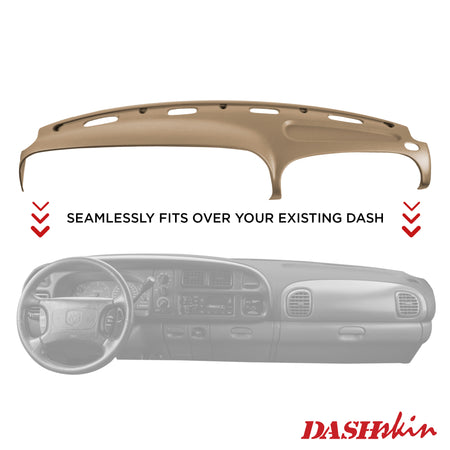
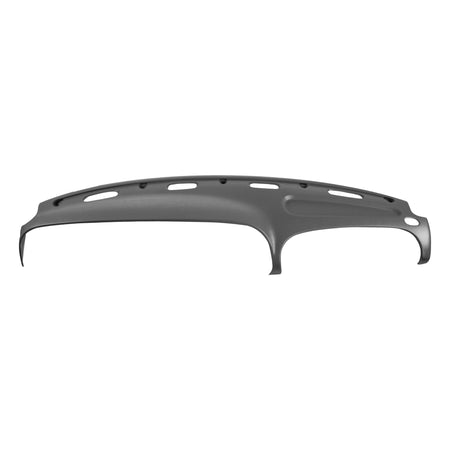
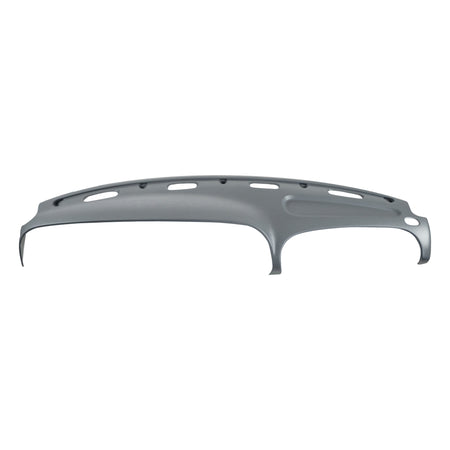
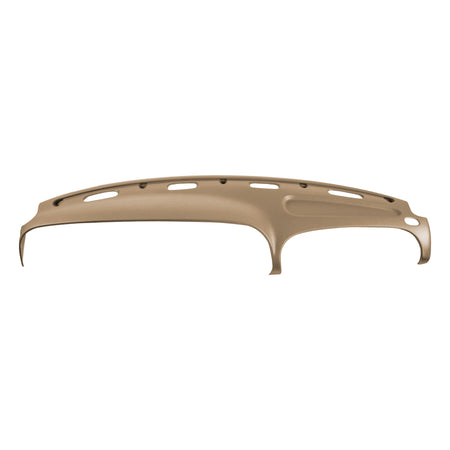
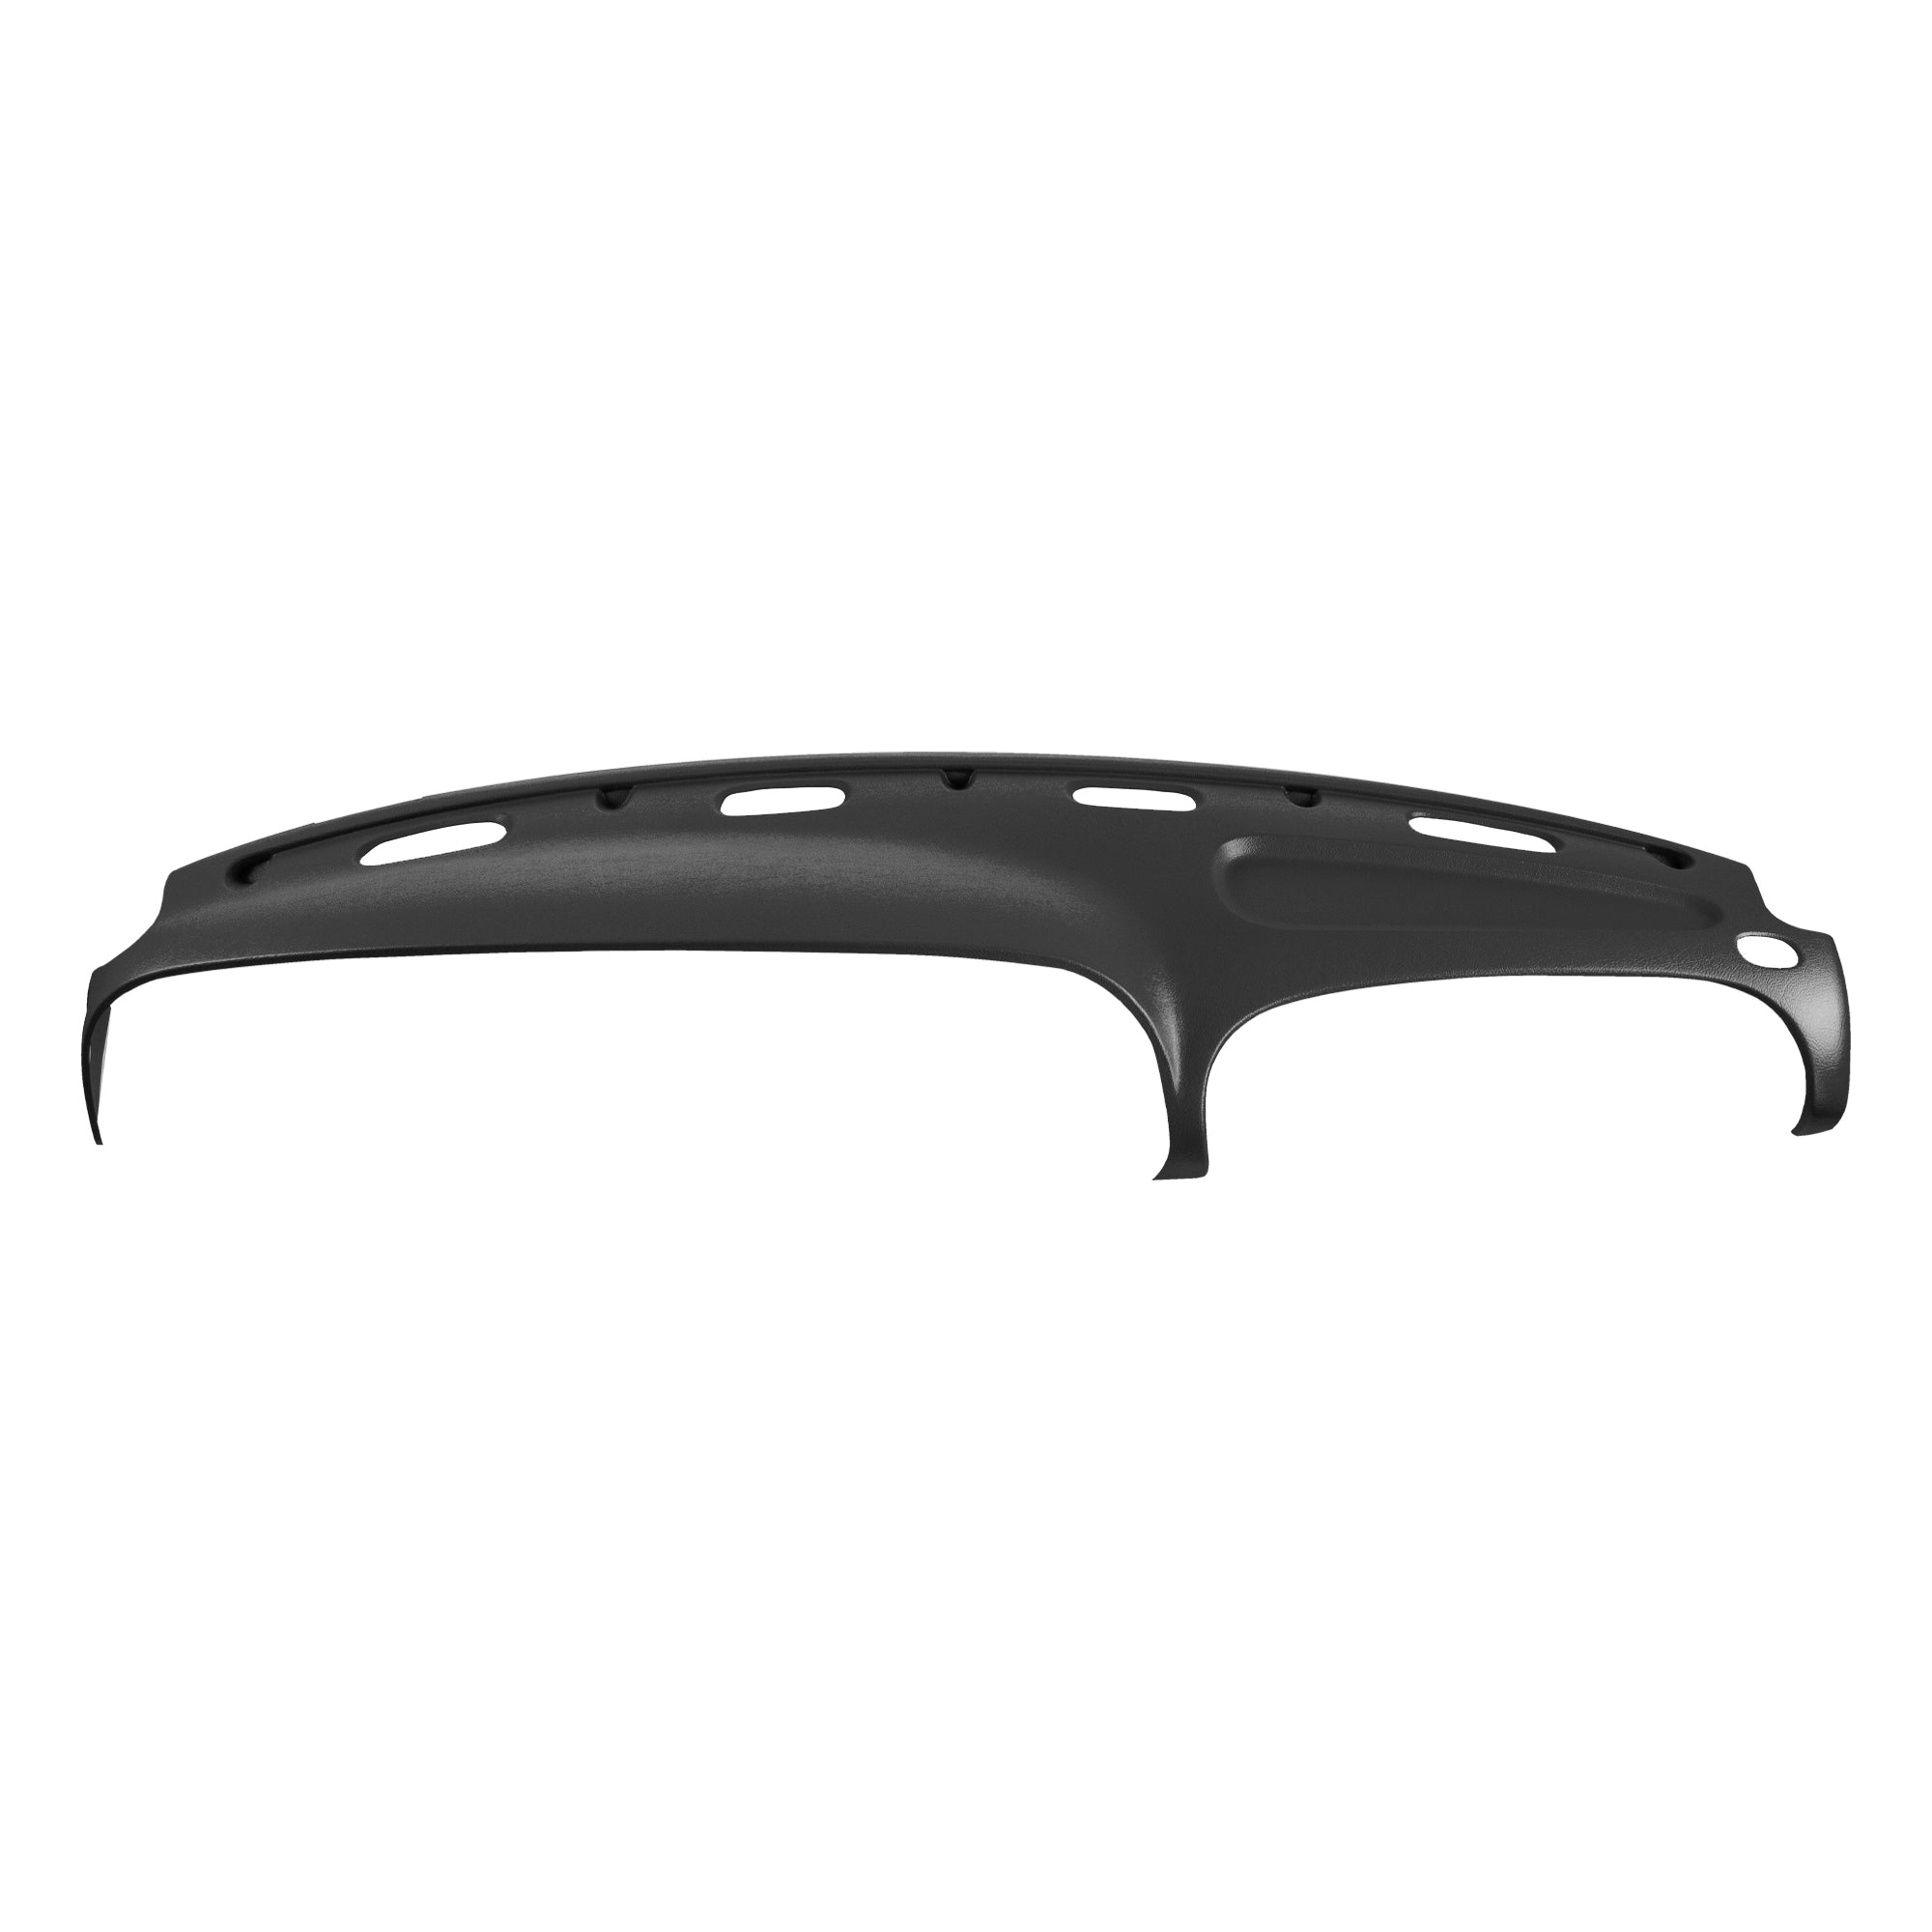
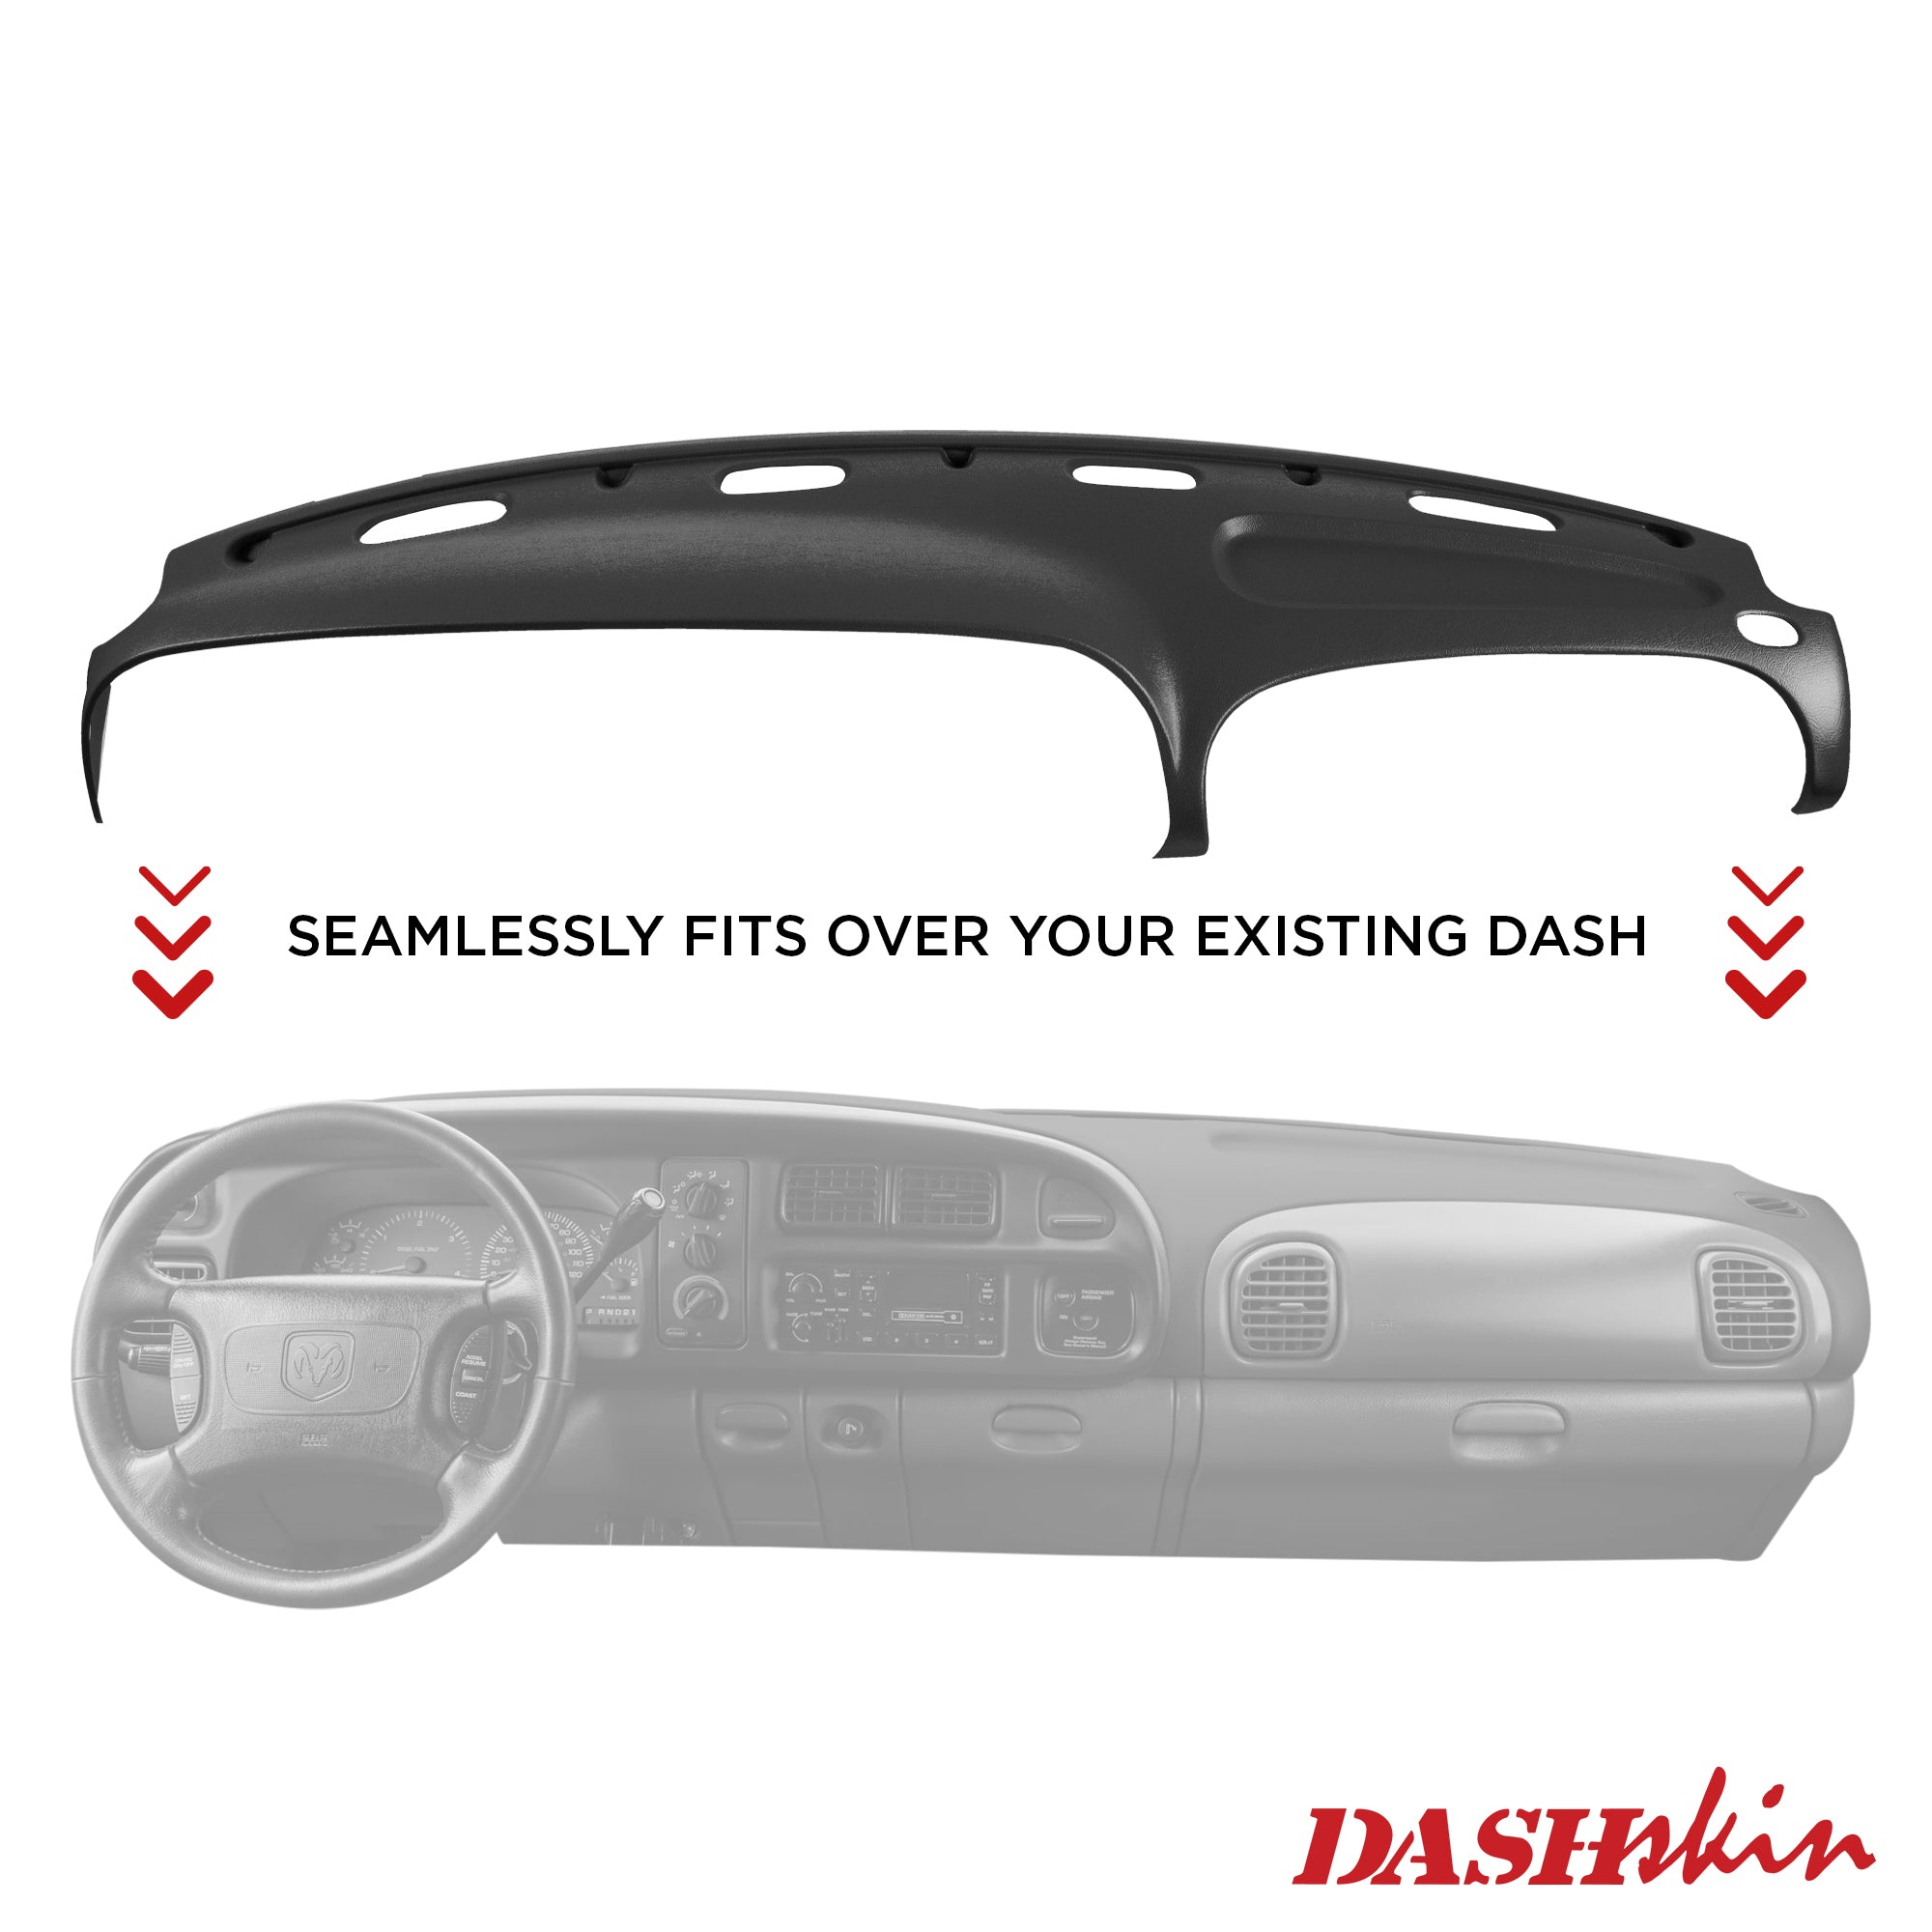
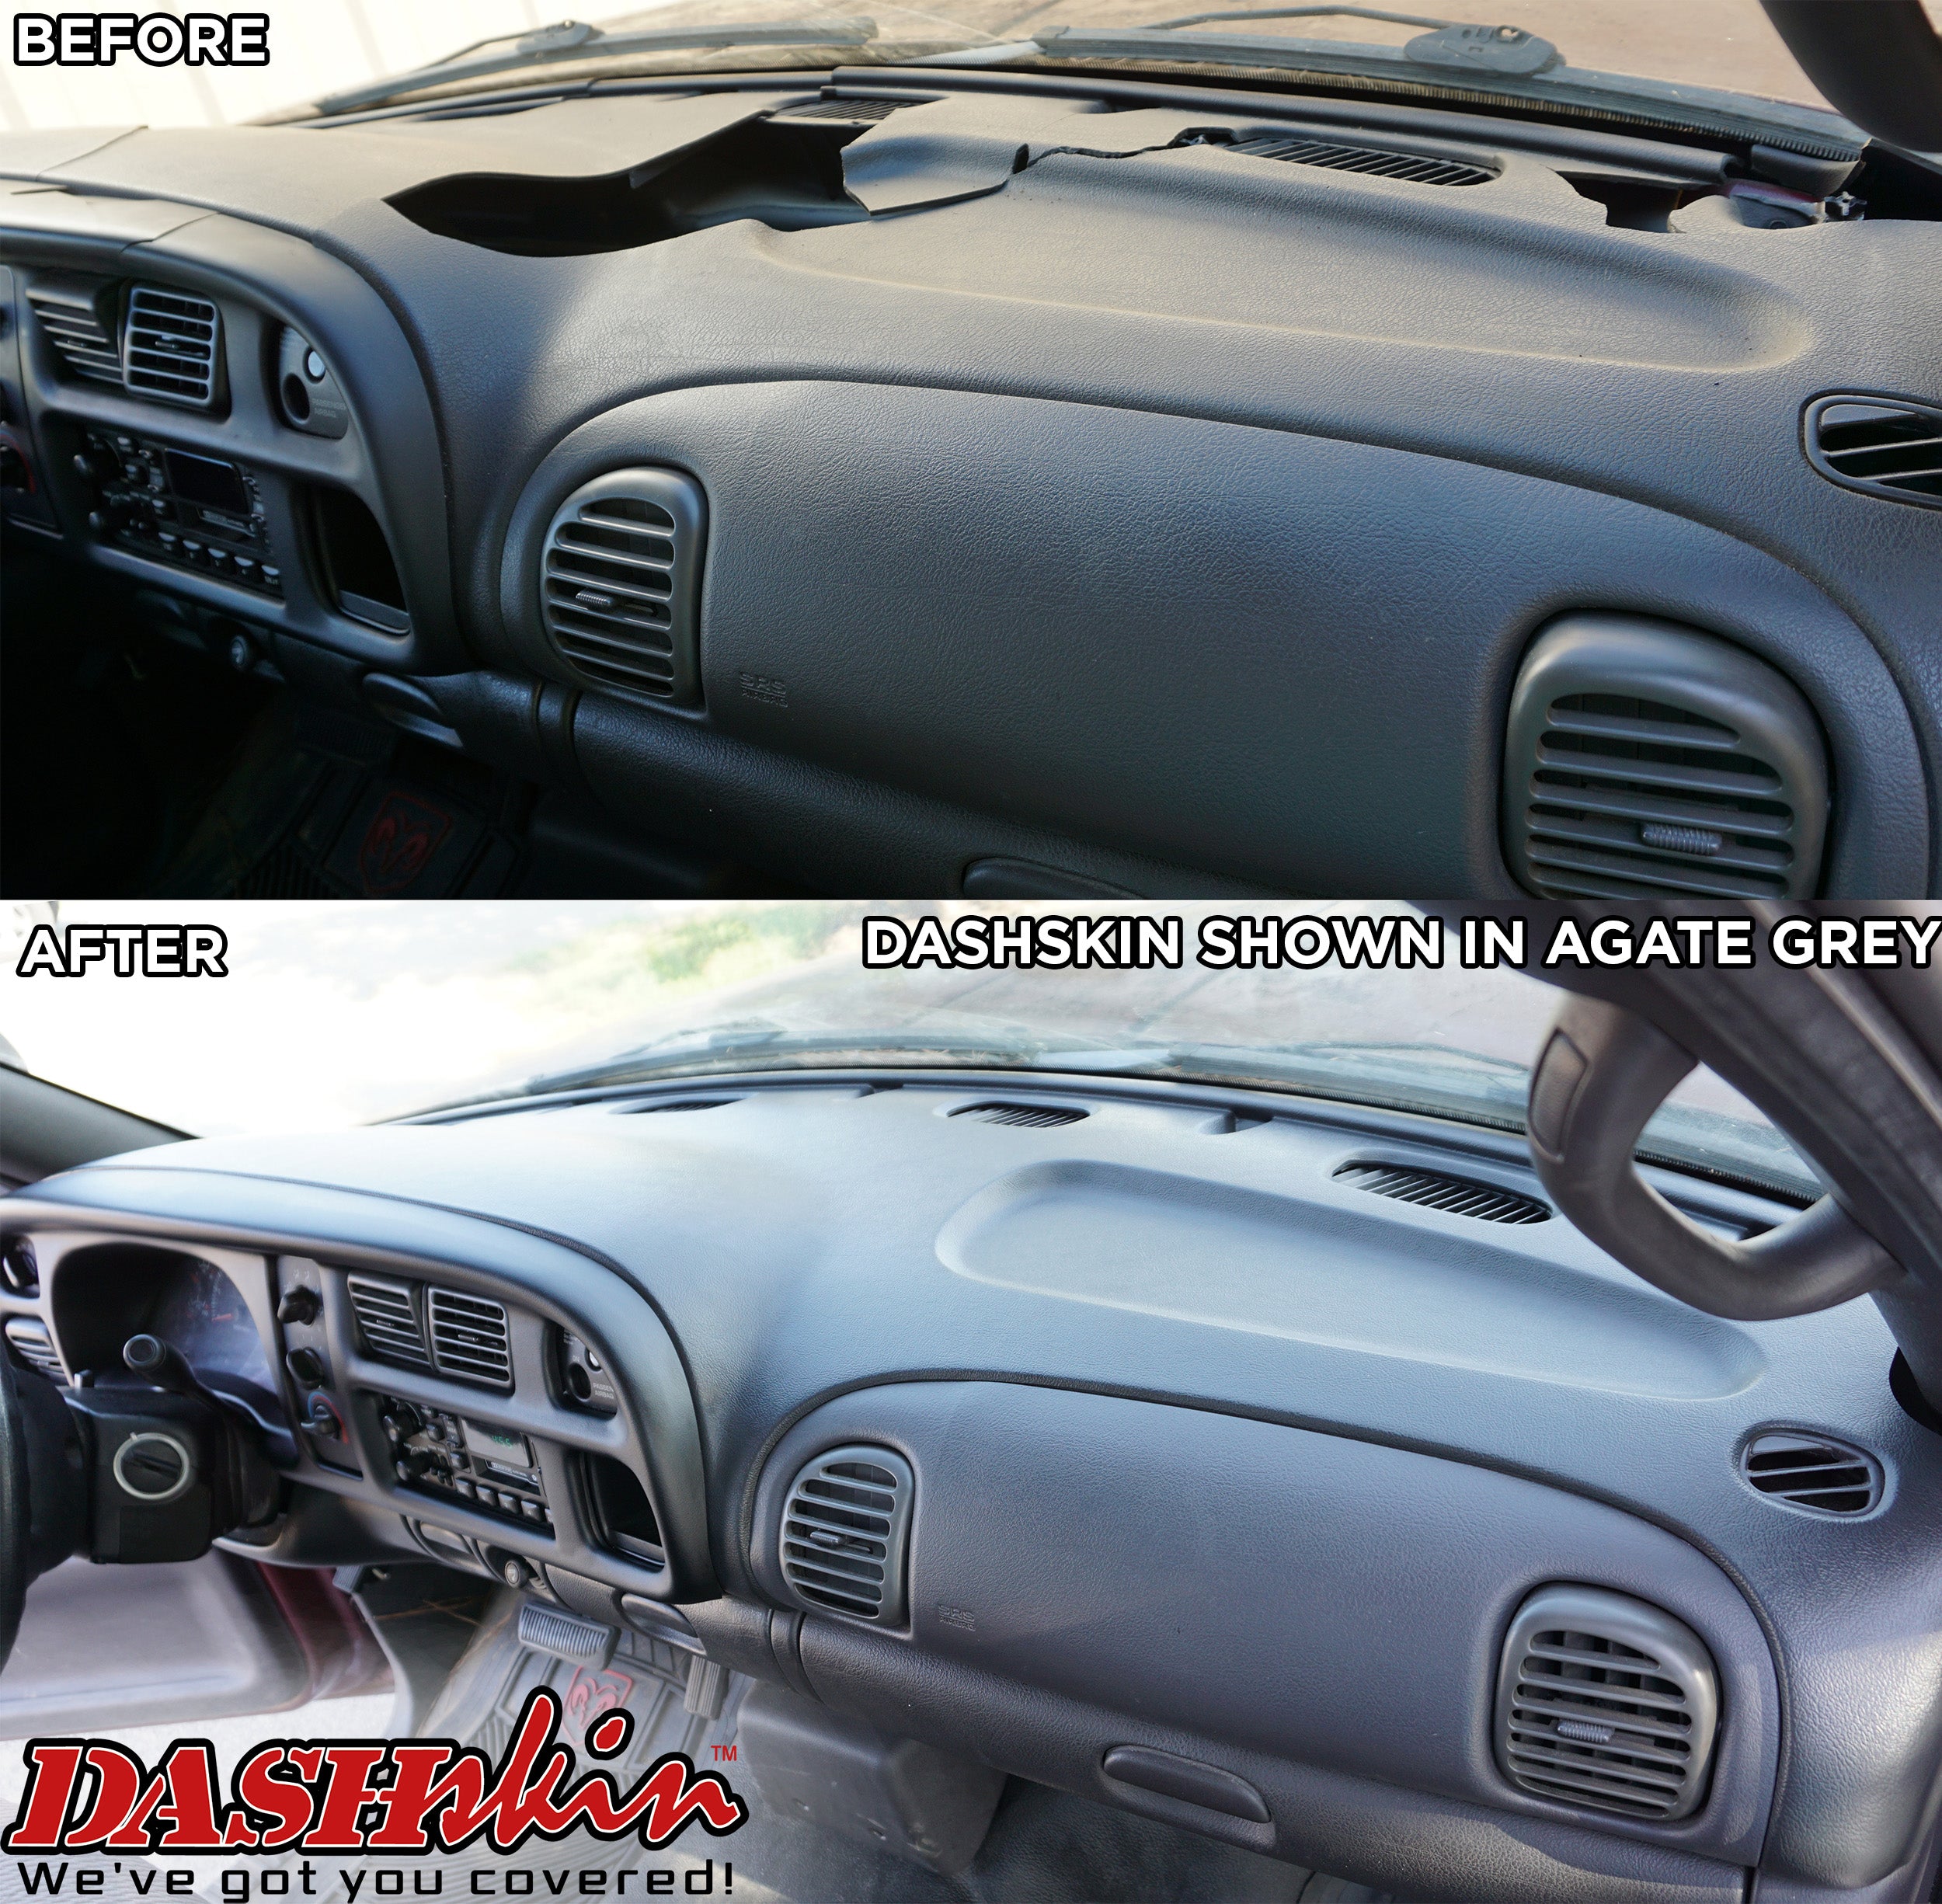
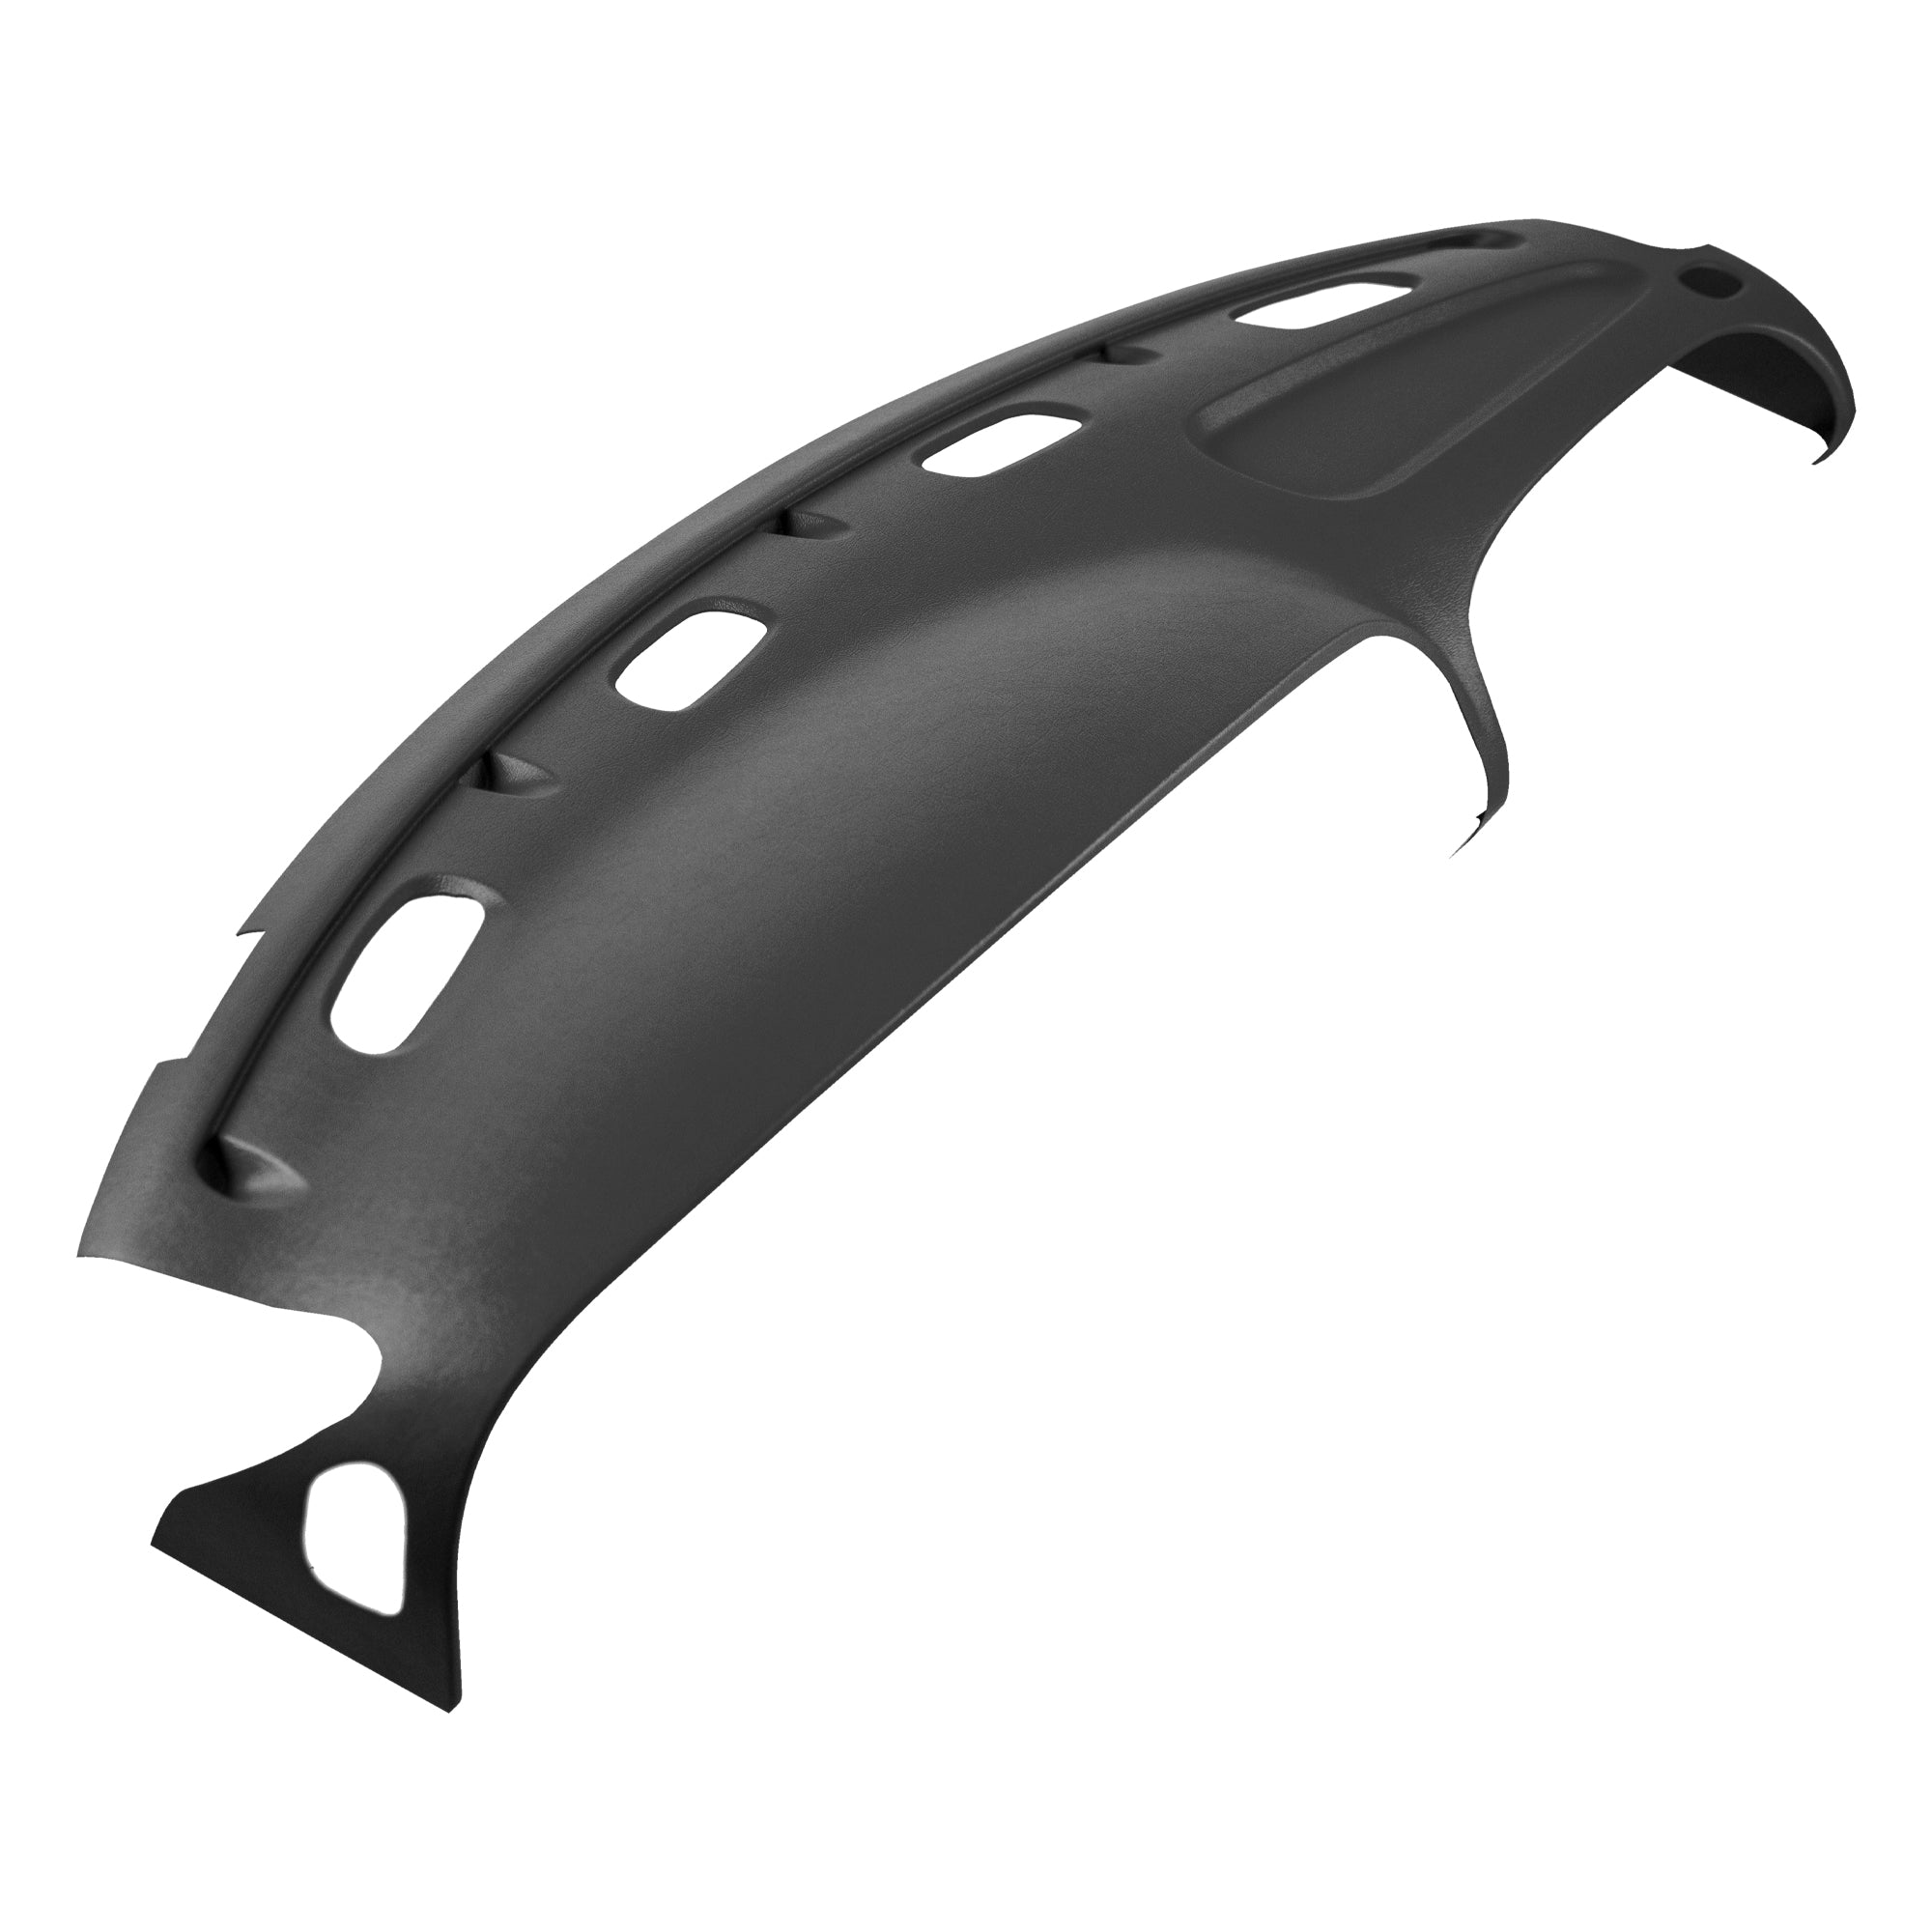
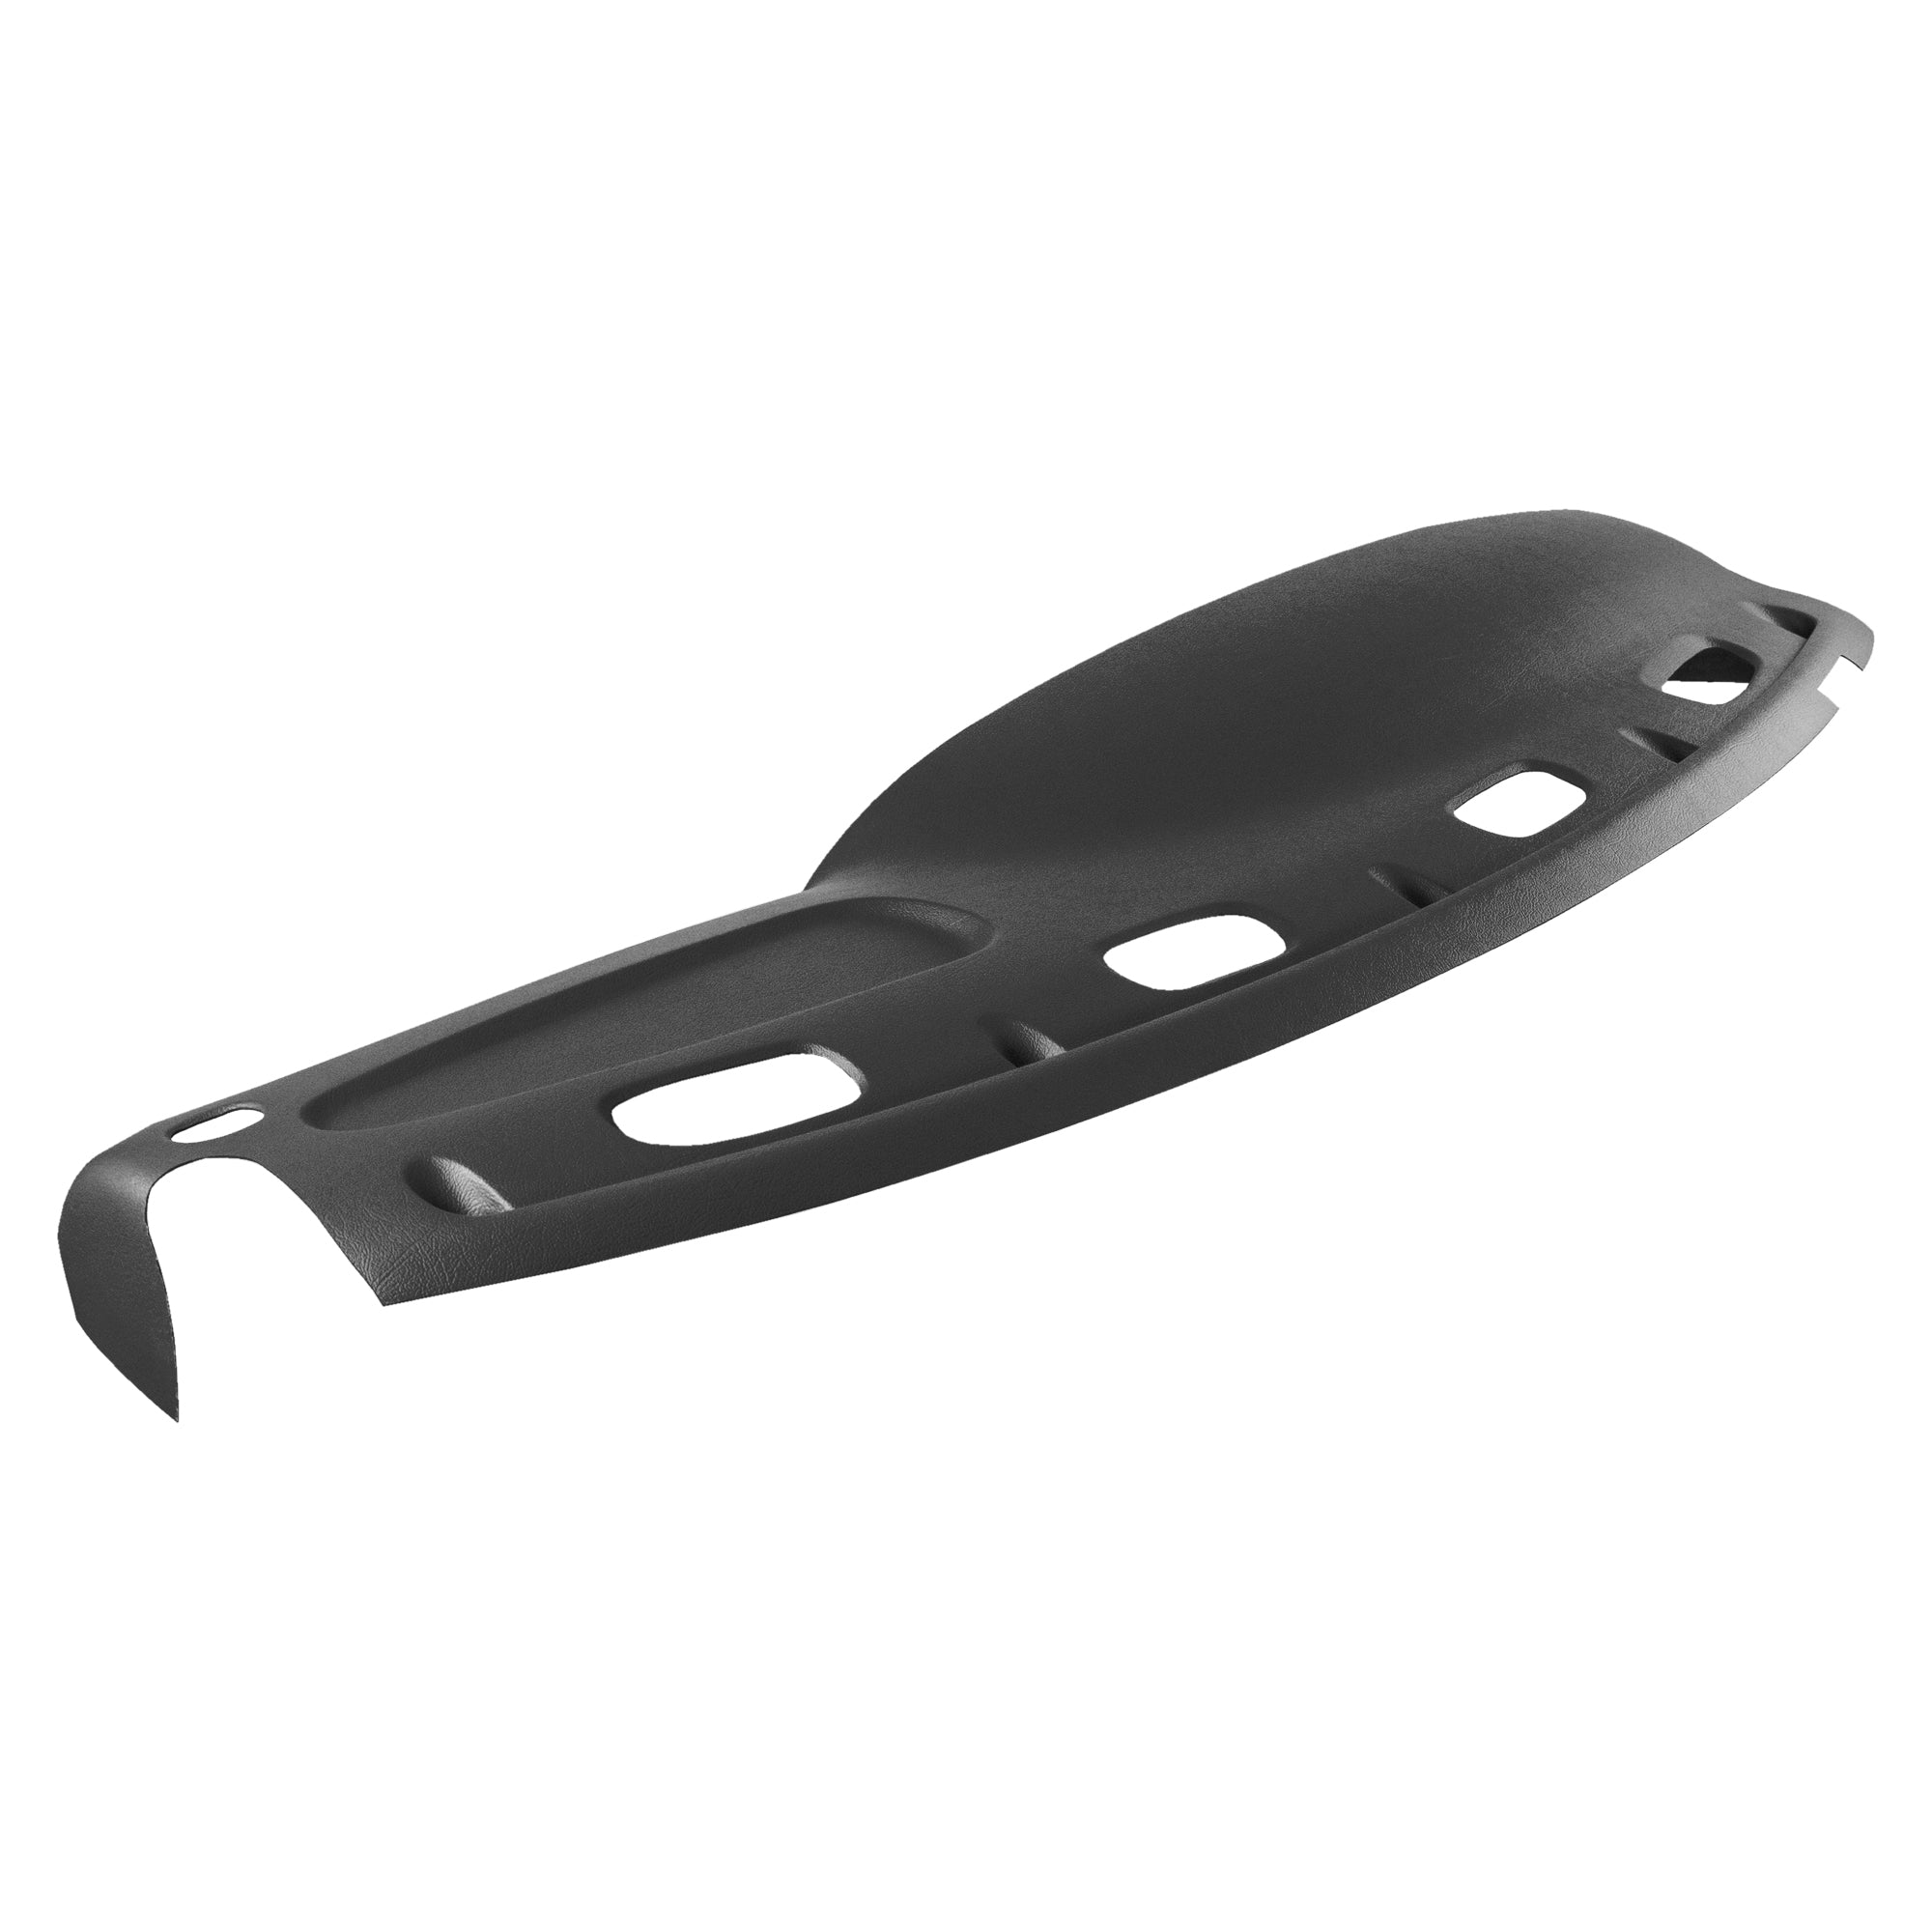
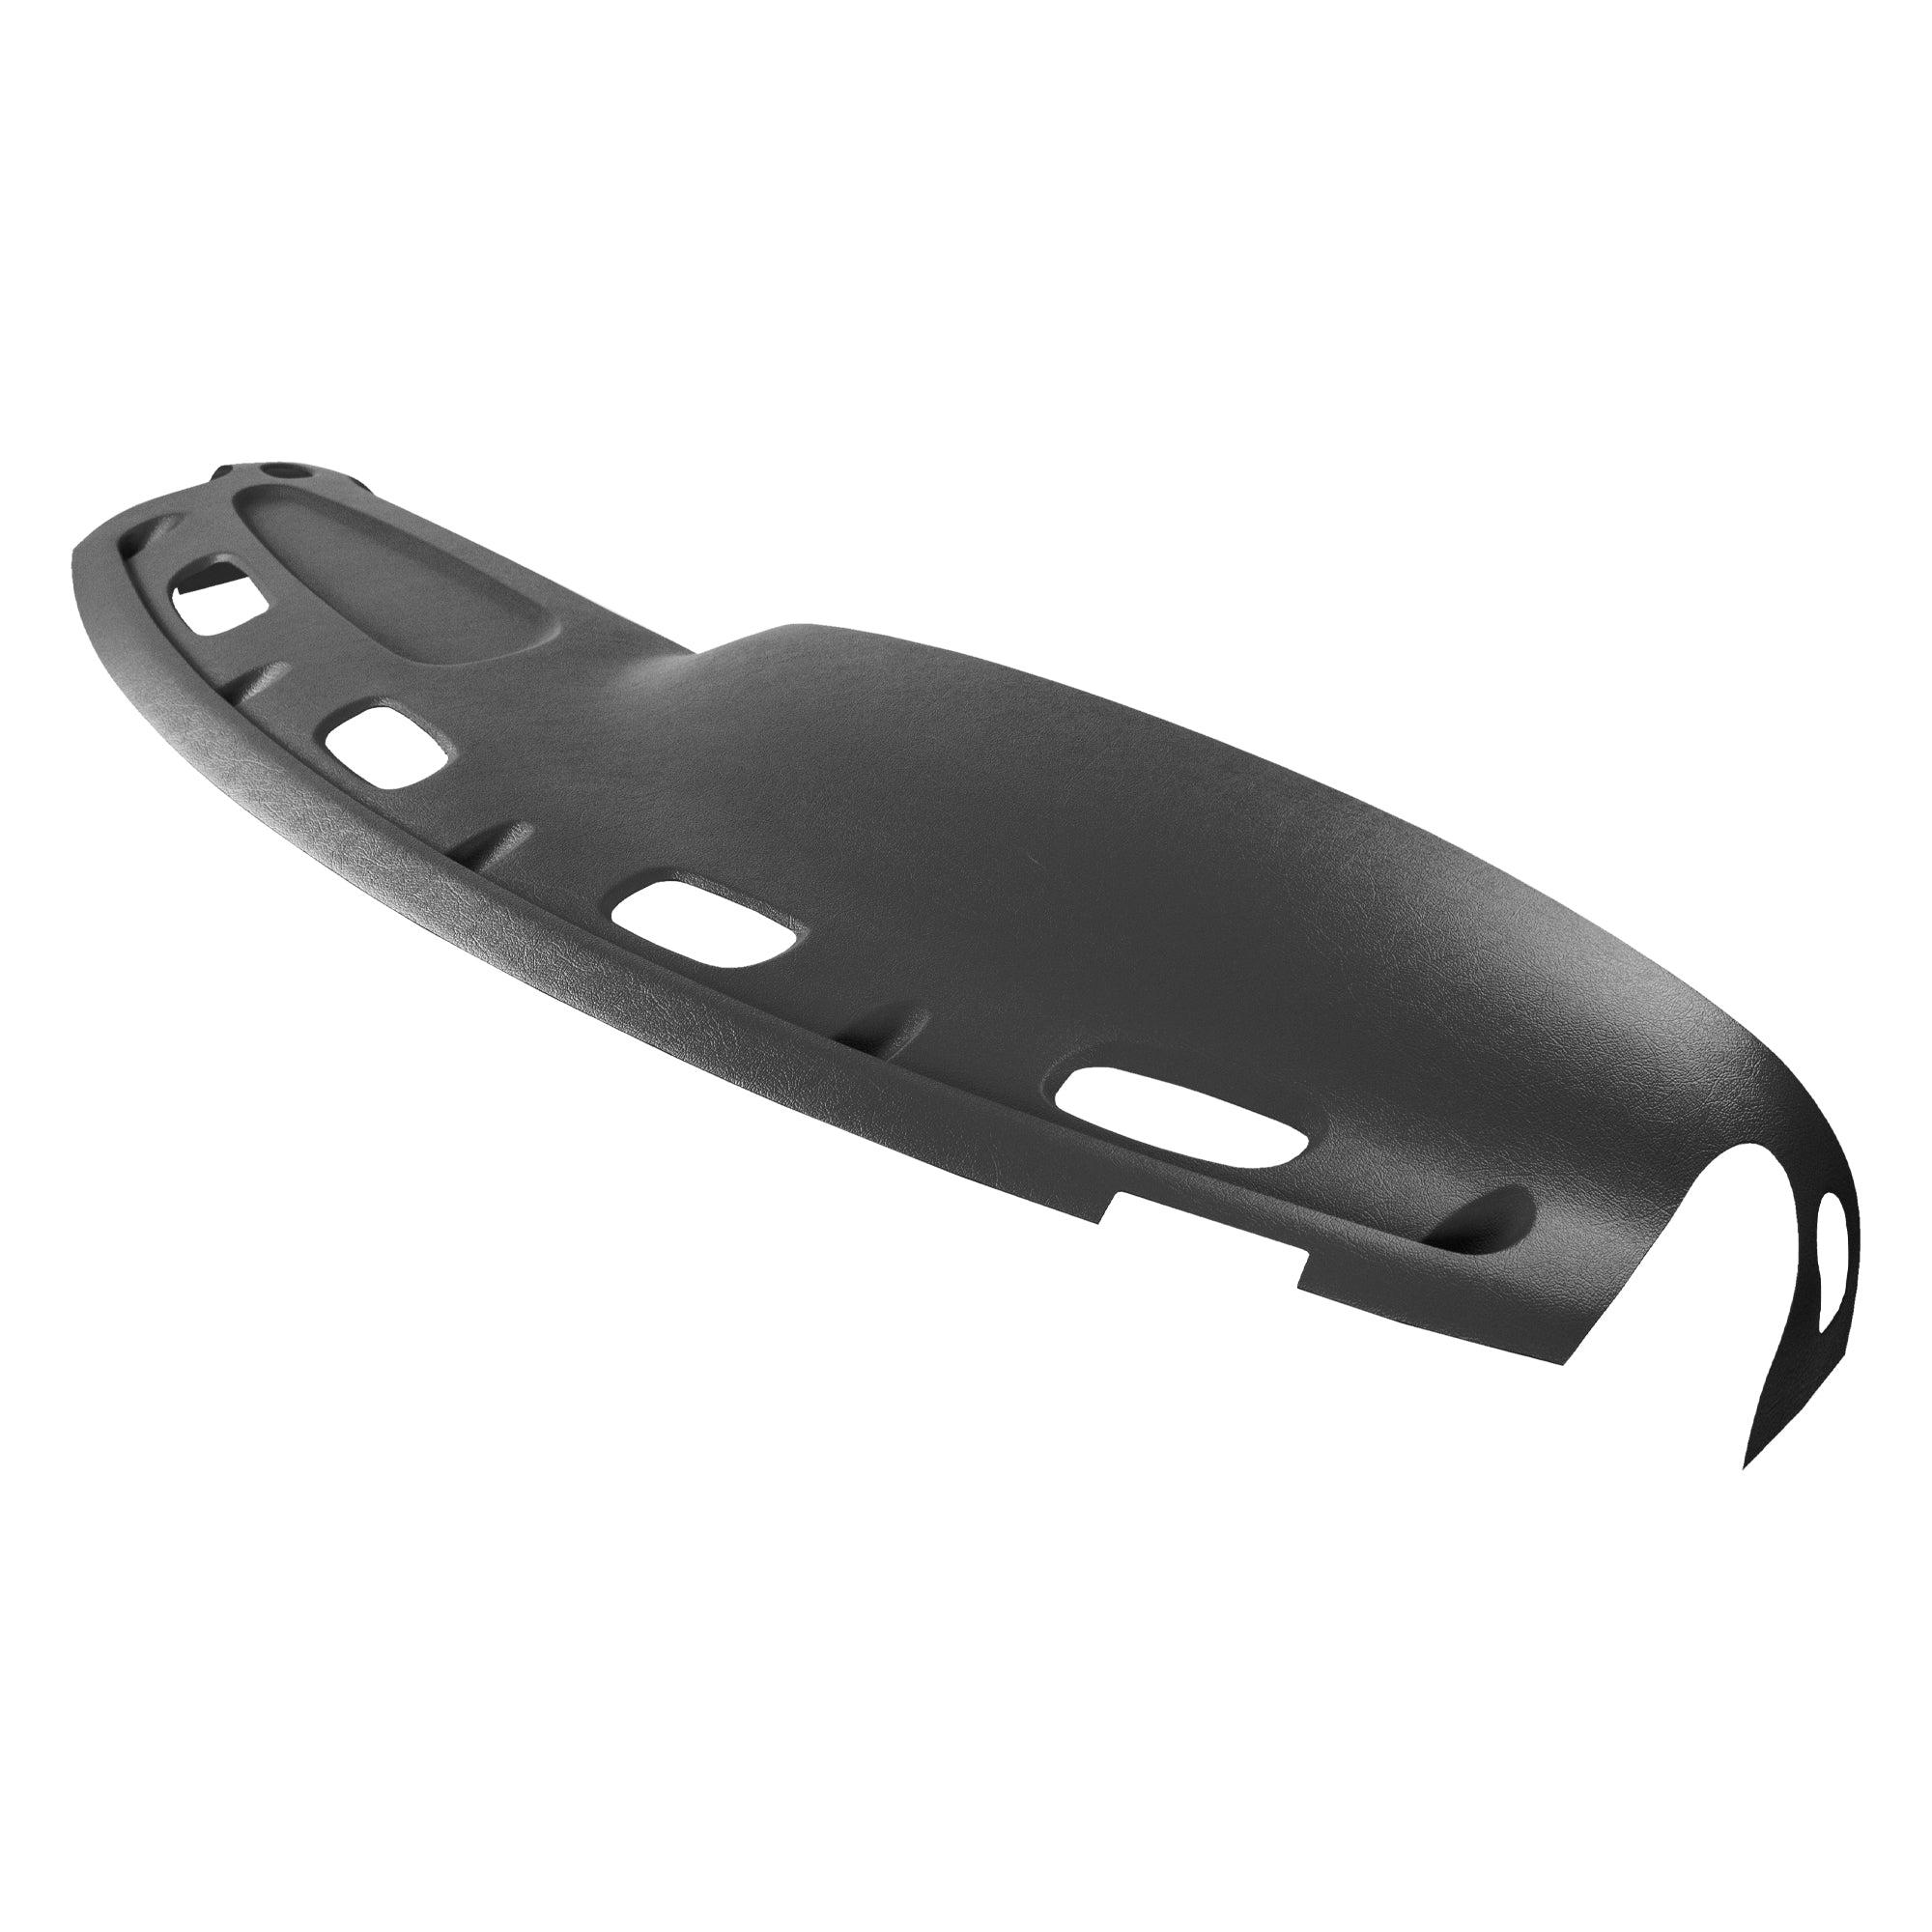
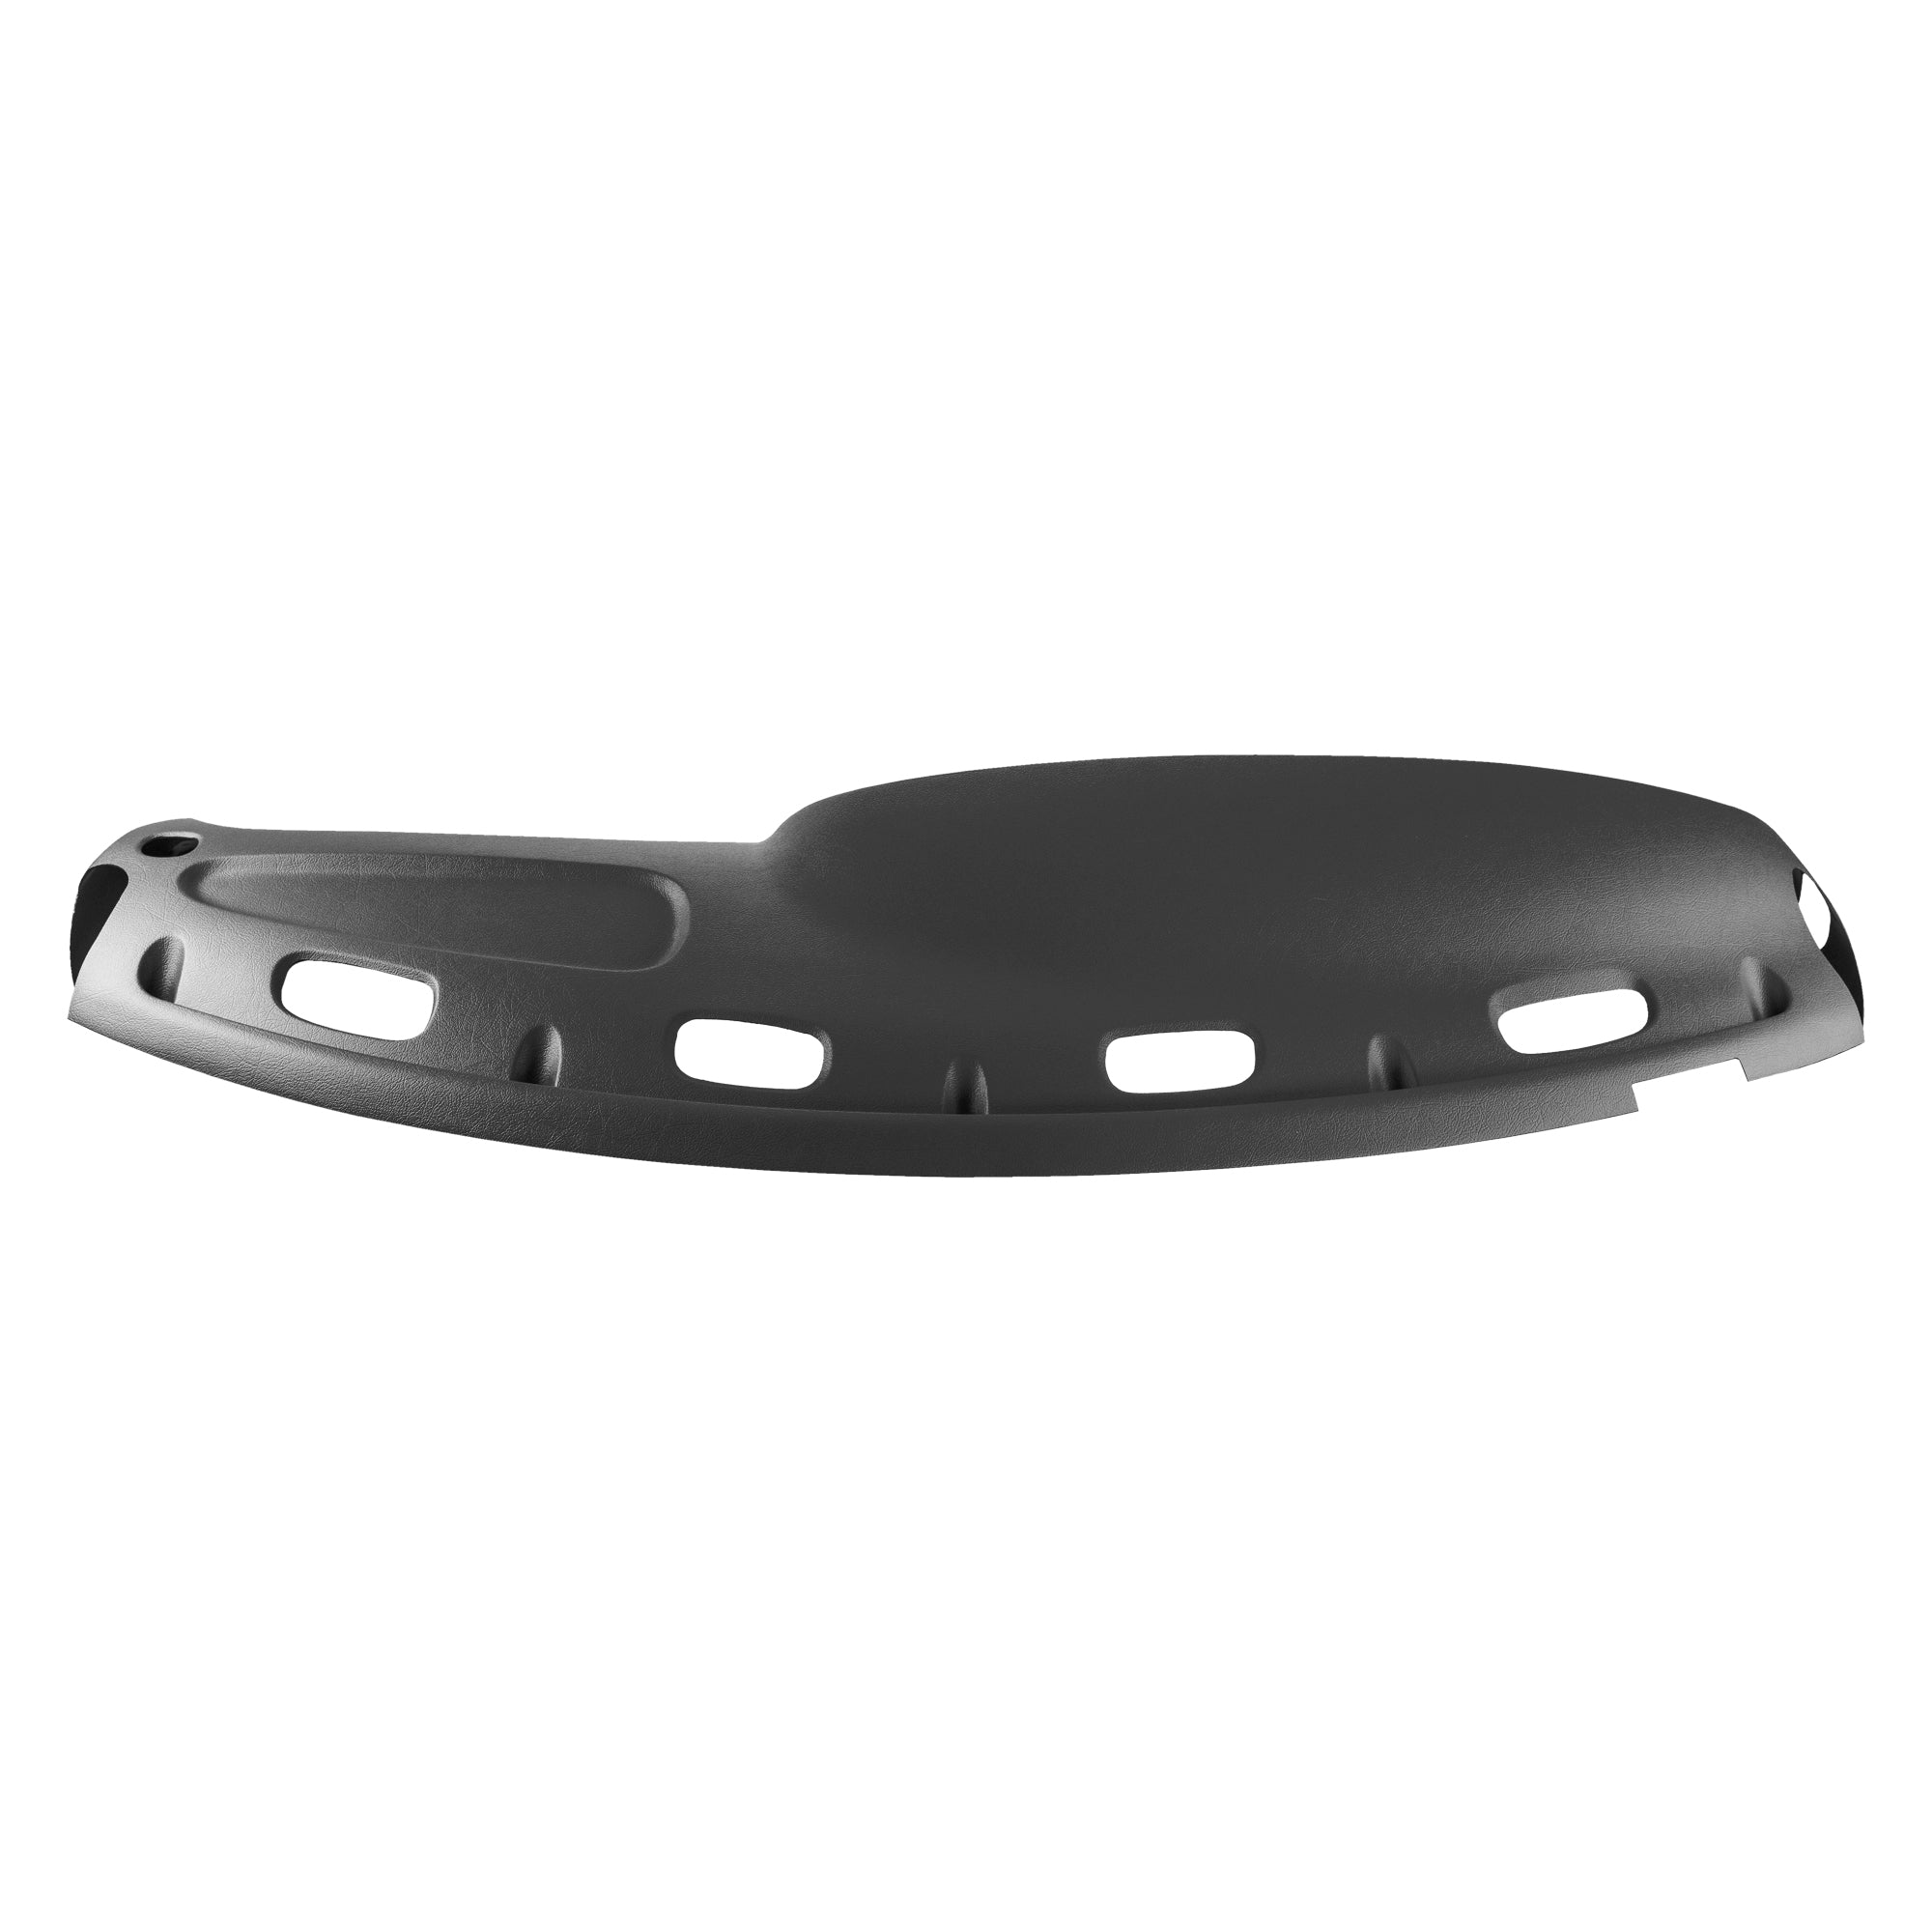
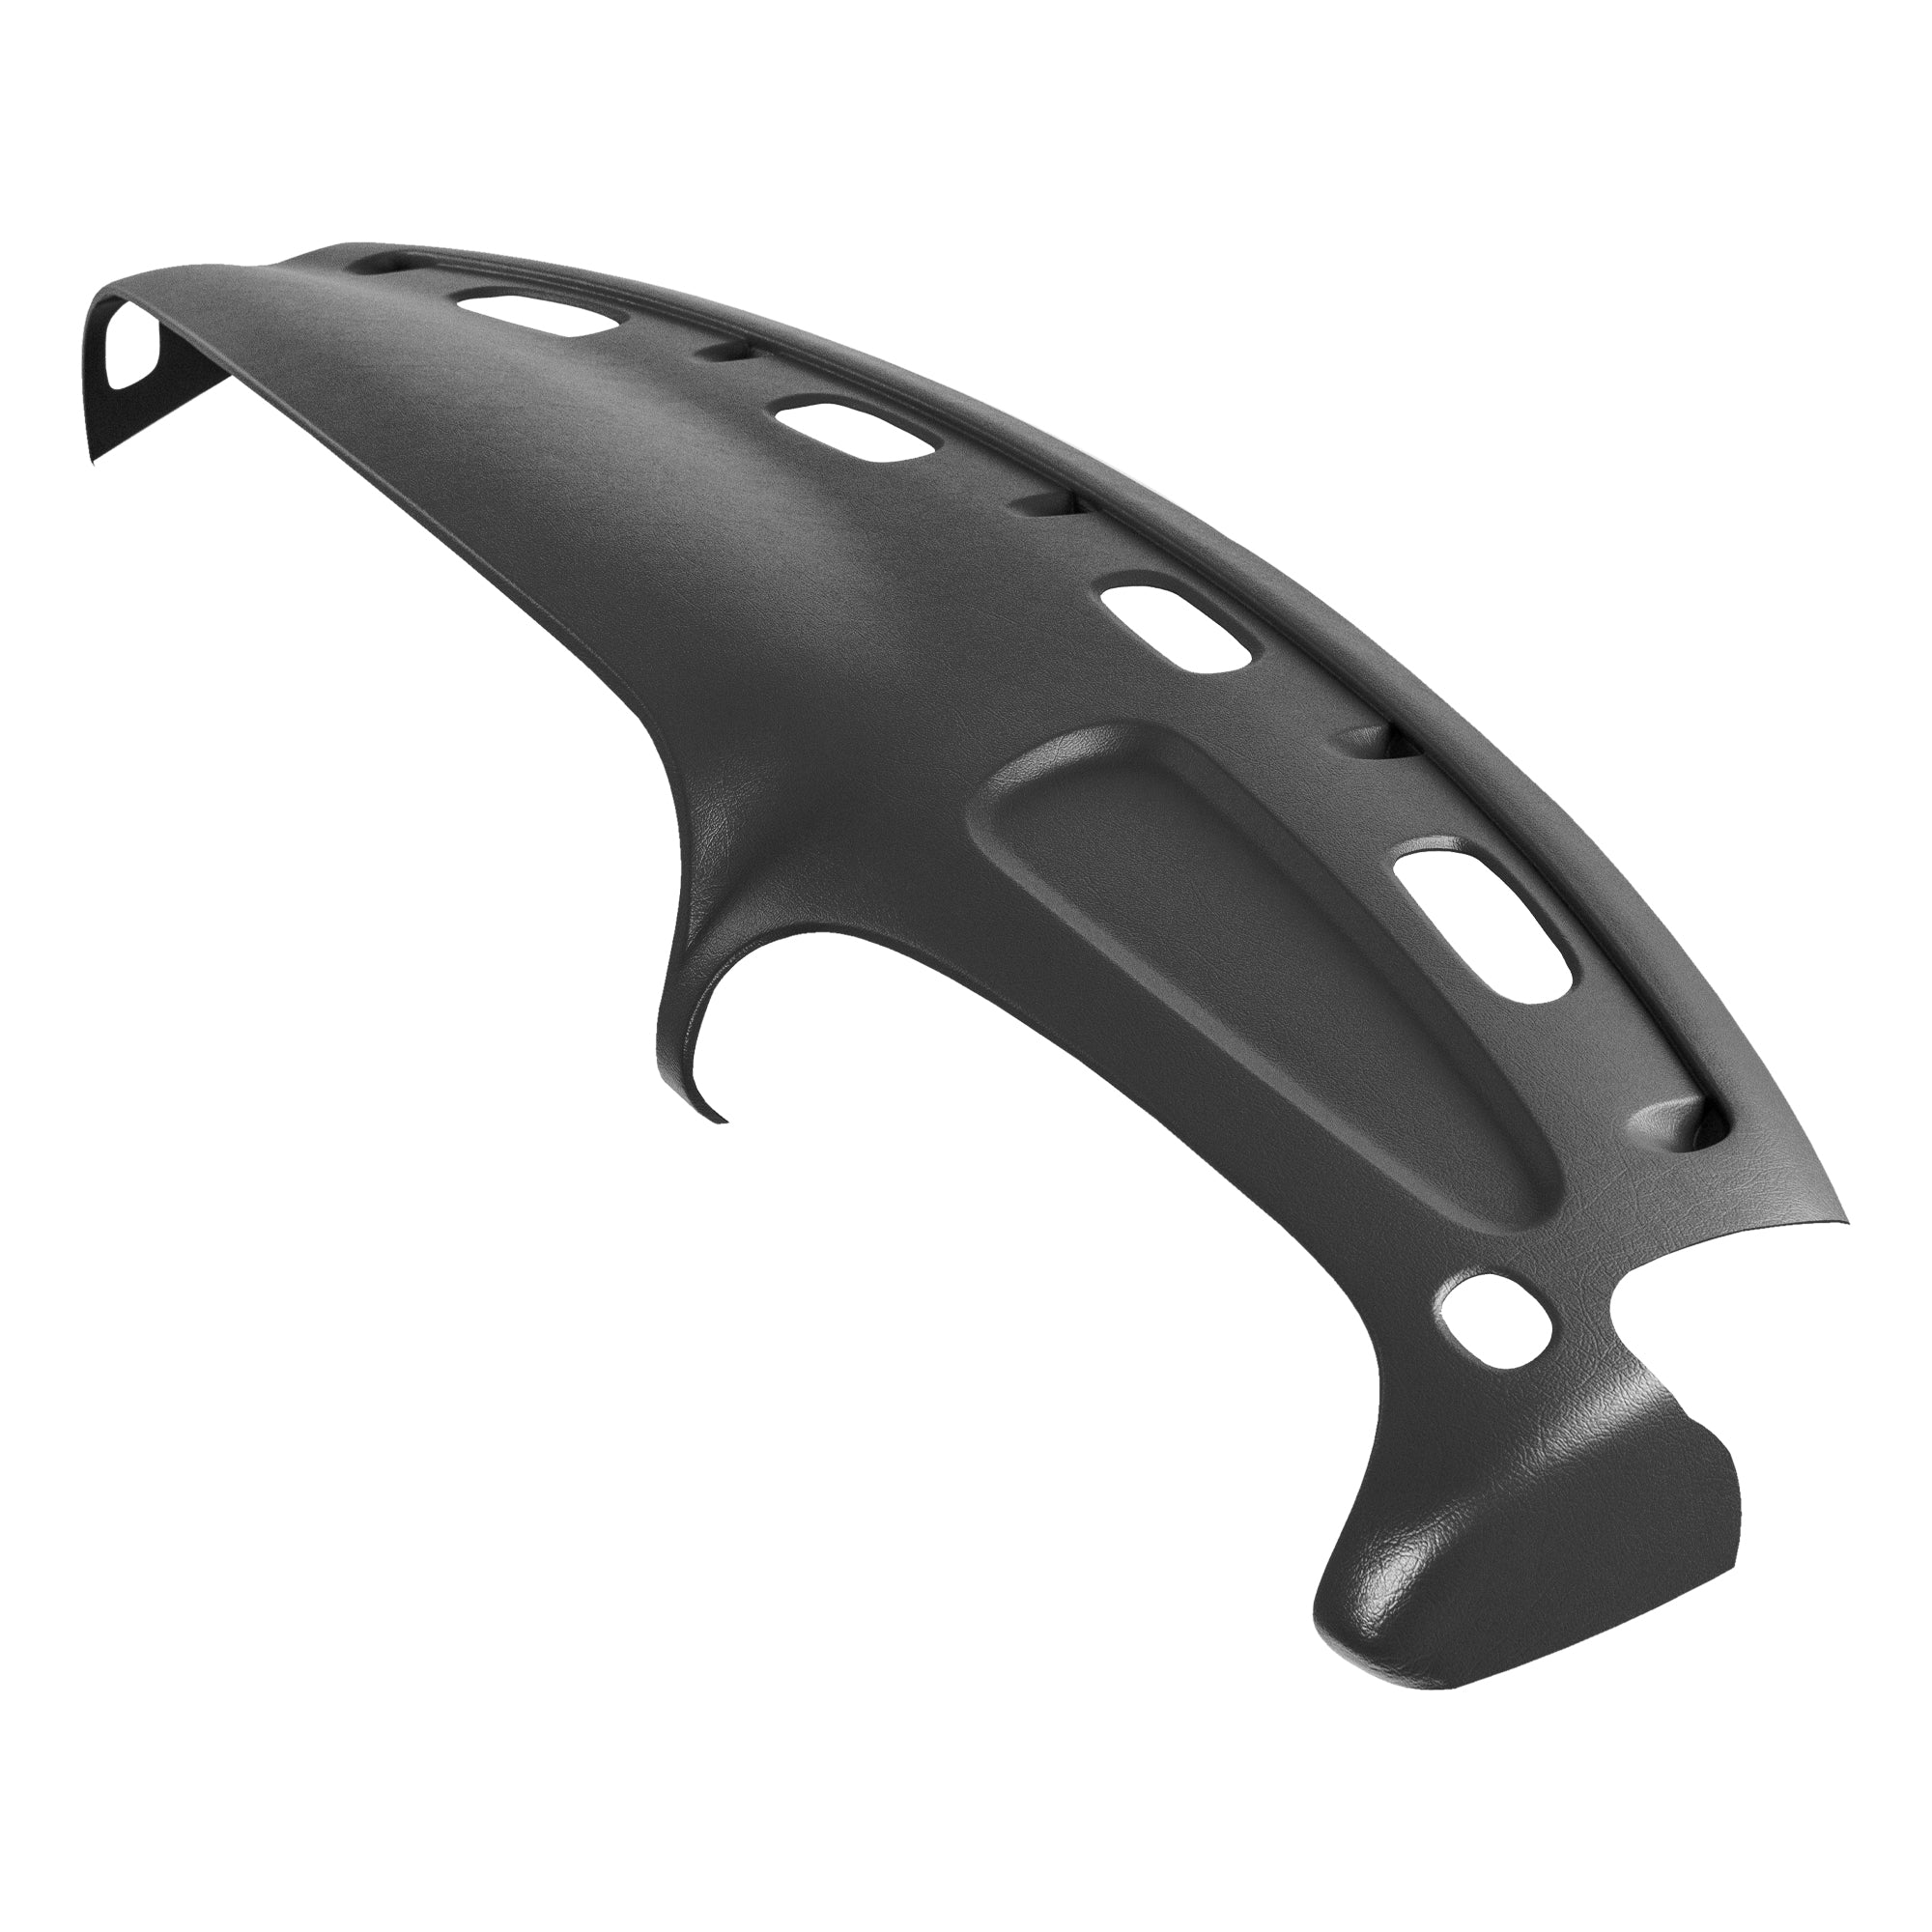
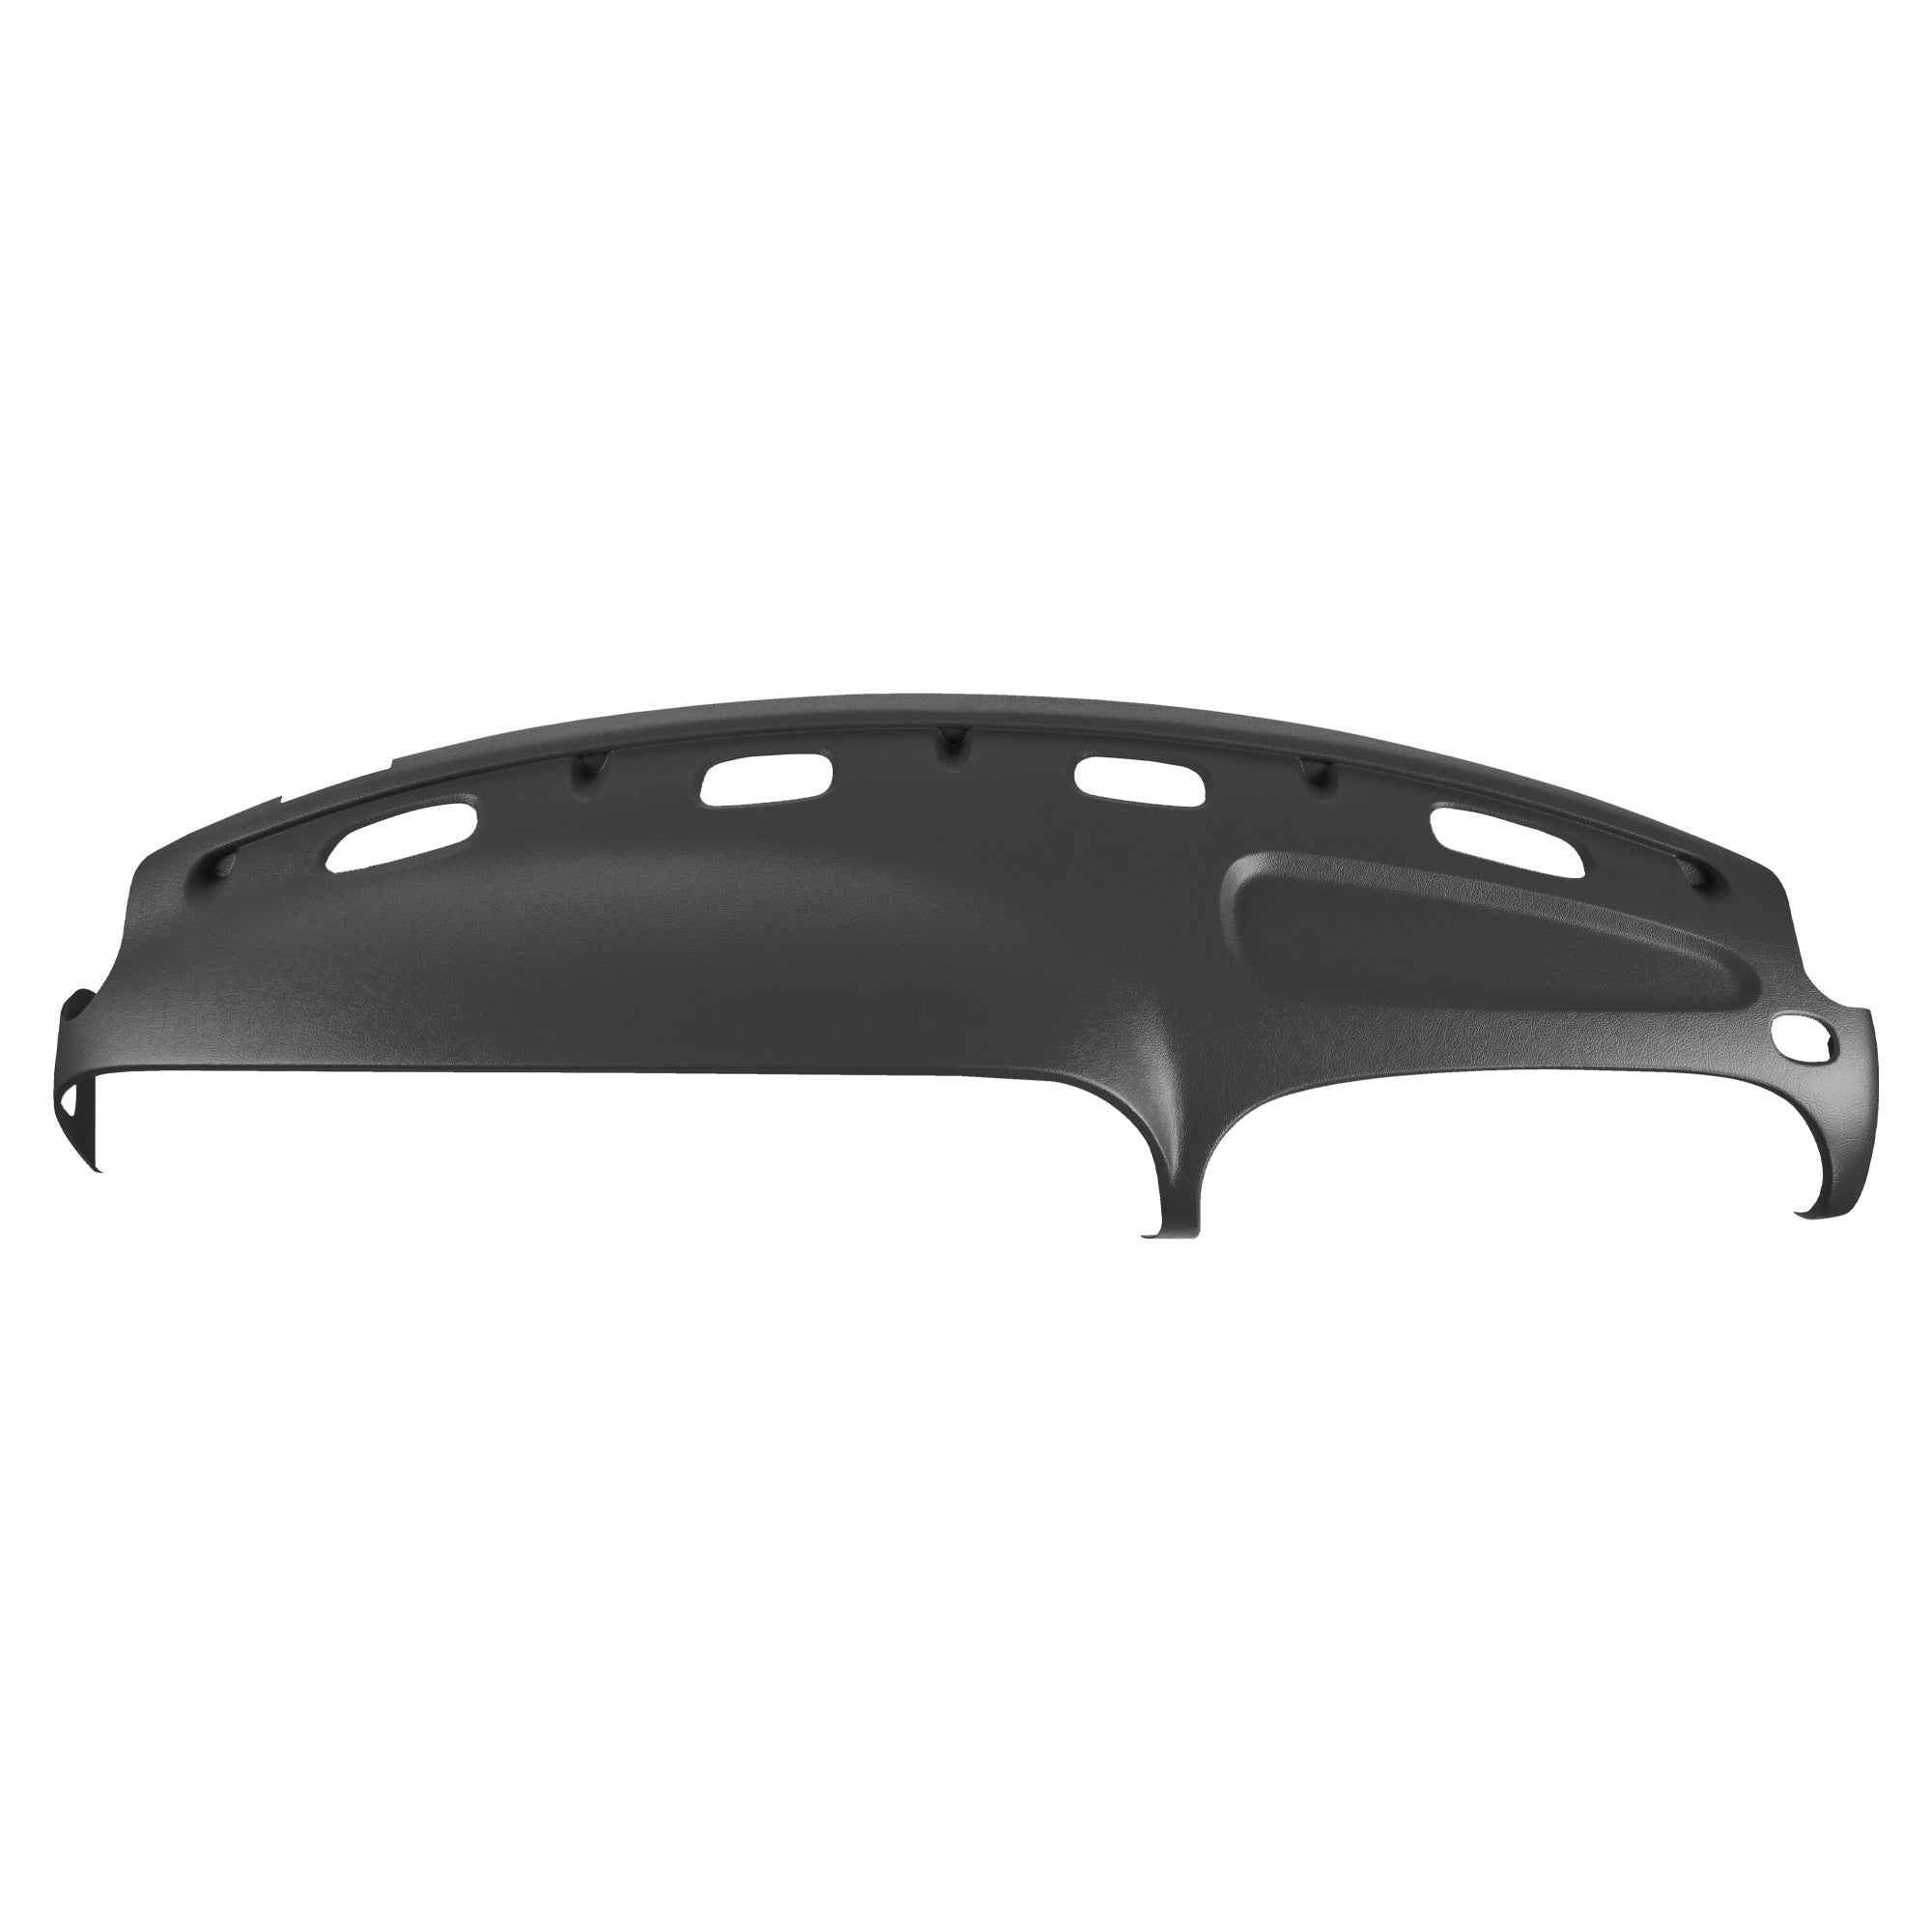
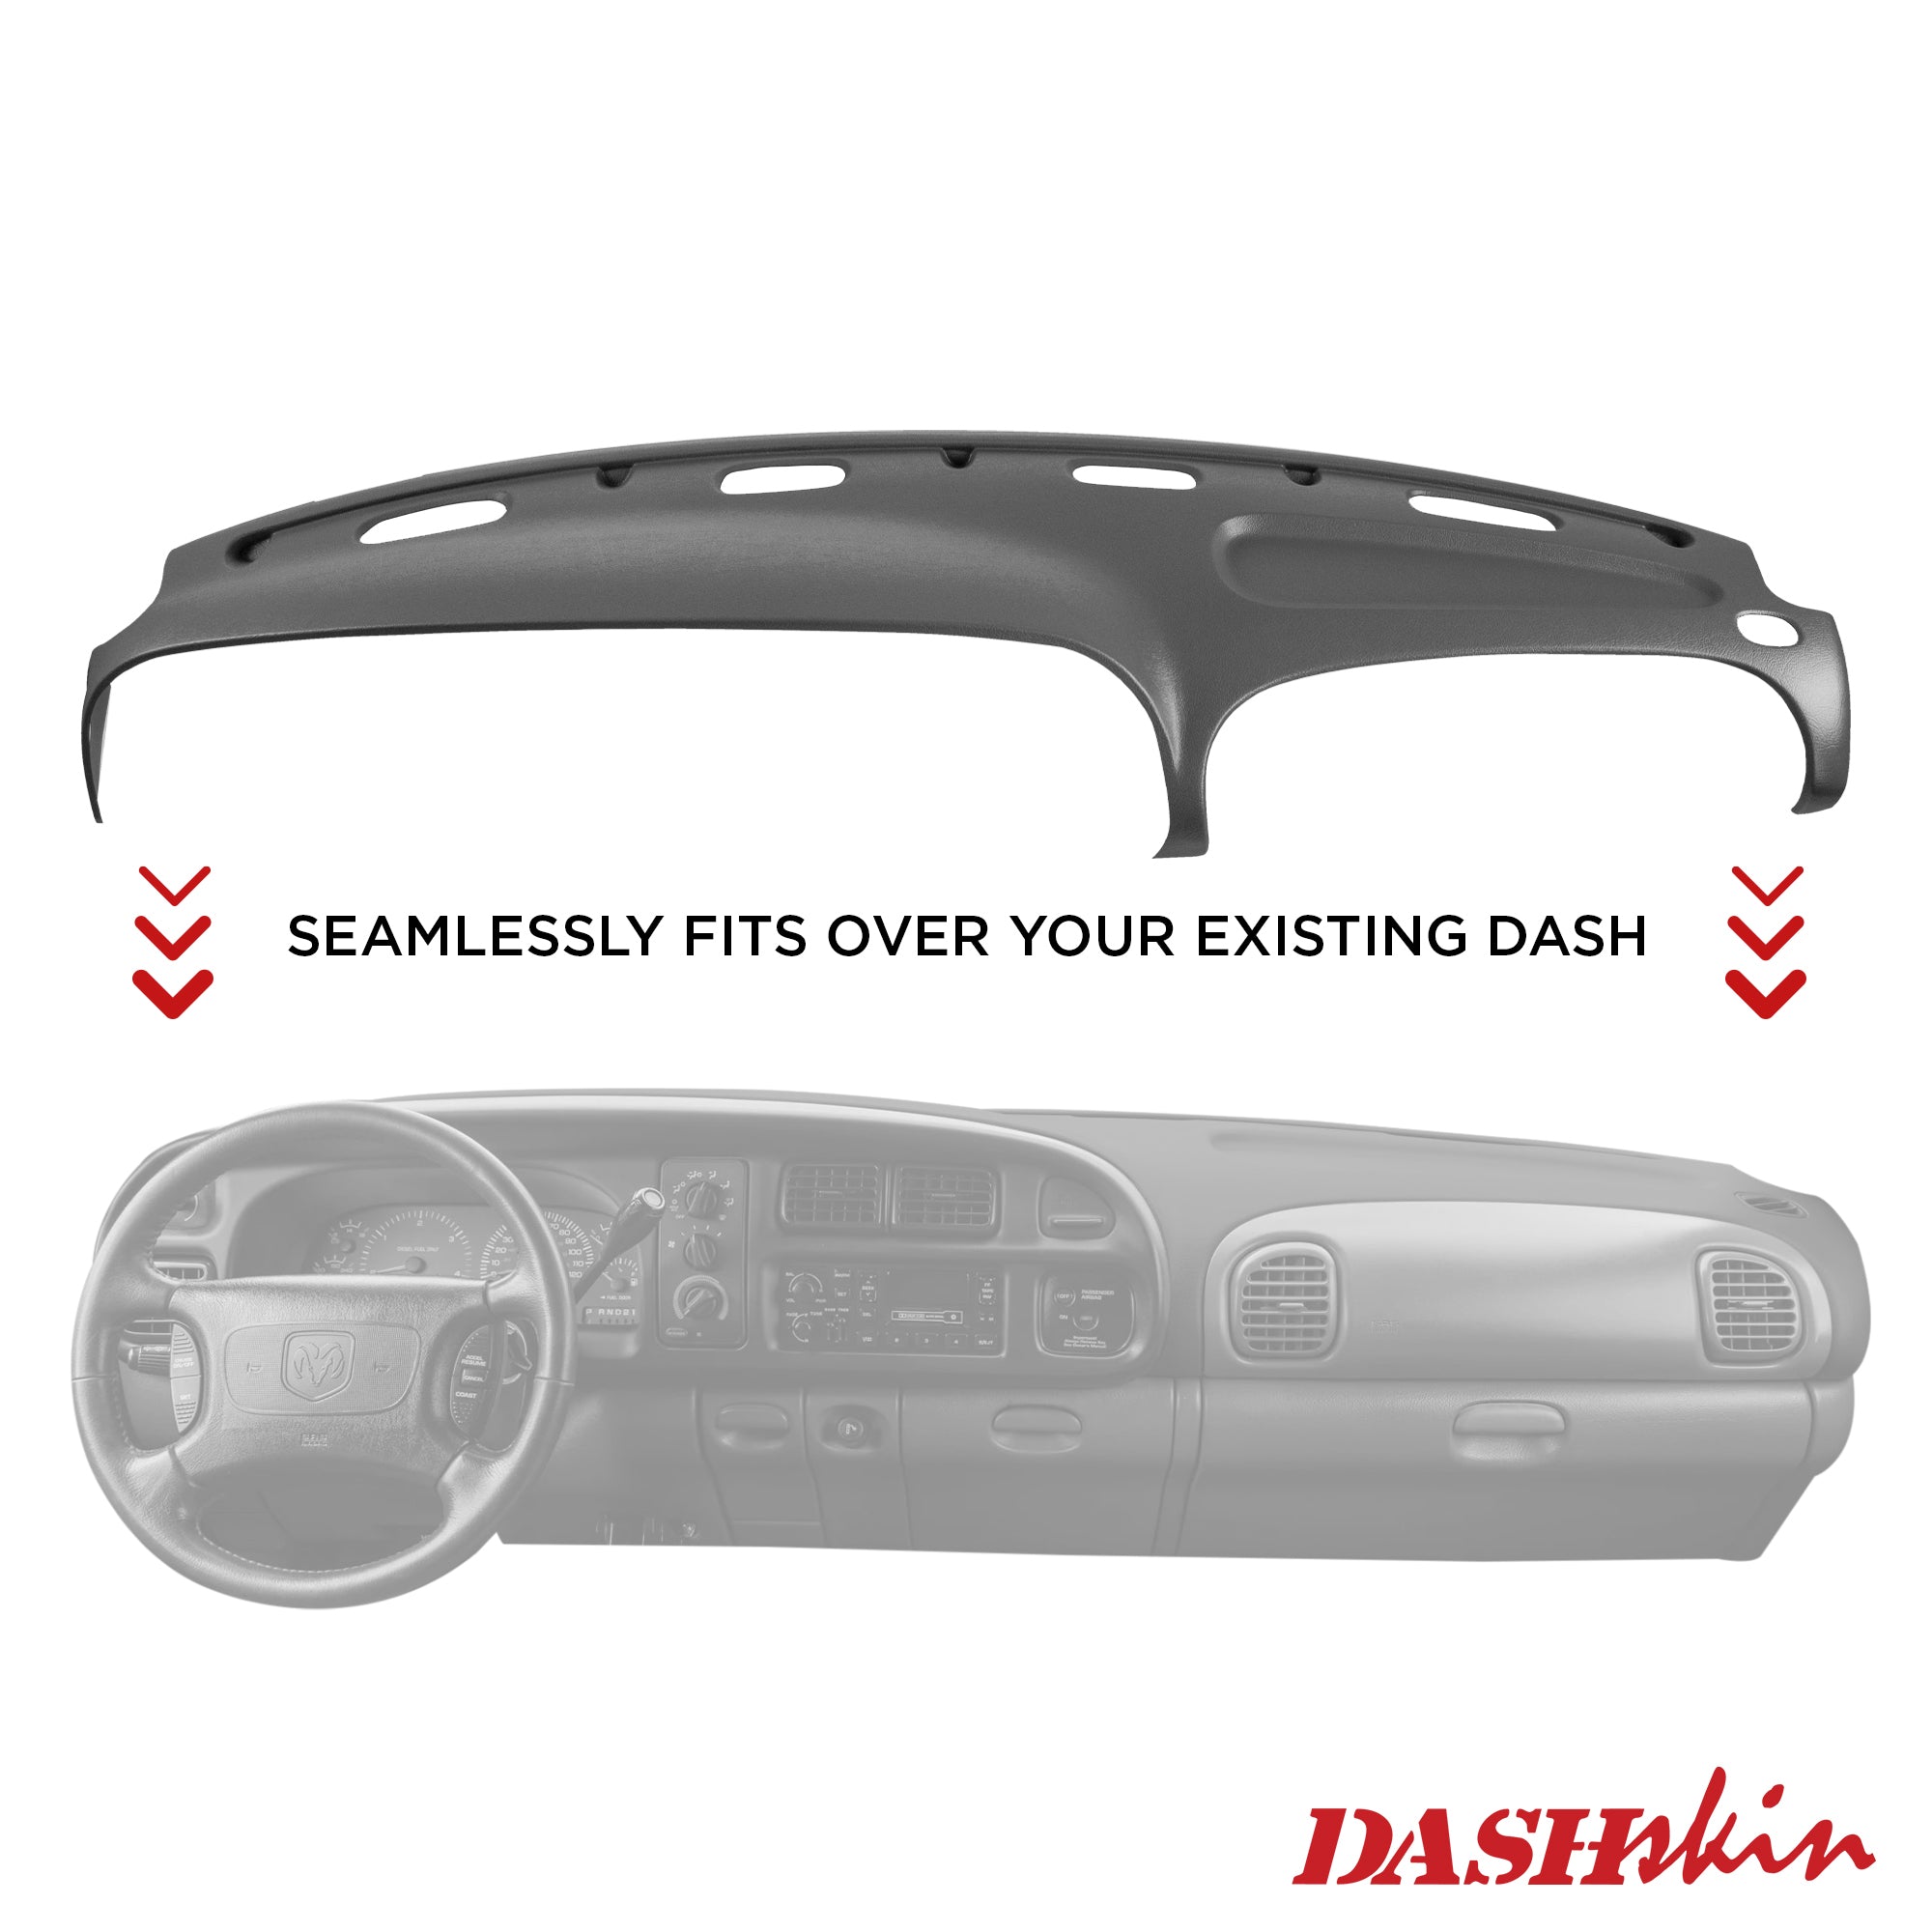
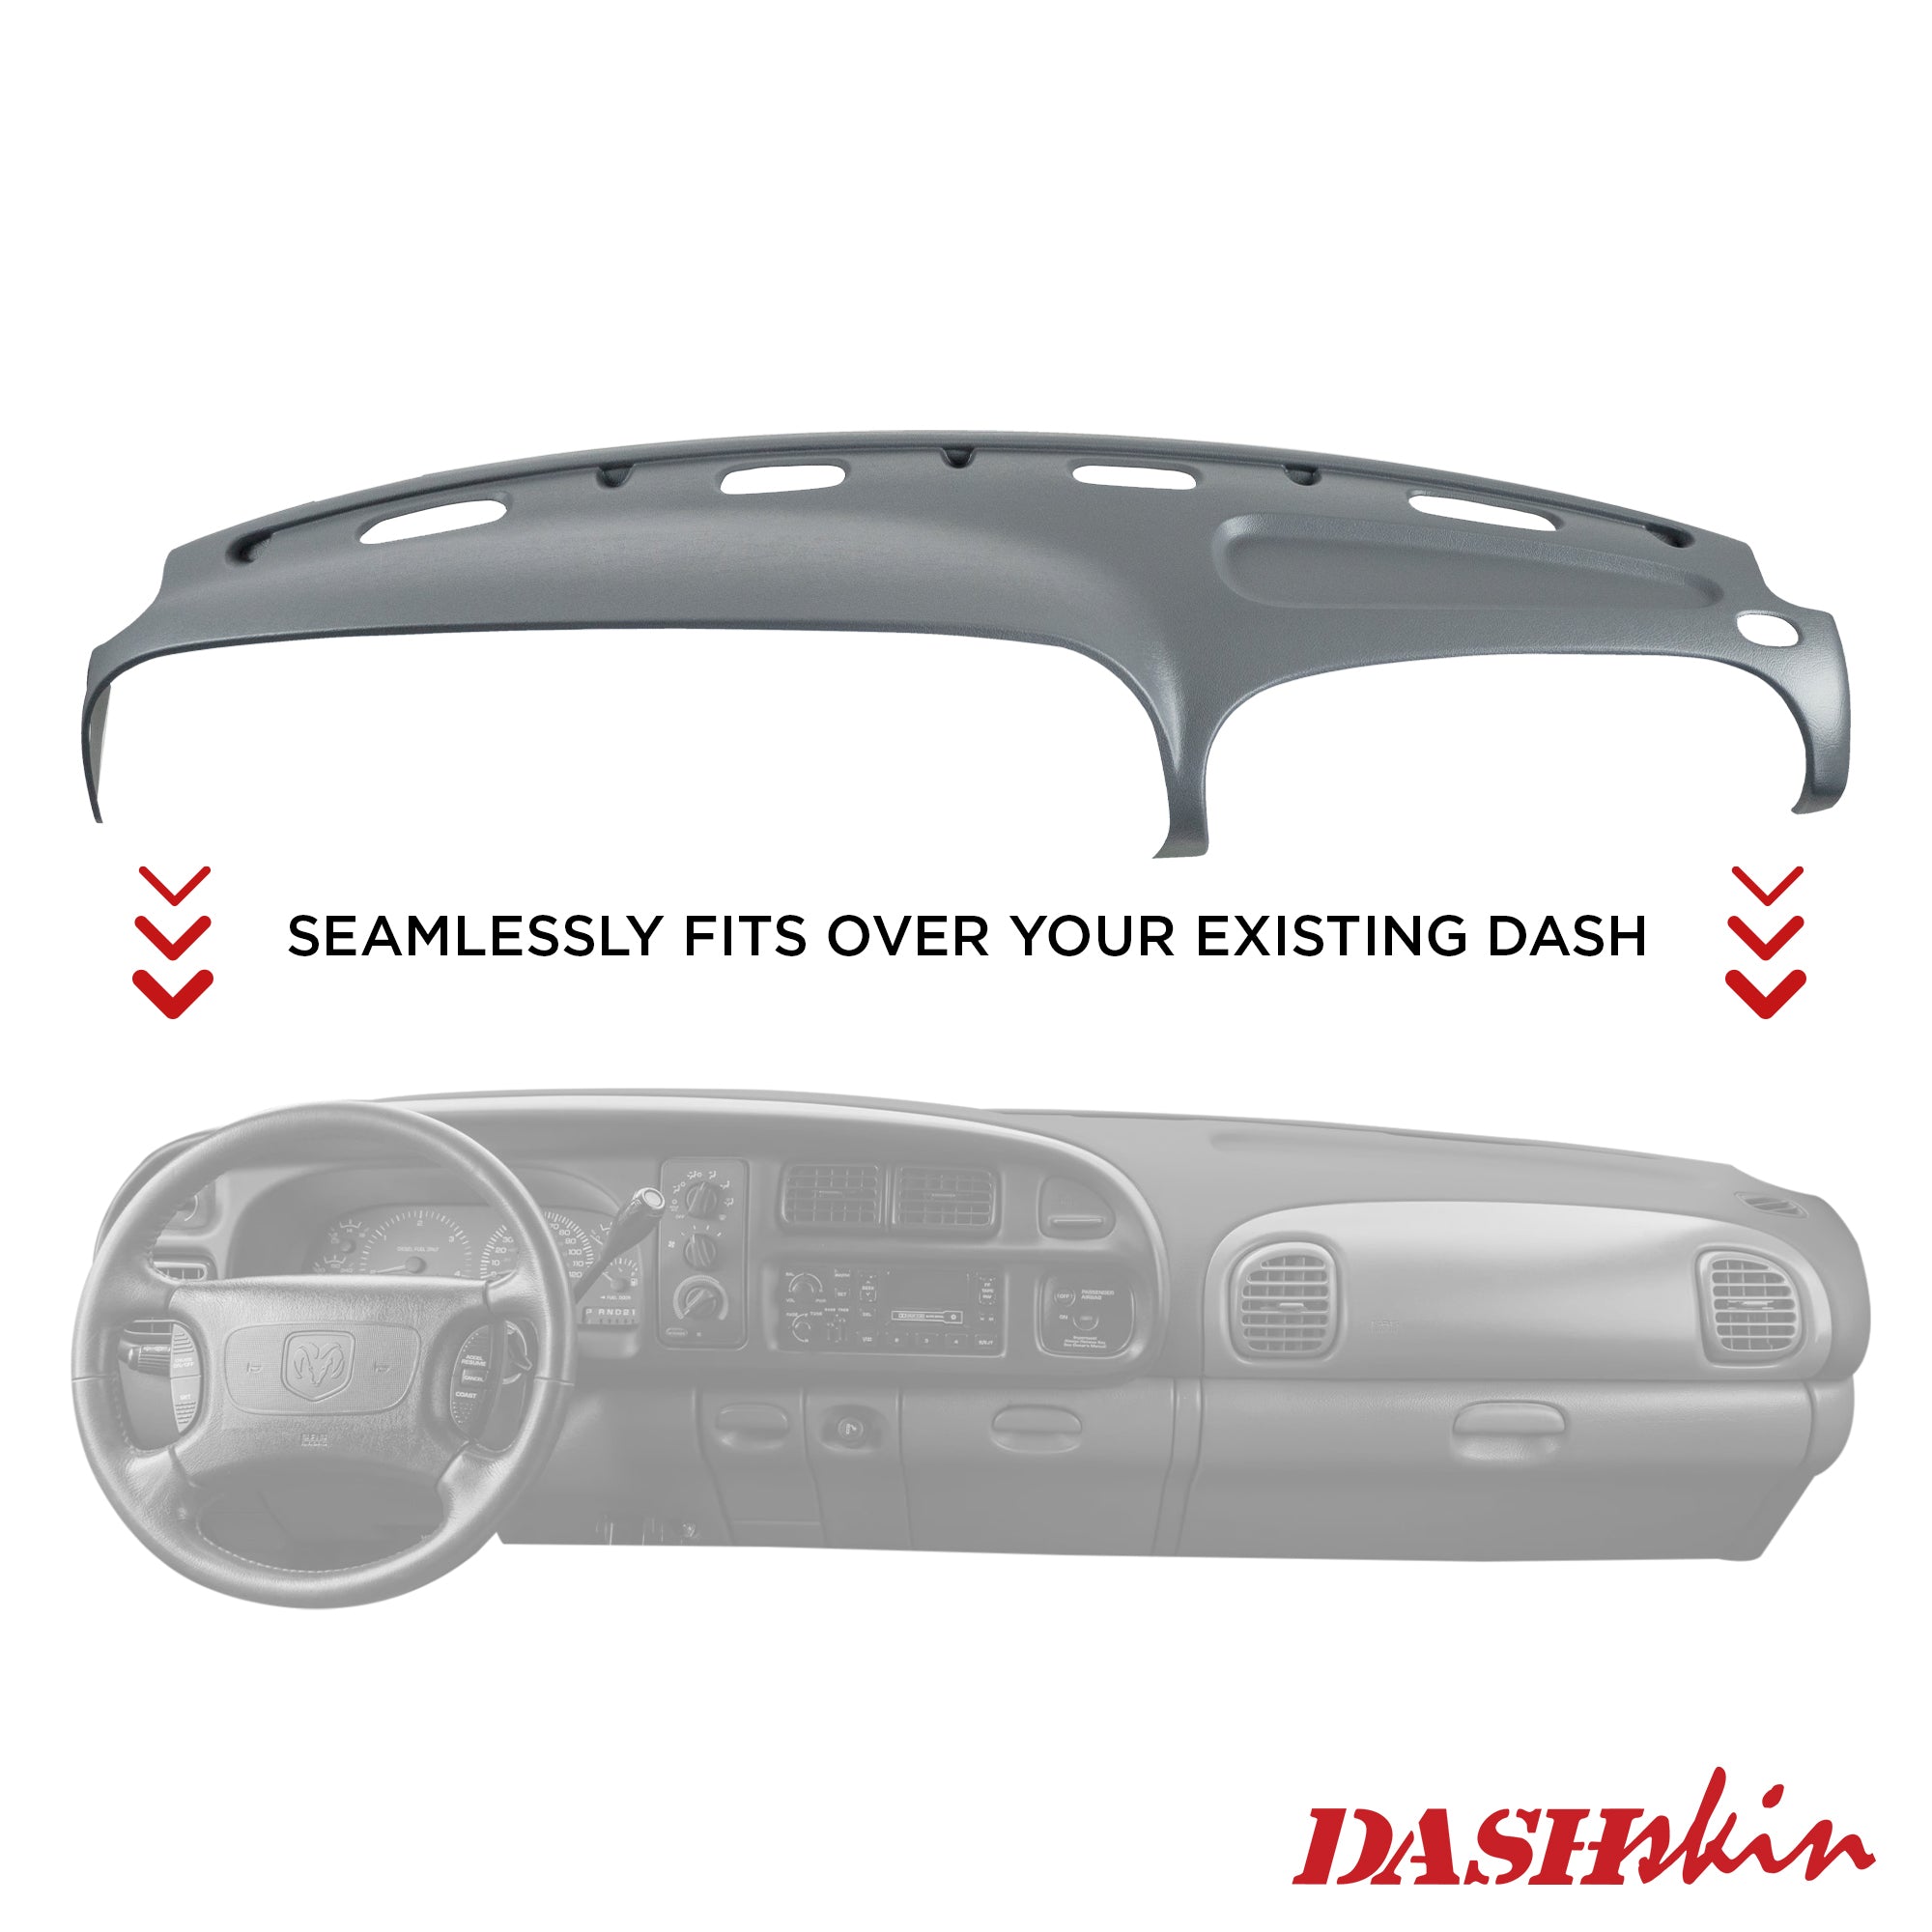
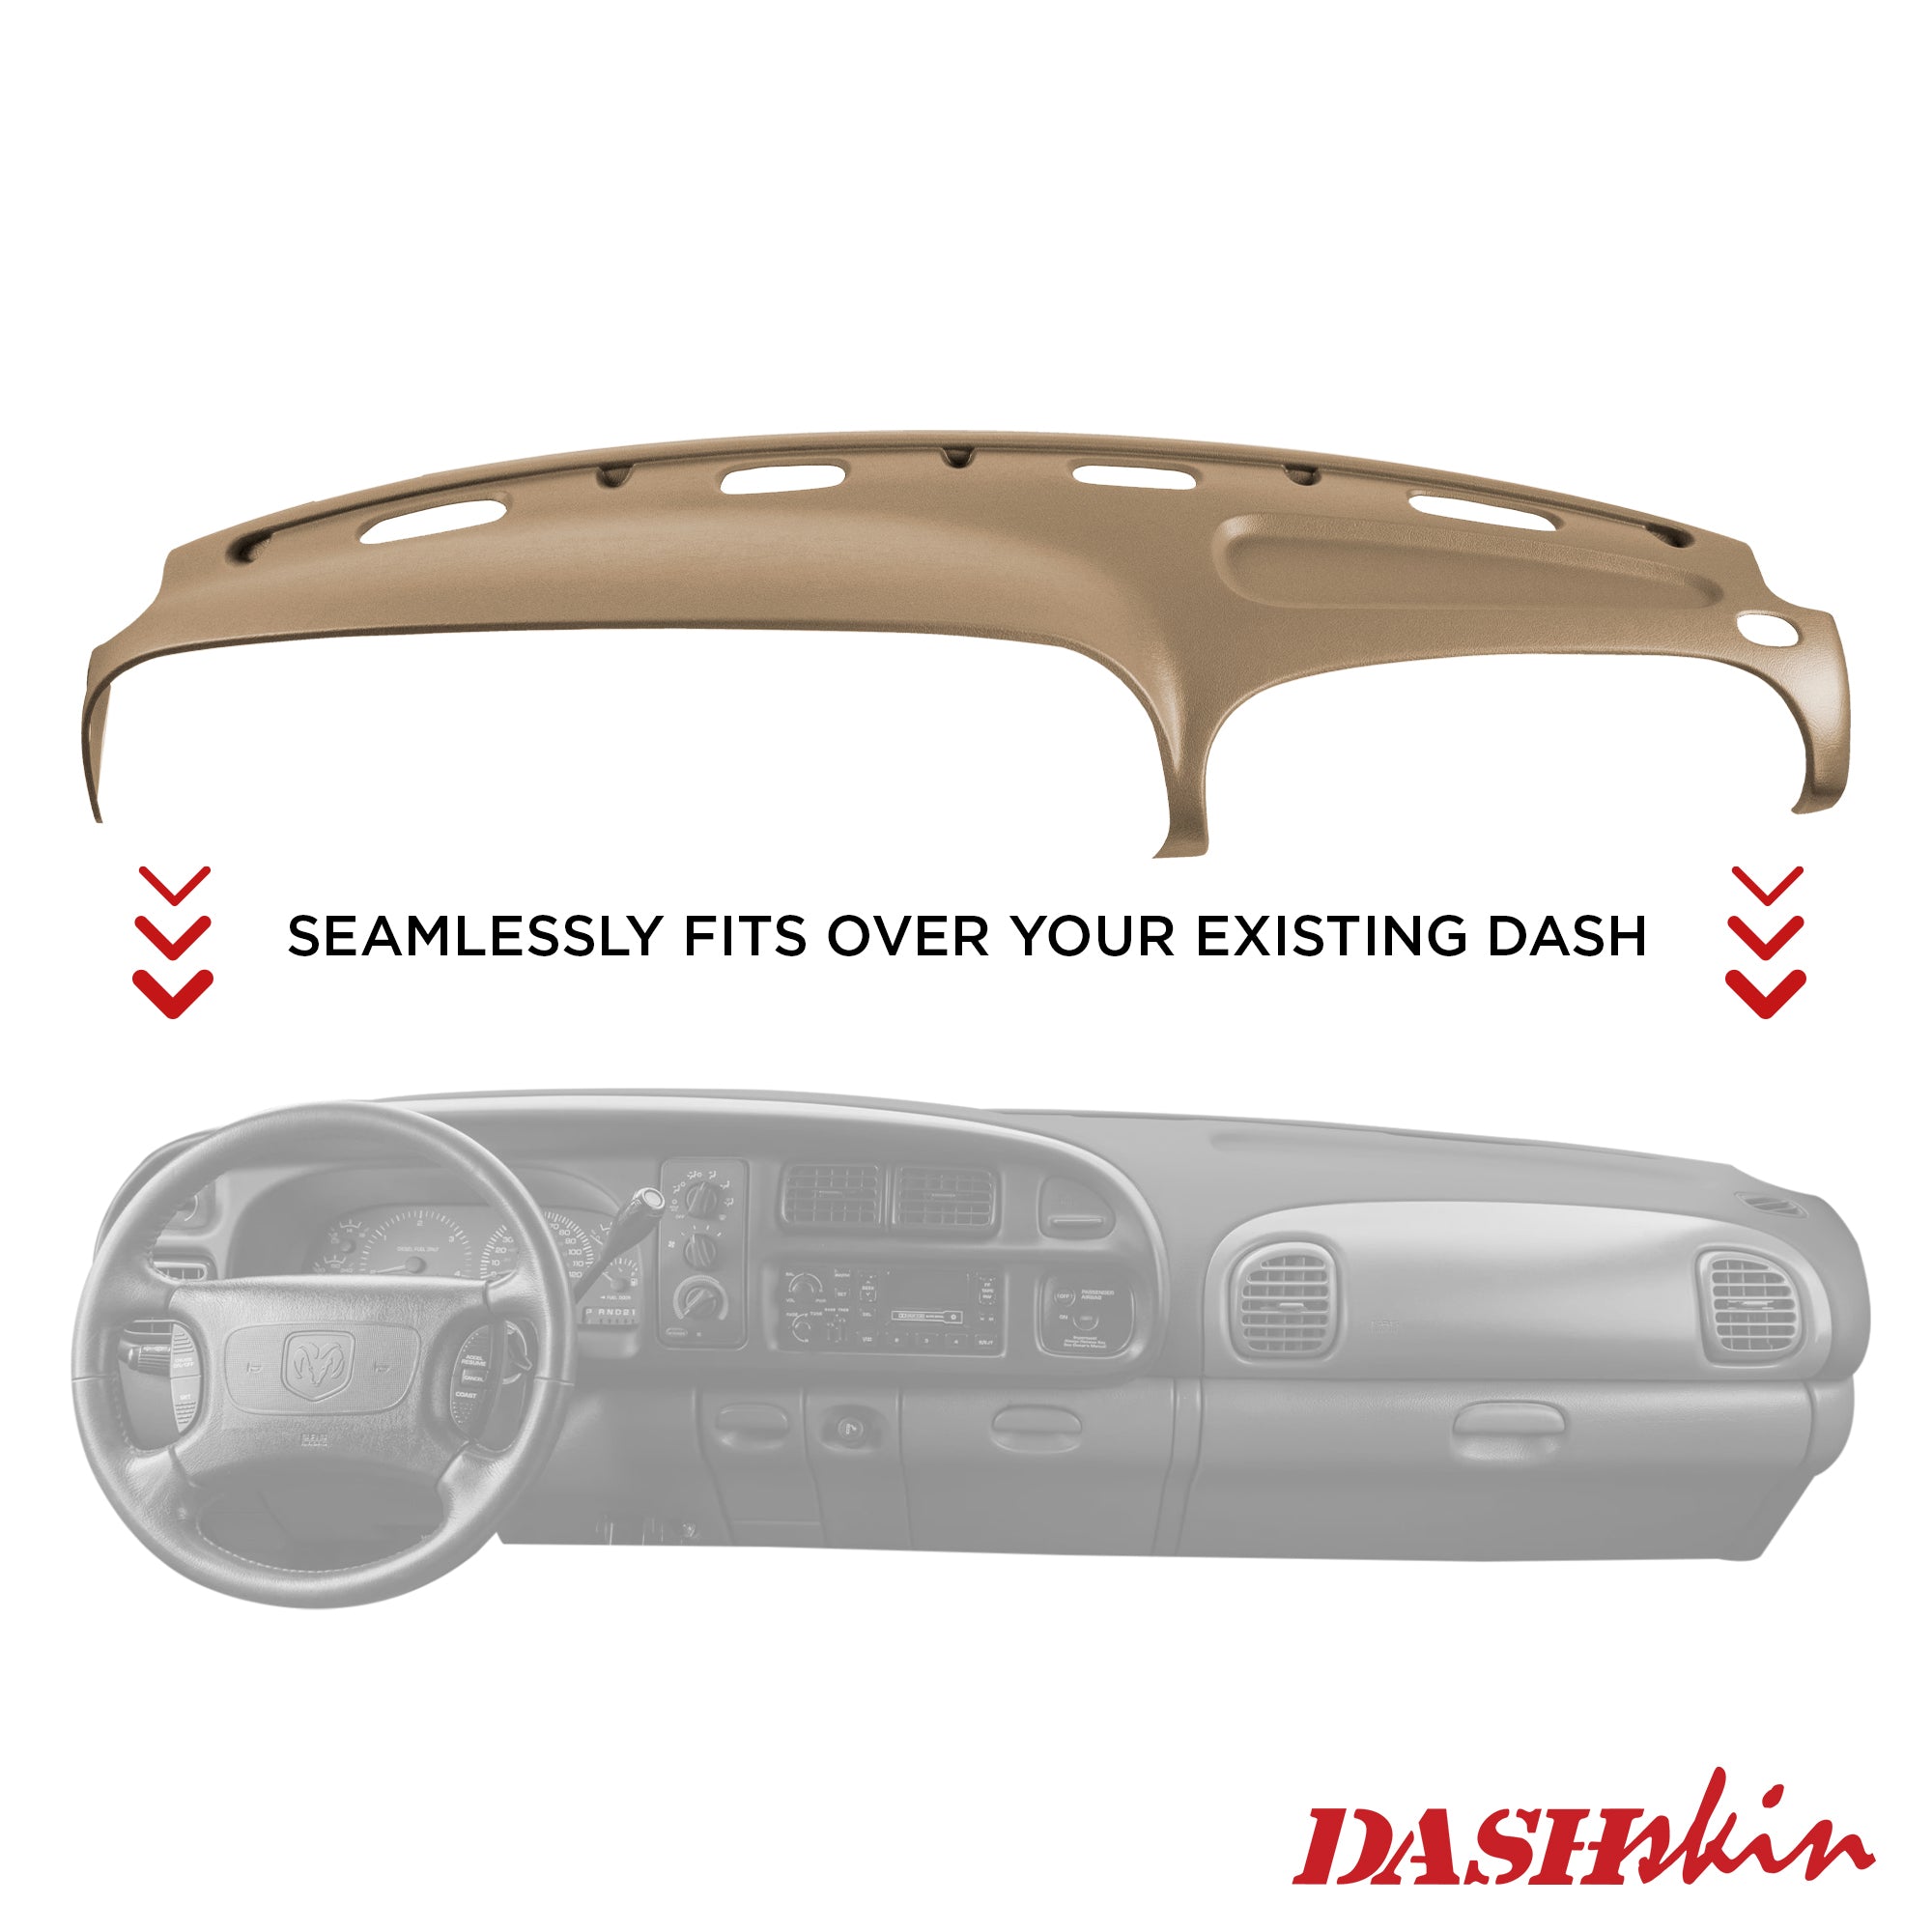
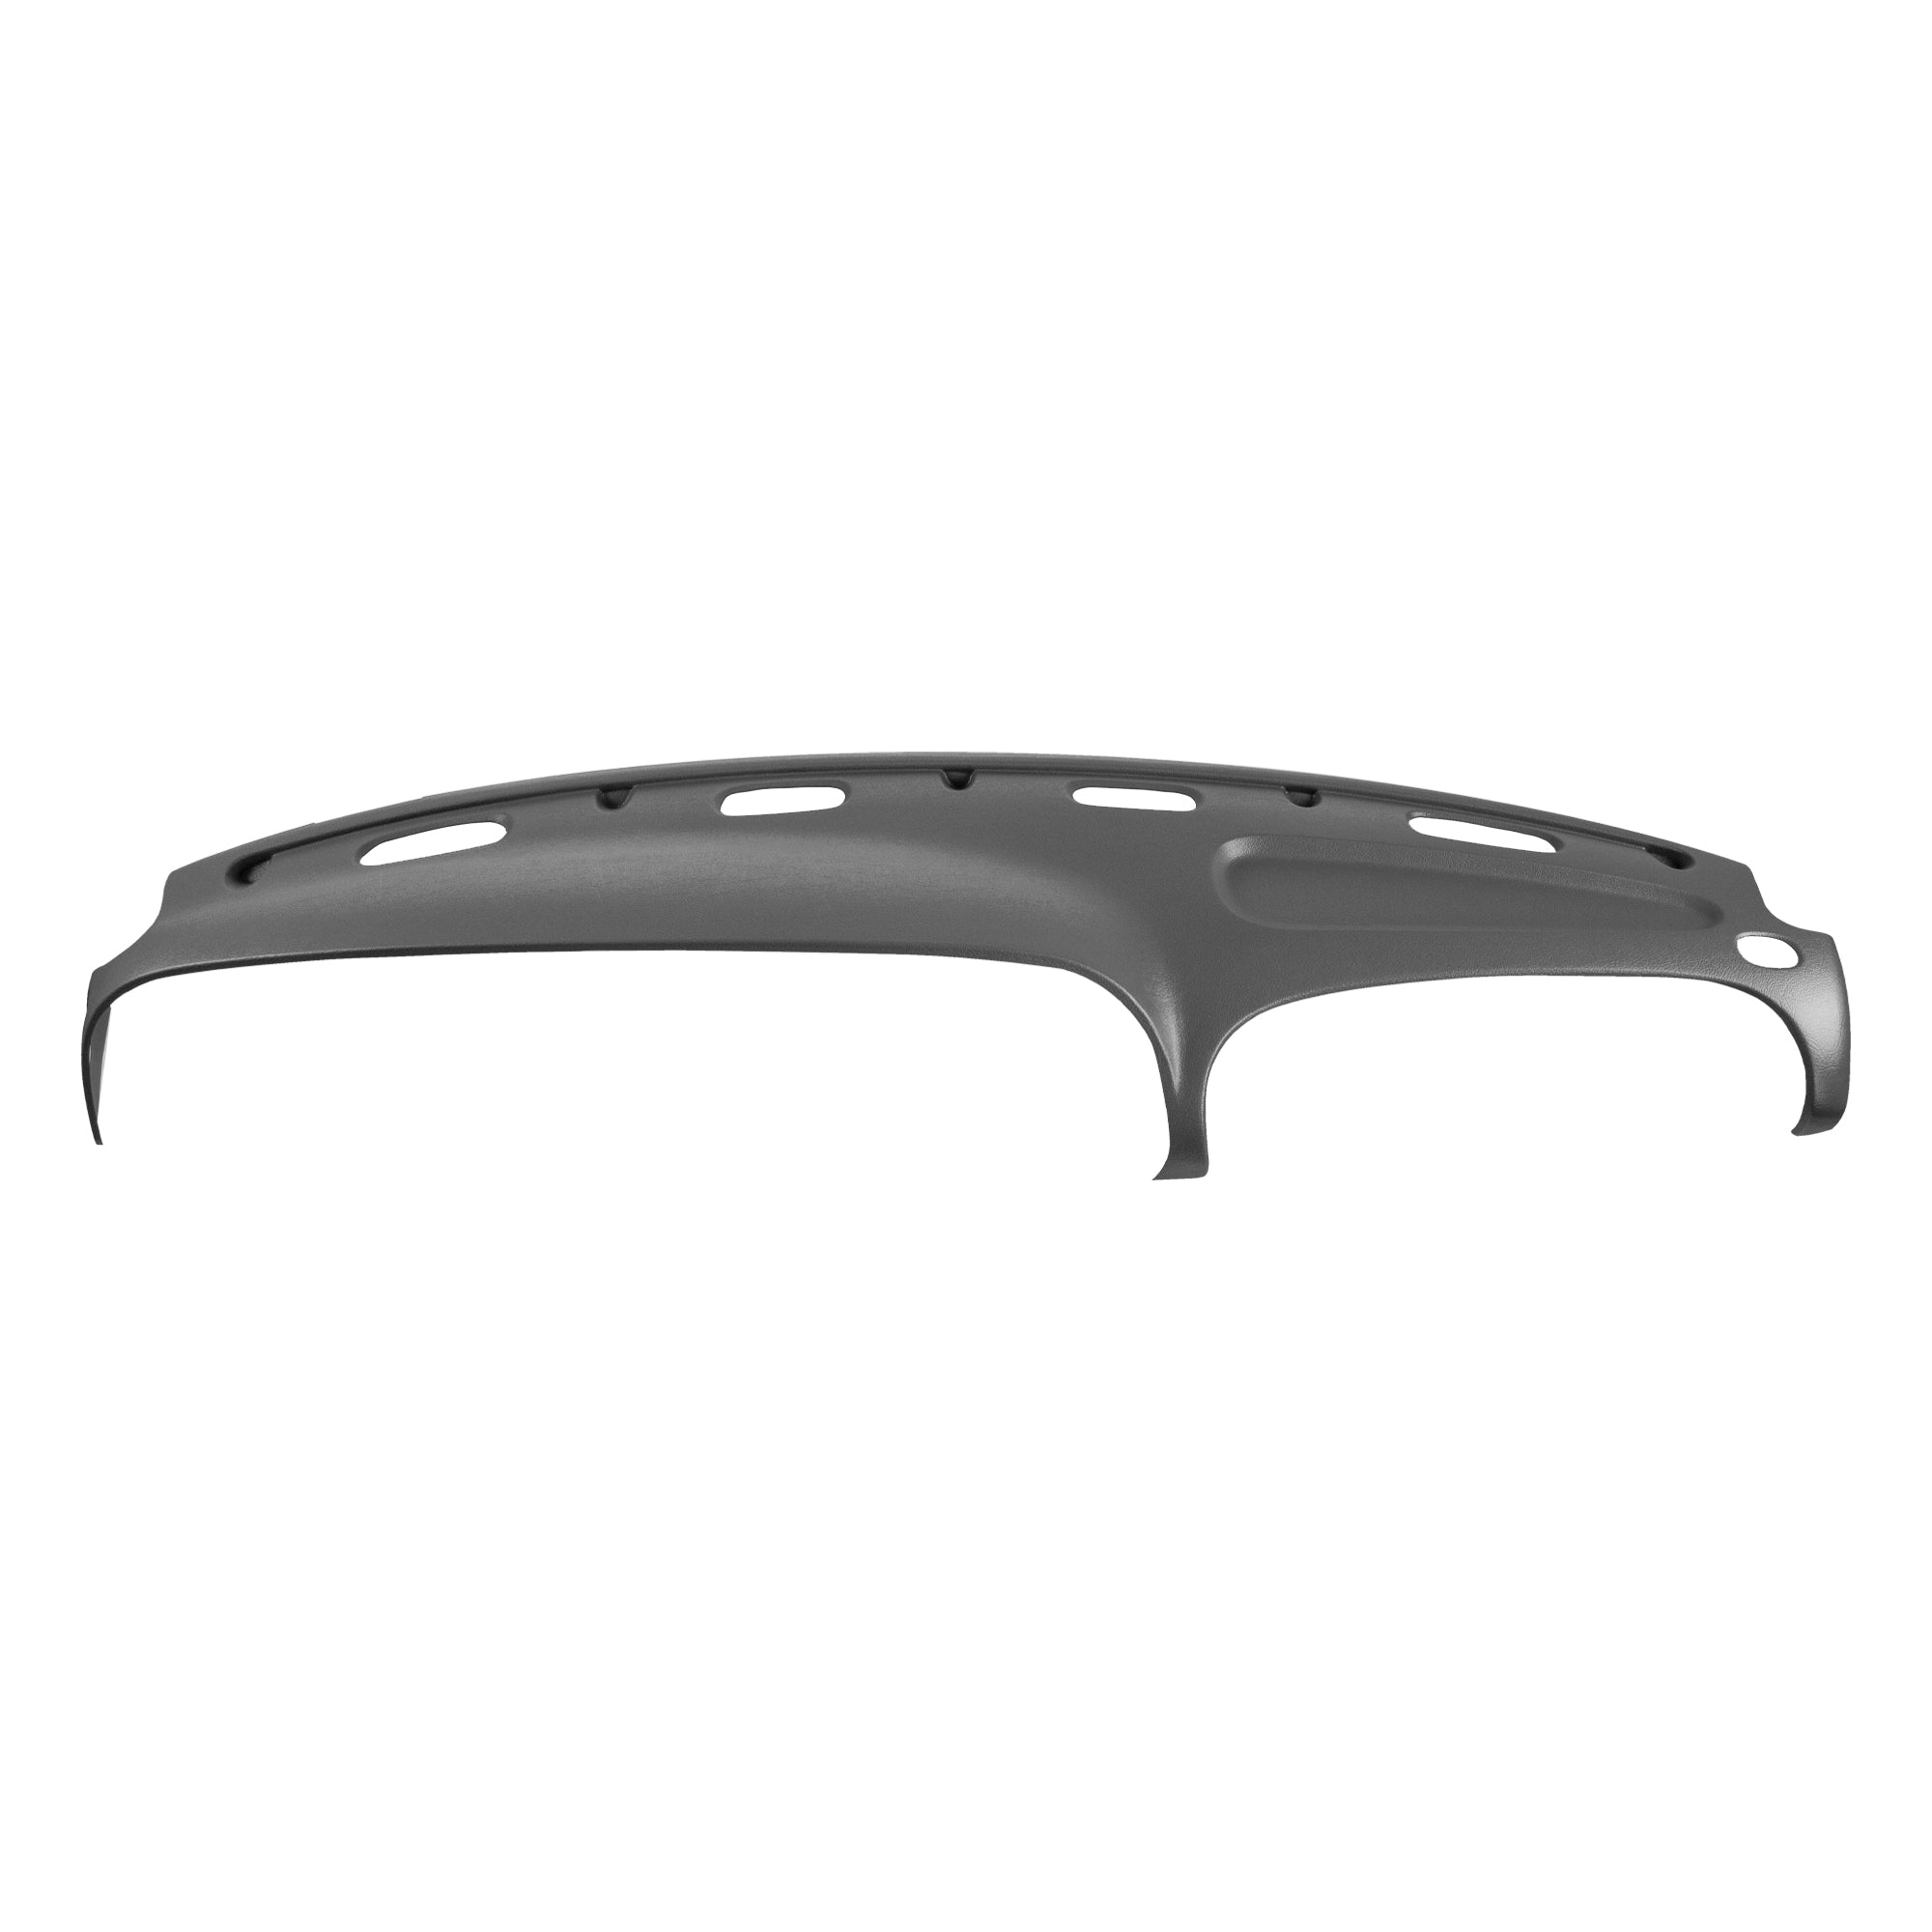
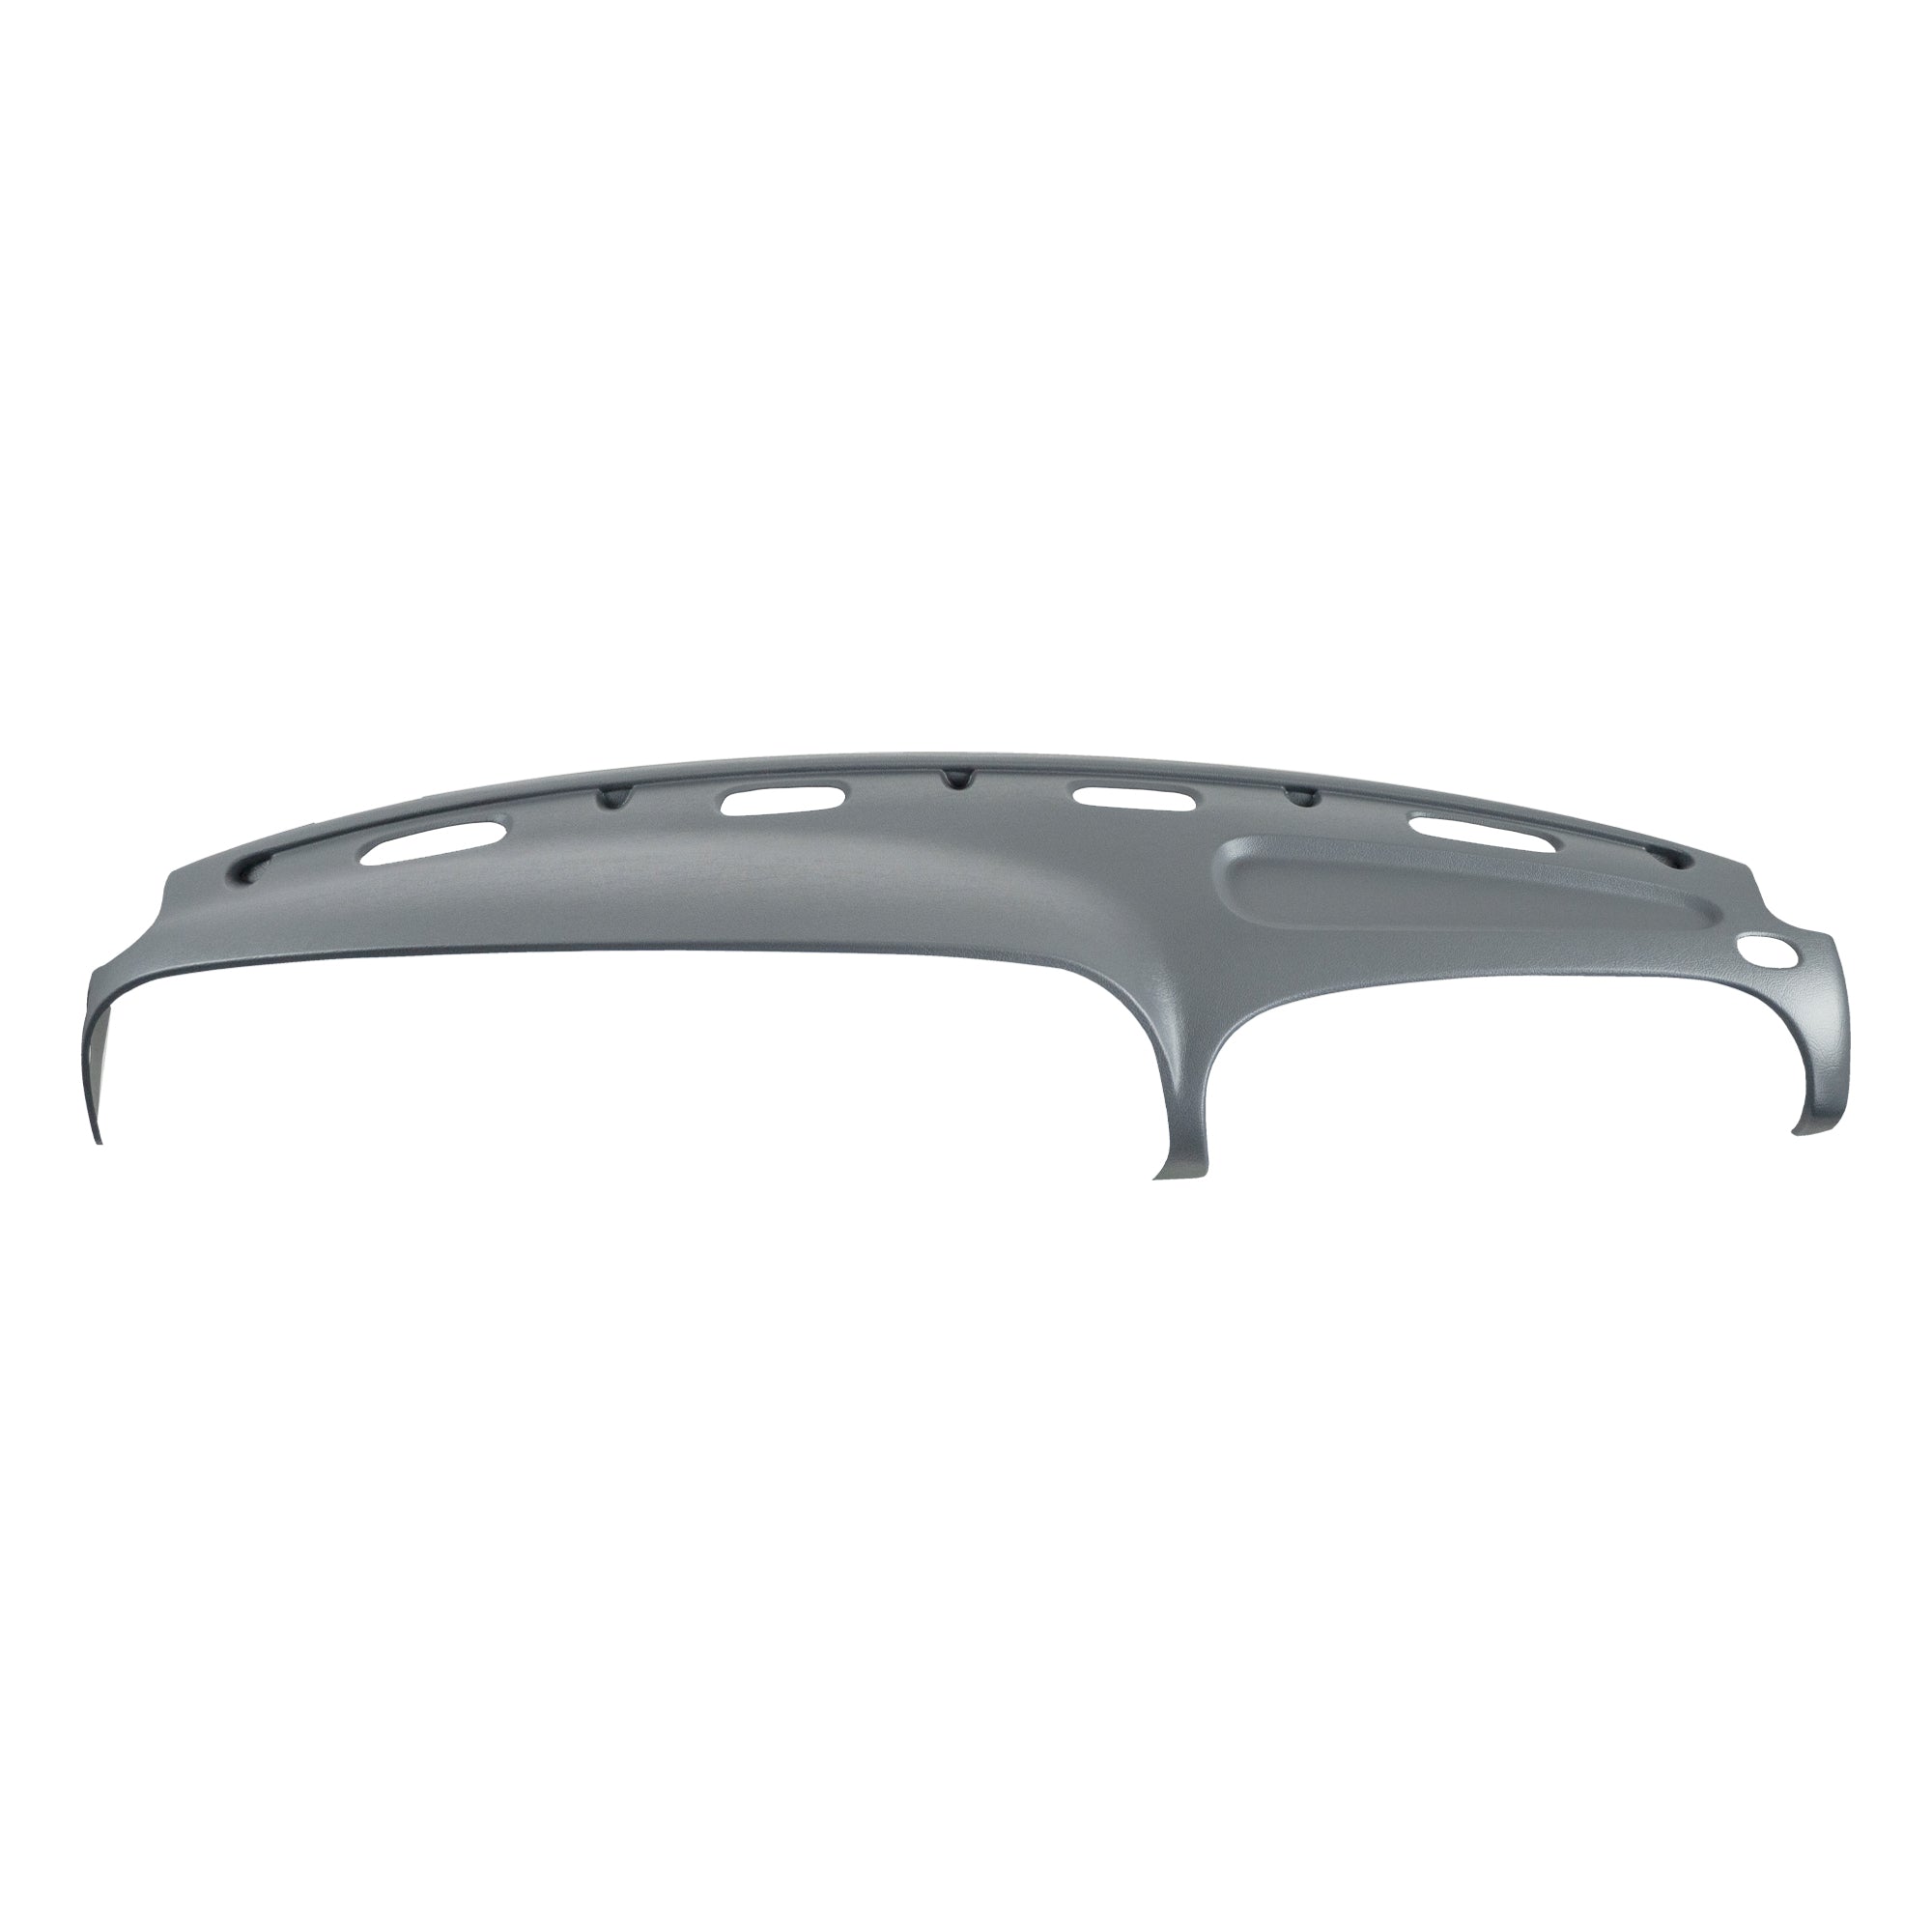
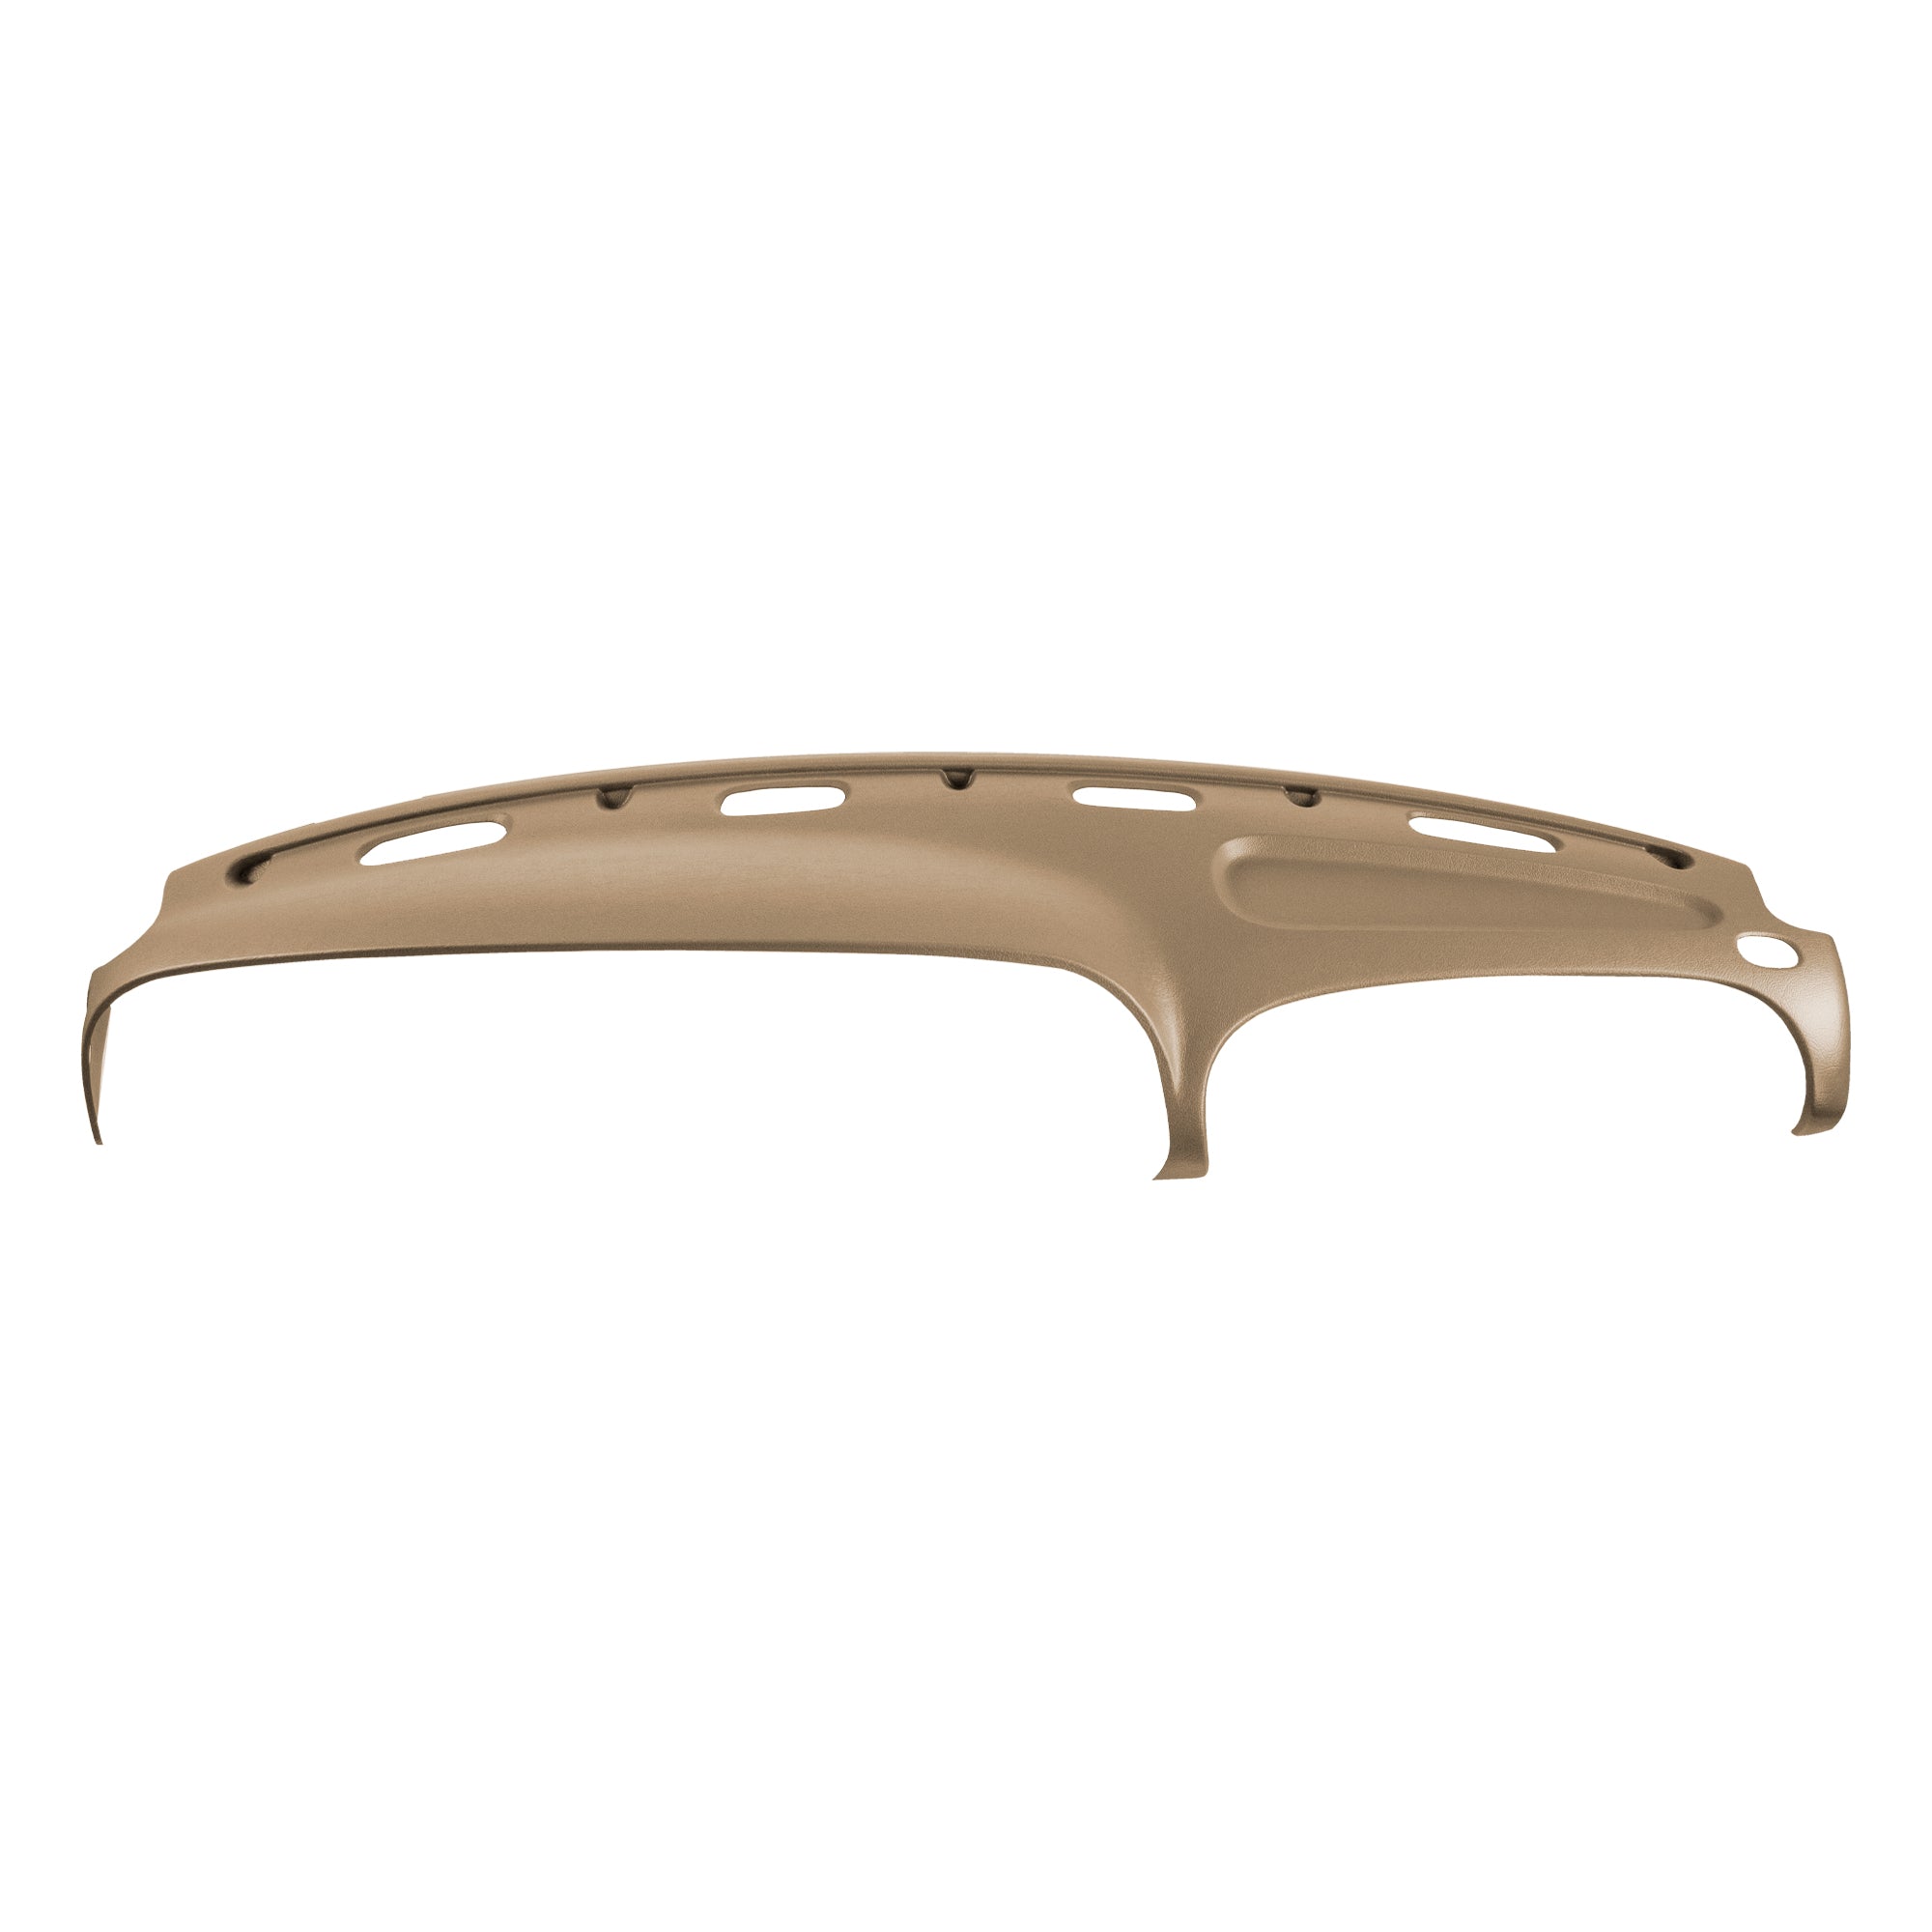
Welcome to our DashSkin™ installation guide for 1998-2001 Dodge Ram trucks. This step-by-step tutorial will help you install your DashSkin™ cover smoothly and effectively, ensuring a perfect fit and a rejuvenated dashboard.
Step 1: Identifying Your Trim Code
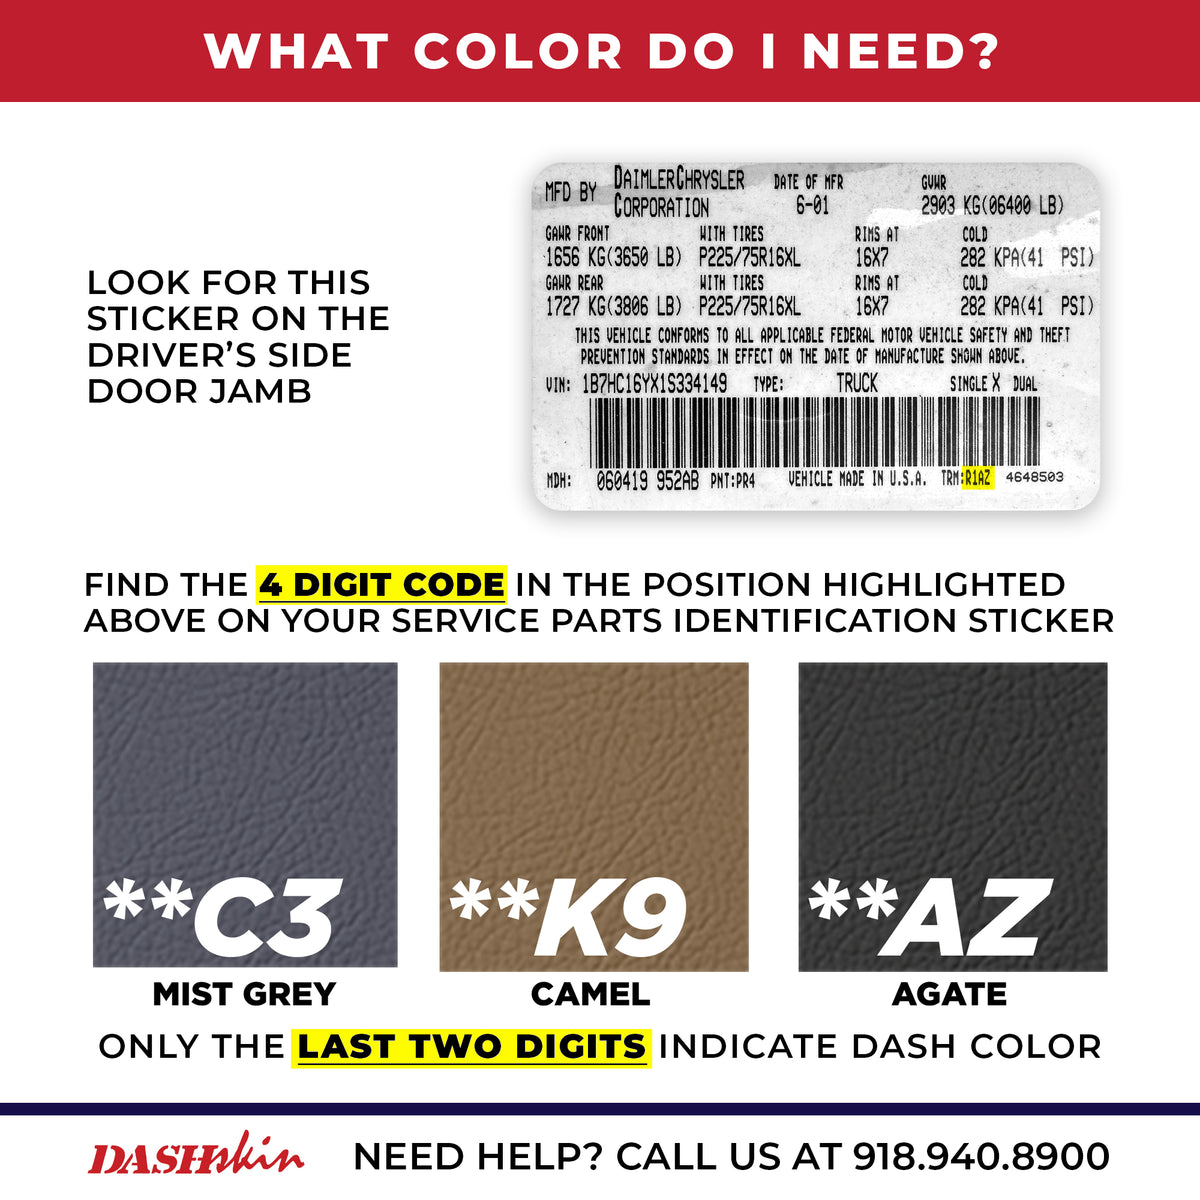
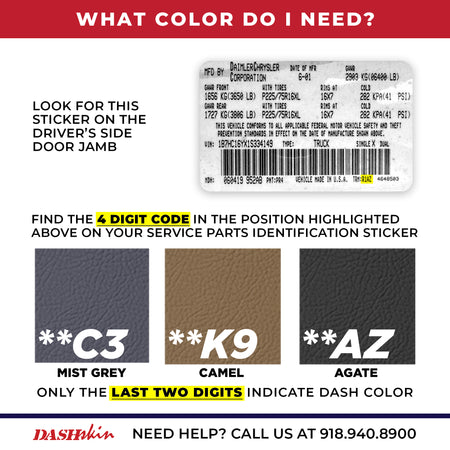
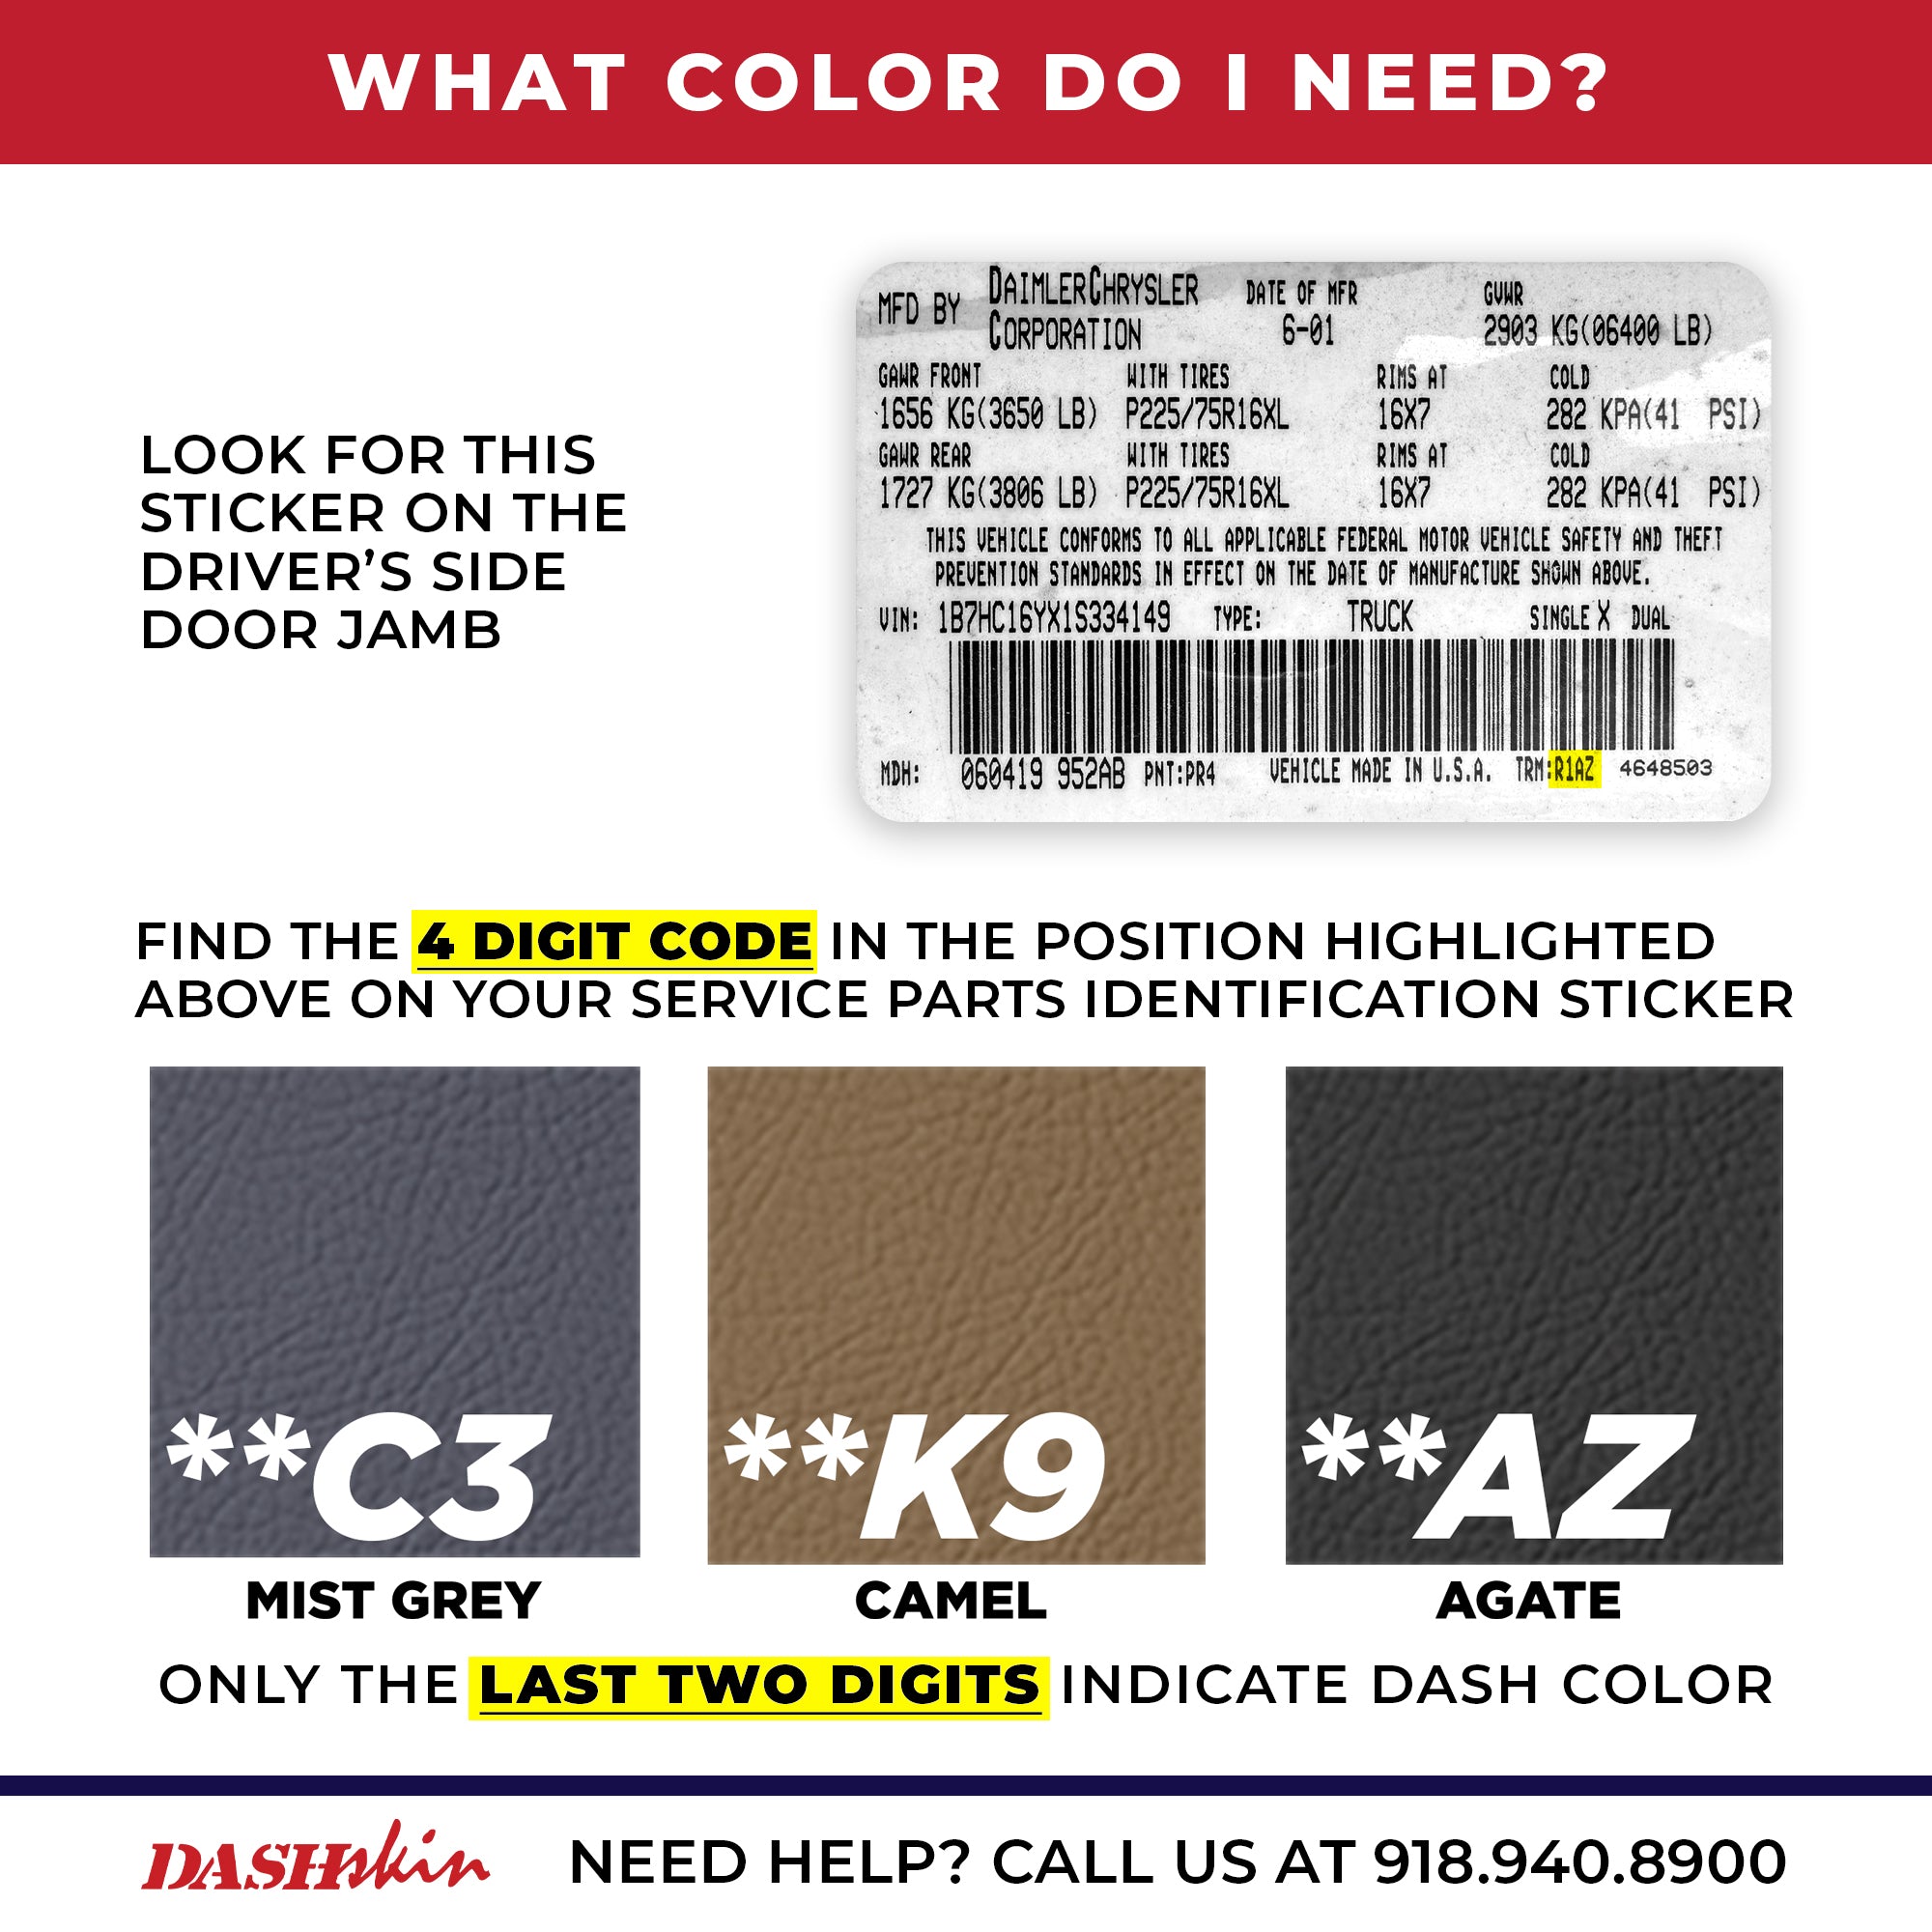
Before you begin the installation process, it’s crucial to ensure you have the correct color for your DashSkin™. Here’s how you can identify your trim code:
- Locate the SPID: Find the Service Parts Identification (SPID) sticker in the driver’s side door jamb.
- Match the Trim Code: Look for the section marked "Trim" on the SPID sticker and compare it to our Trim Code Guide available on dashskin.com.
Step 2: Cleaning and Prepping Your Dashboard
A clean surface is essential for a successful installation:
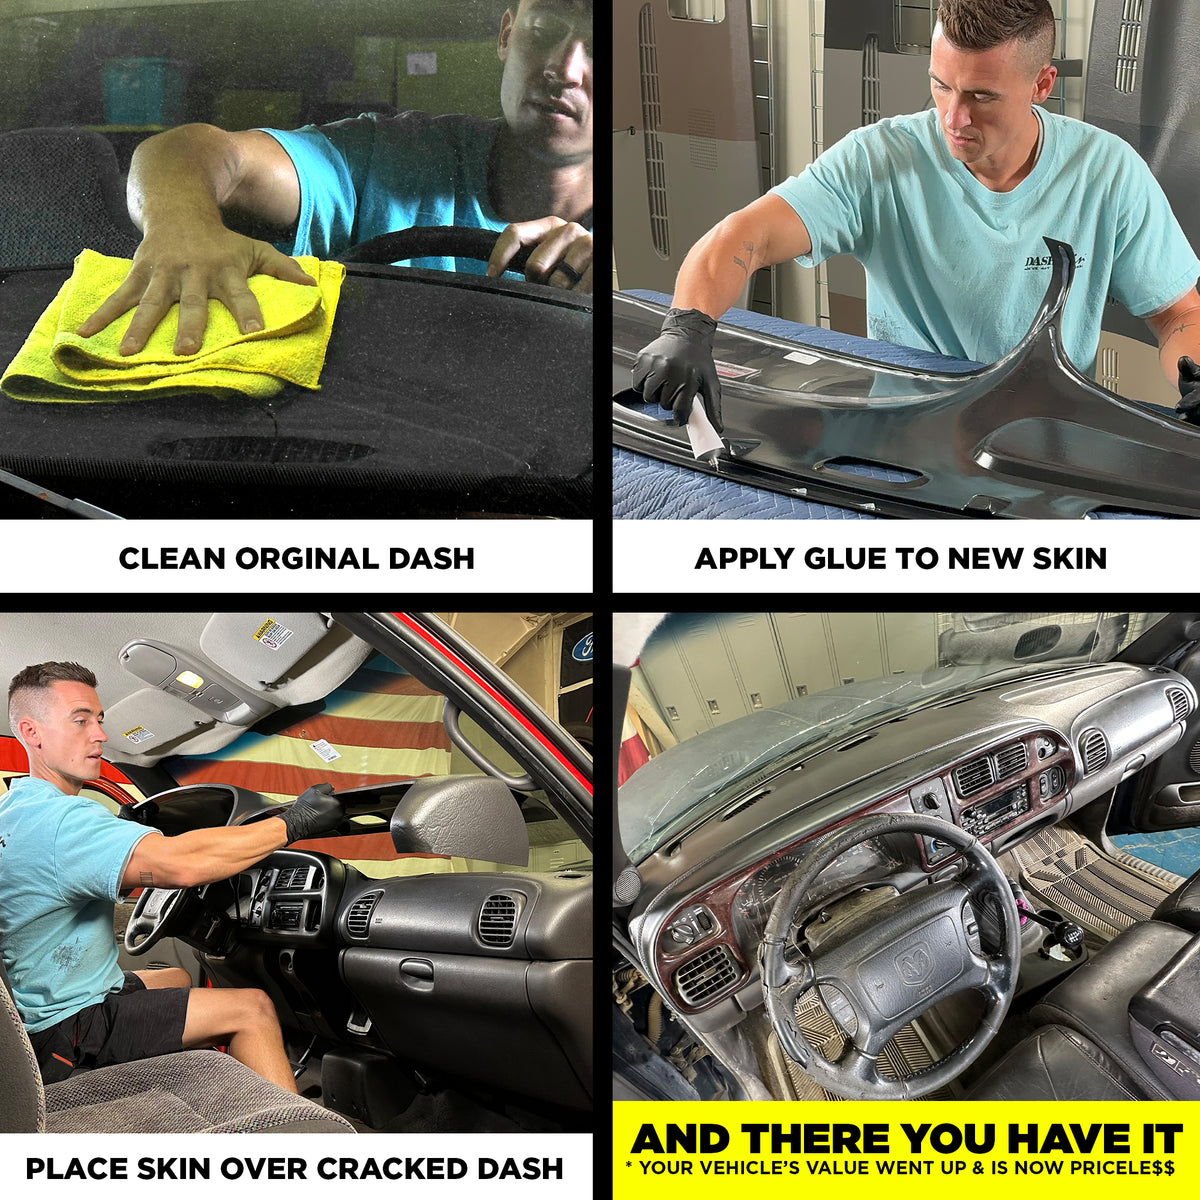
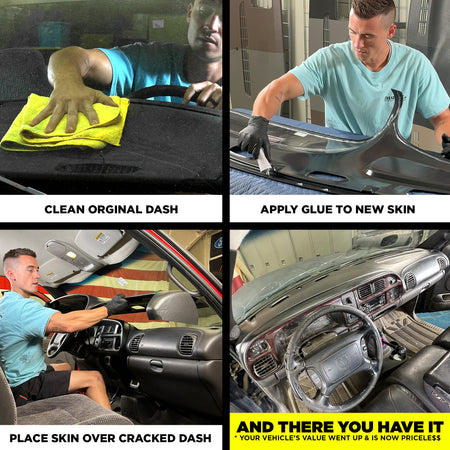
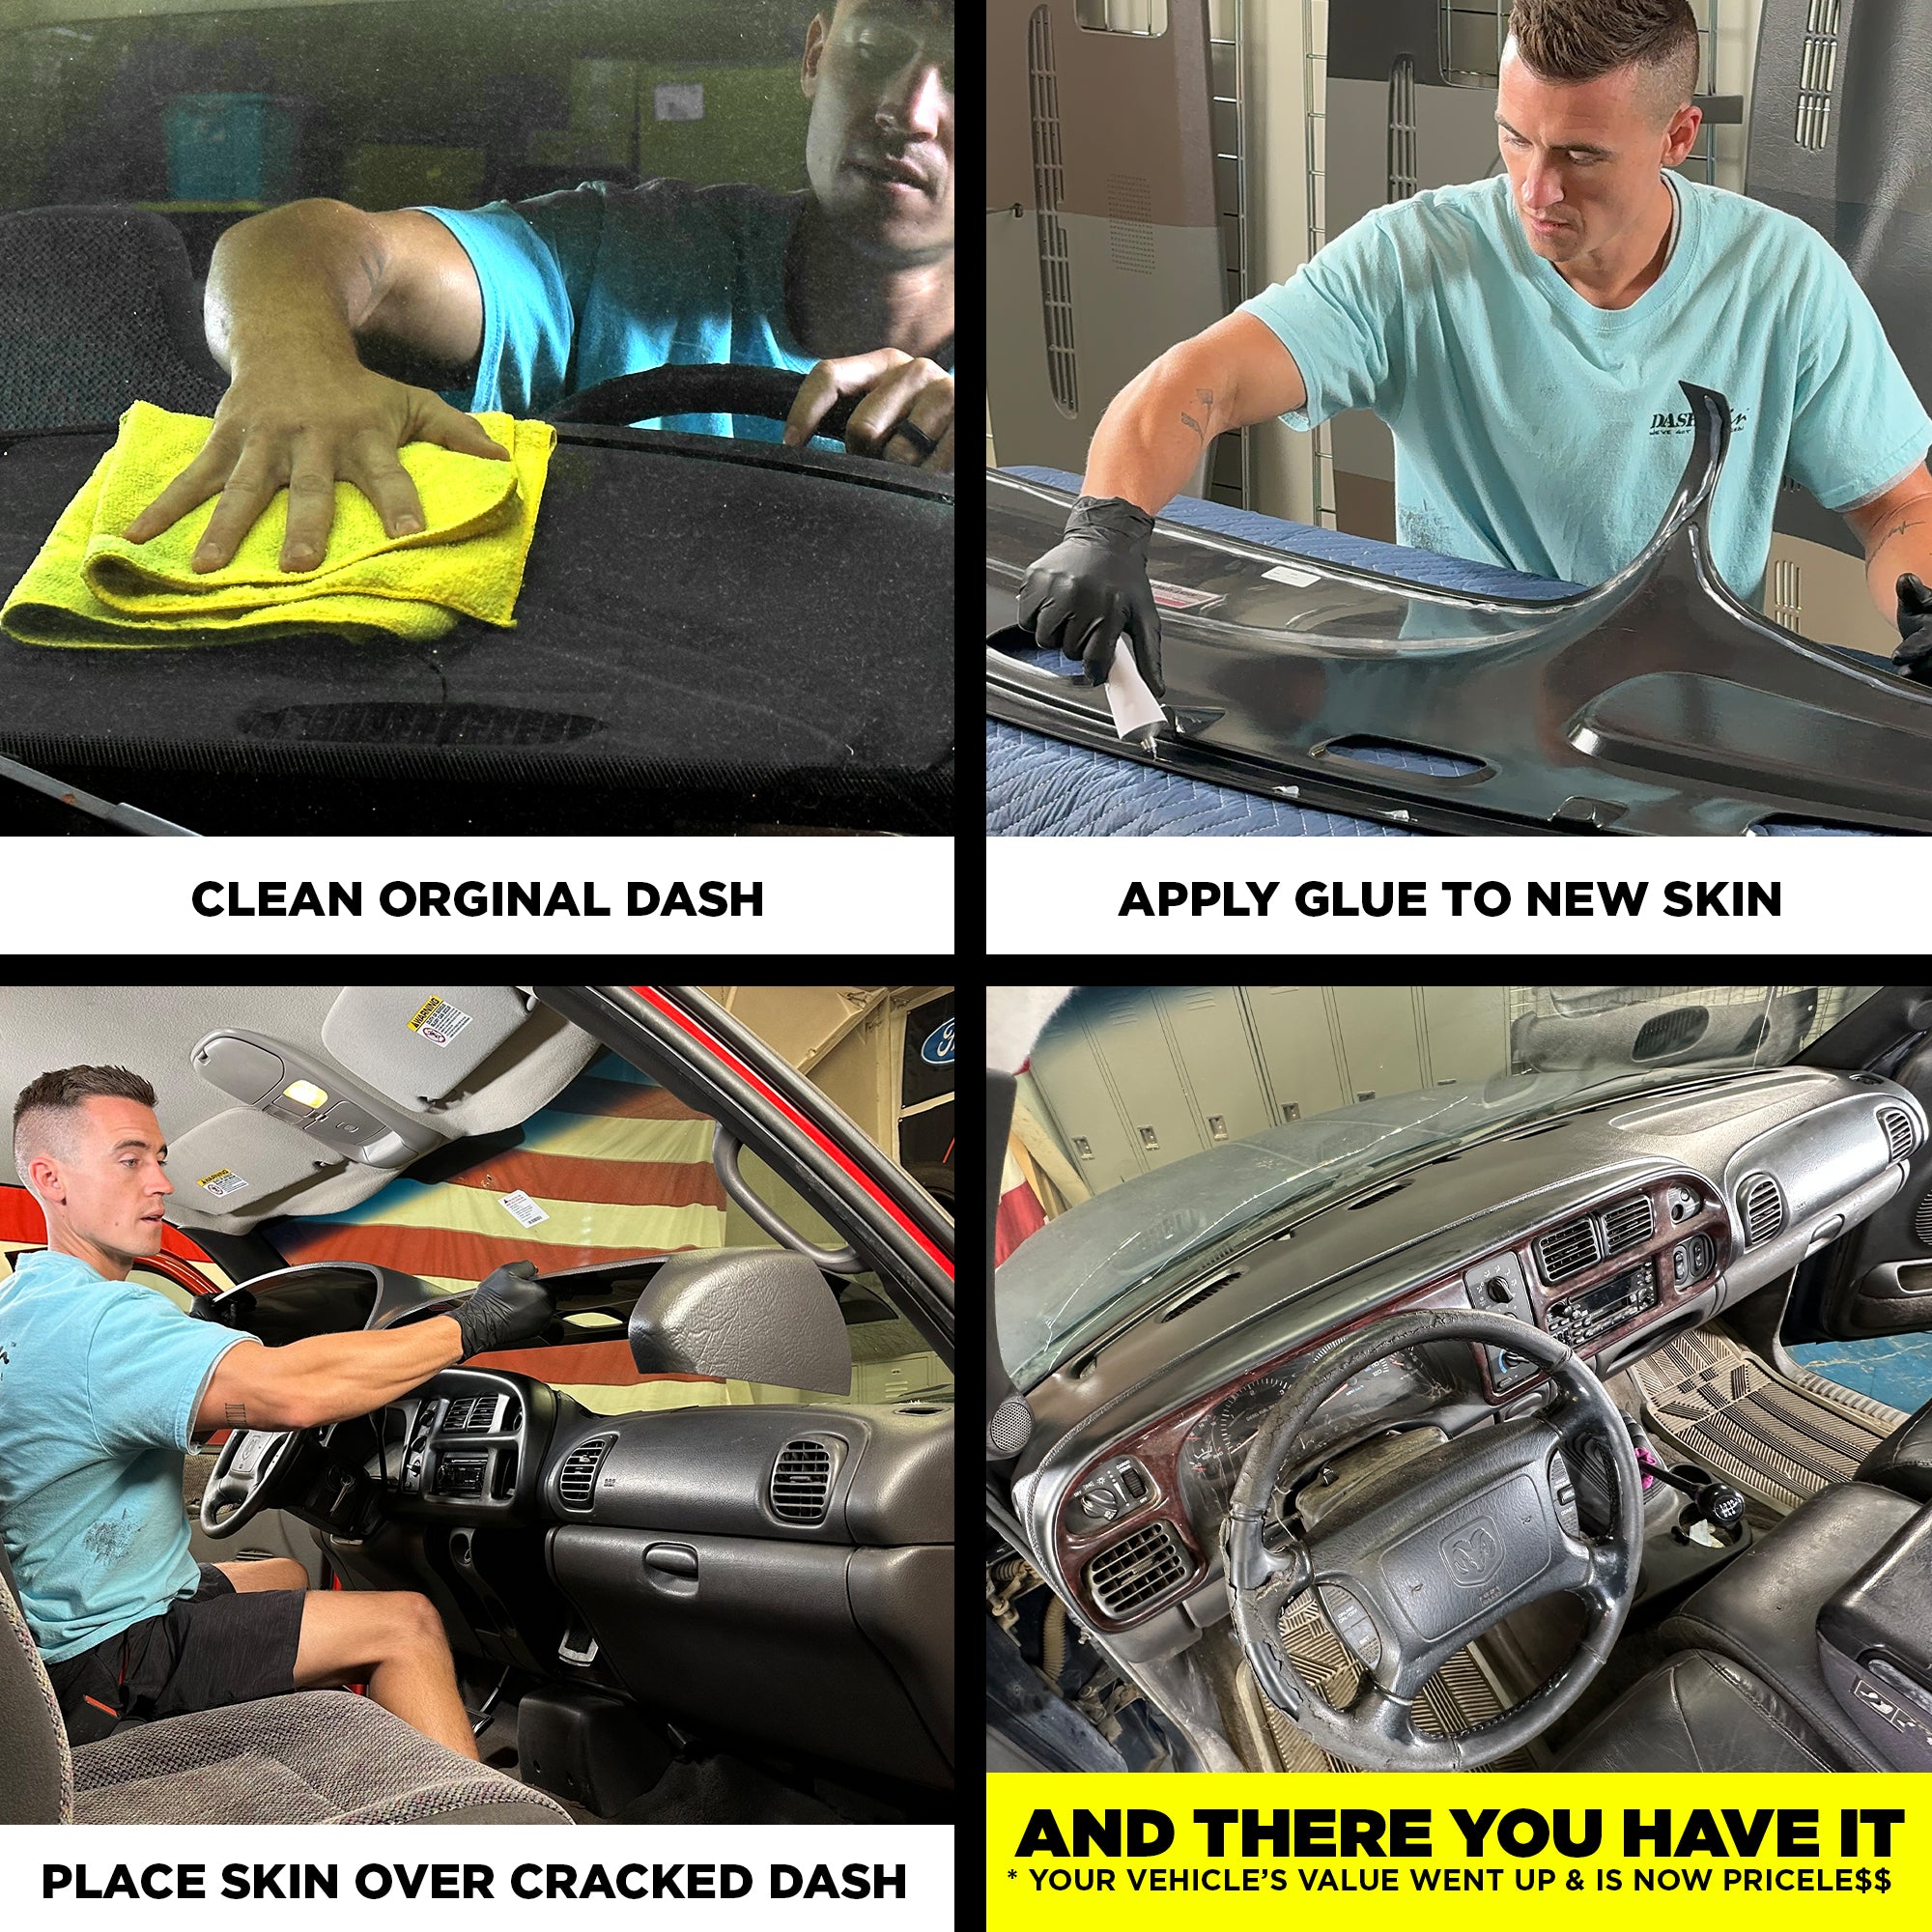
- Thorough Cleaning: Use a commercial-grade degreaser like Zep Purple Power or Simple Green to clean your original dashboard. Ensure that the surface is free of any dirt, grease, or debris.
Step 3: Removing the Front Bezel
The front lip of your DashSkin™ will need to be tucked behind the bezel:
- Carefully Pry the Bezel: Using a plastic putty knife, gently pry the bezel off the dash just enough to tuck the DashSkin™ lip behind it.
Step 4: Dry Fitting Your DashSkin™
Before applying any adhesive, ensure the DashSkin™ fits properly:
- Dry Fit the Cover: Place the DashSkin™ over your existing dash to check alignment and fitment. Plan where you will need to apply weights during the final installation.
Step 5: Applying Glue on Cracks
Reinforcing existing cracks will provide a better foundation:
- Apply Silicone: Use silicone to fill any cracks in your original dashboard. Also, outline any holes to ensure the DashSkin™ adheres properly.
Step 6: Applying Glue to the Underside of the DashSkin™
Follow the pattern illustrated in your install guide:
- Apply Silicone to DashSkin™: Spread silicone evenly on the underside of the DashSkin™ using the recommended pattern from the install guide.
Step 7: Installing the DashSkin™
Now it’s time for the actual installation:
- Position the DashSkin™: Carefully place the DashSkin™ over your original dash.
- Ensure Proper Fit: Go over all seams and edges to ensure everything lines up perfectly before applying weights.
Step 8: Tricky Fitting on Passenger Side Vent
The passenger side vent can be tricky:
- Tuck Behind Airbag Panel: Make sure the DashSkin™ is tucked behind the airbag panel across the entire arch. Use a prop rod and weights to hold it in place if necessary.
- Wipe Excess Silicone: Use a wet rag to wipe off any excess silicone.
Step 9: Reinstalling the Bezel
Once the DashSkin™ is in place:
- Pop the Bezel Back: Carefully pop the bezel back into its original position.
Step 10: Applying Weights
Weights are essential for even pressure during the curing process:
- Use Rags for Windshield Area: If you can't get weights by the windshield, roll up some rags and push them between the windshield and the dash.
- Distribute Weights Evenly: Place sandbags, reams of printer paper, or phone books evenly across the entire dash.
Step 11: Adding Prop Rods to Front Surfaces
For the front surfaces:
- Use Telescoping Prop Rods: Apply pressure using a telescoping prop rod. Alternatively, you can use a piece of PVC or wood cut to length with a rag on each end.
Step 12: Final Install
After the curing process:
- Curing Time: Allow 6-8 hours for the silicone to cure.
- Remove Weights: After curing, remove the weights and enjoy your new dashboard.
Conclusion
Thank you for choosing DashSkin™. All our products are proudly made in the USA.

