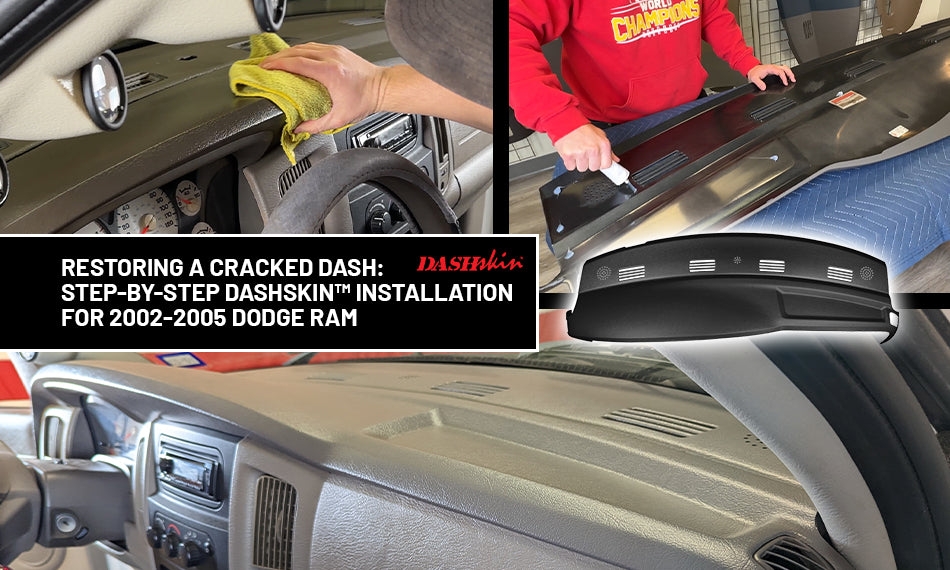
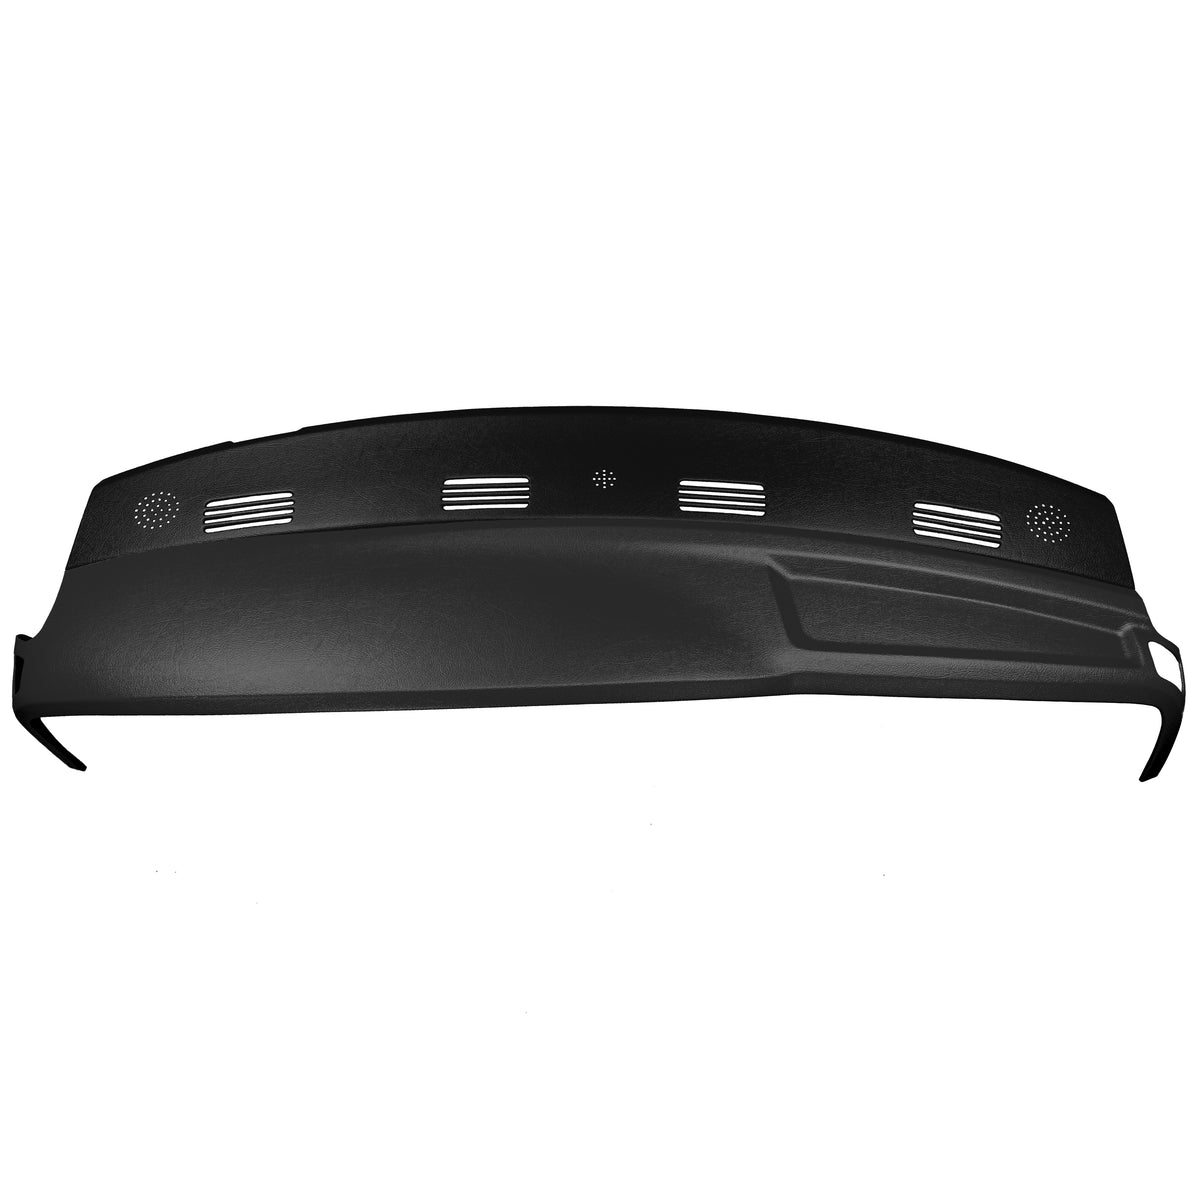
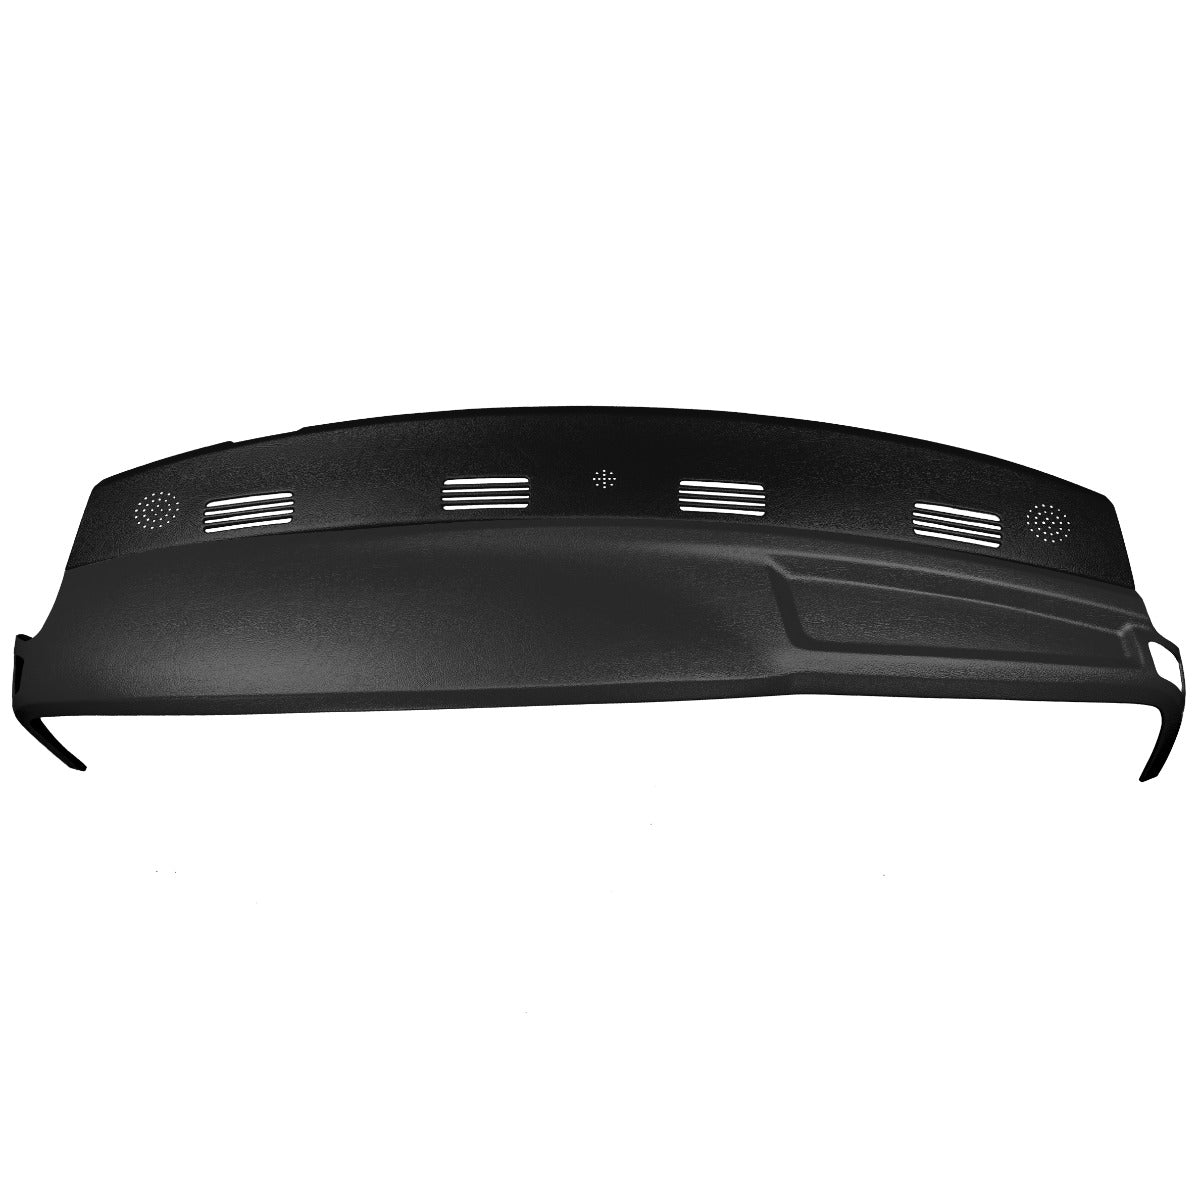
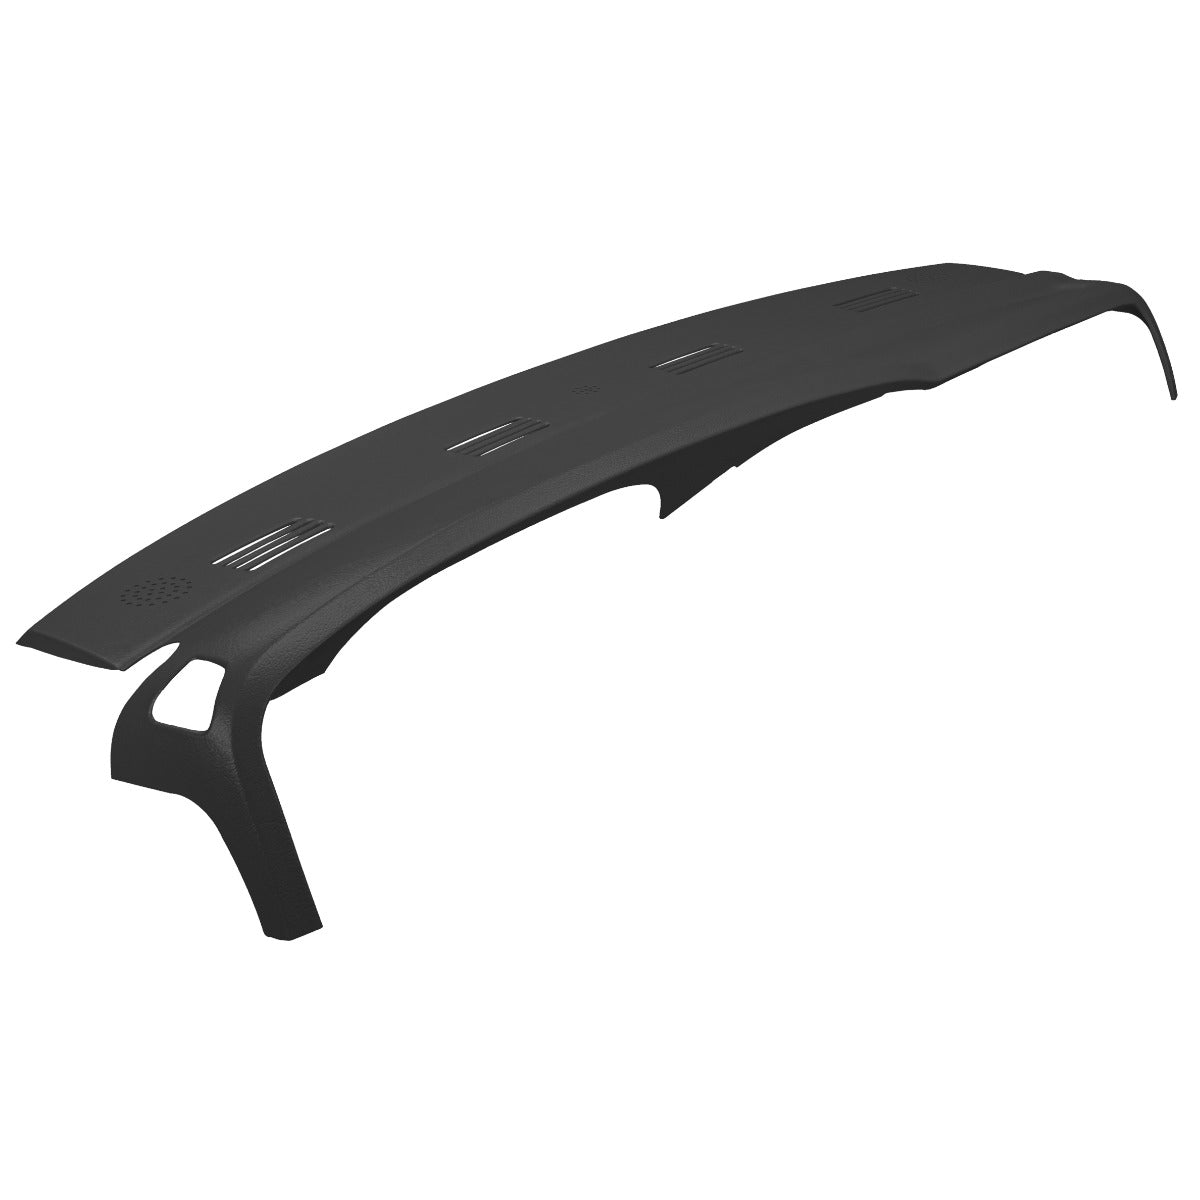
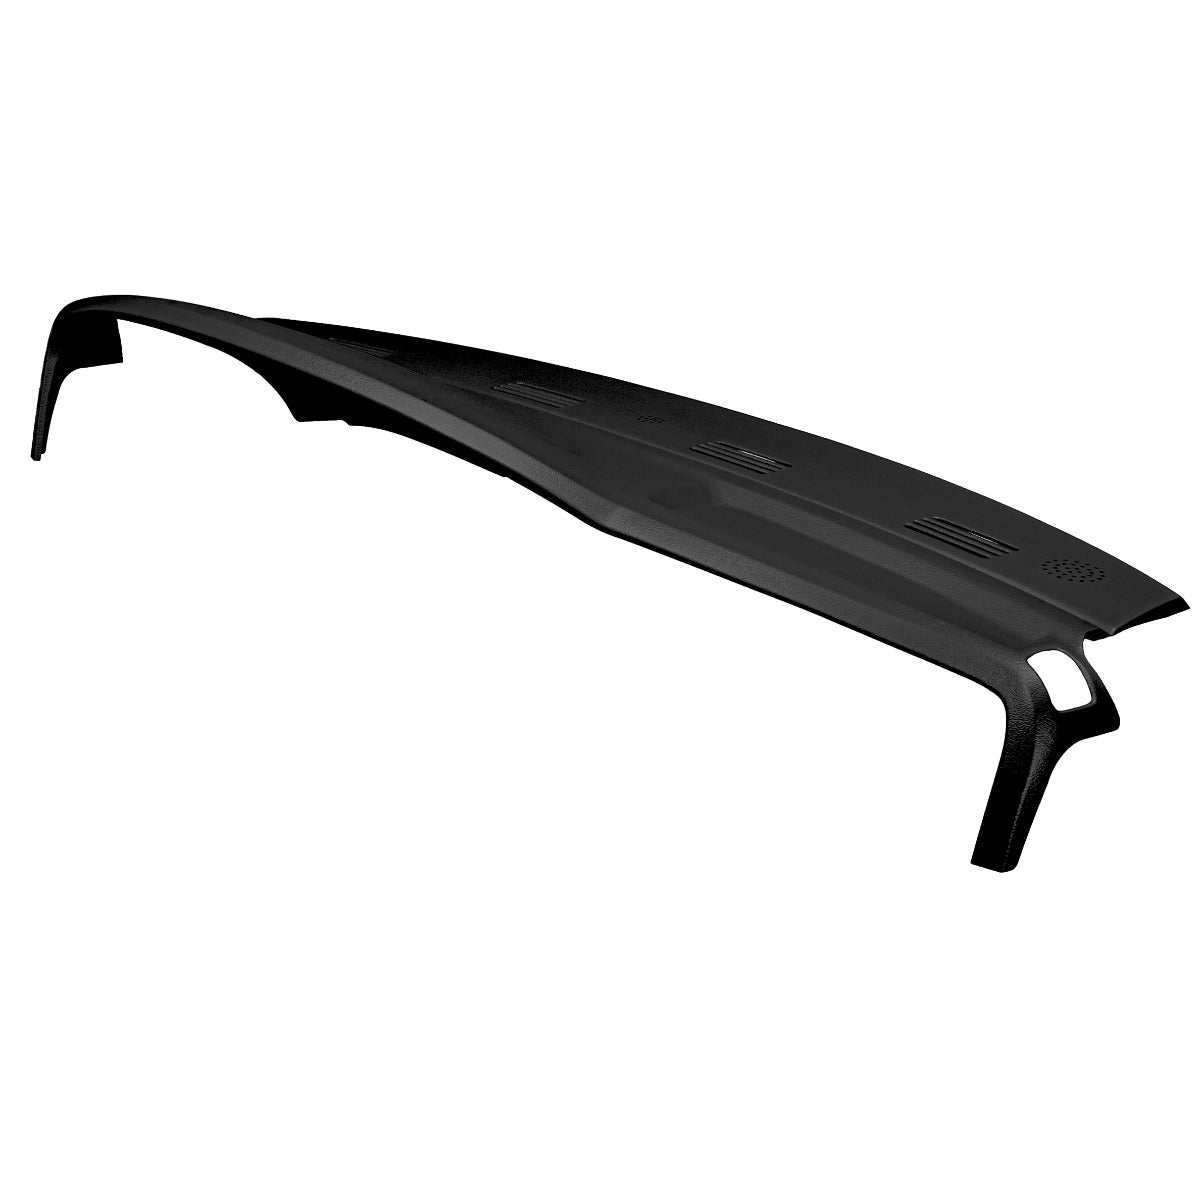
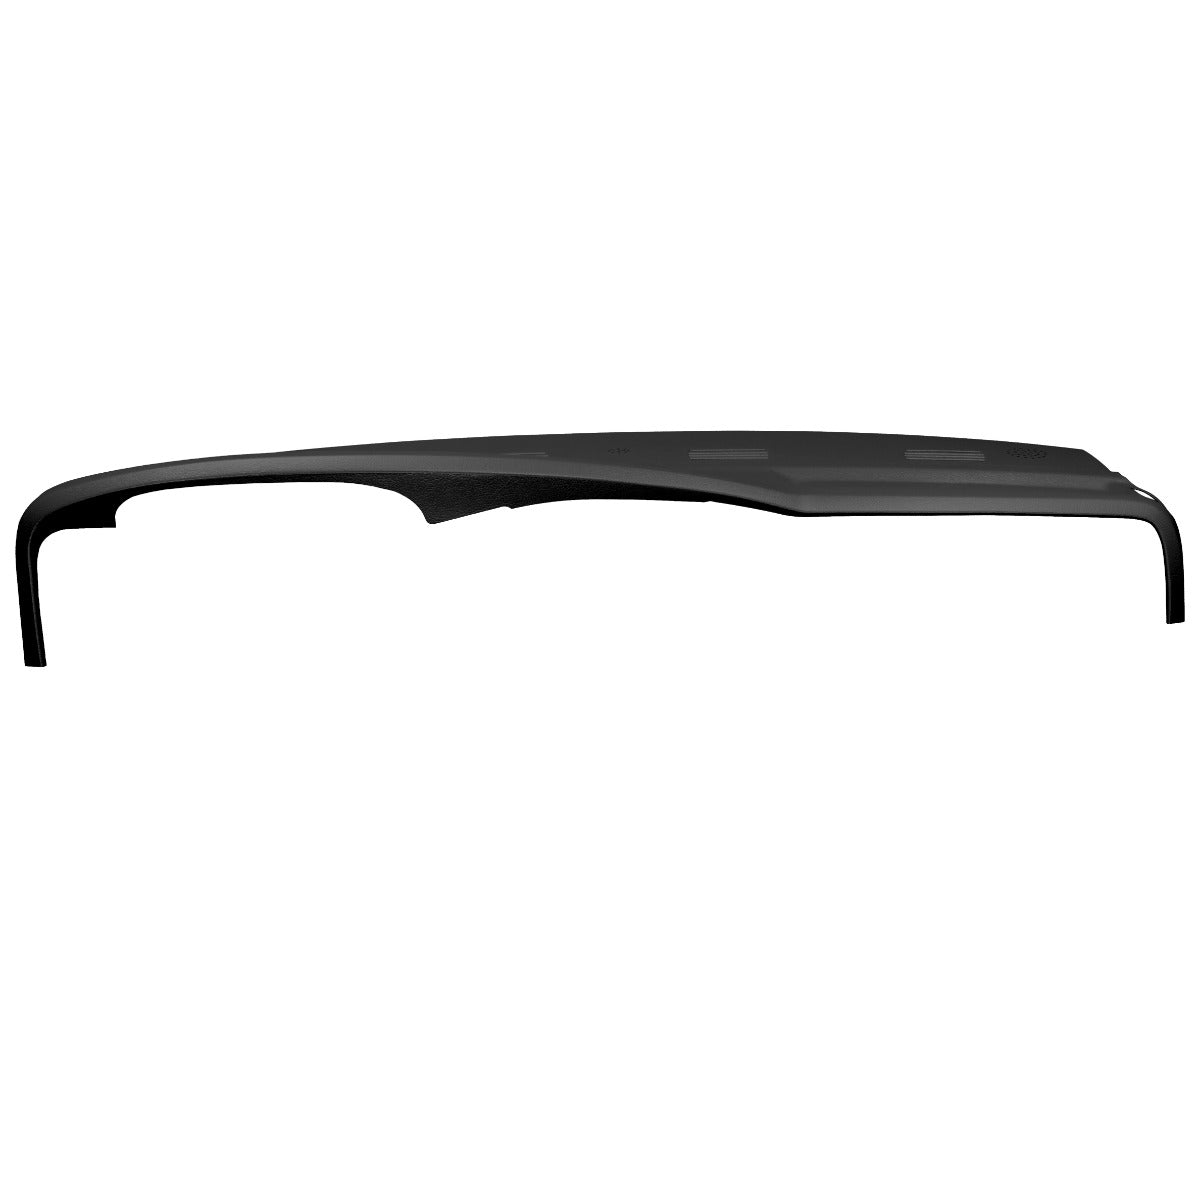
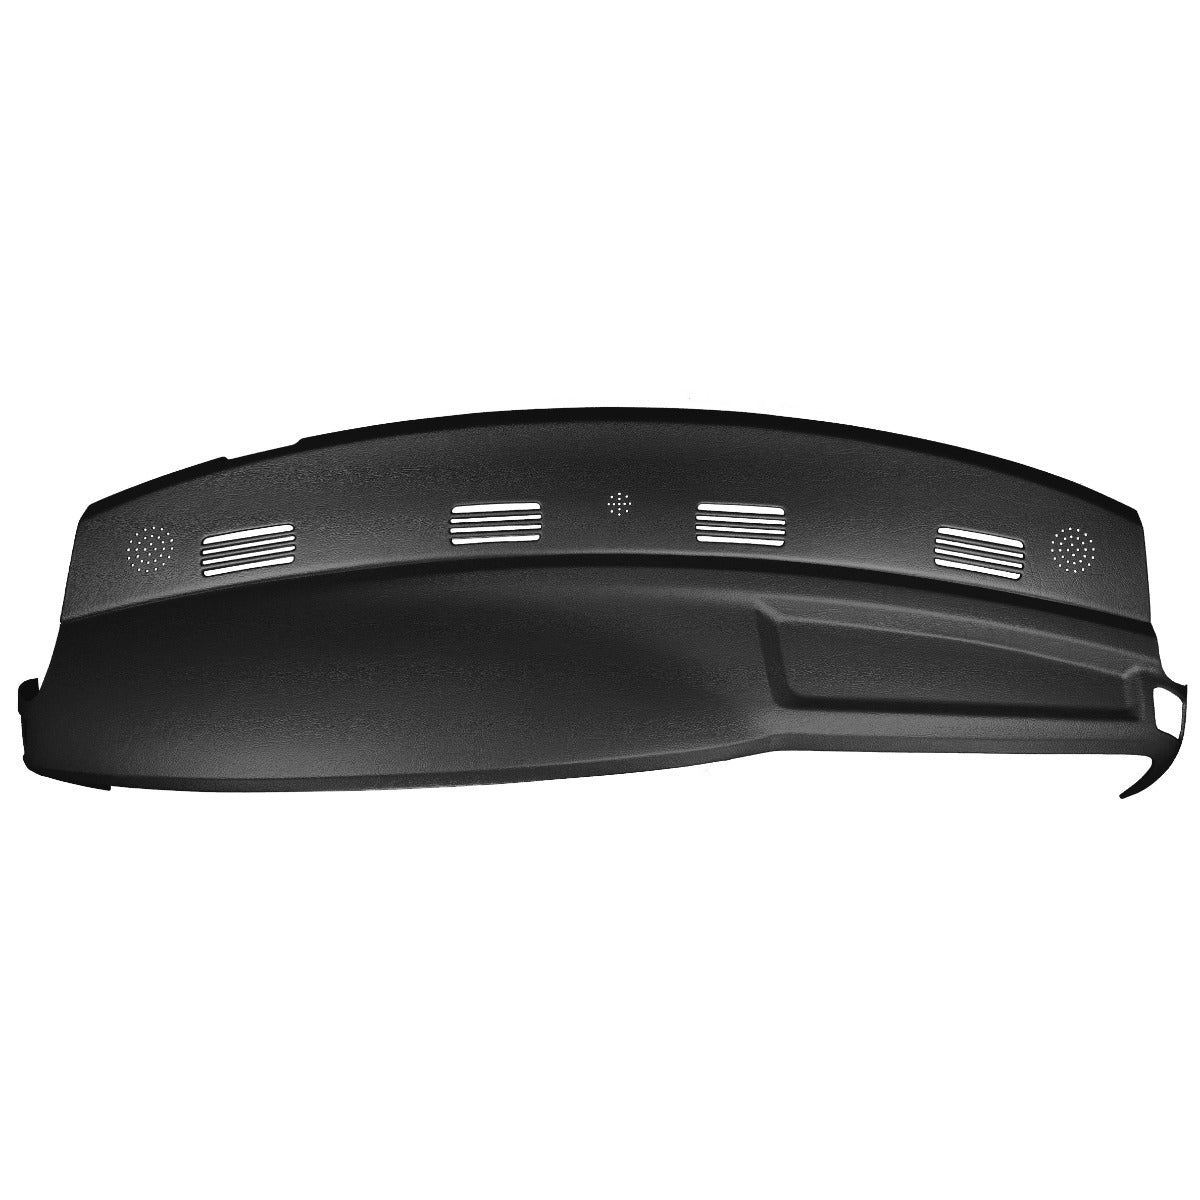
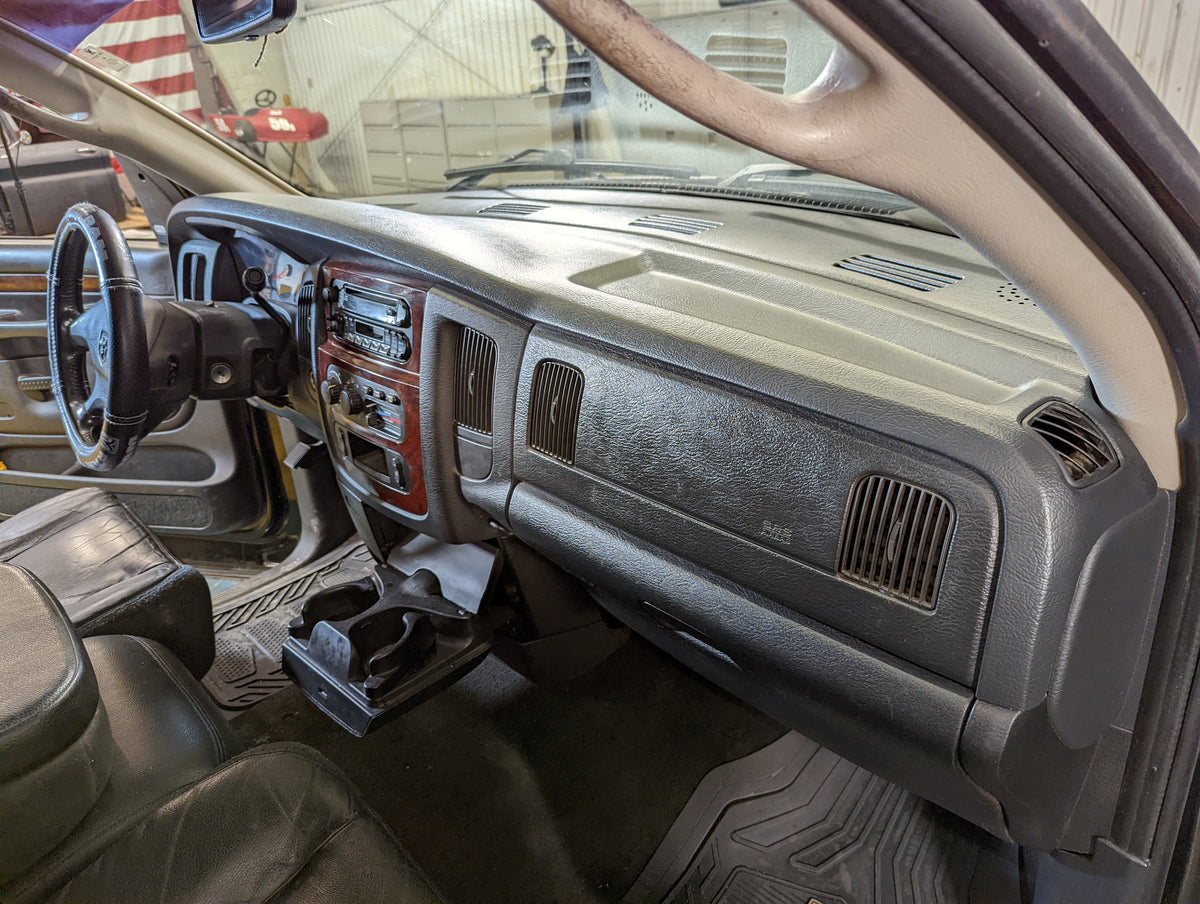
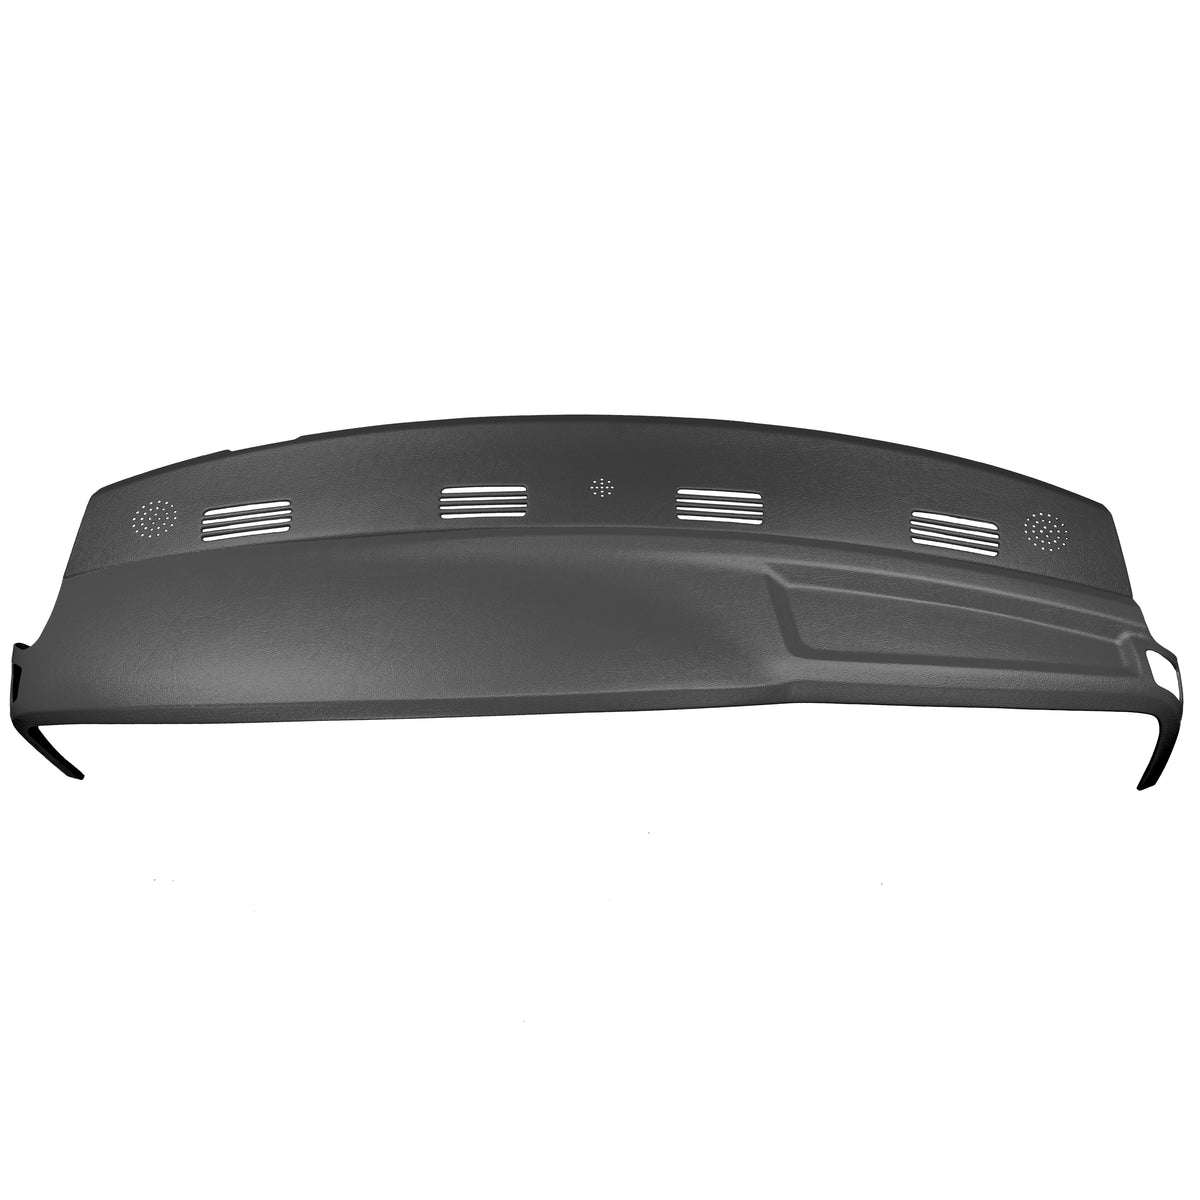
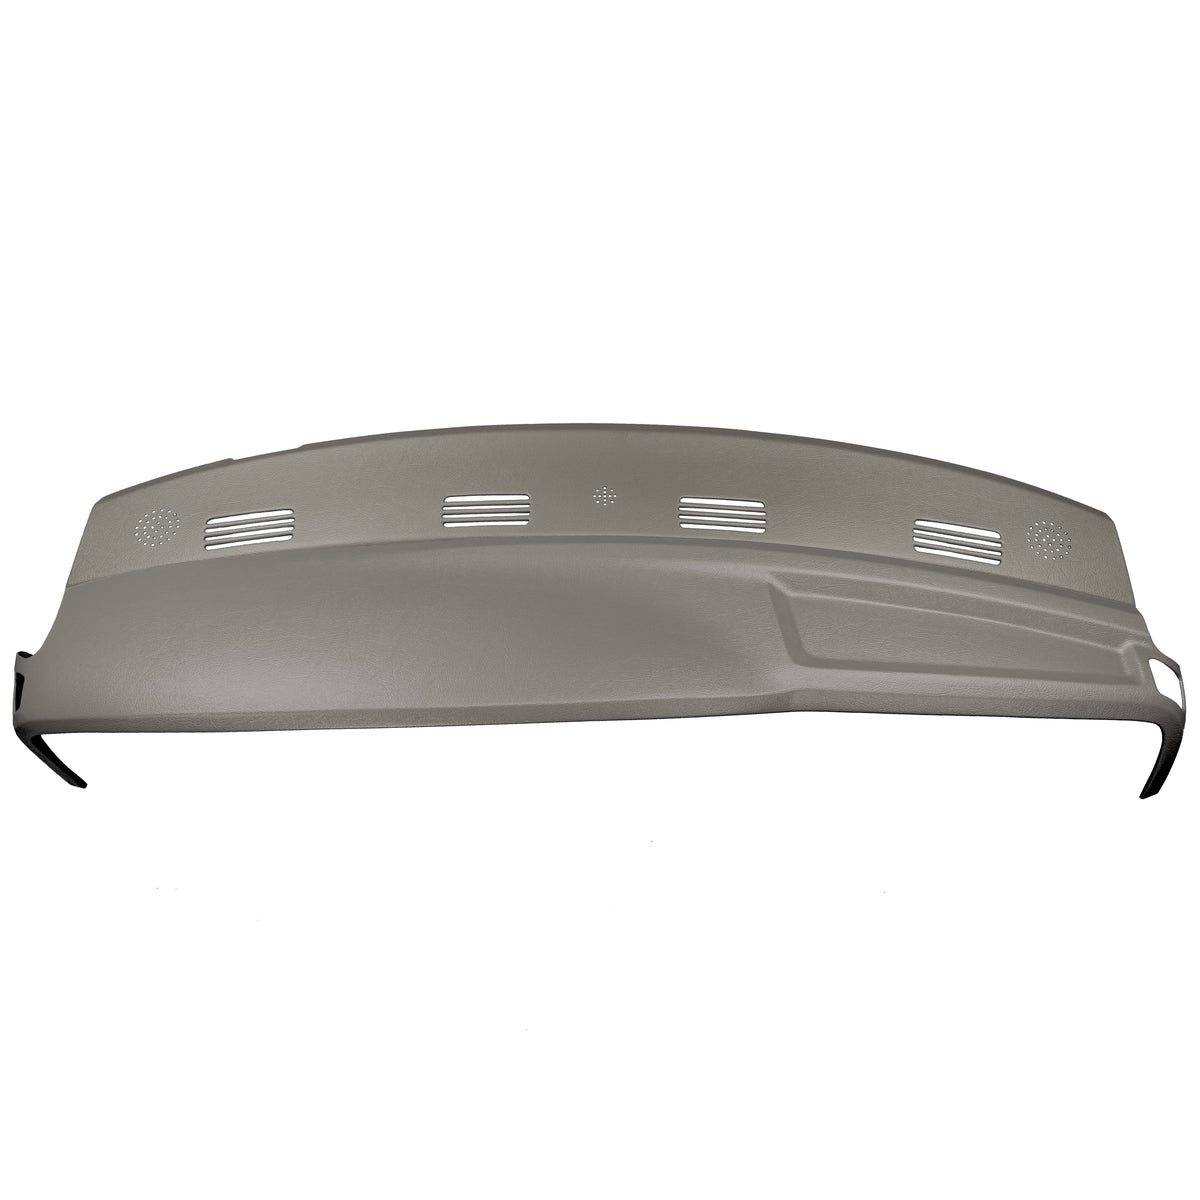
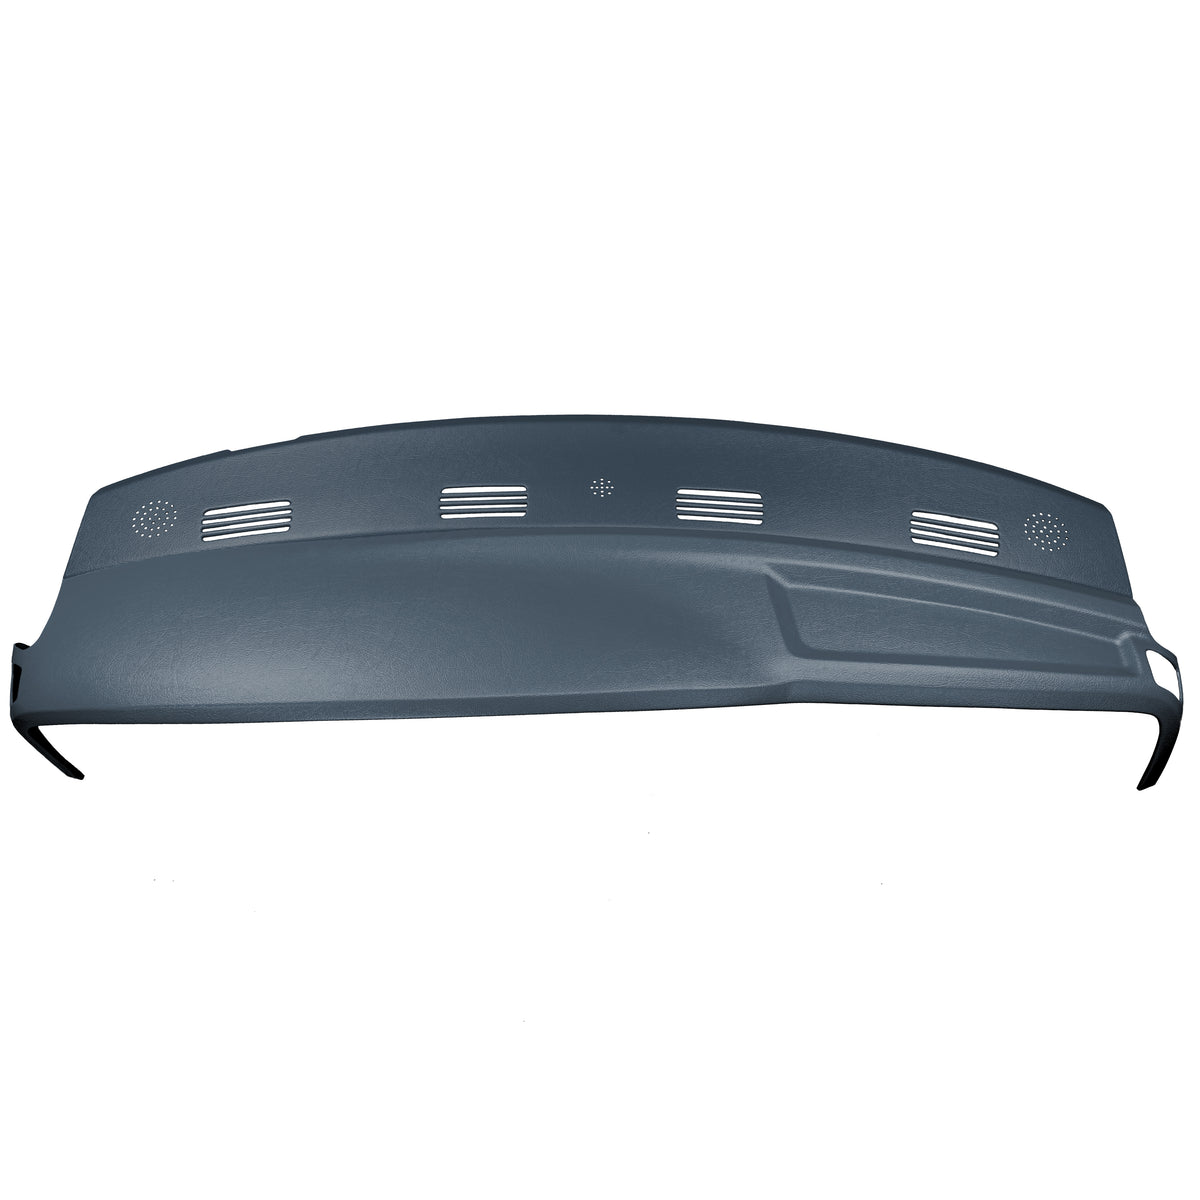
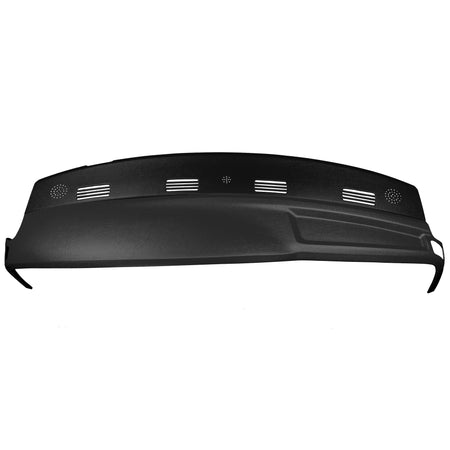
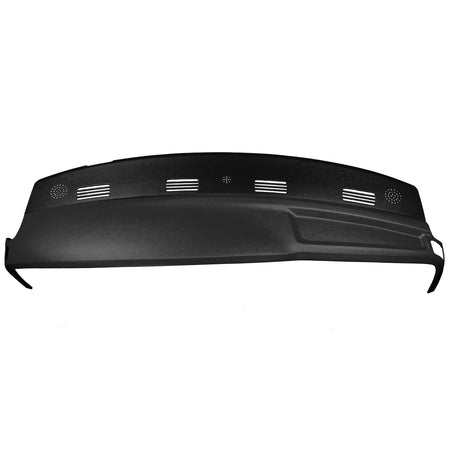
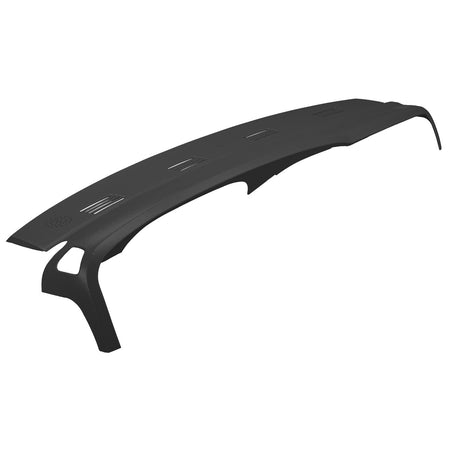
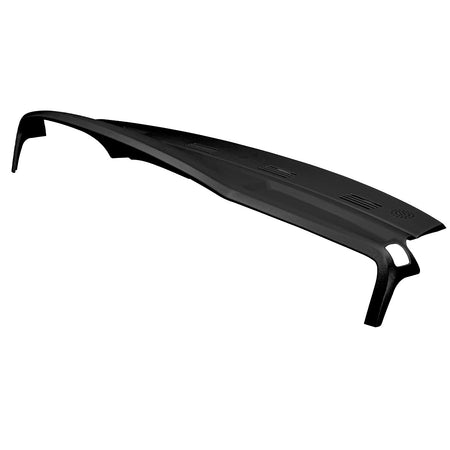
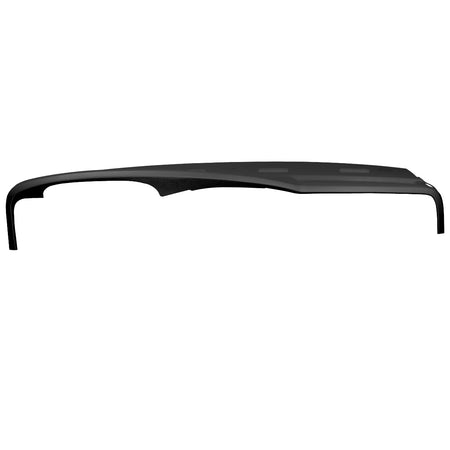
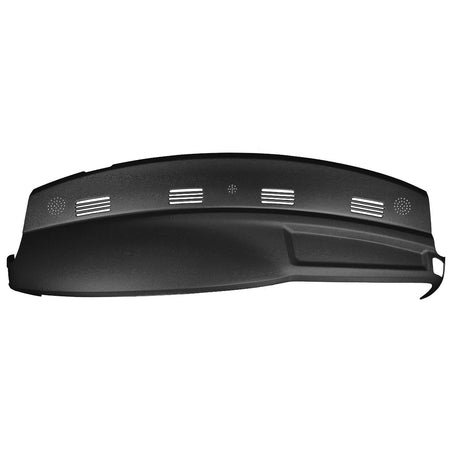
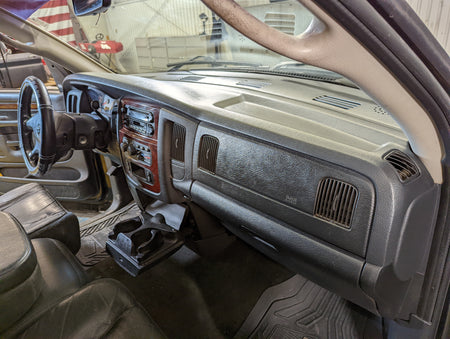
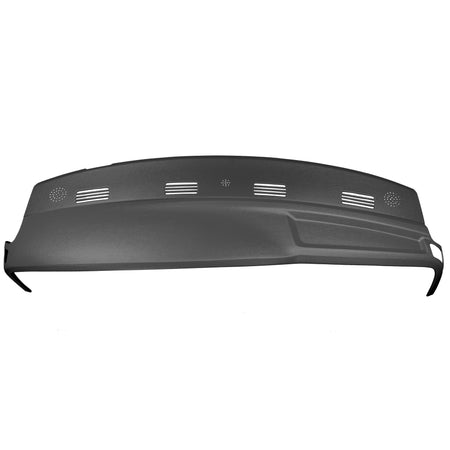
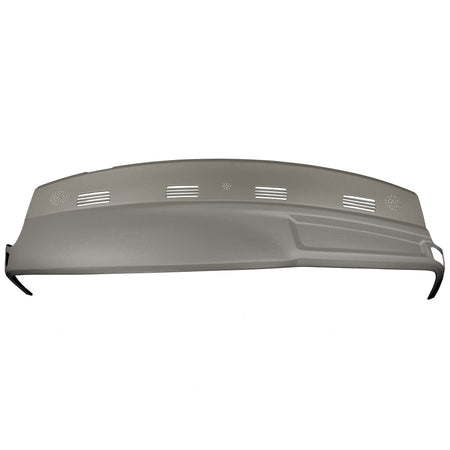
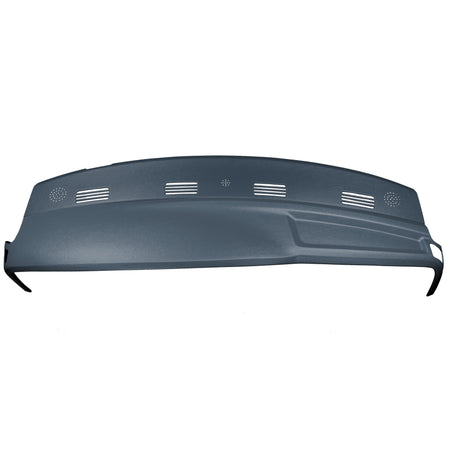
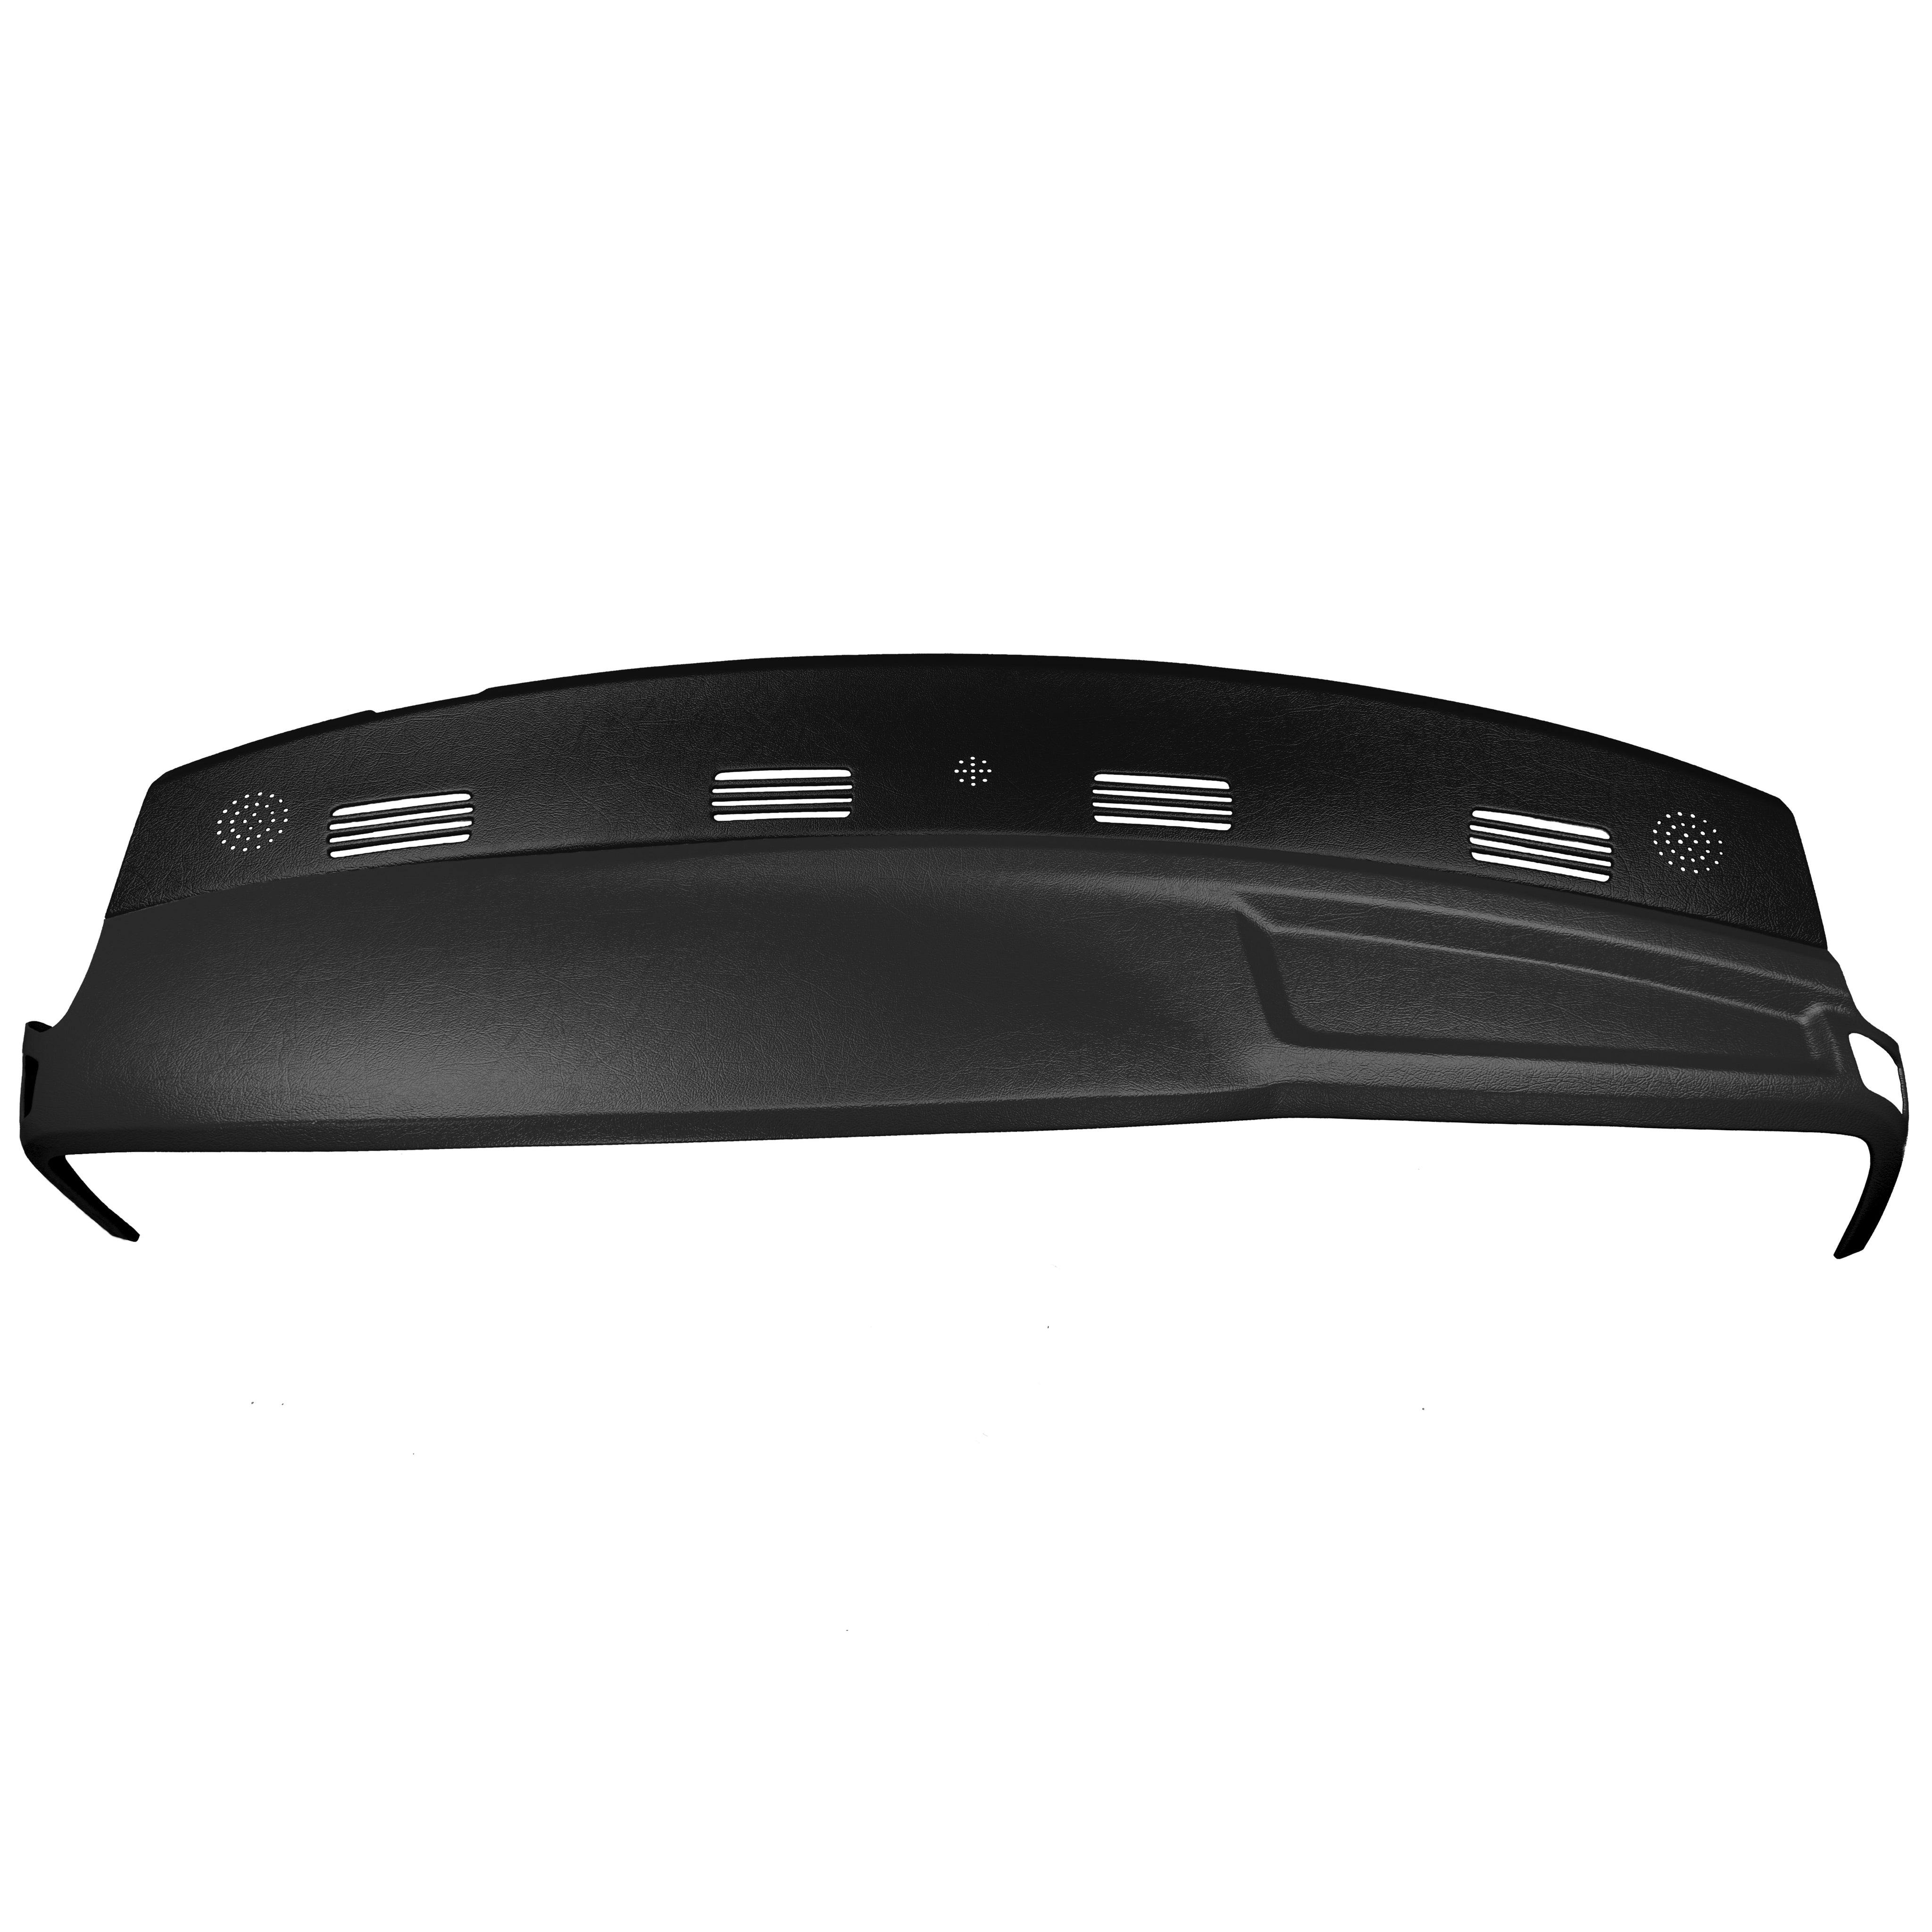
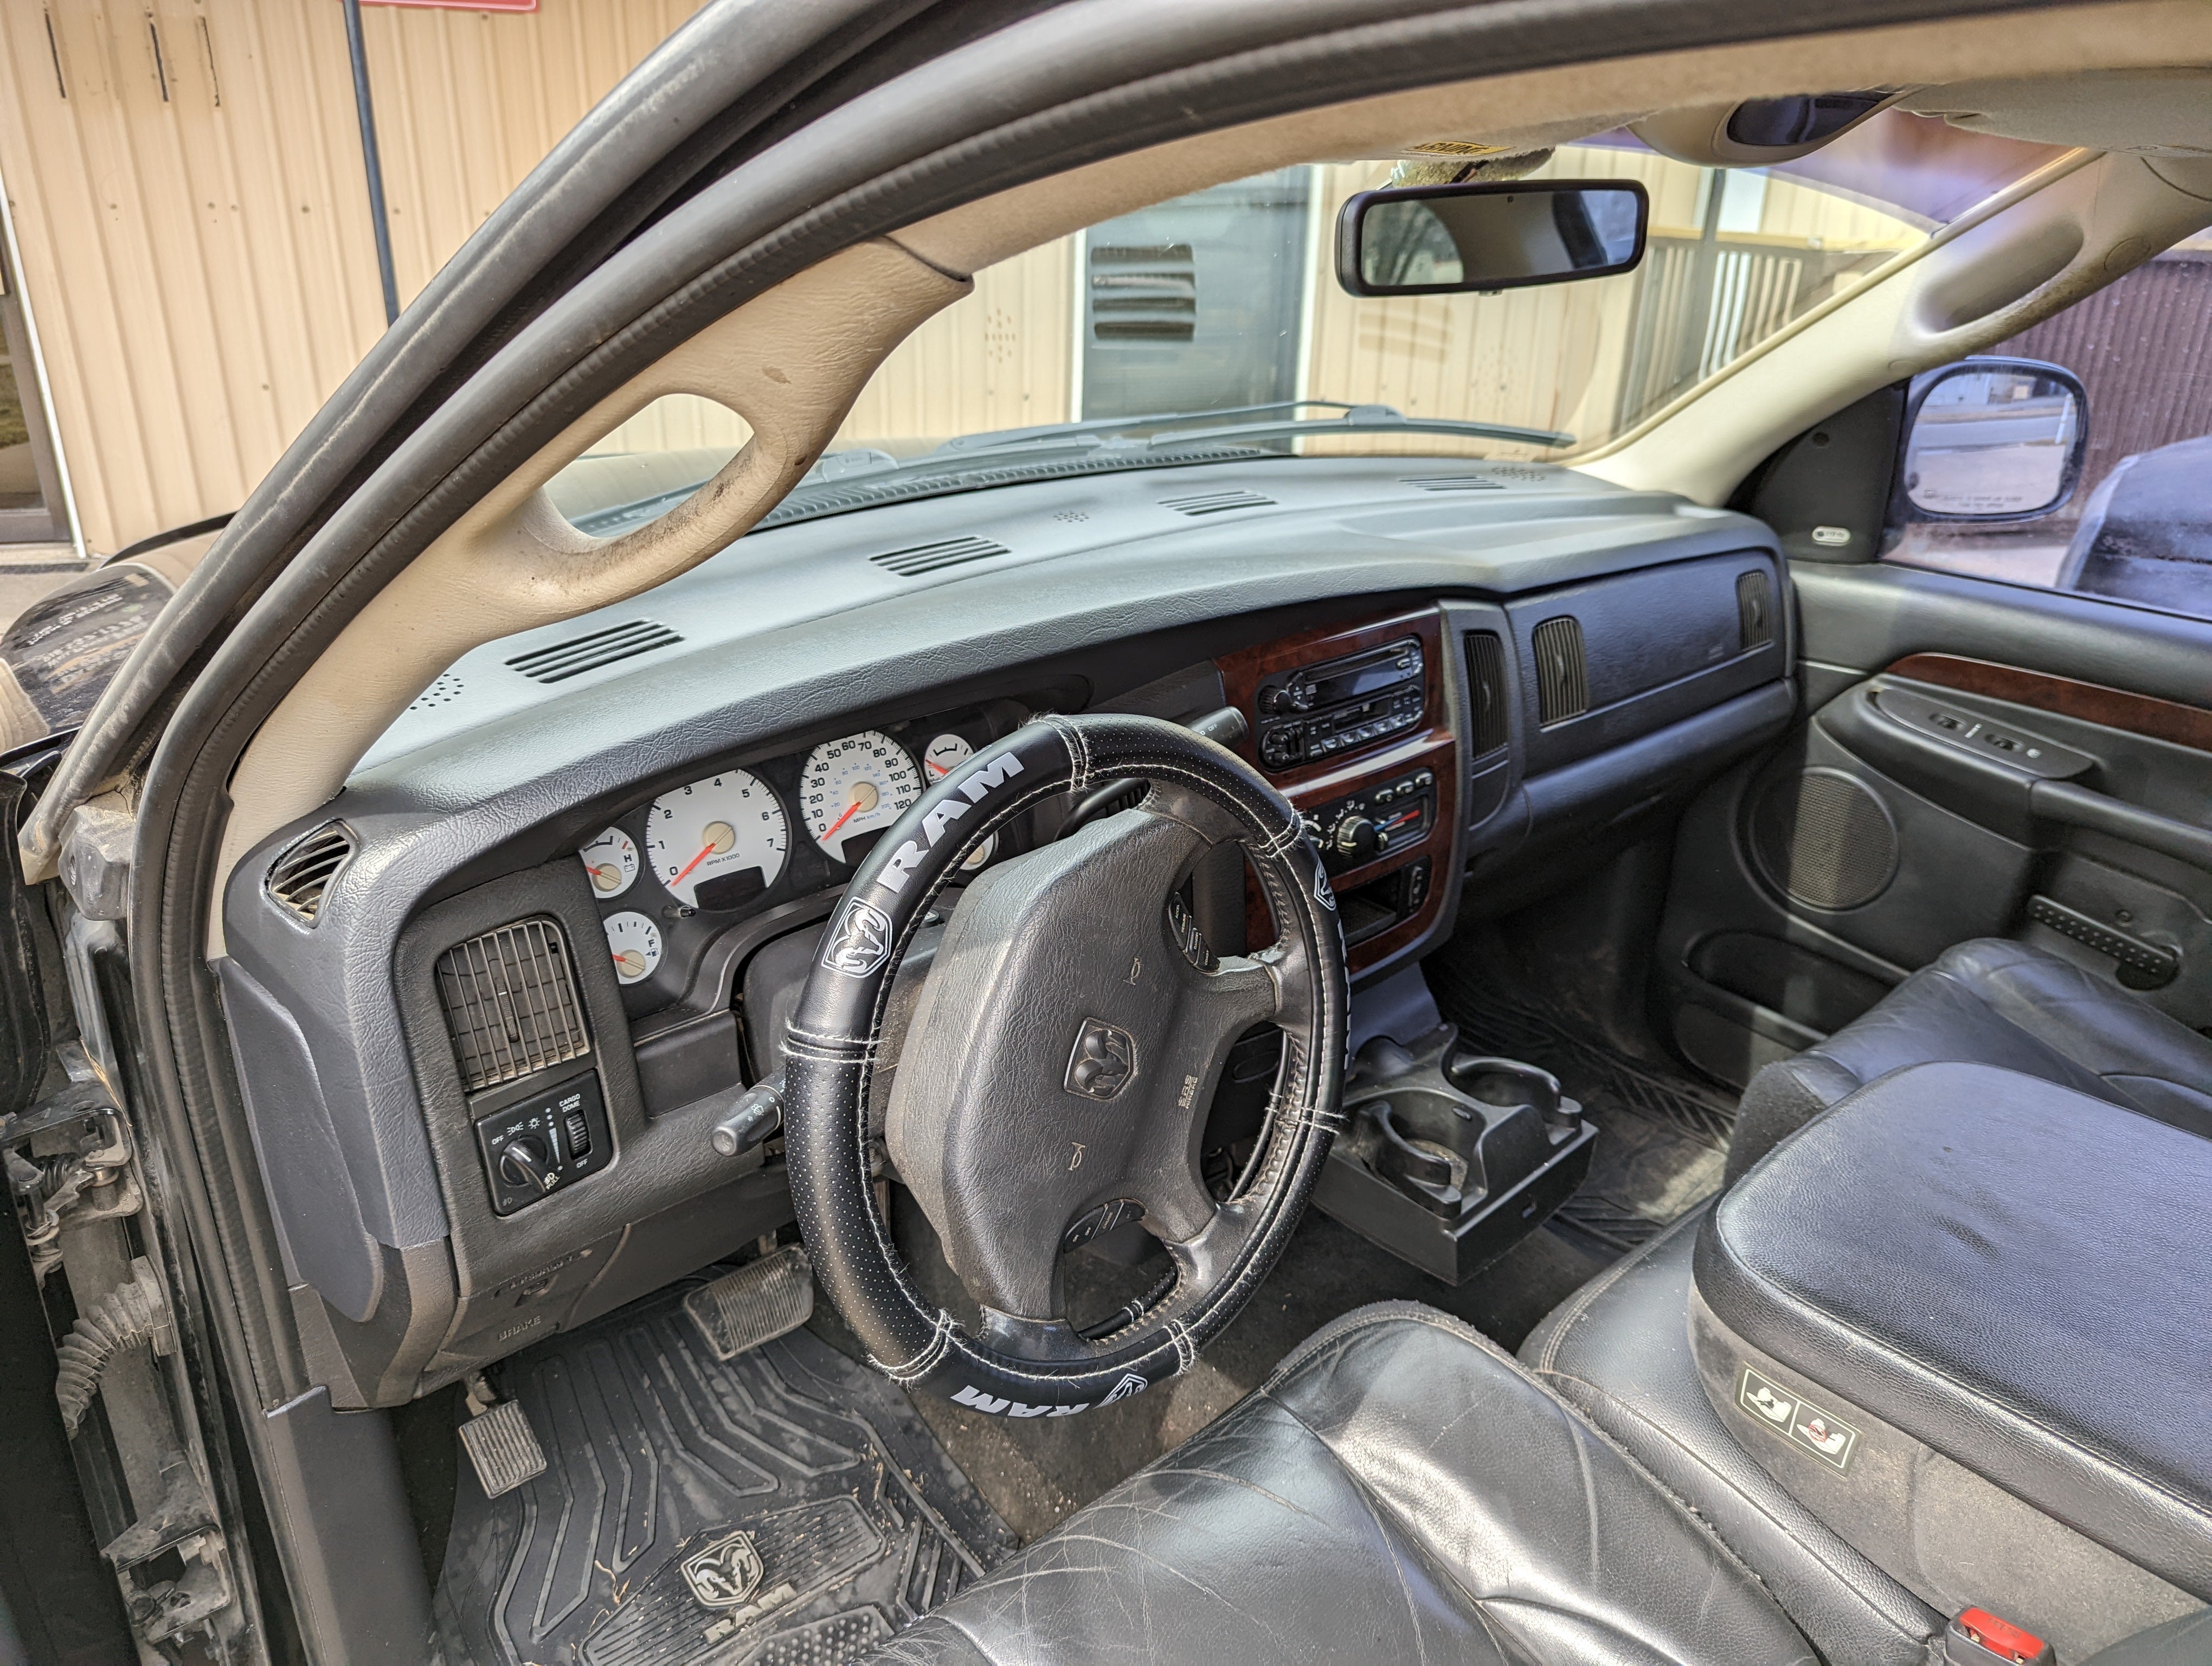
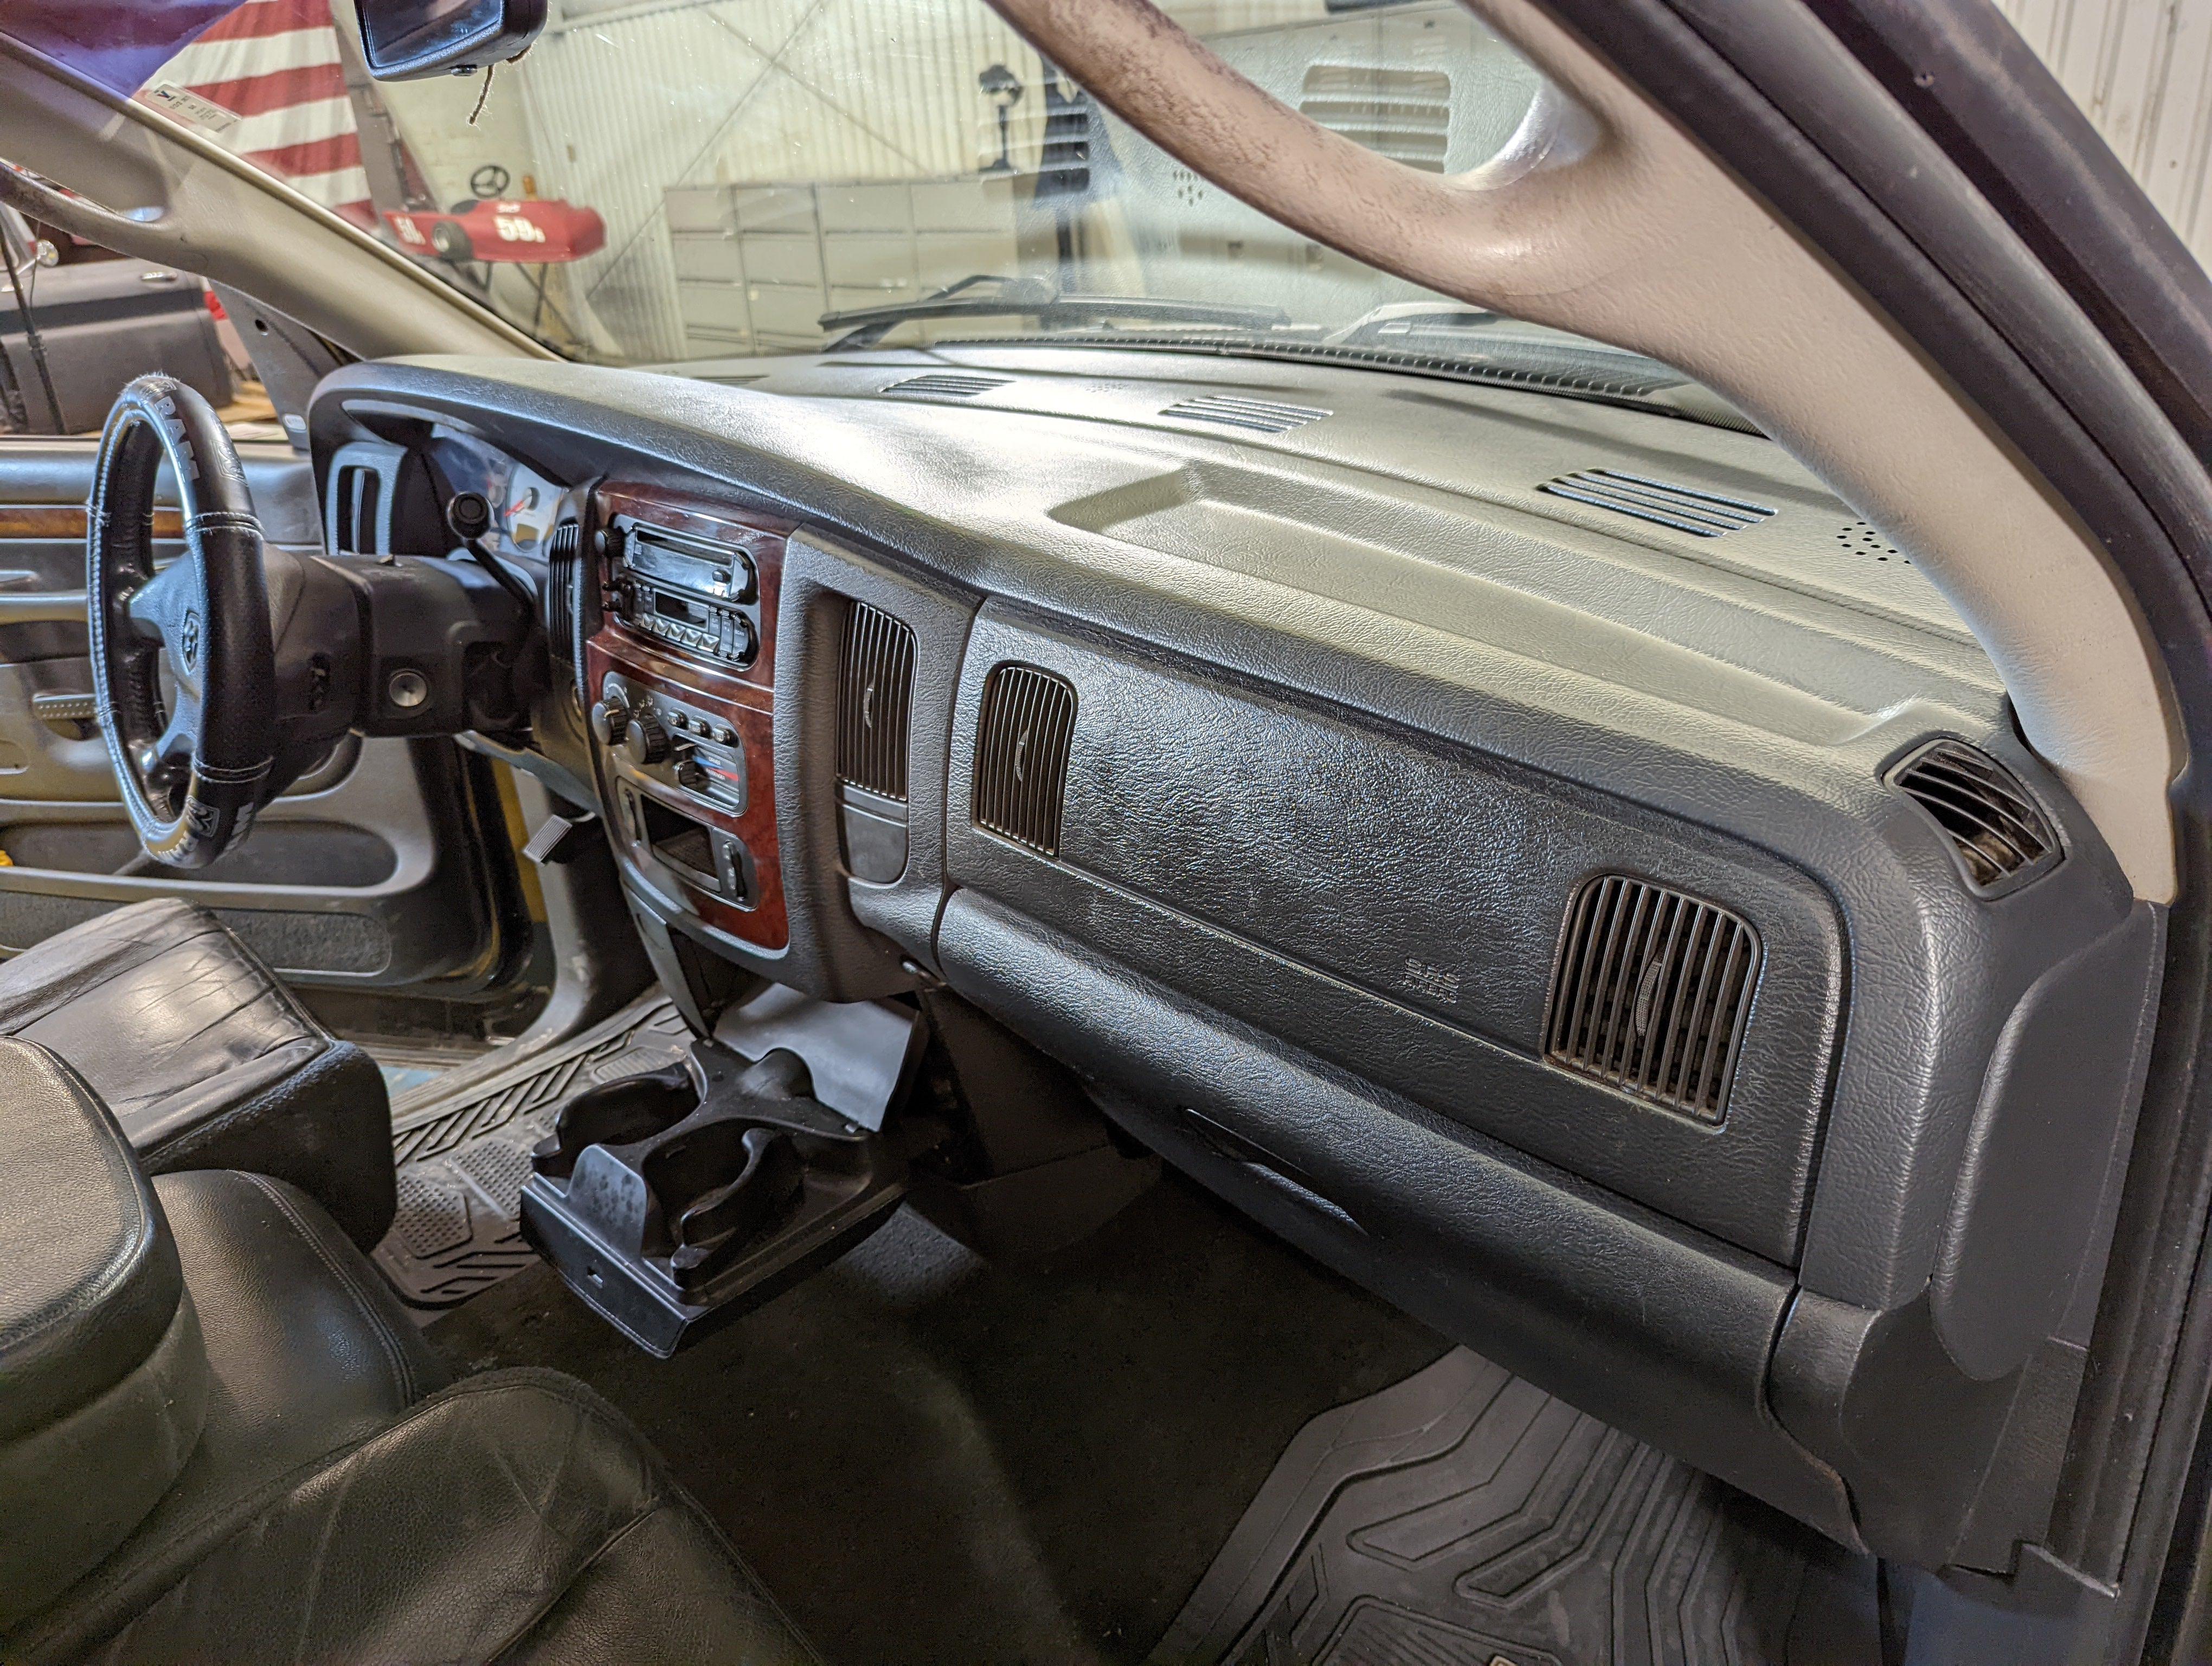
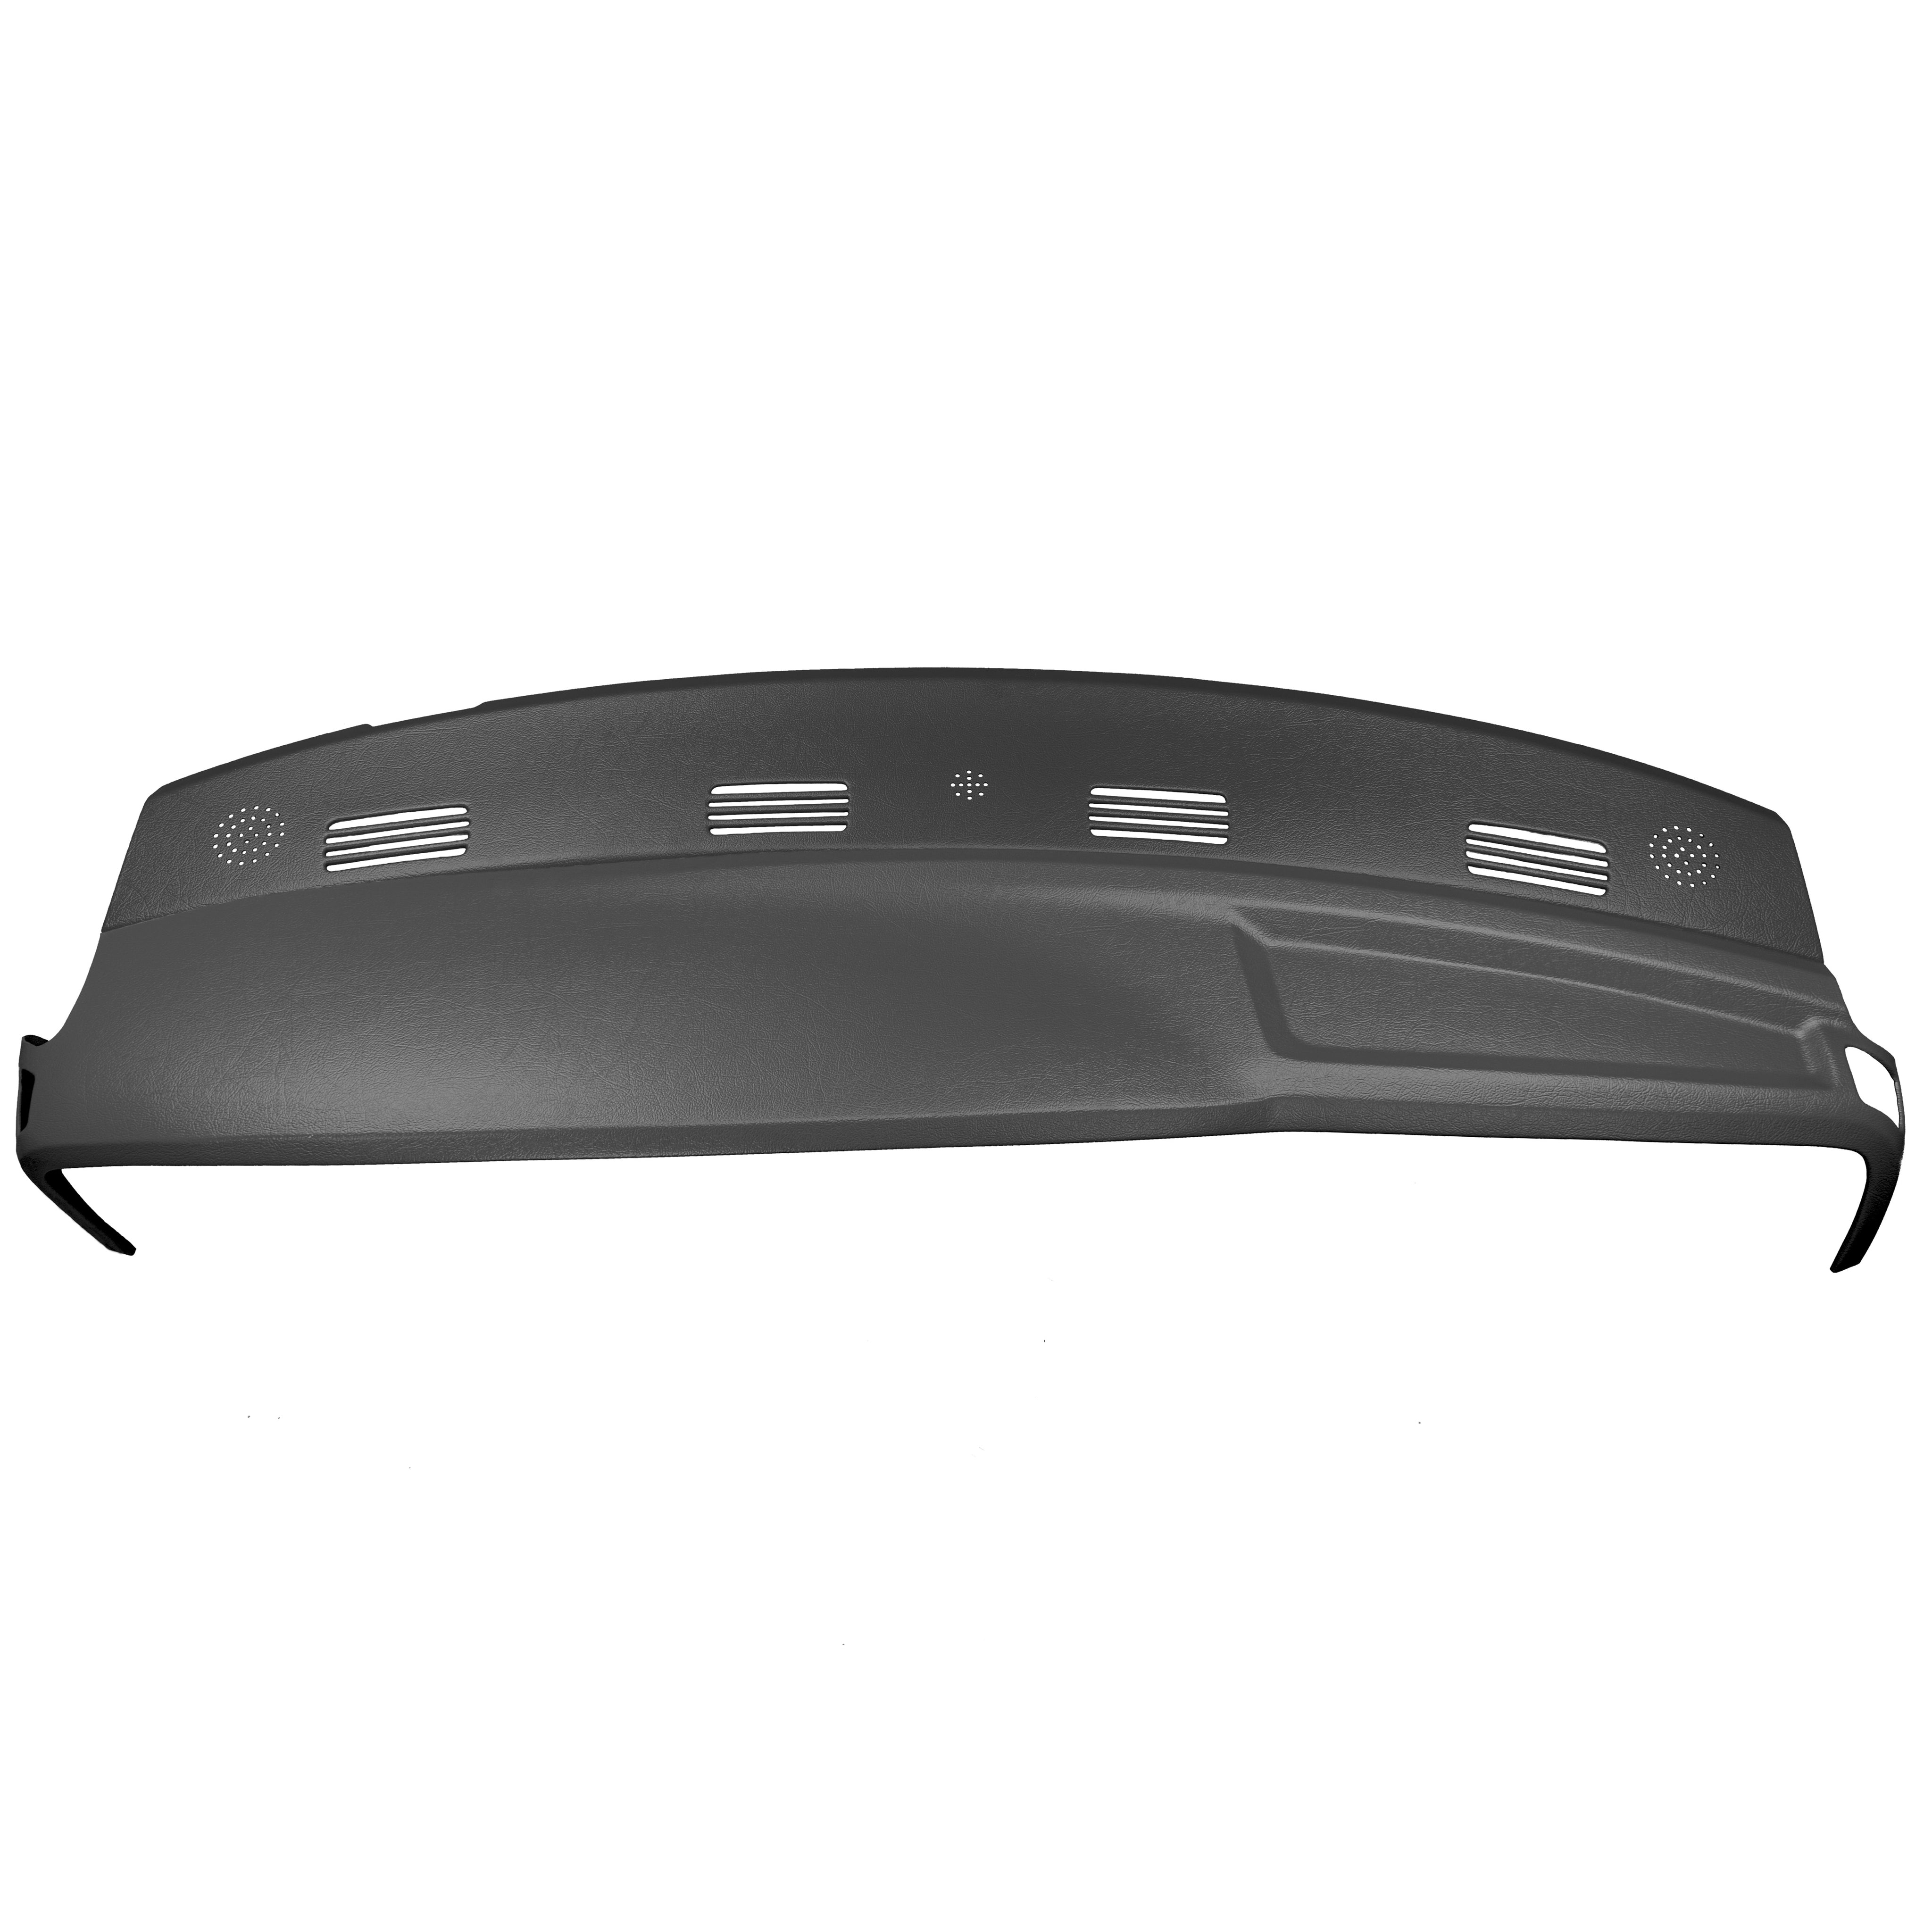
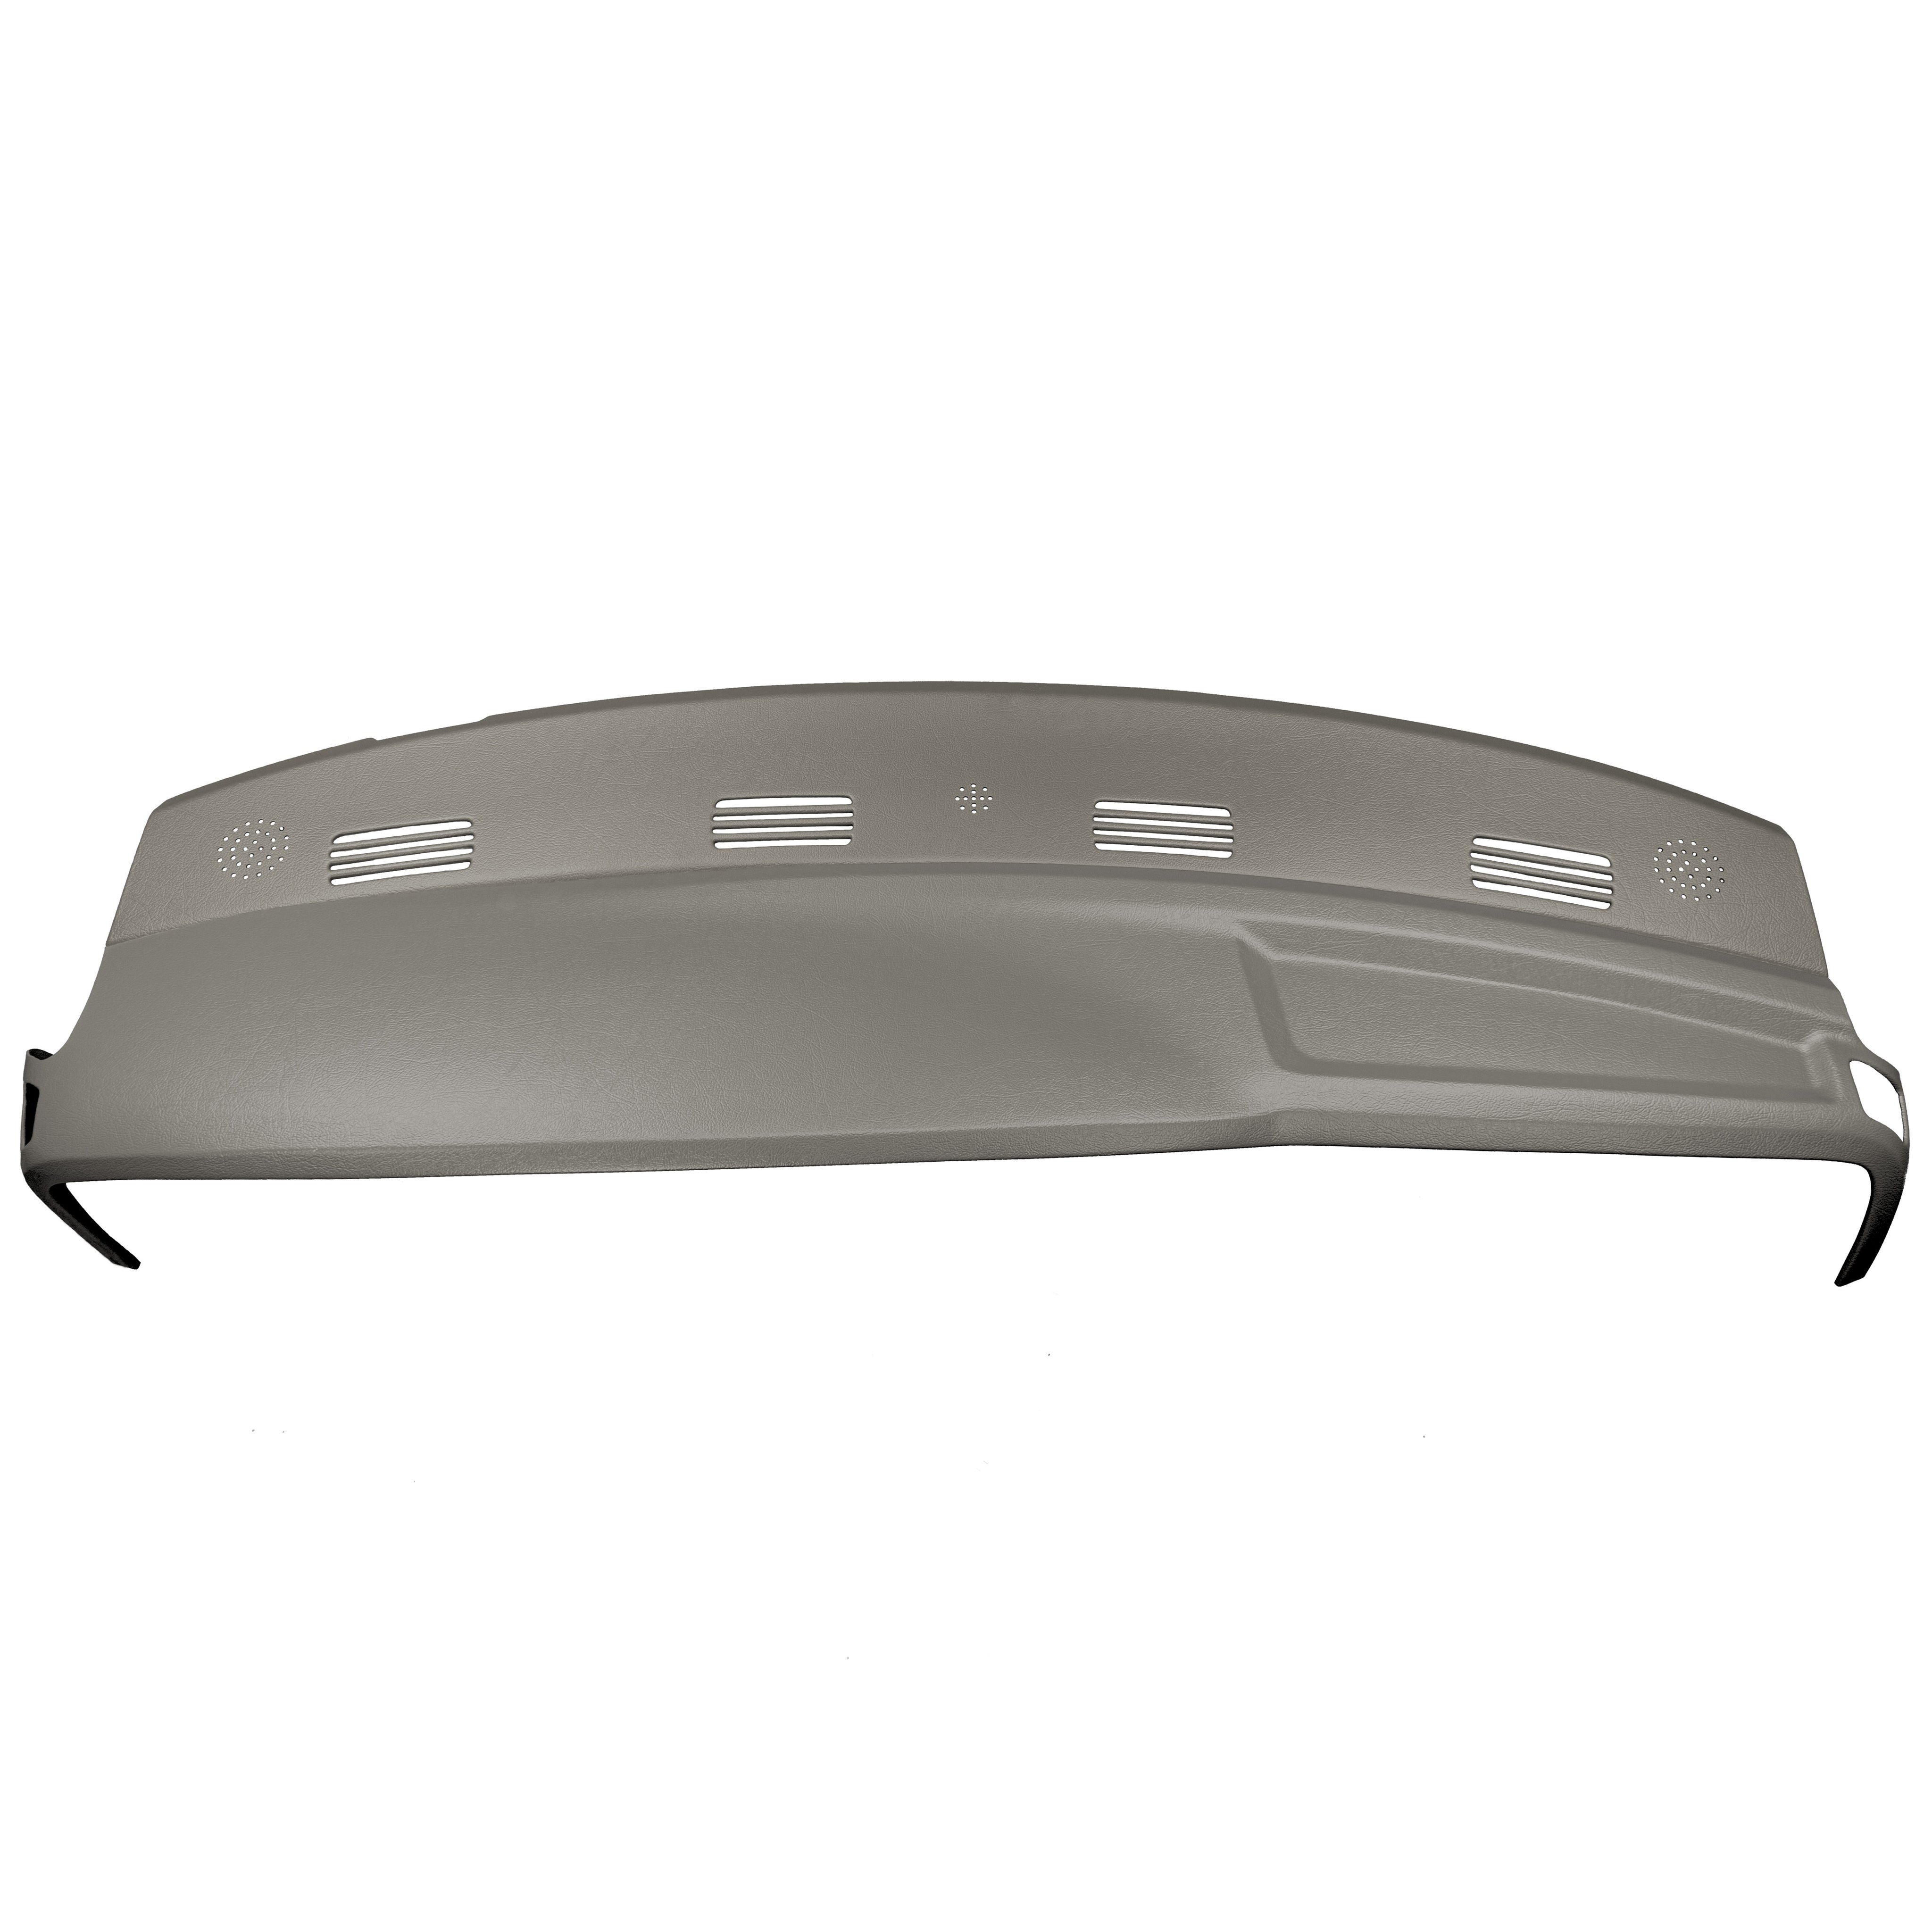
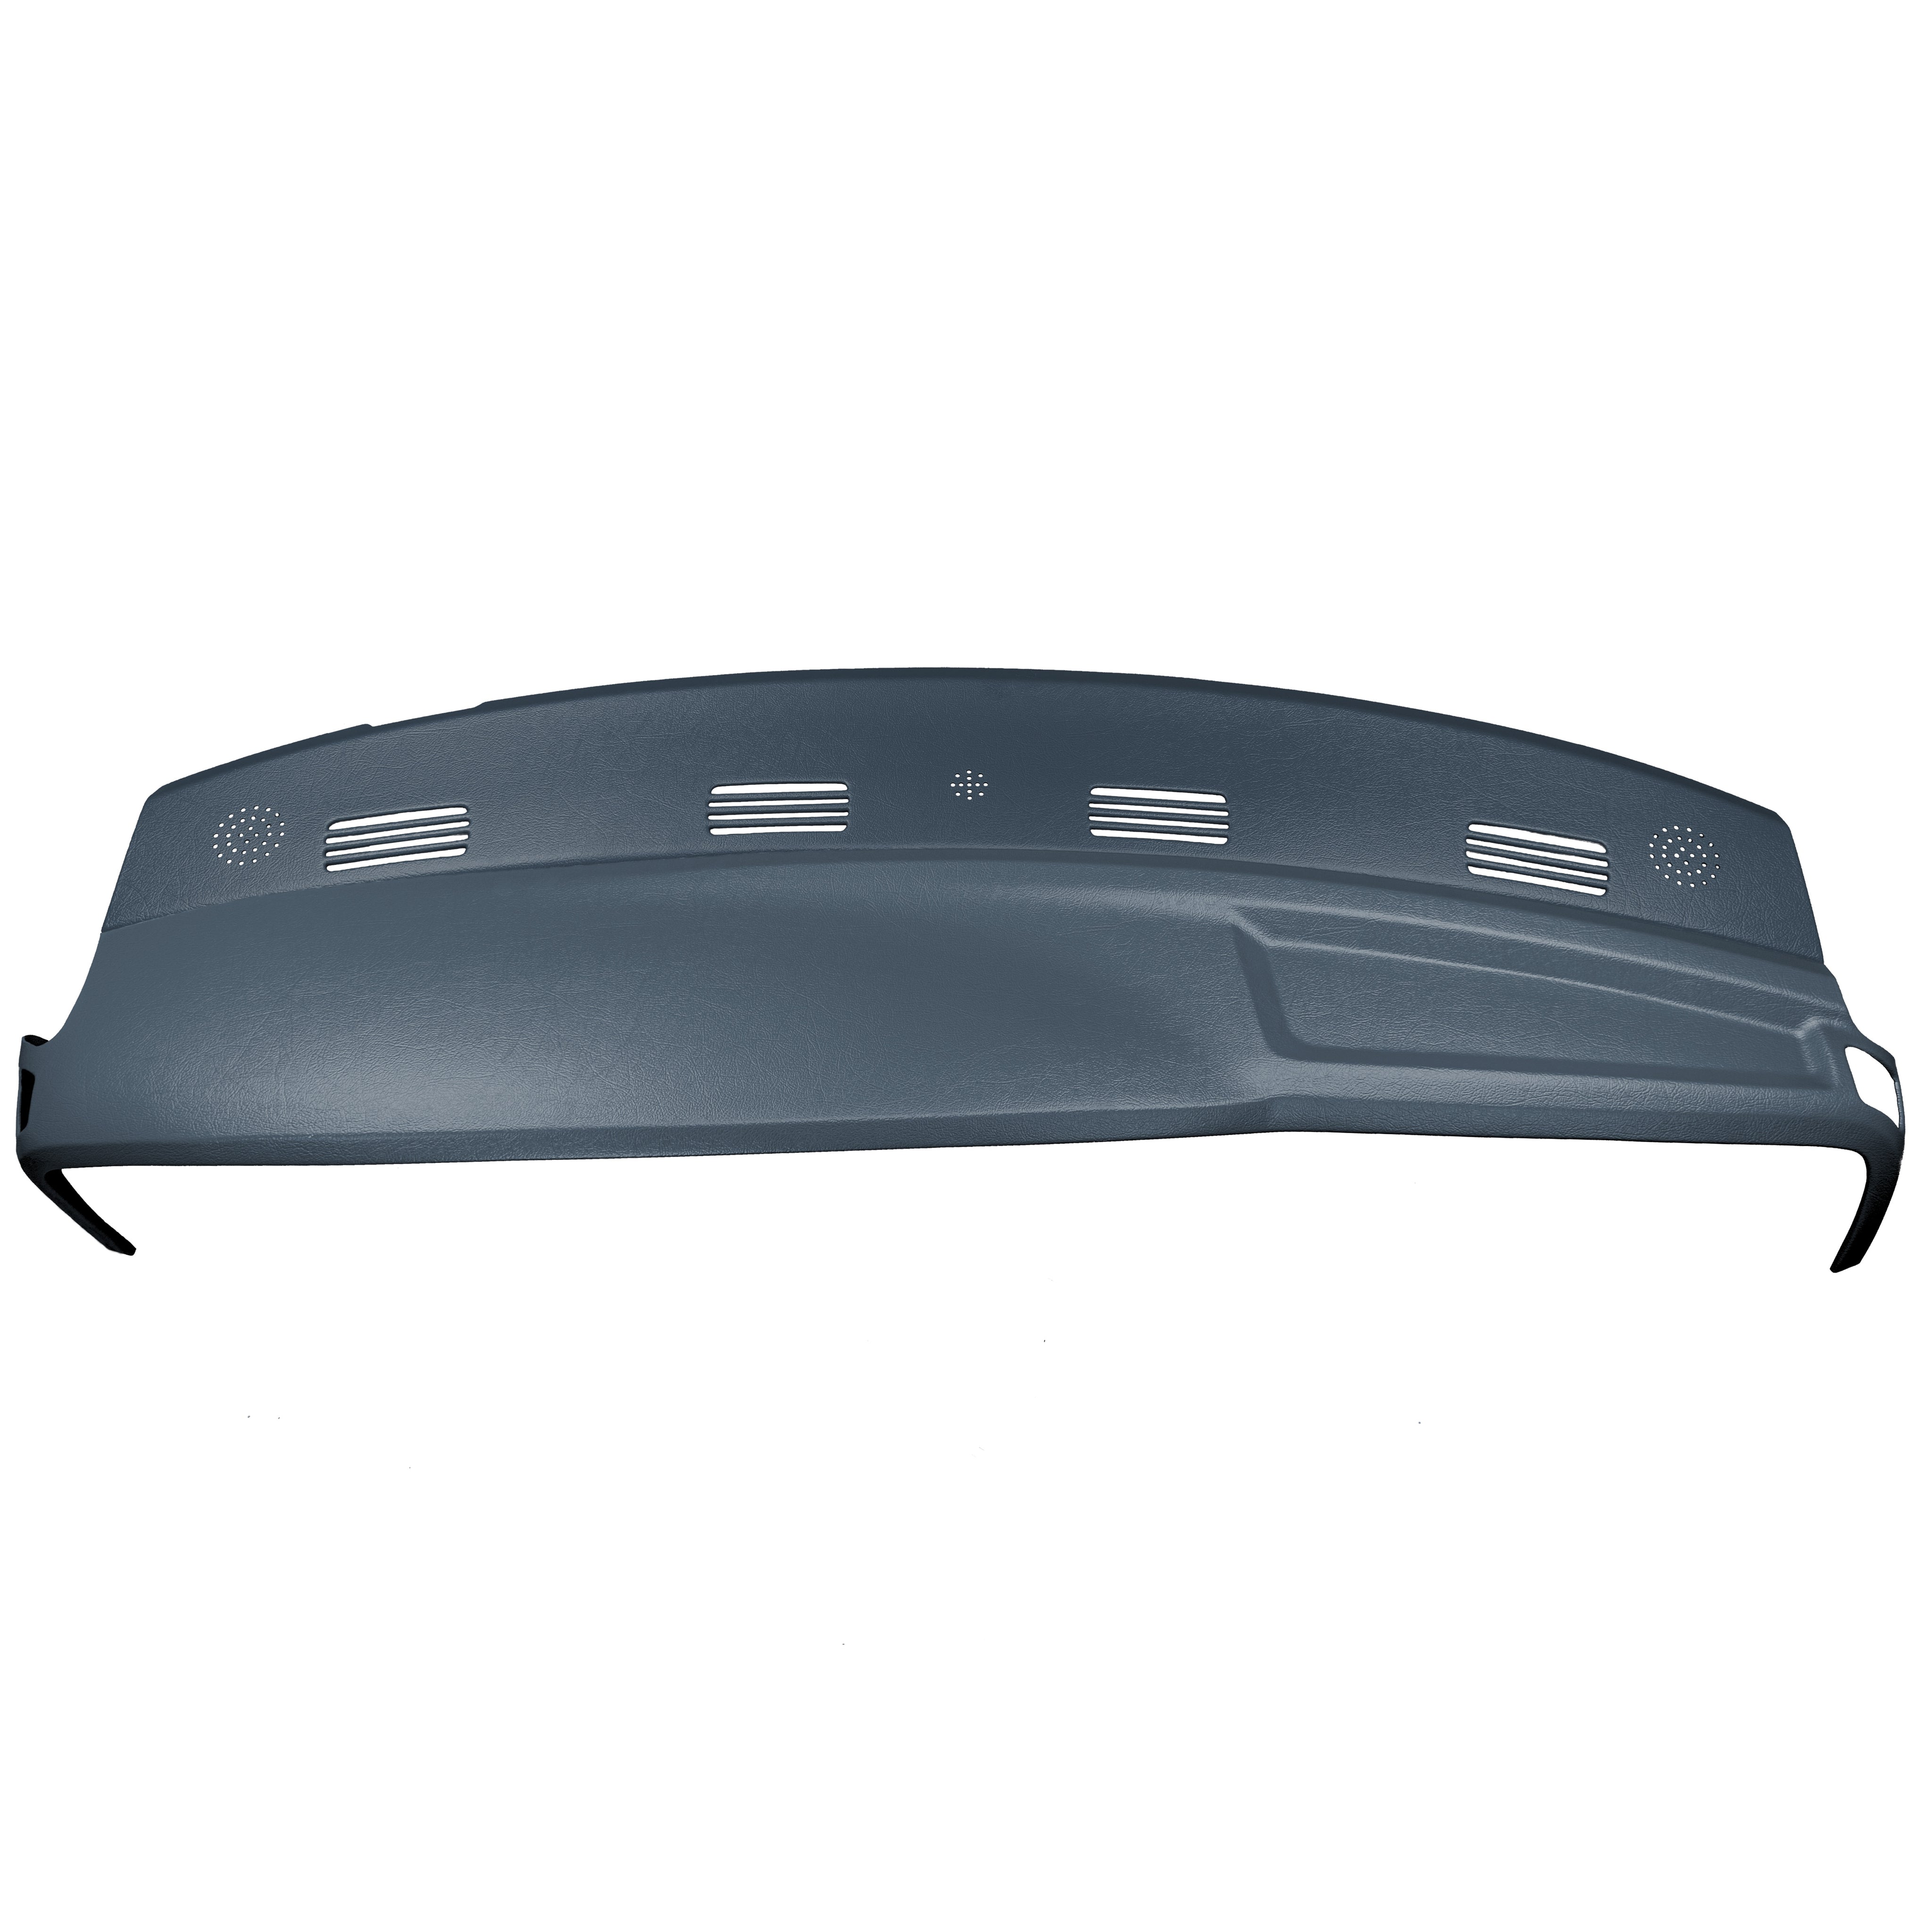
Thanks for checking out our DashSkin™ video install guide for 2002 through 2005 Dodge Ram trucks. Here, we will walk you through the process of installing your new DashSkin™ cover, ensuring a perfect fit and a restored dashboard look. Let's get started!
Identifying the Correct Color
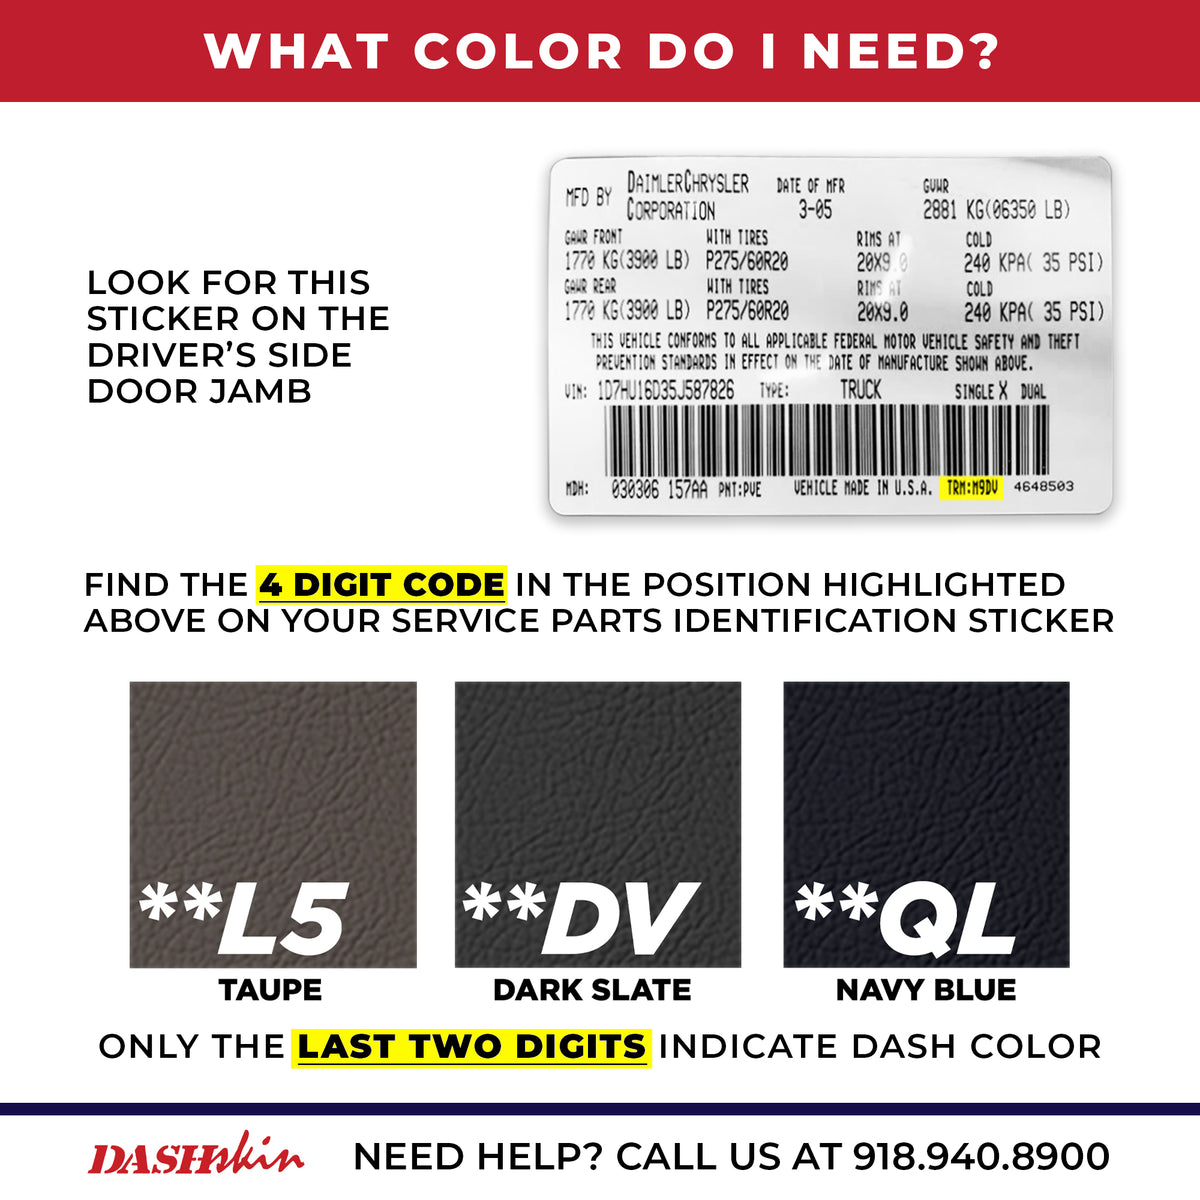
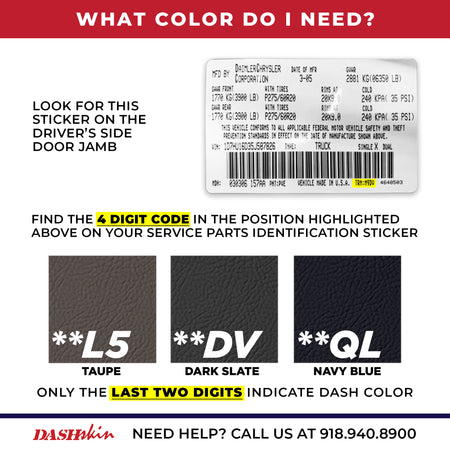
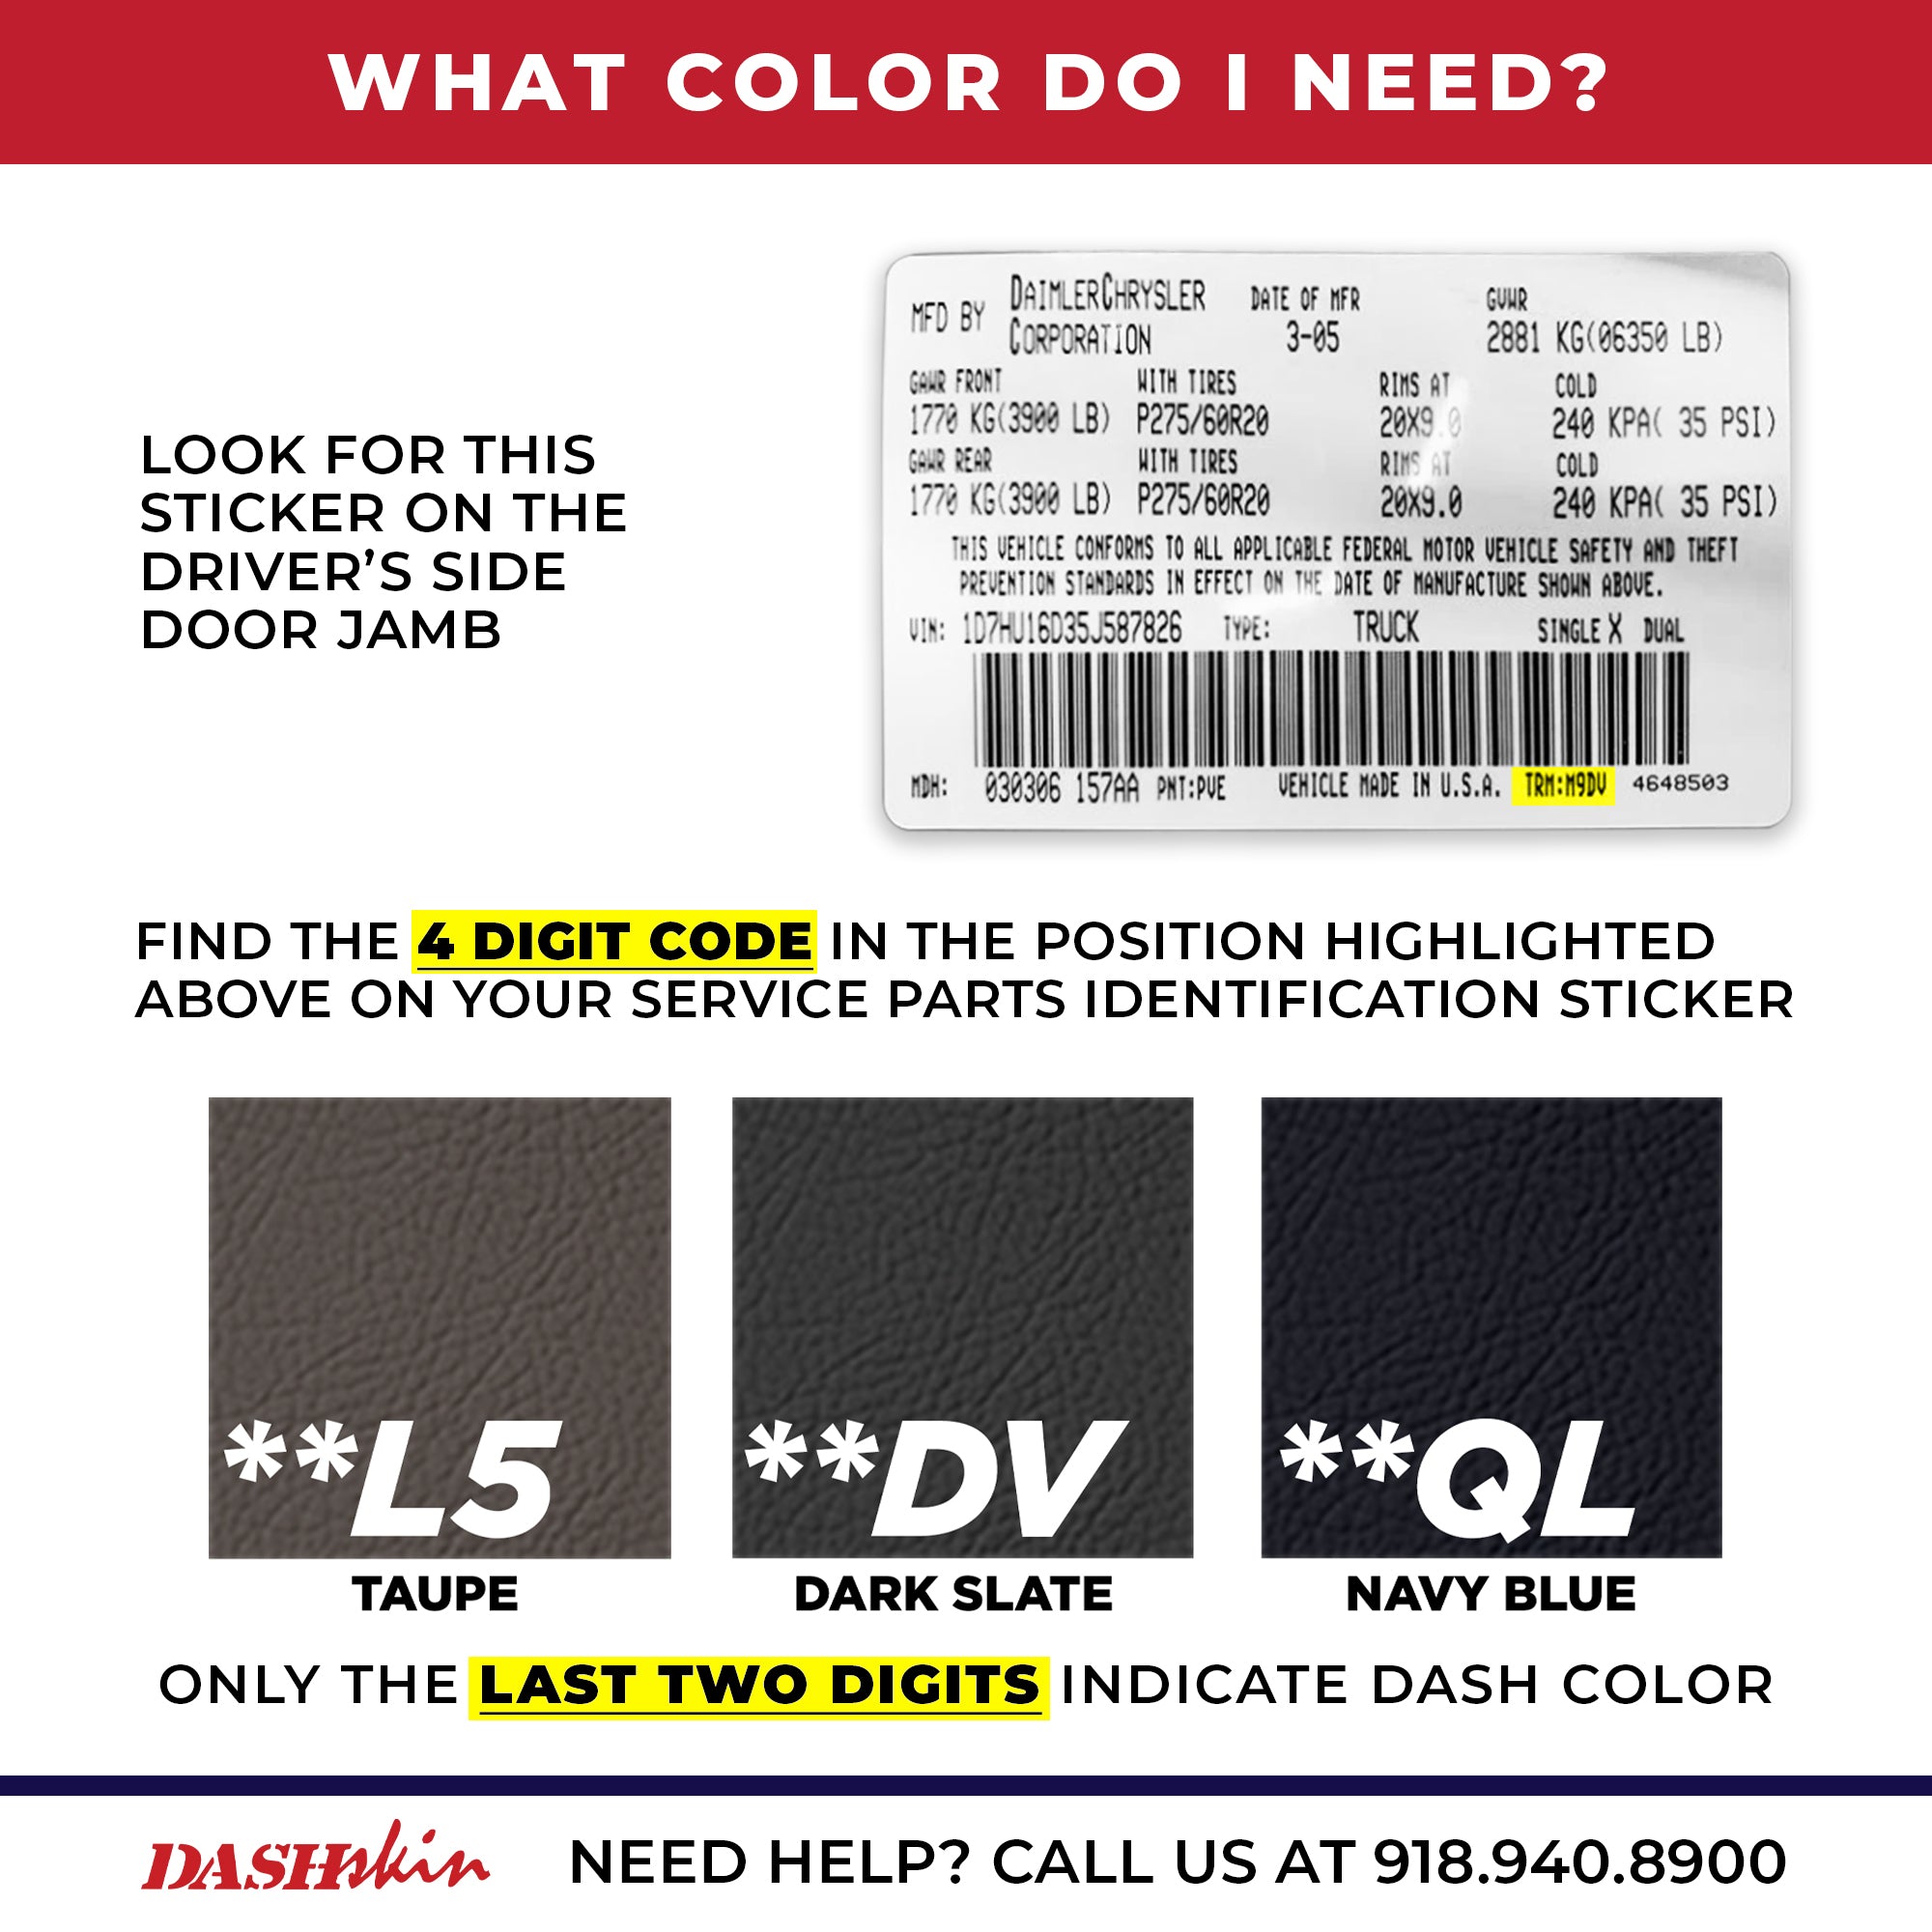
Step 1: Locate the SPID Sticker
To ensure you order the correct color for your DashSkin™, locate the sticker in the door jamb on the driver's side. Look for the section that says "trim" and compare it with our trim code guide
Cleaning and Prepping Your Dash
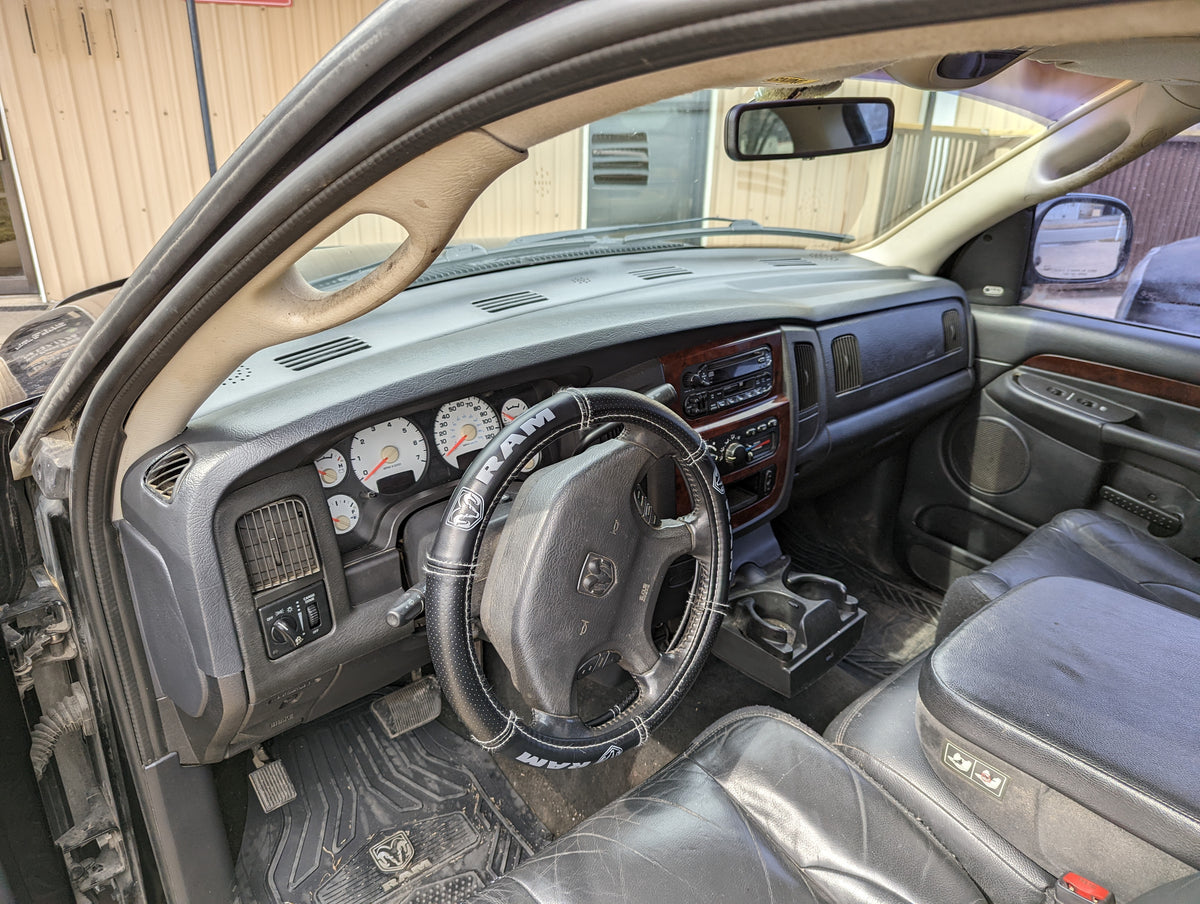
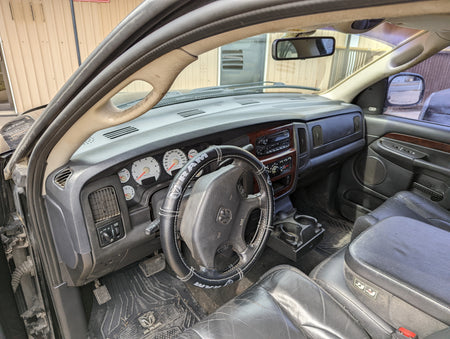
Step 2: Clean Your Original Dash
Begin by thoroughly cleaning your original dash using a commercial-grade degreaser such as Zep Purple Power or Simple Green. This step is crucial to ensure proper adhesion of your DashSkin™ cover.
Dry Fitting Your DashSkin™
Step 3: Dry Fit Your Cover
Next, dry fit your DashSkin™ cover over the existing dash to verify alignment and fitment. This step helps you plan where weights will need to go during the installation process.
Applying Glue
Step 4: Apply Silicone to Existing Cracks
We recommend applying silicone to any existing cracks on your dash and outlining any holes in your original dash. This step helps to create a smooth surface for the DashSkin™ cover.
Step 5: Apply Silicone to the Underside of the DashSkin™
Apply silicone to the underside of the DashSkin™ using the pattern illustrated in your install guide. This ensures even coverage and a secure fit.
Installing the DashSkin™
Step 6: Place the DashSkin™
Carefully place your DashSkin™ cover on the original dash. Go over any seams and edges to ensure everything lines up perfectly before applying your weights.
Step 7: Create Even Pressure
Since weights cannot be placed near the windshield, roll up some rags and push them between the windshield and the dash. This will apply even pressure to the silicone.
Step 8: Apply Weights
Place weights evenly across the entire dash. You can use sandbags, reams of printer paper, or even phone books to achieve this.
Step 9: Use Prop Rods
For the front surfaces, use a telescoping prop rod to apply pressure. Alternatively, you can use a piece of PVC or wood cut to length with a rag on each end.
Step 10: Secure the Sides
For the sides of the DashSkin™, close a rag between the door and the dash on both sides. This ensures the edges are securely attached.
Final Steps
Step 11: Let it Cure
Allow six to eight hours for the silicone to cure. After this period, you can remove the weights and enjoy your newly restored dashboard.
Thank You for Choosing DashSkin™
With so many options when shopping online, thank you for choosing DashSkin™, where all our products are and always will be made right here in the USA.

