
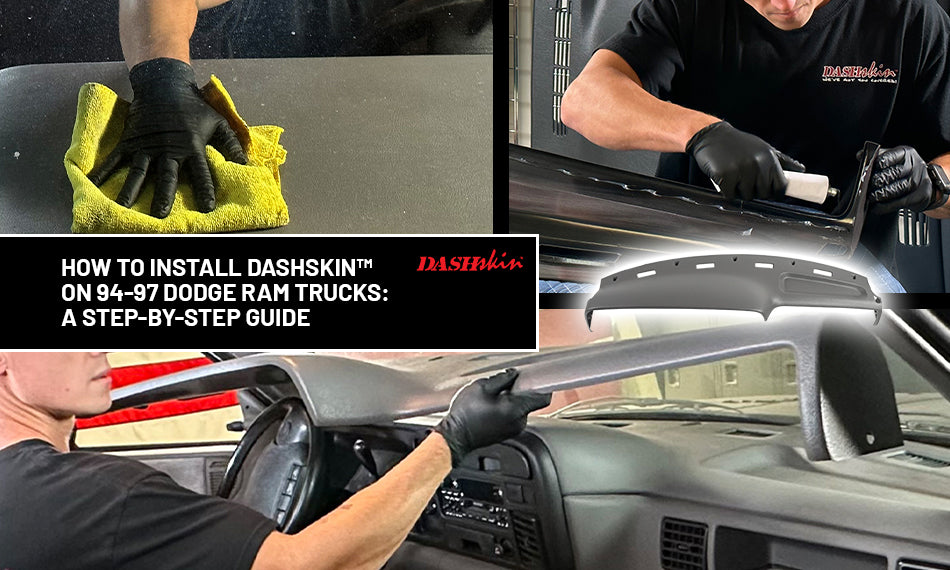
Welcome to our comprehensive installation guide for DashSkin™ on 94-97 Dodge Ram trucks! This guide will help you transform your cracked dashboard into a sleek, new one. Follow these detailed steps to ensure a flawless installation.
1. Verify Your Trim Color
Before you begin, it's essential to ensure you have the correct DashSkin™ color for your vehicle.
Locate the SPID Label
- Find the Label: Look for the sticker located in the door jam on the driver's side of your truck.
- Read the Trim Code: Identify the trim code listed on the SPID label.
Compare with Trim Code Guide
-
Match the Code: Compare the trim code from your SPID label with our guide to confirm you’re ordering the right color.

2. Cleaning and Preparing Your Dashboard
A clean dashboard is crucial for a secure and long-lasting installation.
Clean the Dashboard
- Select a Degreaser: Use a commercial-grade degreaser such as Zep Purple, Purple Power, or Simple Green.
- Apply the Cleaner: Thoroughly clean the entire surface of your original dashboard to remove dirt, grease, and other residues.
- Rinse and Dry: After cleaning, rinse off any residual cleaner and ensure the dashboard is completely dry before moving forward.
3. Dry Fitting the DashSkin™
Perform a dry fit to ensure the DashSkin™ fits correctly before applying any adhesive.
Align the DashSkin™
- Position the Cover: Place the DashSkin™ over your existing dashboard.
- Check Alignment: Ensure that all edges and seams align properly with the original dashboard.
Plan for Adhesive Application
- Identify Weight Placement: Determine where you will need to place weights to secure the DashSkin™ during installation.
- Plan for Difficult Areas: Take note of areas where it might be challenging to place weights, such as near the windshield.
4. Applying Adhesive
Proper application of adhesive is key for a secure installation.
Prepare the Adhesive
- Use Silicone Adhesive: Apply the silicone adhesive provided with your DashSkin™.
- Follow the Pattern: Use the pattern illustrated in your installation guide to apply the adhesive to the underside of the DashSkin™.
5. Addressing Existing Cracks
If your dashboard has cracks, it’s important to address them before installation.
Apply Adhesive to Cracks
- Fill Cracks: Apply silicone adhesive to any visible cracks on your original dashboard.
- Outline Holes: Make sure to outline any holes in the original dashboard with silicone to ensure a smooth surface.
6. Installing the DashSkin™
Now you’re ready to install the DashSkin™ over your dashboard.
Position the DashSkin™
- Place Carefully: Gently place the DashSkin™ onto the original dashboard, ensuring all edges and seams are aligned.
- Press Down: Smooth out the DashSkin™ and press it down to ensure it adheres properly.
Apply Weights
- Distribute Weight: Use sandbags, reams of printer paper, or phone books to apply even pressure across the entire dashboard.
- Focus on Edges: Pay extra attention to the edges and seams to ensure full adhesion.
7. Securing the Edges
To secure the DashSkin™ around the edges and windshield, follow these steps.
Use Cardboard for the Windshield Area
- Cut Cardboard: Cut pieces of cardboard to fit between the dashboard and the windshield.
- Wedge Cardboard: Place the cardboard pieces in the gap to help secure the DashSkin™ in the area near the windshield.
Close Rags for Side Edges
- Place Rags: For the sides of the dashboard, place a rag between the door and the dashboard to help secure the edges.
8. Applying Additional Pressure
Ensure the DashSkin™ adheres well to the front surfaces.
Use a Prop Rod
- Choose Your Tool: Use a telescoping prop rod or a piece of PVC or wood cut to length.
- Apply Pressure: Place a rag on each end of the rod or PVC, and position it to apply pressure to the front surfaces of the DashSkin™.
9. Final Steps and Curing
Allow the DashSkin™ to cure properly for the best results.
Cure Time
- Wait 6 to 8 Hours: Let the DashSkin™ cure for 6 to 8 hours to ensure a strong bond.
Remove Weights
- Carefully Remove: After the curing period, remove the weights and any cardboard used for support.
10. Enjoy Your New Dashboard
Congratulations on completing your DashSkin™ installation!
Final Inspection
- Check Installation: Inspect the dashboard to ensure everything is securely adhered and aligned.
Enjoy the New Look
- Drive with Confidence: Enjoy the refreshed look of your dashboard and drive with pride!
Thank you for using our installation guide. For more helpful content, be sure to subscribe and follow our page. At DashSkin™, we are committed to providing high-quality products made right here in the USA.