
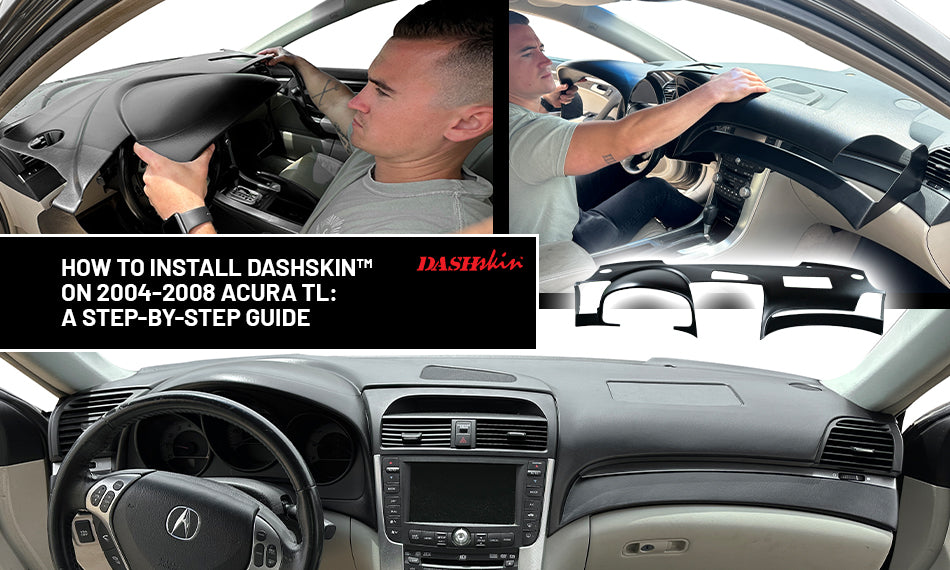
Welcome to our detailed installation guide for DashSkin™ on 2004-2008 Acura TL models! This guide will walk you through each step to help you rejuvenate your cracked dashboard with a new DashSkin™ cover. Follow these instructions for a seamless and professional installation.
1. Cleaning and Preparing Your Dashboard
A clean surface is vital for proper adhesion and a lasting installation.
Clean the Dashboard
- Select a Cleaner: Use a commercial-grade degreaser such as Zep Purple, Purple Power, or Simple Green.
- Thoroughly Clean: Clean the entire surface of your dashboard to remove all dirt, oils, and residues.
- Rinse and Dry: After cleaning, rinse off any remaining cleaner and ensure the dashboard is completely dry.
2. Dry Fitting the DashSkin™
Perform a dry fit to check the alignment and fitment before applying any adhesive.
Align the DashSkin™
- Position the Cover: Place the DashSkin™ over your existing dashboard.
- Check for Fitment: Ensure that all edges and seams align properly with your original dashboard.
Plan Weight Placement
- Identify Problem Areas: Determine where you will need to place weights to secure the DashSkin™ during installation.
- Note Difficult Areas: Pay attention to areas that might be challenging to secure, such as near the windshield.
3. Applying Adhesive
Proper application of adhesive is crucial for a secure and durable installation.
Prepare the Adhesive
- Use Silicone Adhesive: Apply the silicone adhesive provided with your DashSkin™.
- Follow the Pattern: Use the pattern illustrated in your installation guide to apply the adhesive to the underside of the DashSkin™.
4. Addressing Existing Cracks
If your dashboard has cracks, it’s important to address them before installation.
Apply Adhesive to Cracks
- Fill Cracks: Apply silicone adhesive to any visible cracks on your original dashboard.
- Outline Holes: Make sure to outline any holes in the original dashboard with silicone to ensure a smooth surface.
5. Installing the DashSkin™
Now you’re ready to install the DashSkin™ over your dashboard.
Position the DashSkin™
- Place Carefully: Gently place the DashSkin™ onto the original dashboard, ensuring all edges and seams are aligned.
- Press Down: Smooth out the DashSkin™ and press it down to ensure it adheres properly.
Apply Weights
- Distribute Weight: Use sandbags, reams of printer paper, or phone books to apply even pressure across the entire dashboard.
- Focus on Edges: Pay extra attention to the edges and seams to ensure full adhesion.
6. Securing the Edges
To secure the DashSkin™ around the edges and windshield, follow these steps.
Use Cardboard for the Windshield Area
- Cut Cardboard: Cut pieces of cardboard to fit between the dashboard and the windshield.
- Wedge Cardboard: Place the cardboard pieces in the gap to help secure the DashSkin™ in the area near the windshield.
Close Rags for Side Edges
- Place Rags: For the sides of the dashboard, place a rag between the door and the dashboard to help secure the edges.
7. Applying Additional Pressure
Ensure the DashSkin™ adheres well to the front surfaces.
Use a Prop Rod
- Choose Your Tool: Use a telescoping prop rod or a piece of PVC or wood cut to length.
- Apply Pressure: Place a rag on each end of the rod or PVC, and position it to apply pressure to the front surfaces of the DashSkin™.
8. Final Steps and Curing
Allow the DashSkin™ to cure properly for the best results.
Cure Time
- Wait 6 to 8 Hours: Let the DashSkin™ cure for 6 to 8 hours to ensure a strong bond.
Remove Weights
- Carefully Remove: After the curing period, remove the weights and any cardboard used for support.
9. Enjoy Your New Dashboard
Congratulations on completing your DashSkin™ installation!
Final Inspection
- Check Installation: Inspect the dashboard to ensure everything is securely adhered and aligned.
Enjoy the New Look
- Drive with Confidence: Enjoy the refreshed look of your dashboard and drive with pride!
At DashSkin™, we are committed to providing high-quality products made right here in the USA.