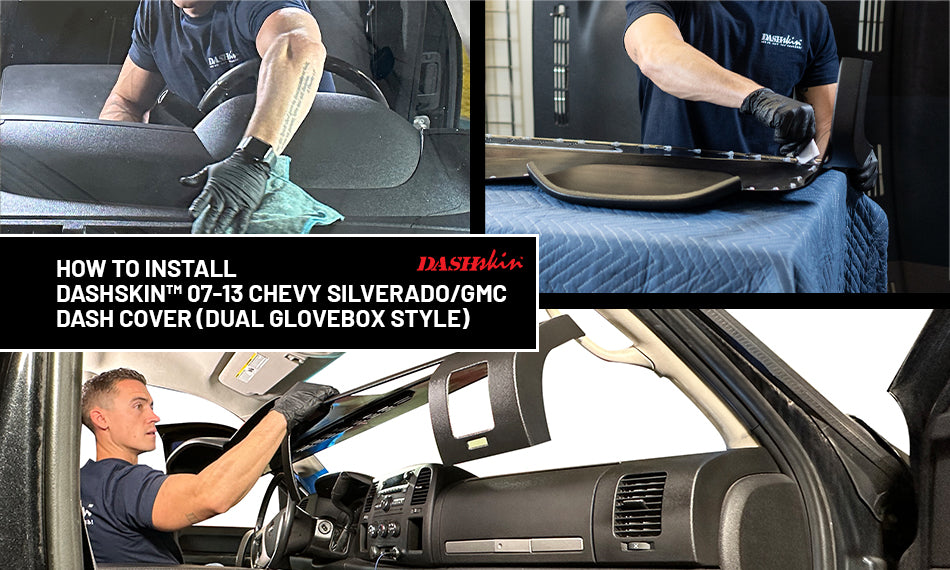
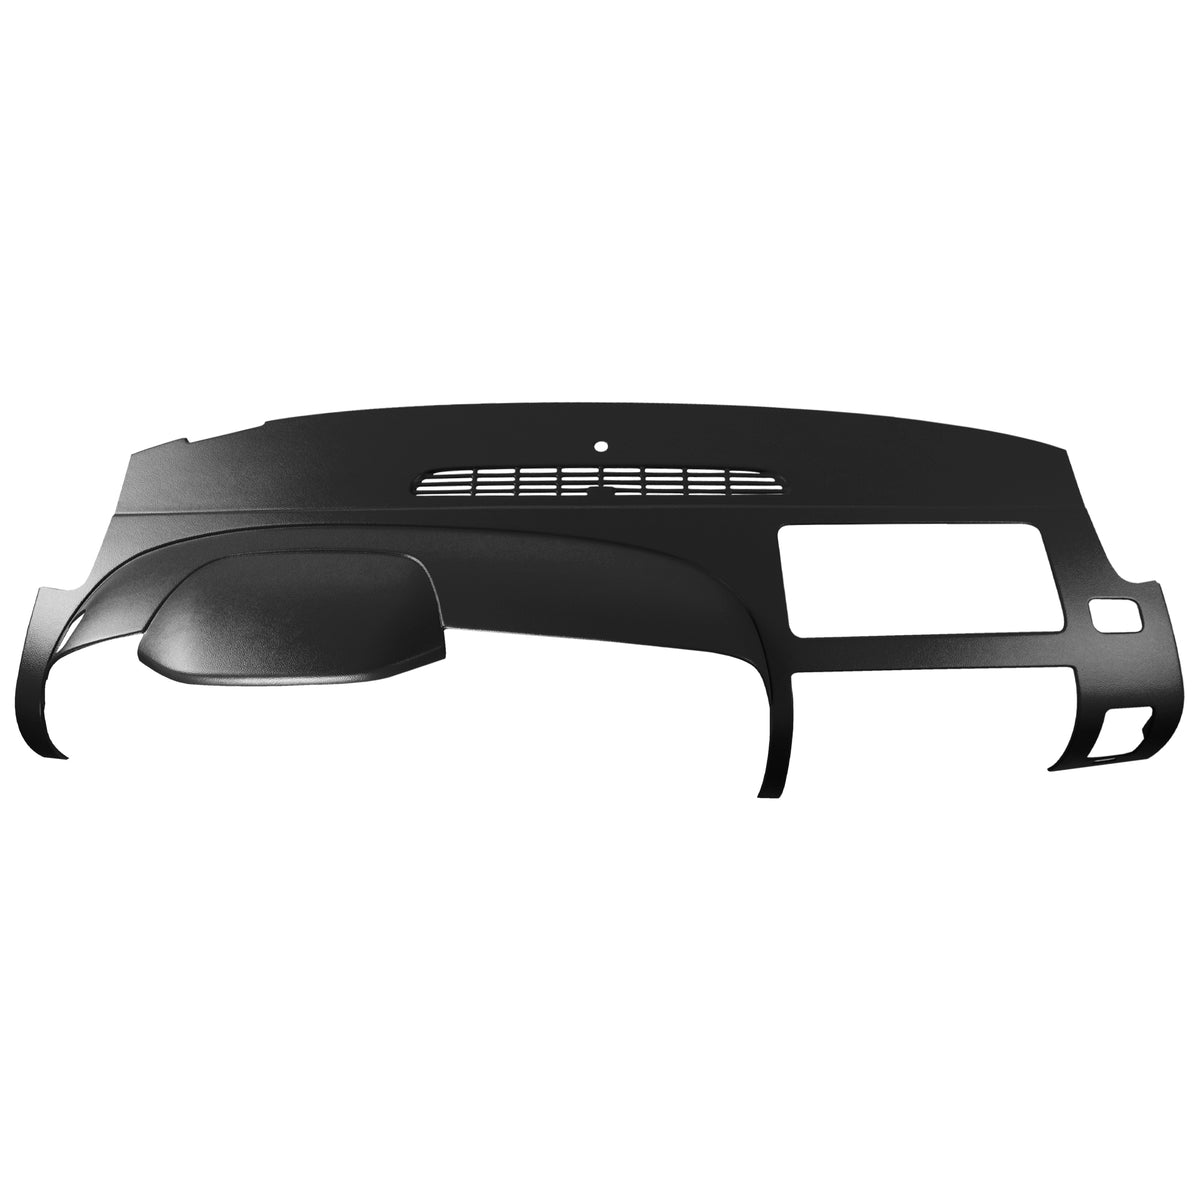
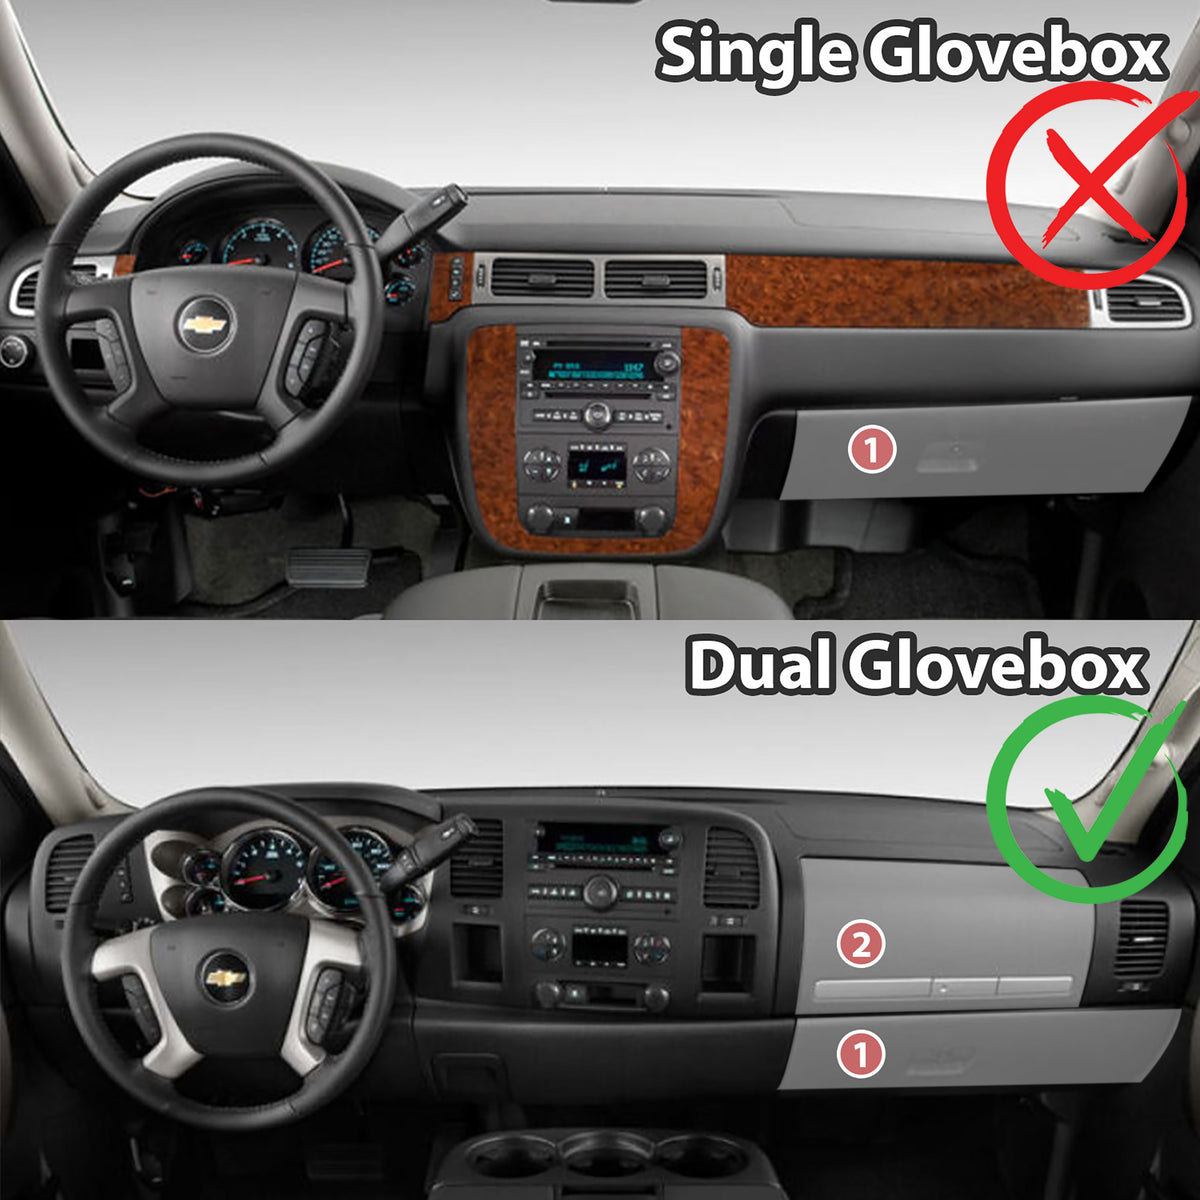
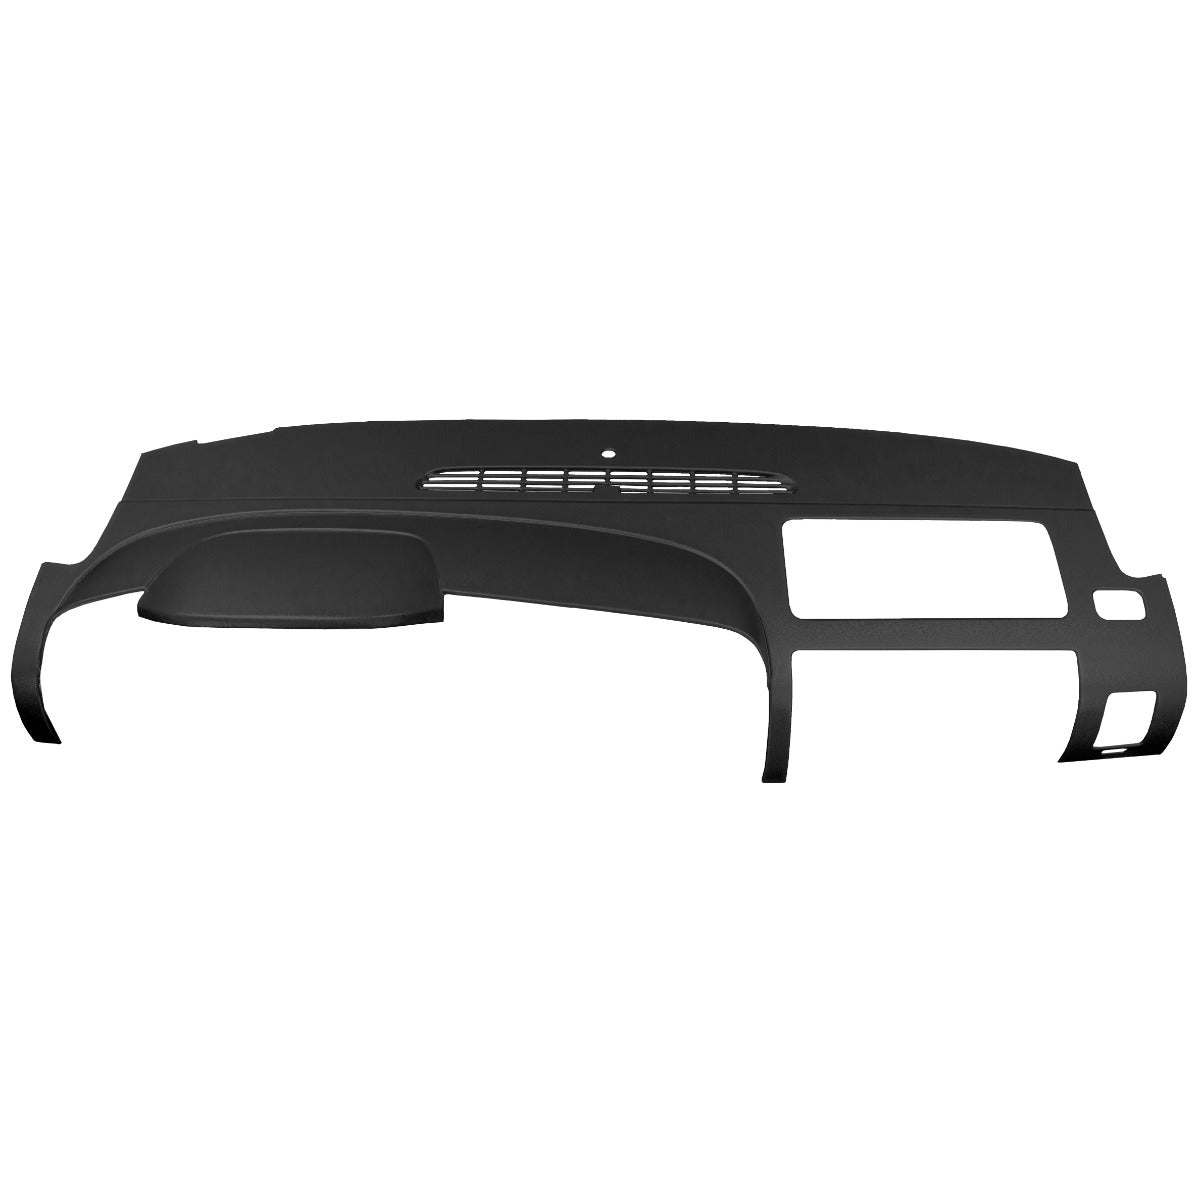
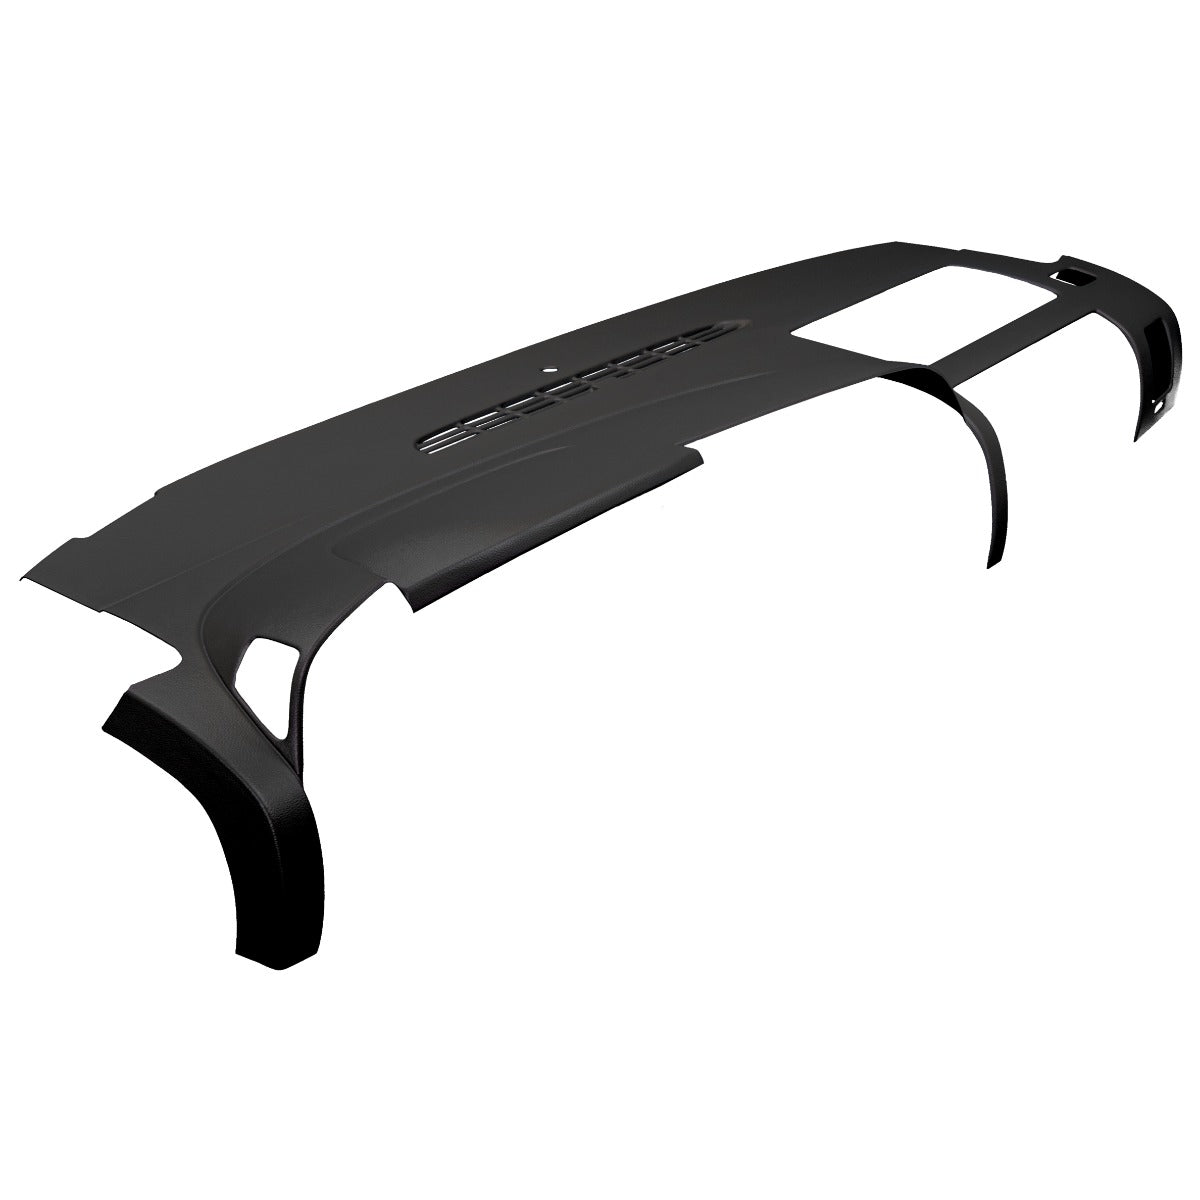
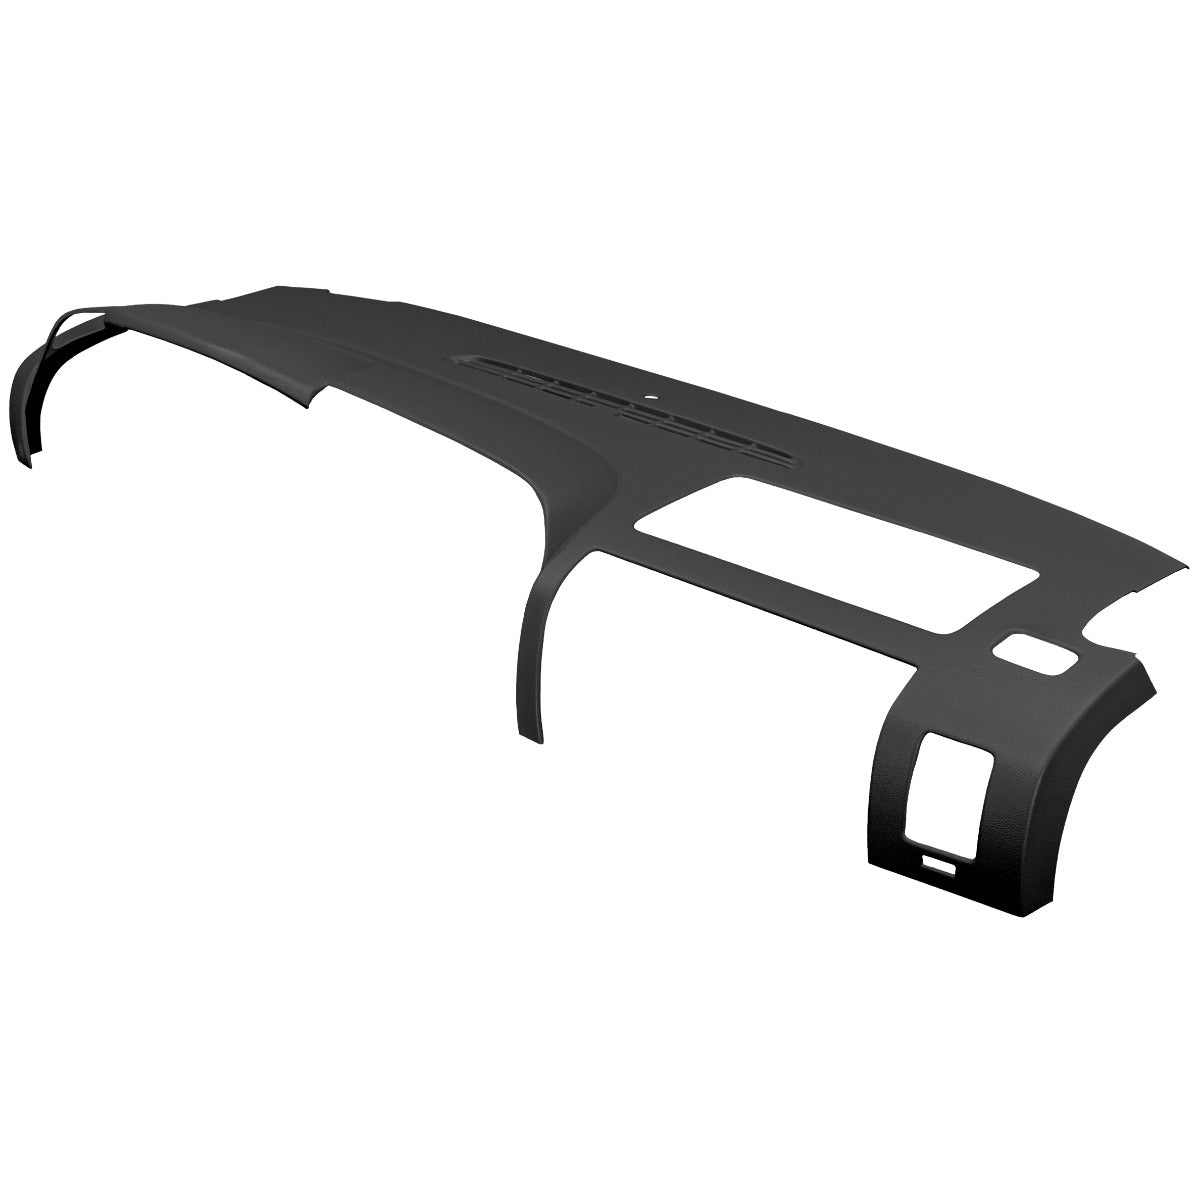
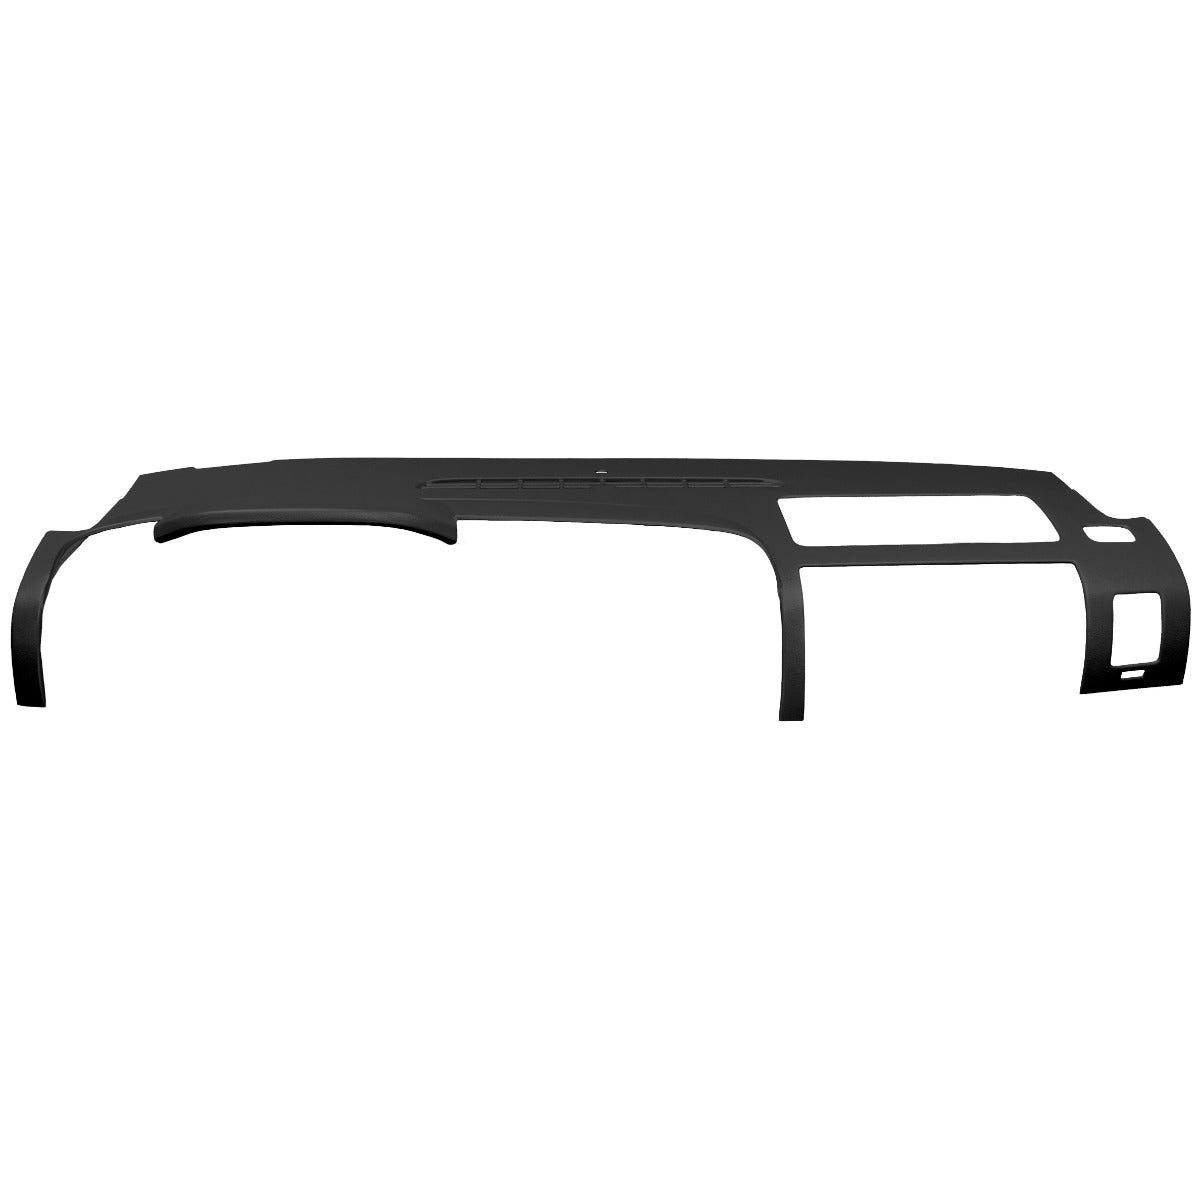
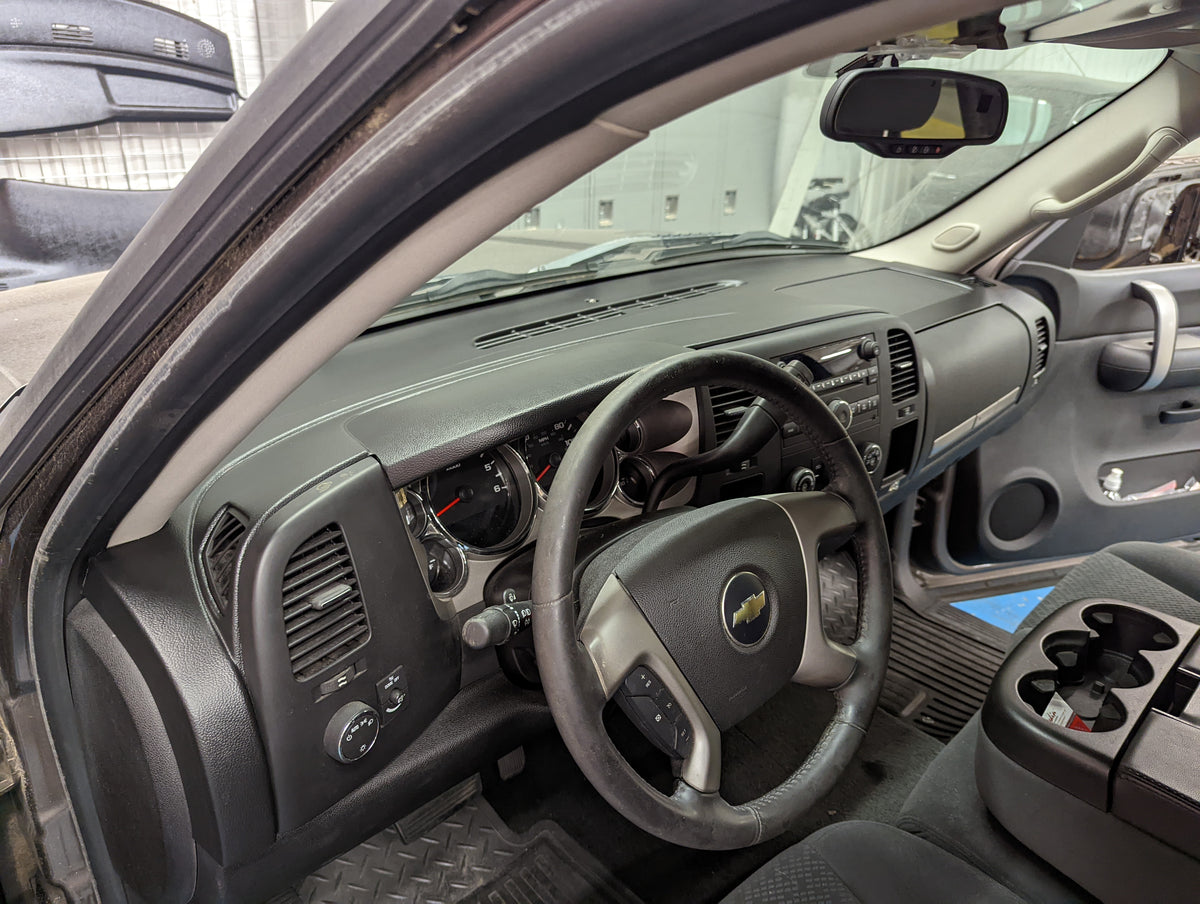
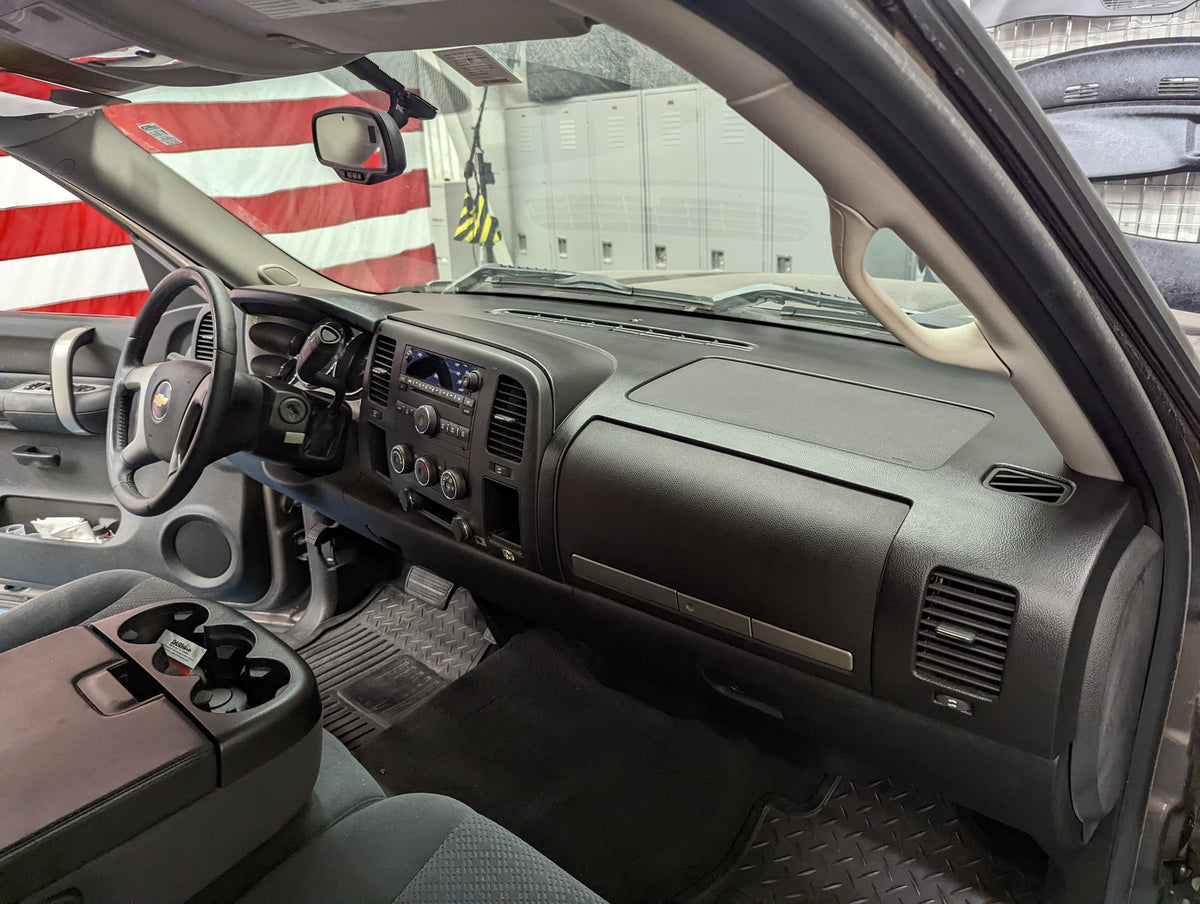
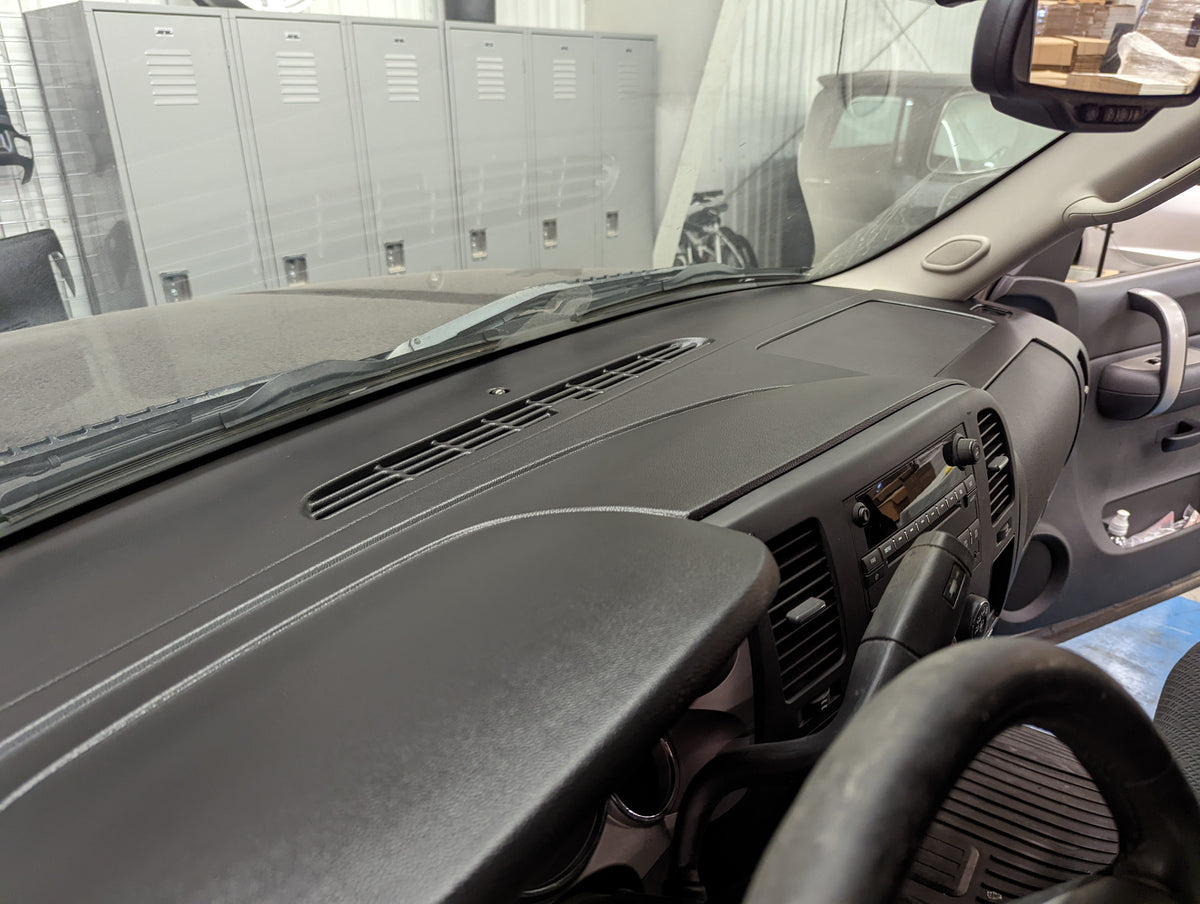
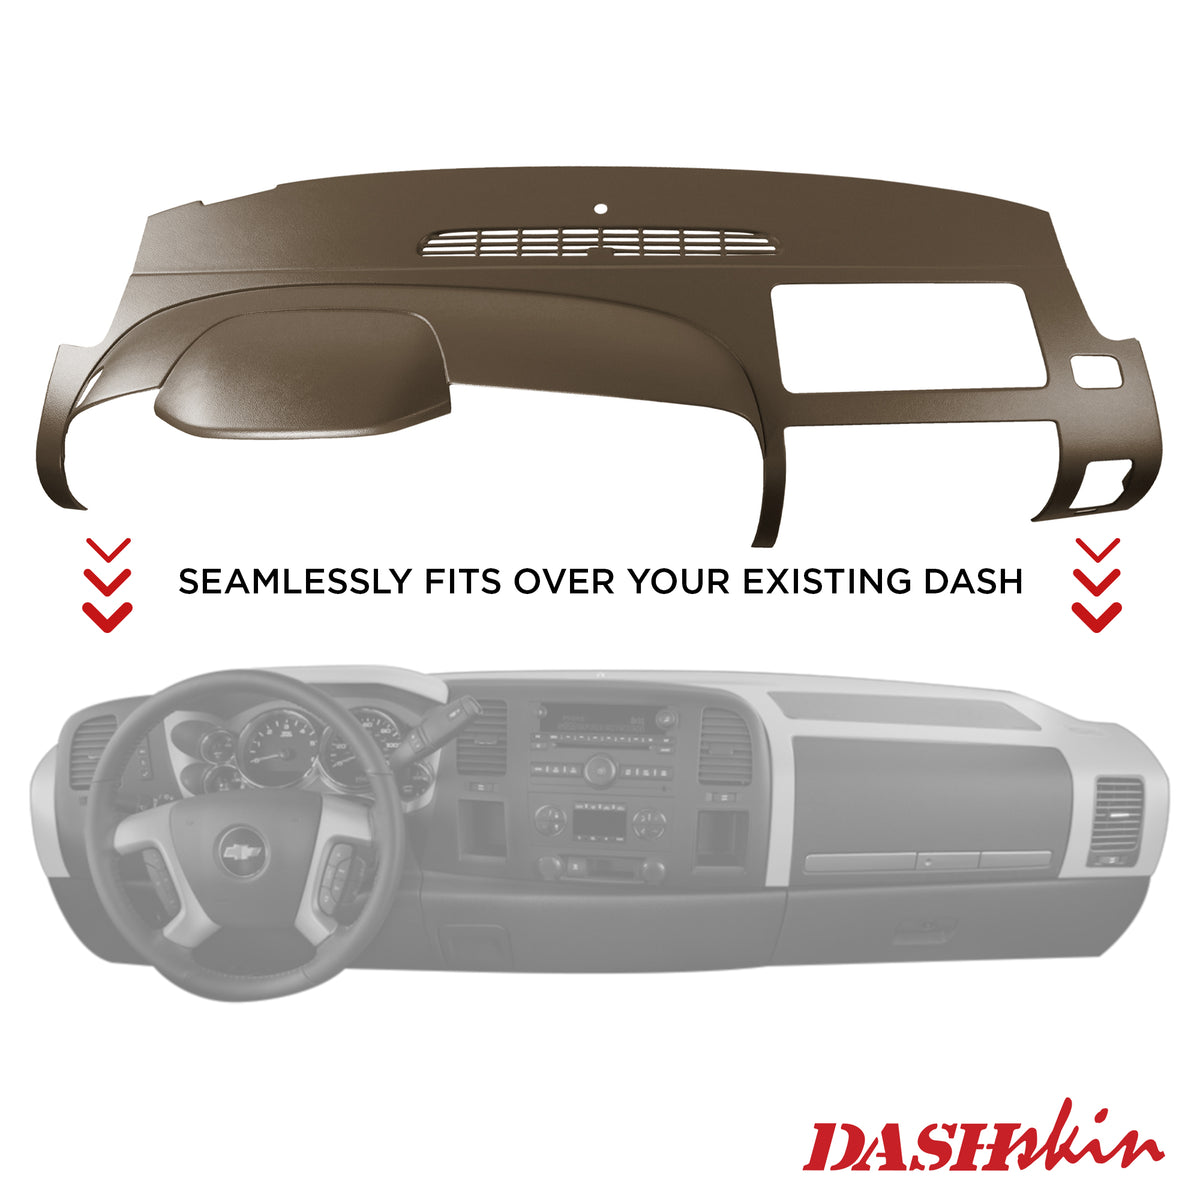
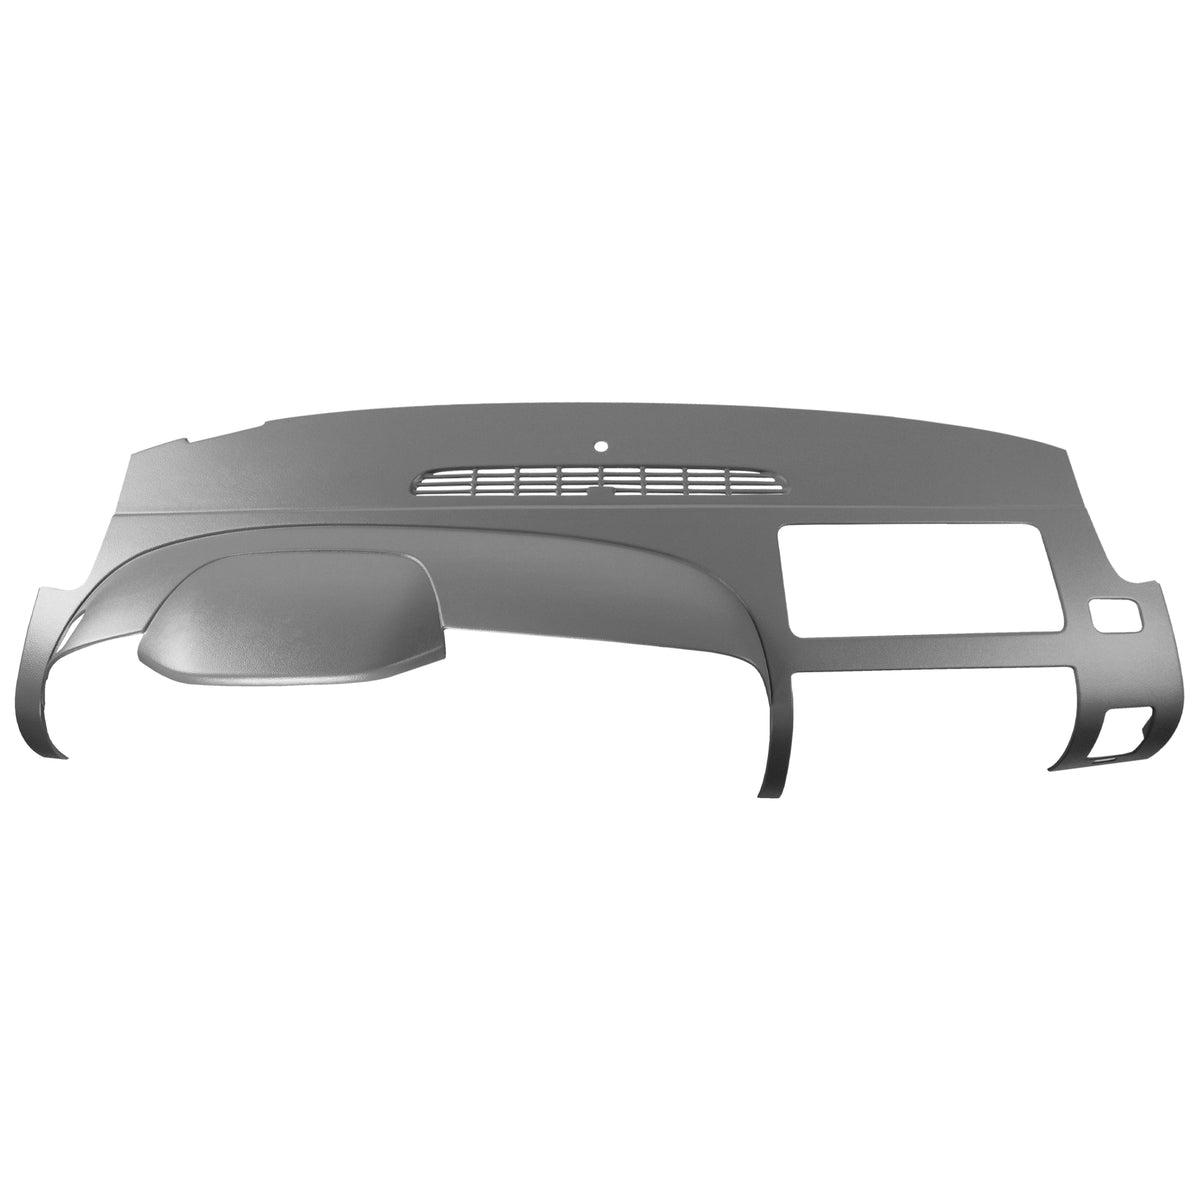
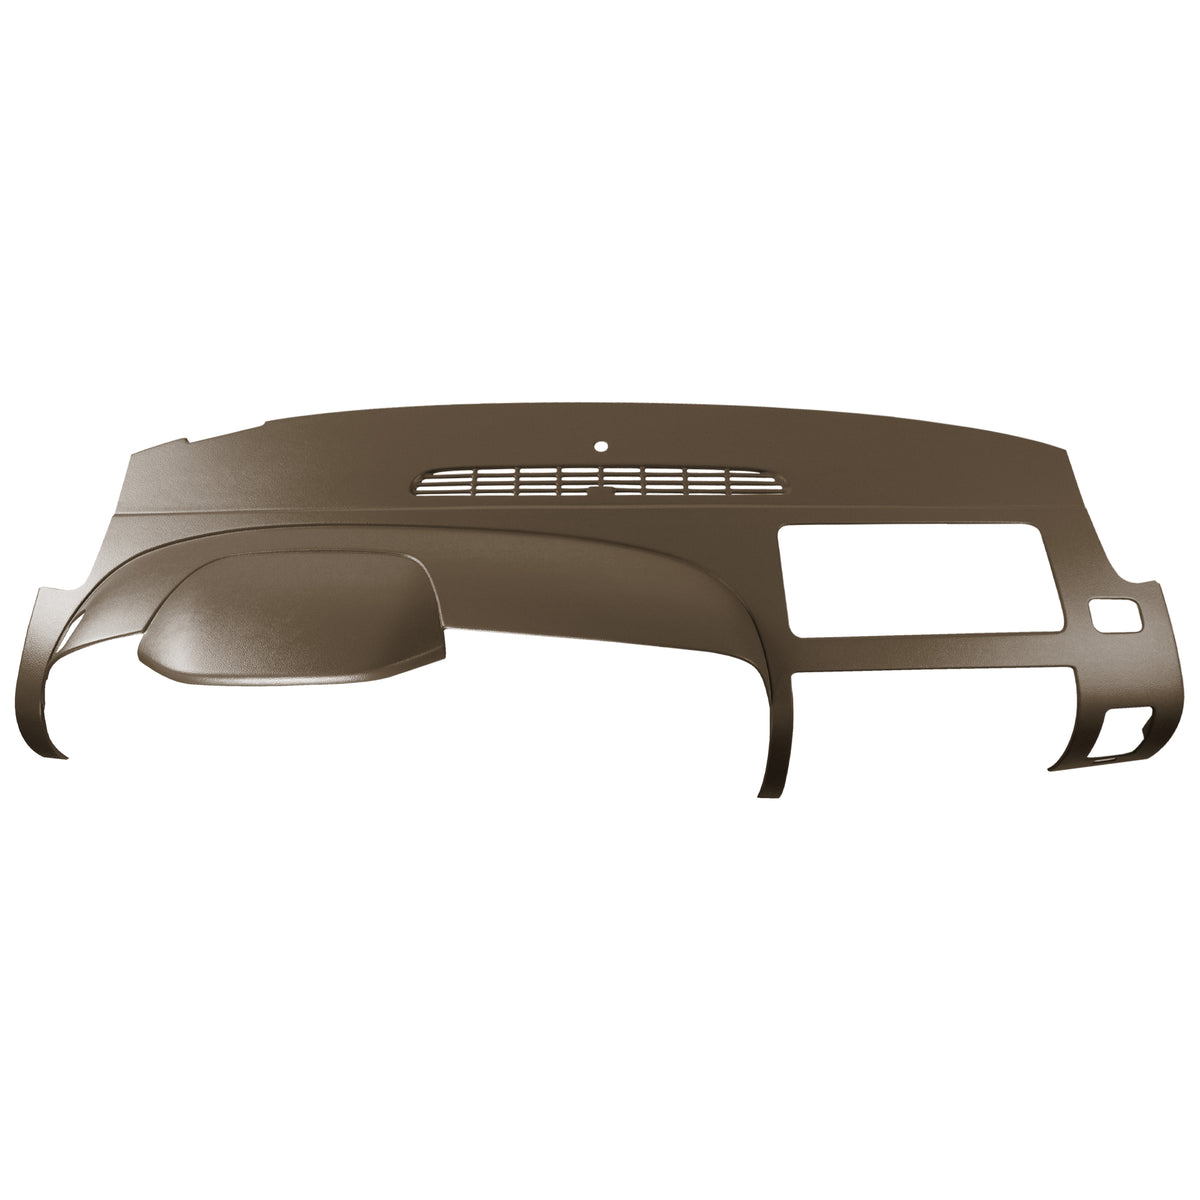
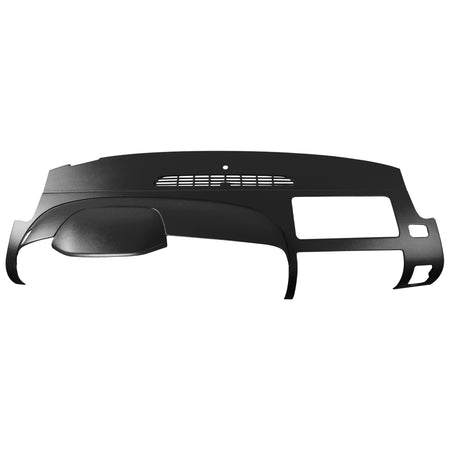
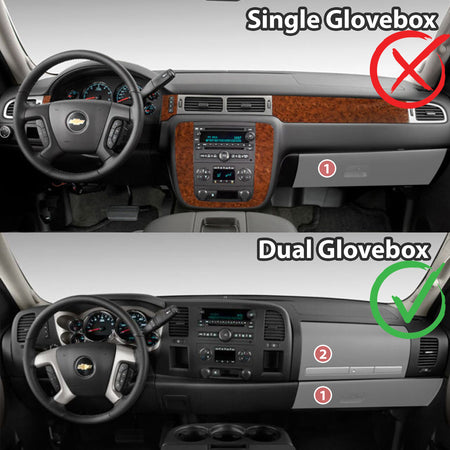
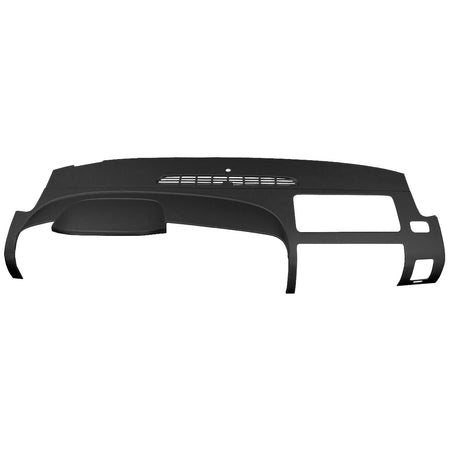
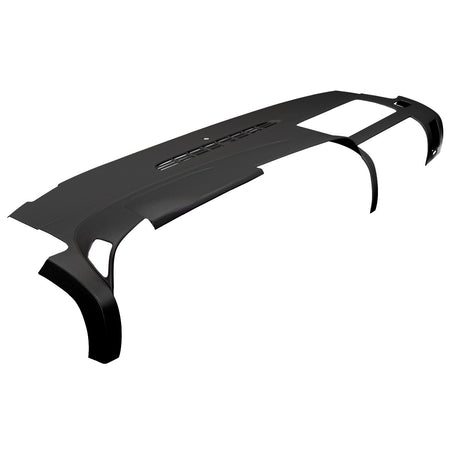
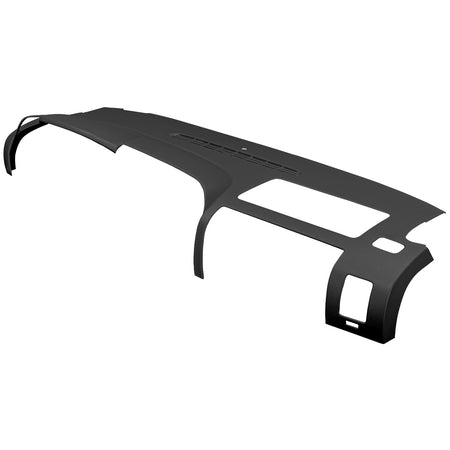
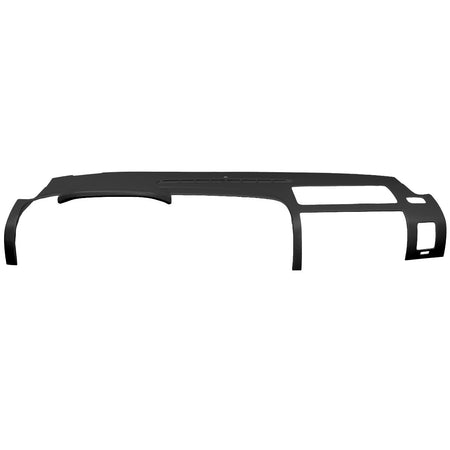
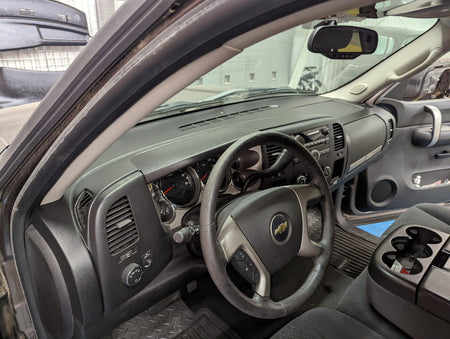
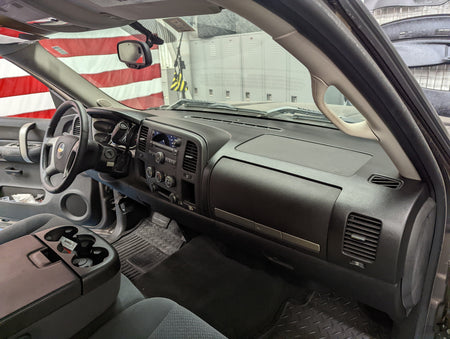
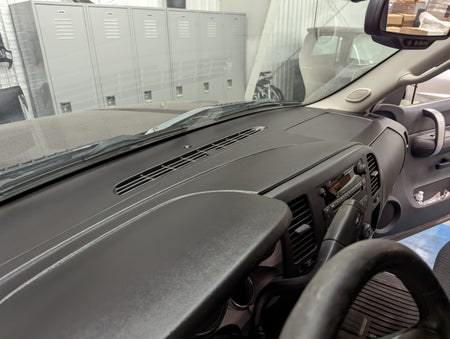
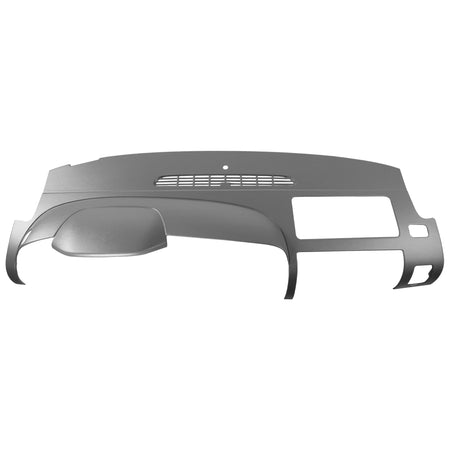
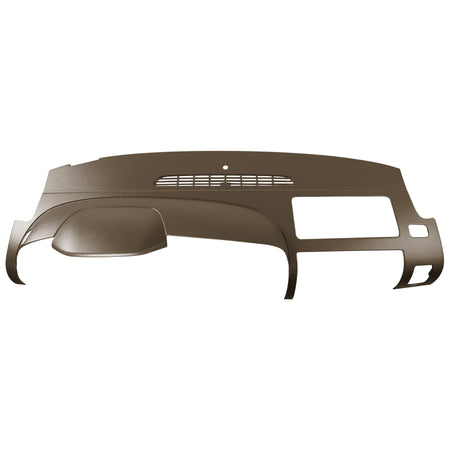
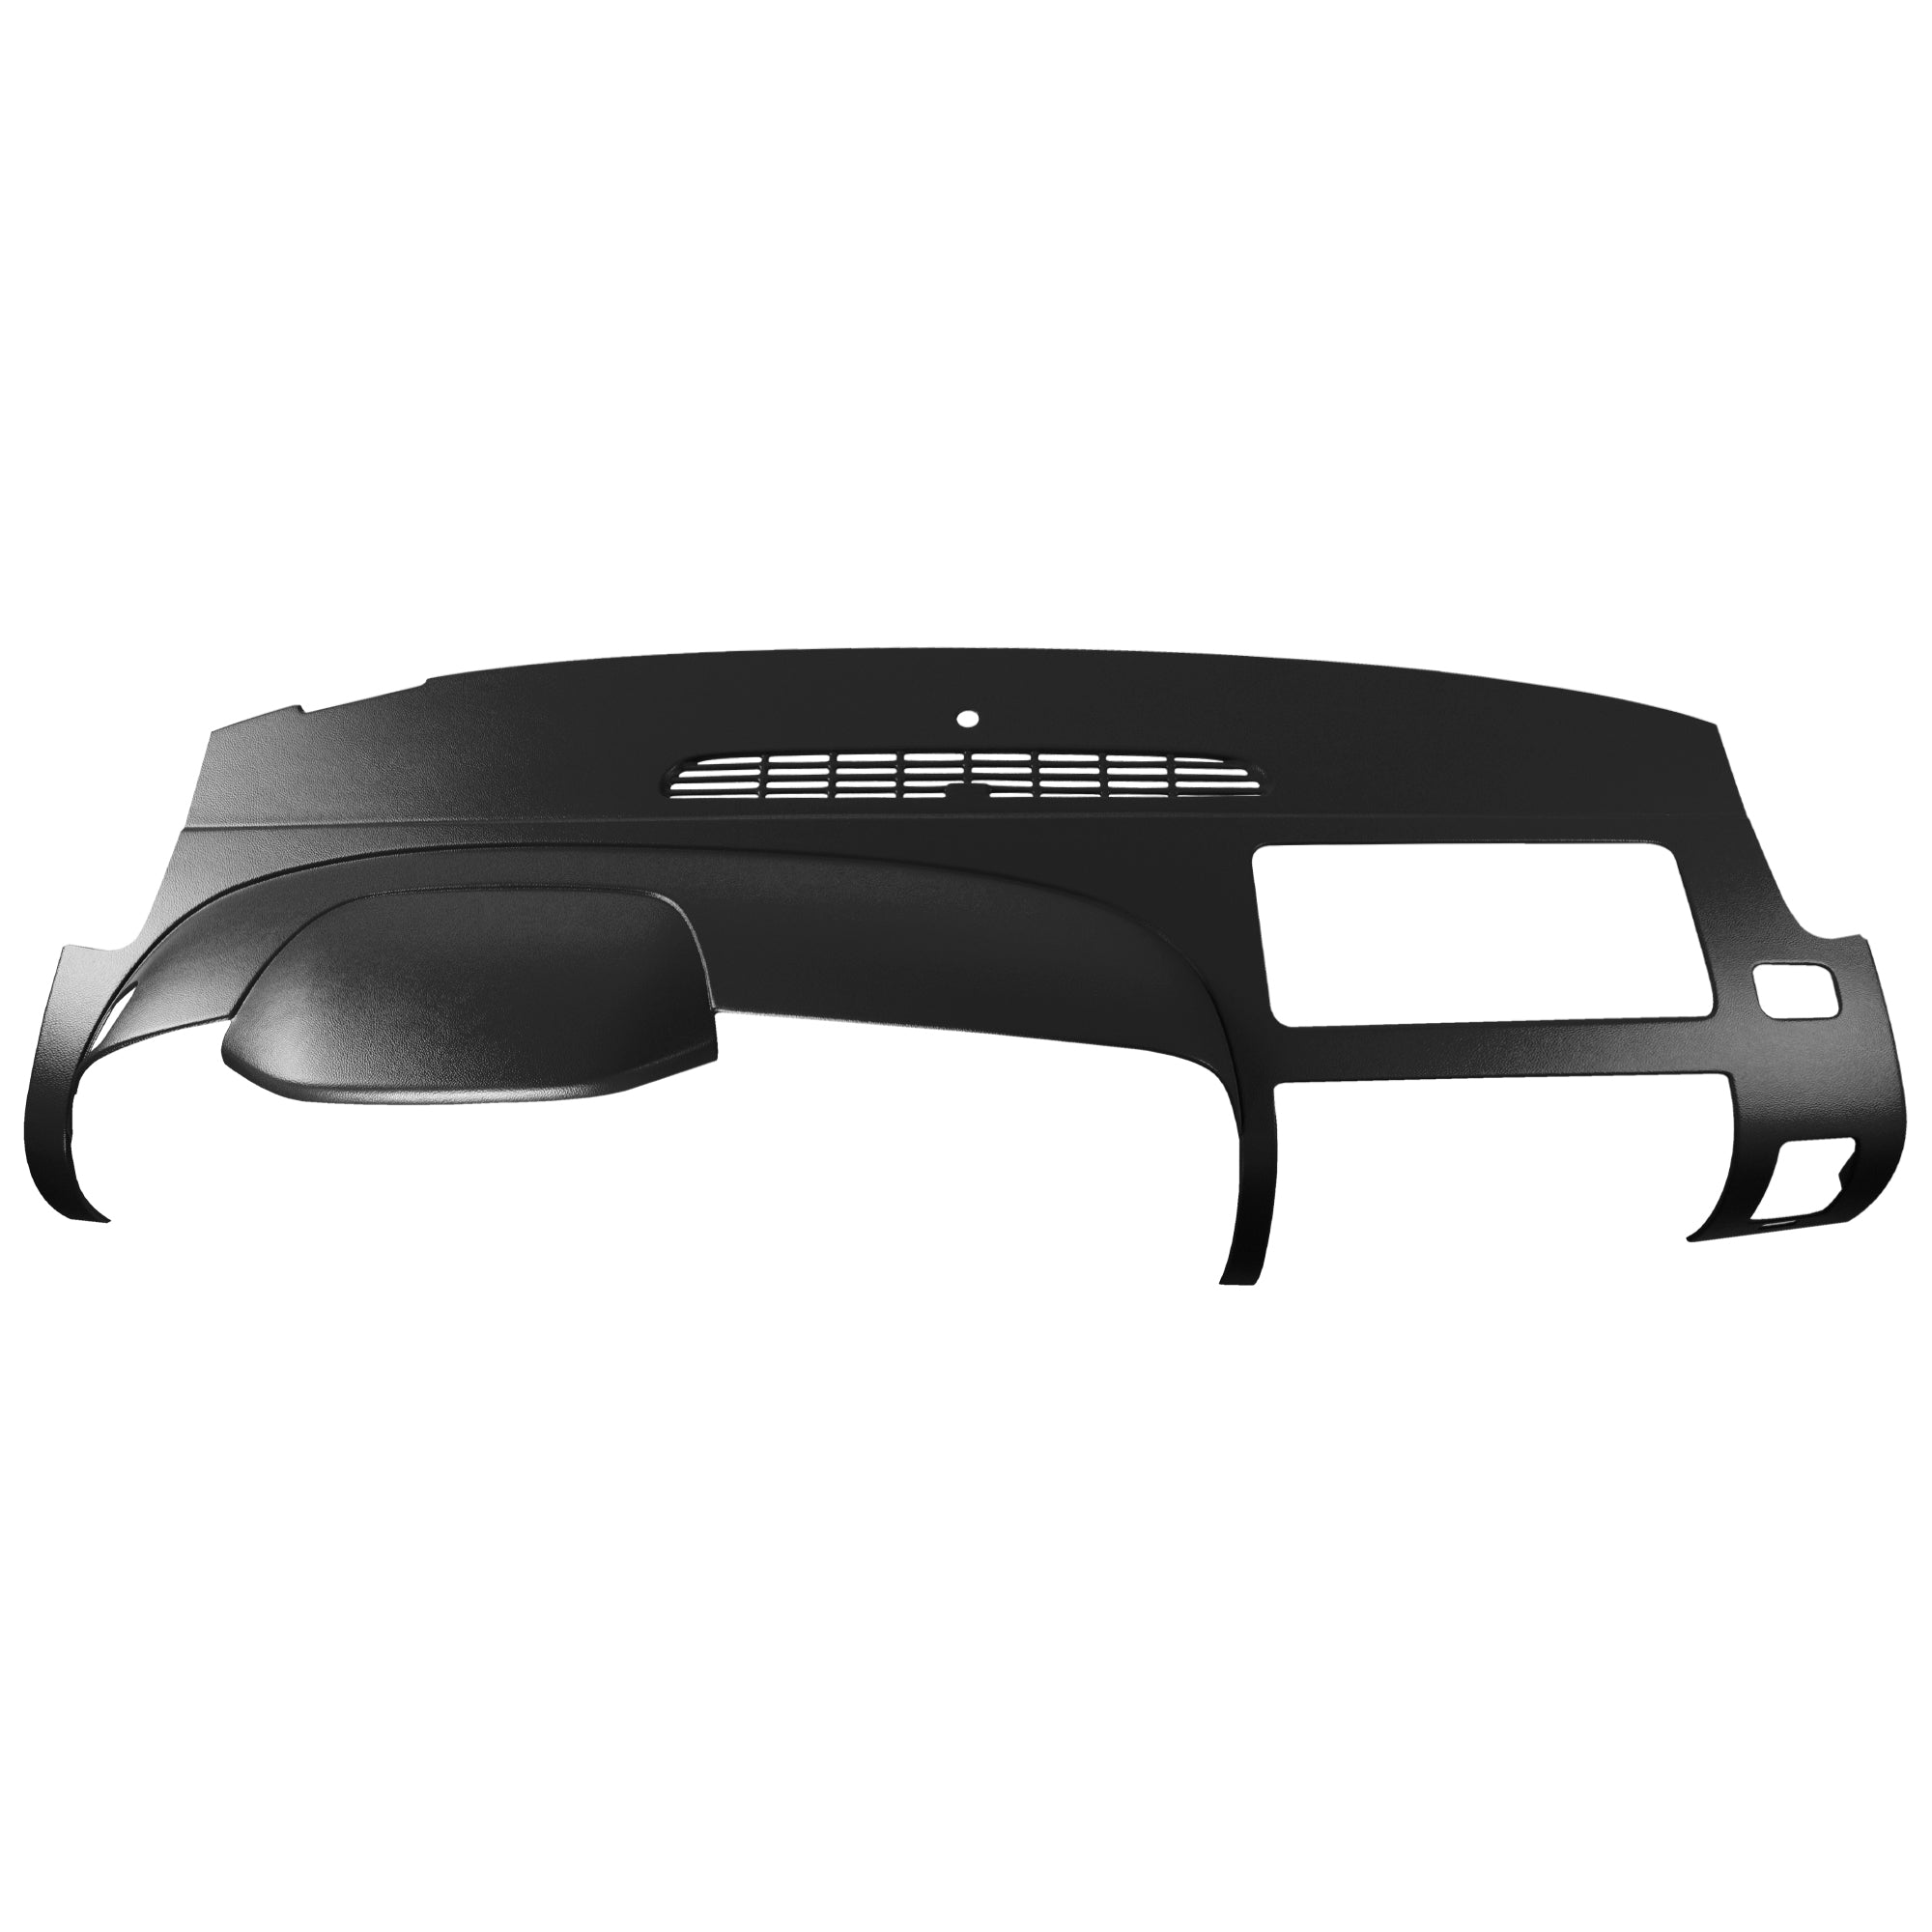
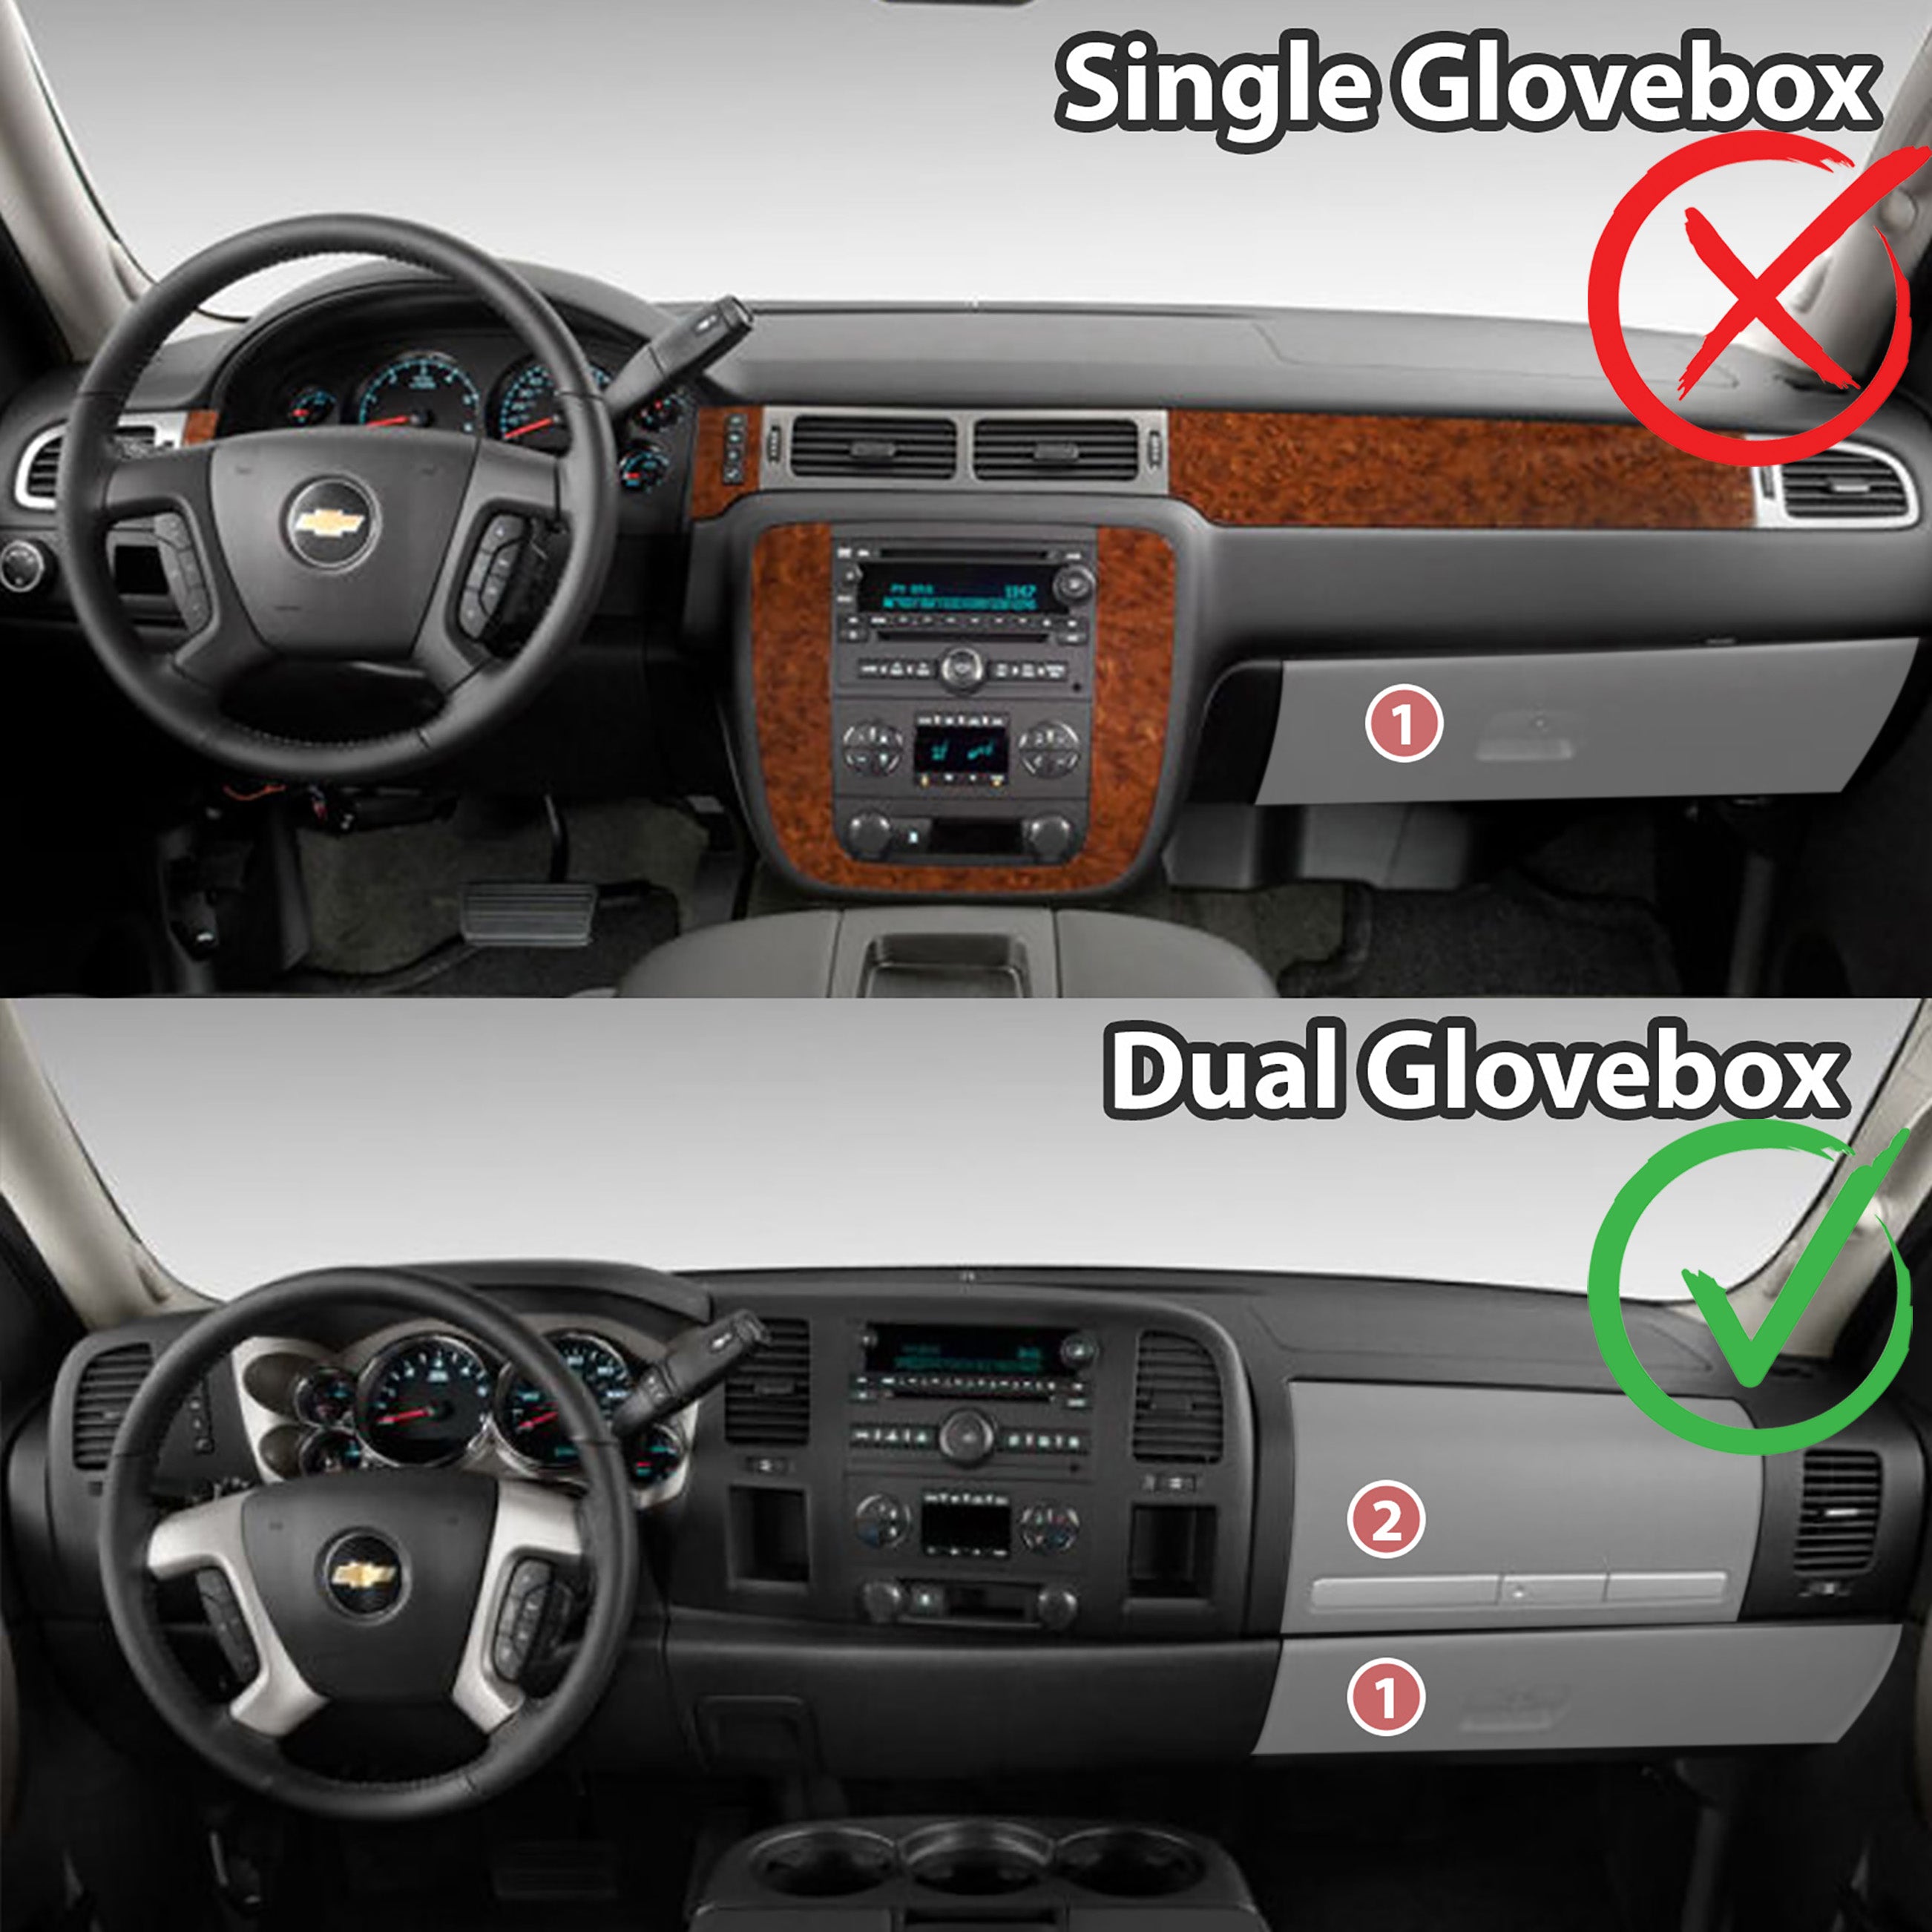
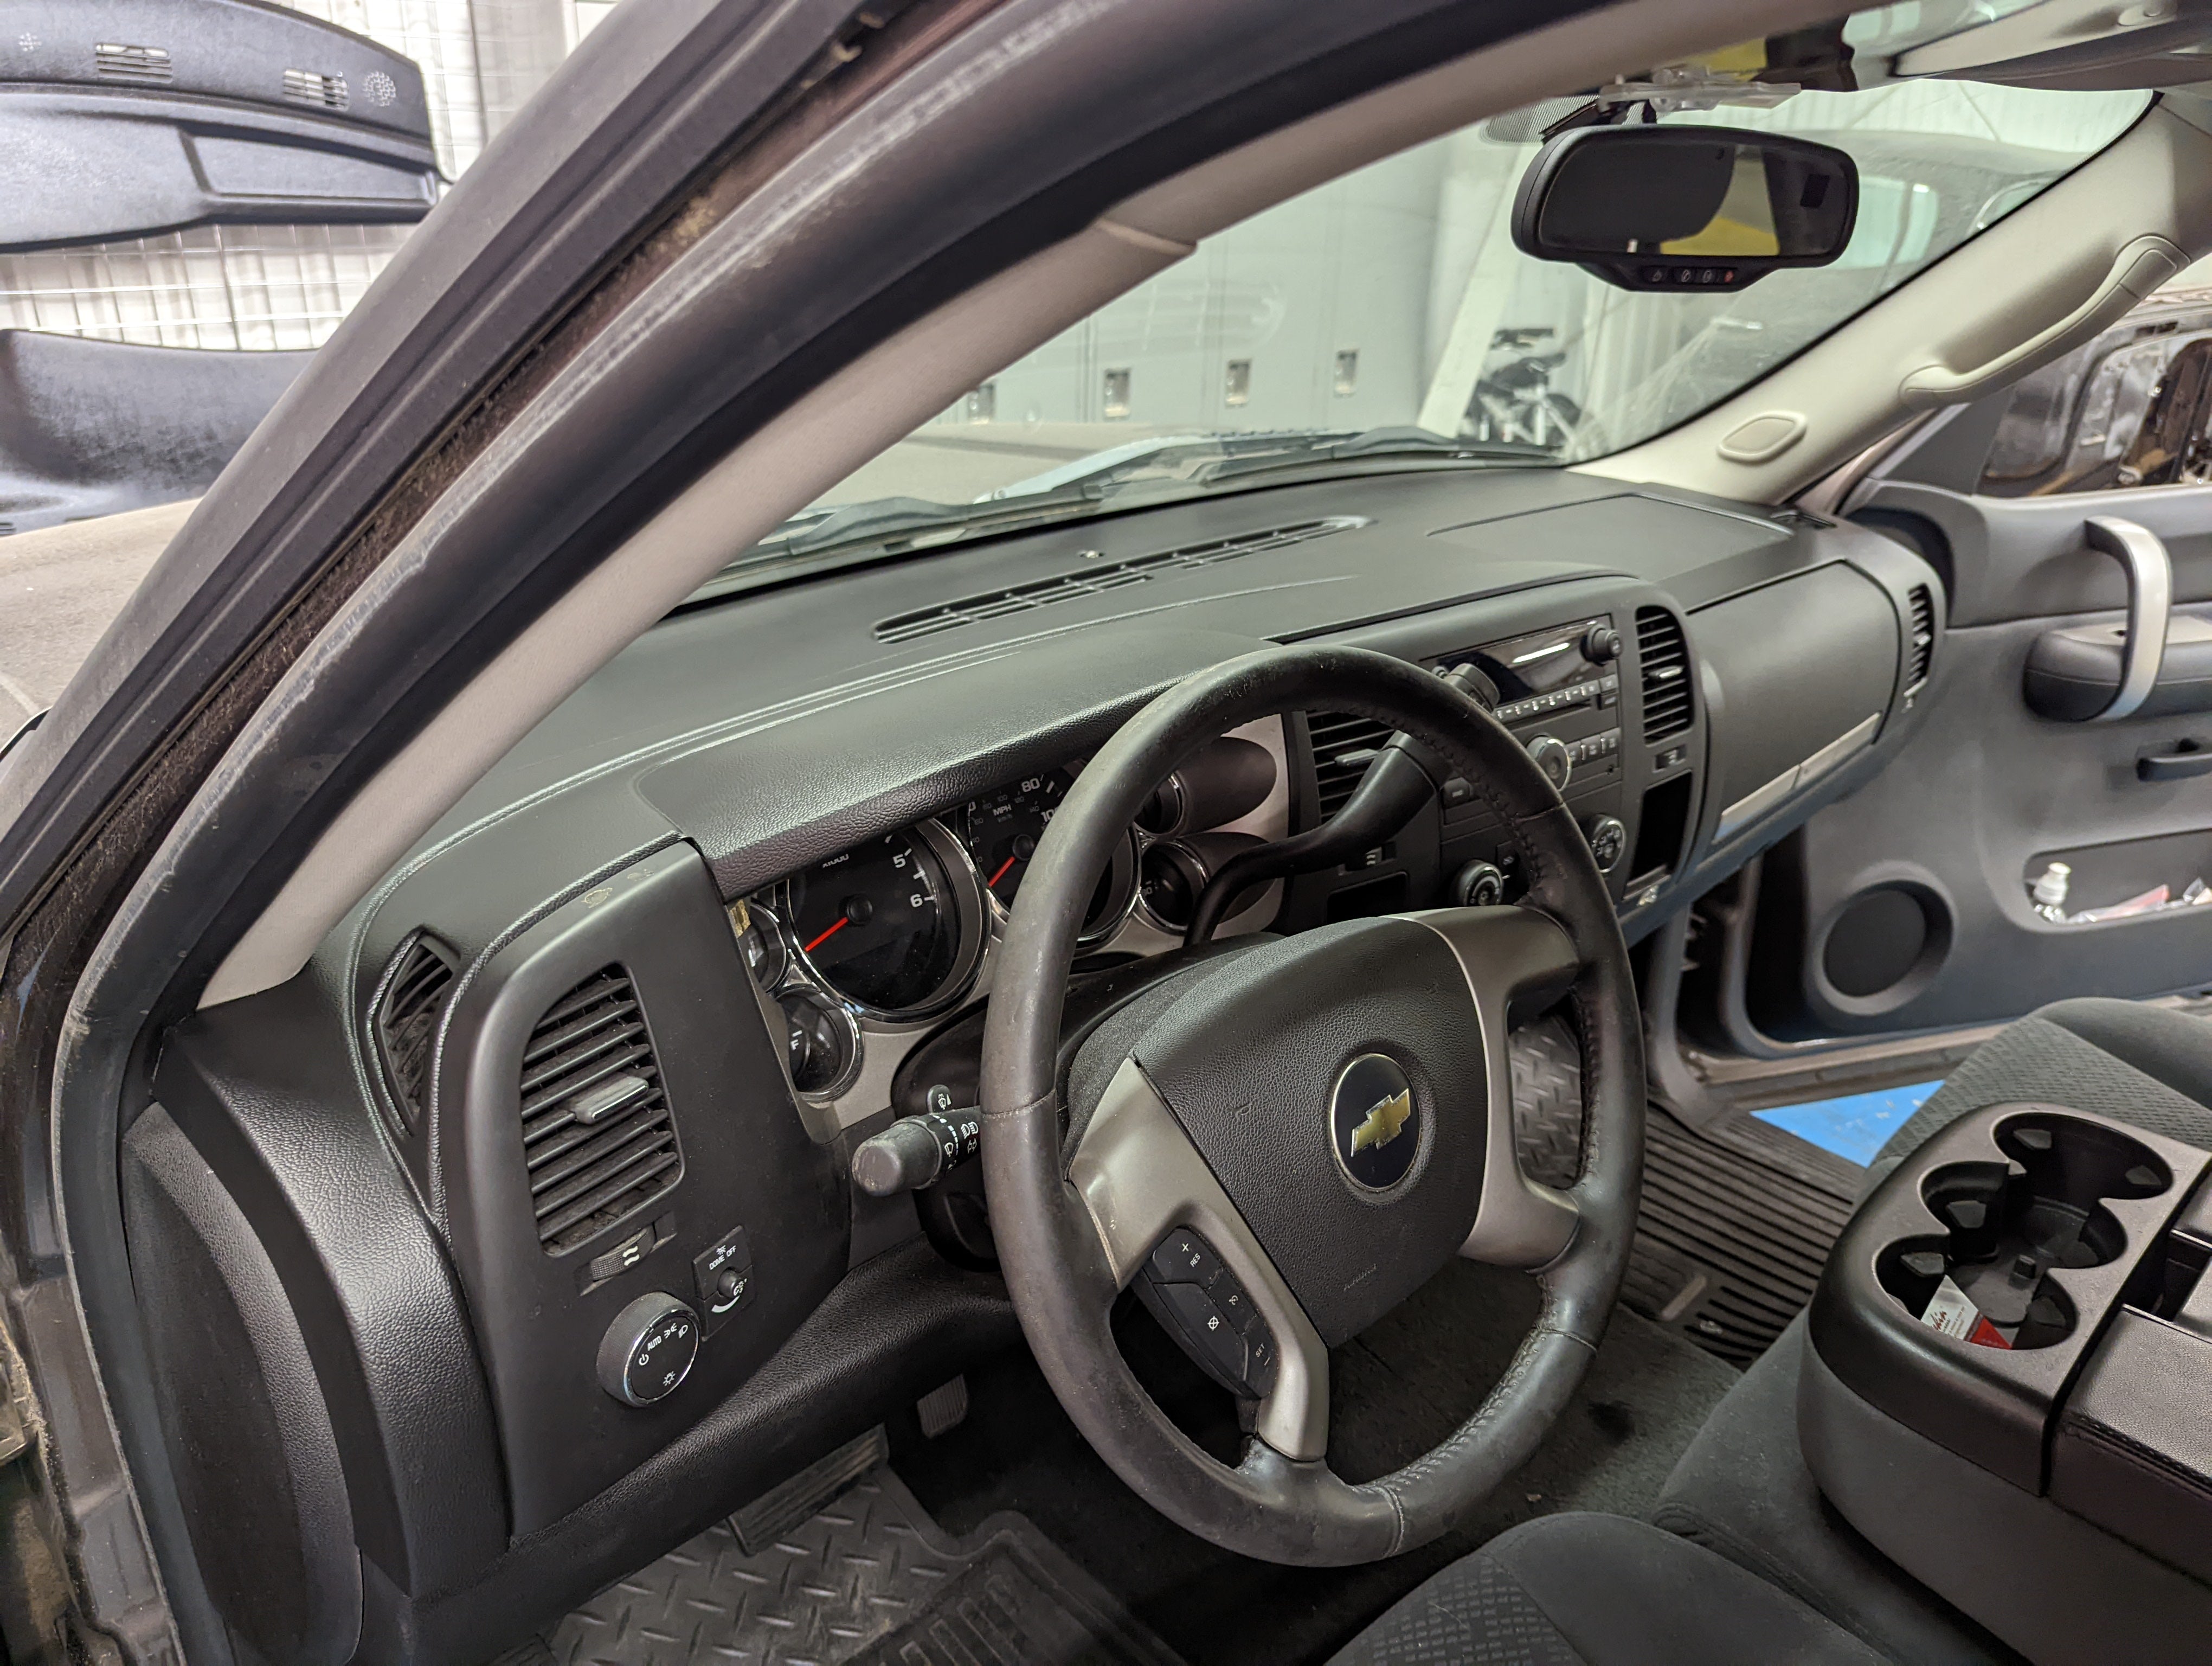
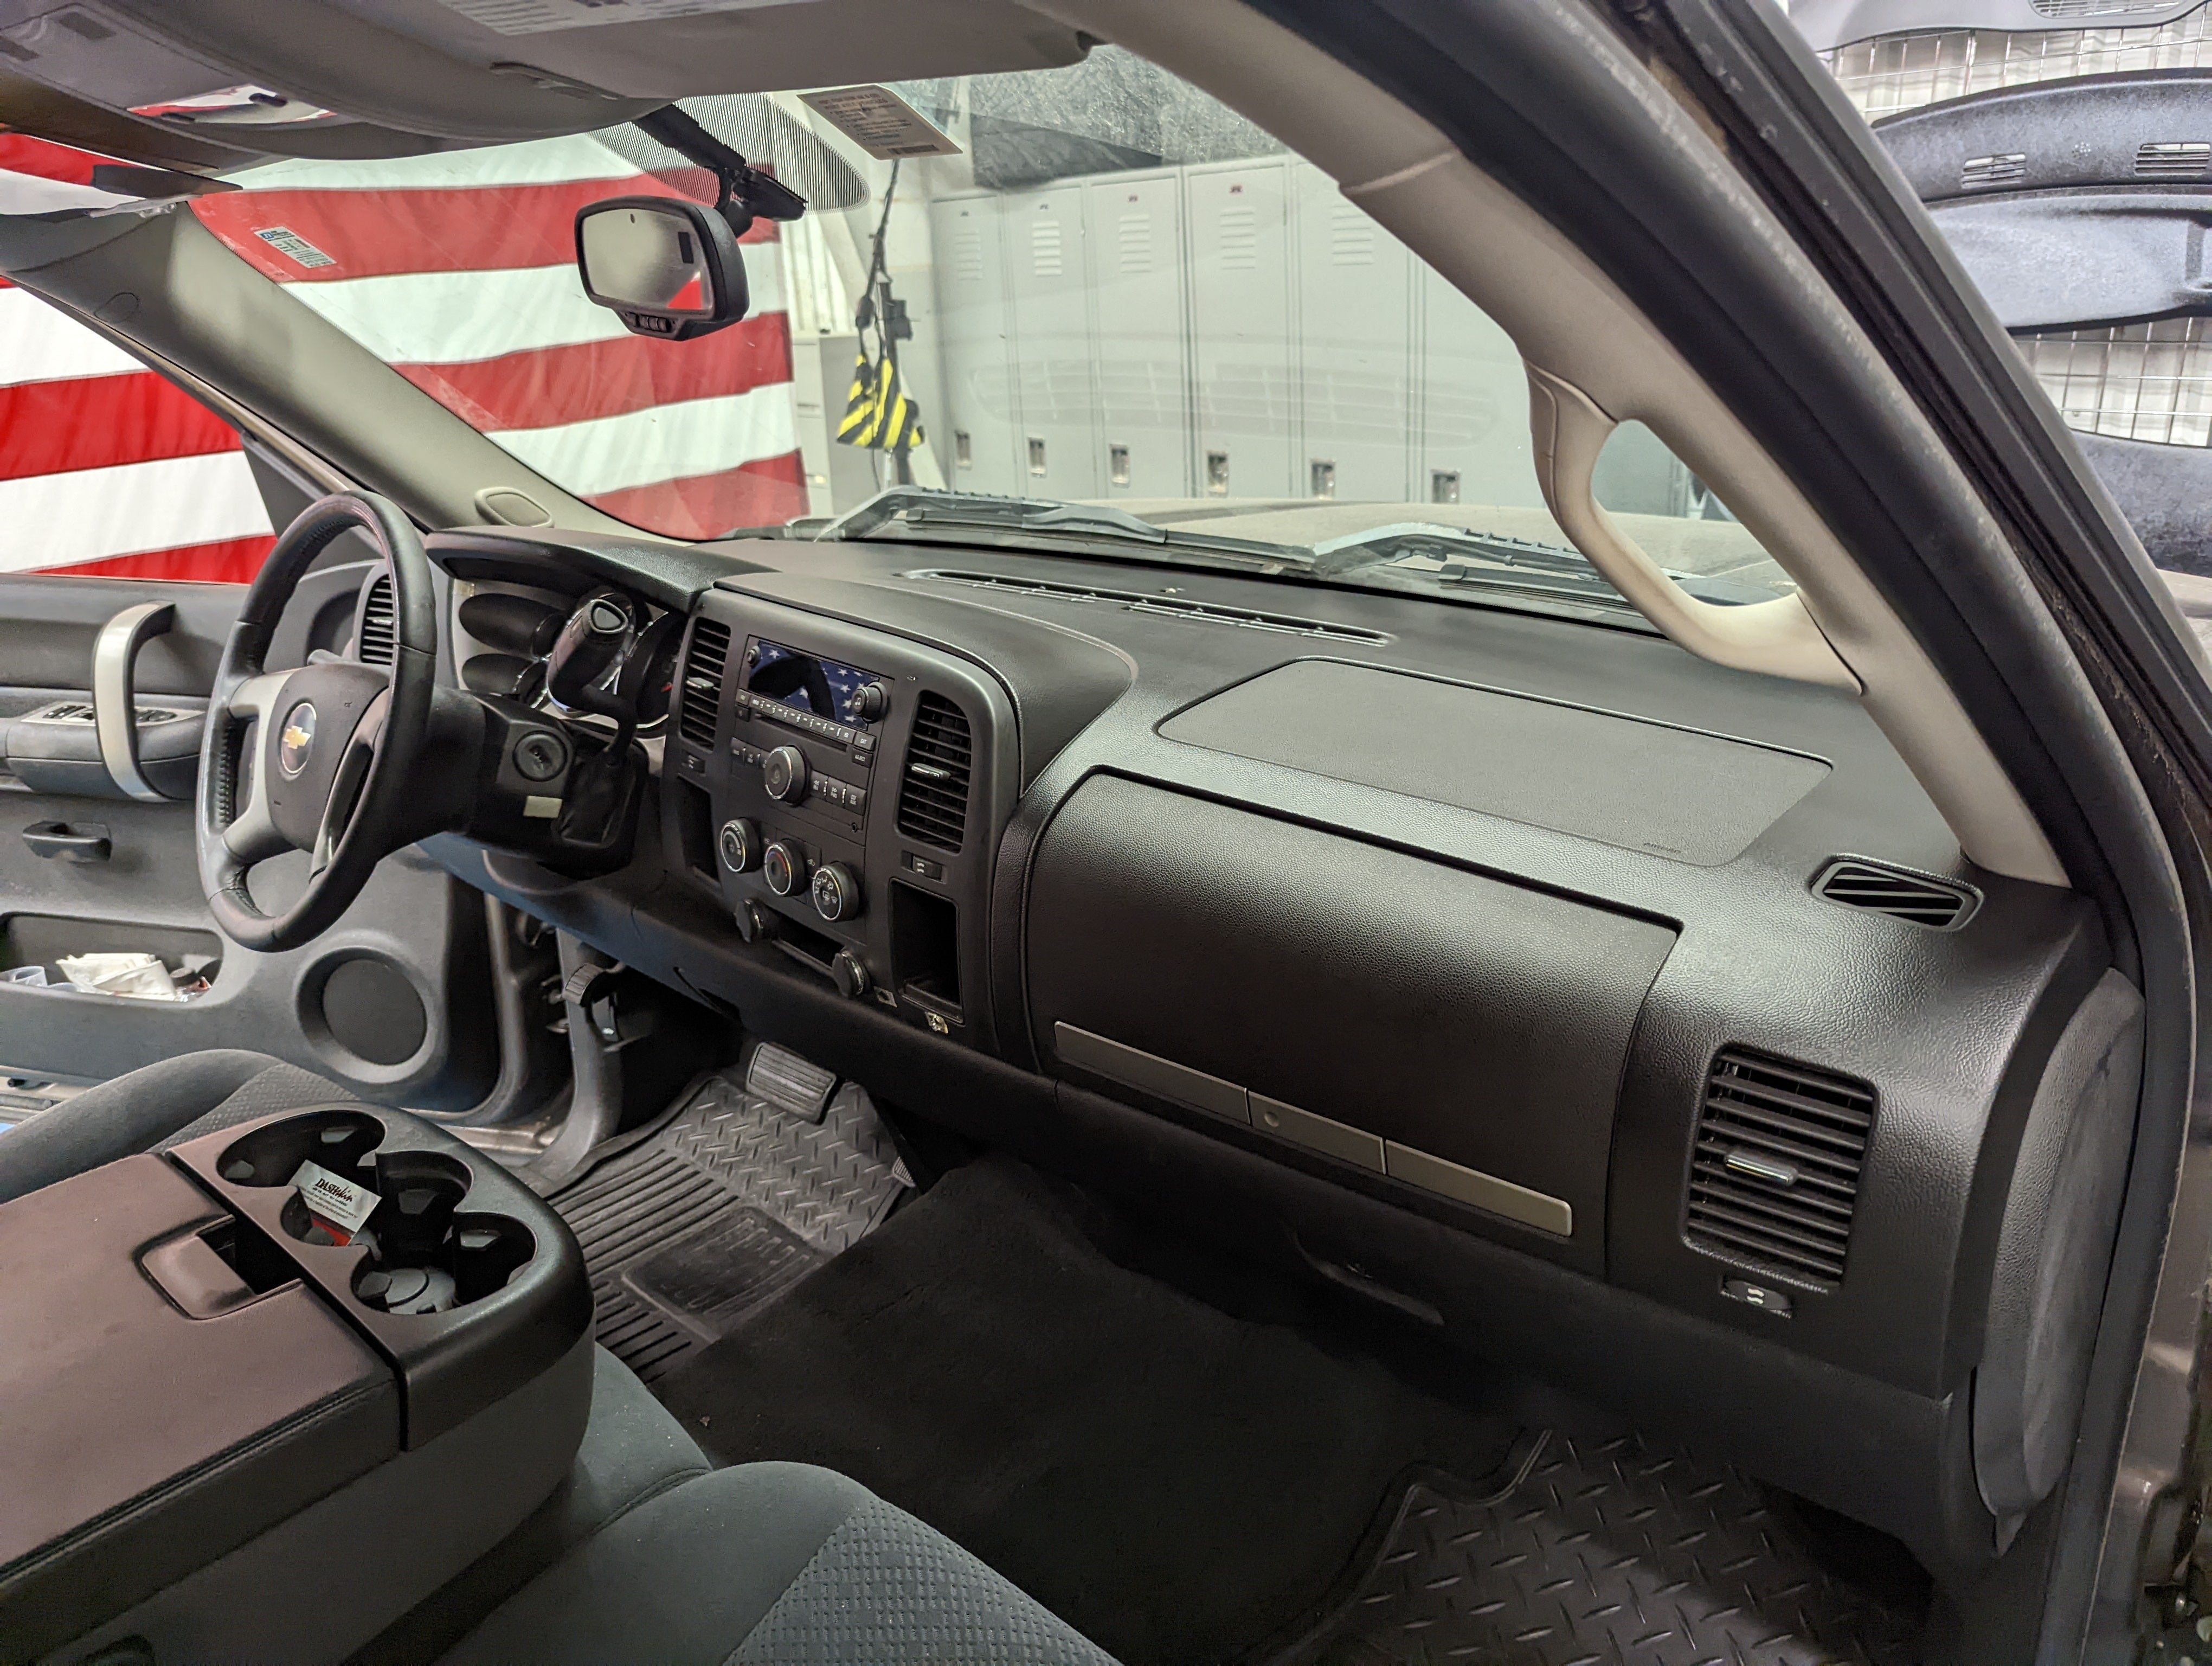
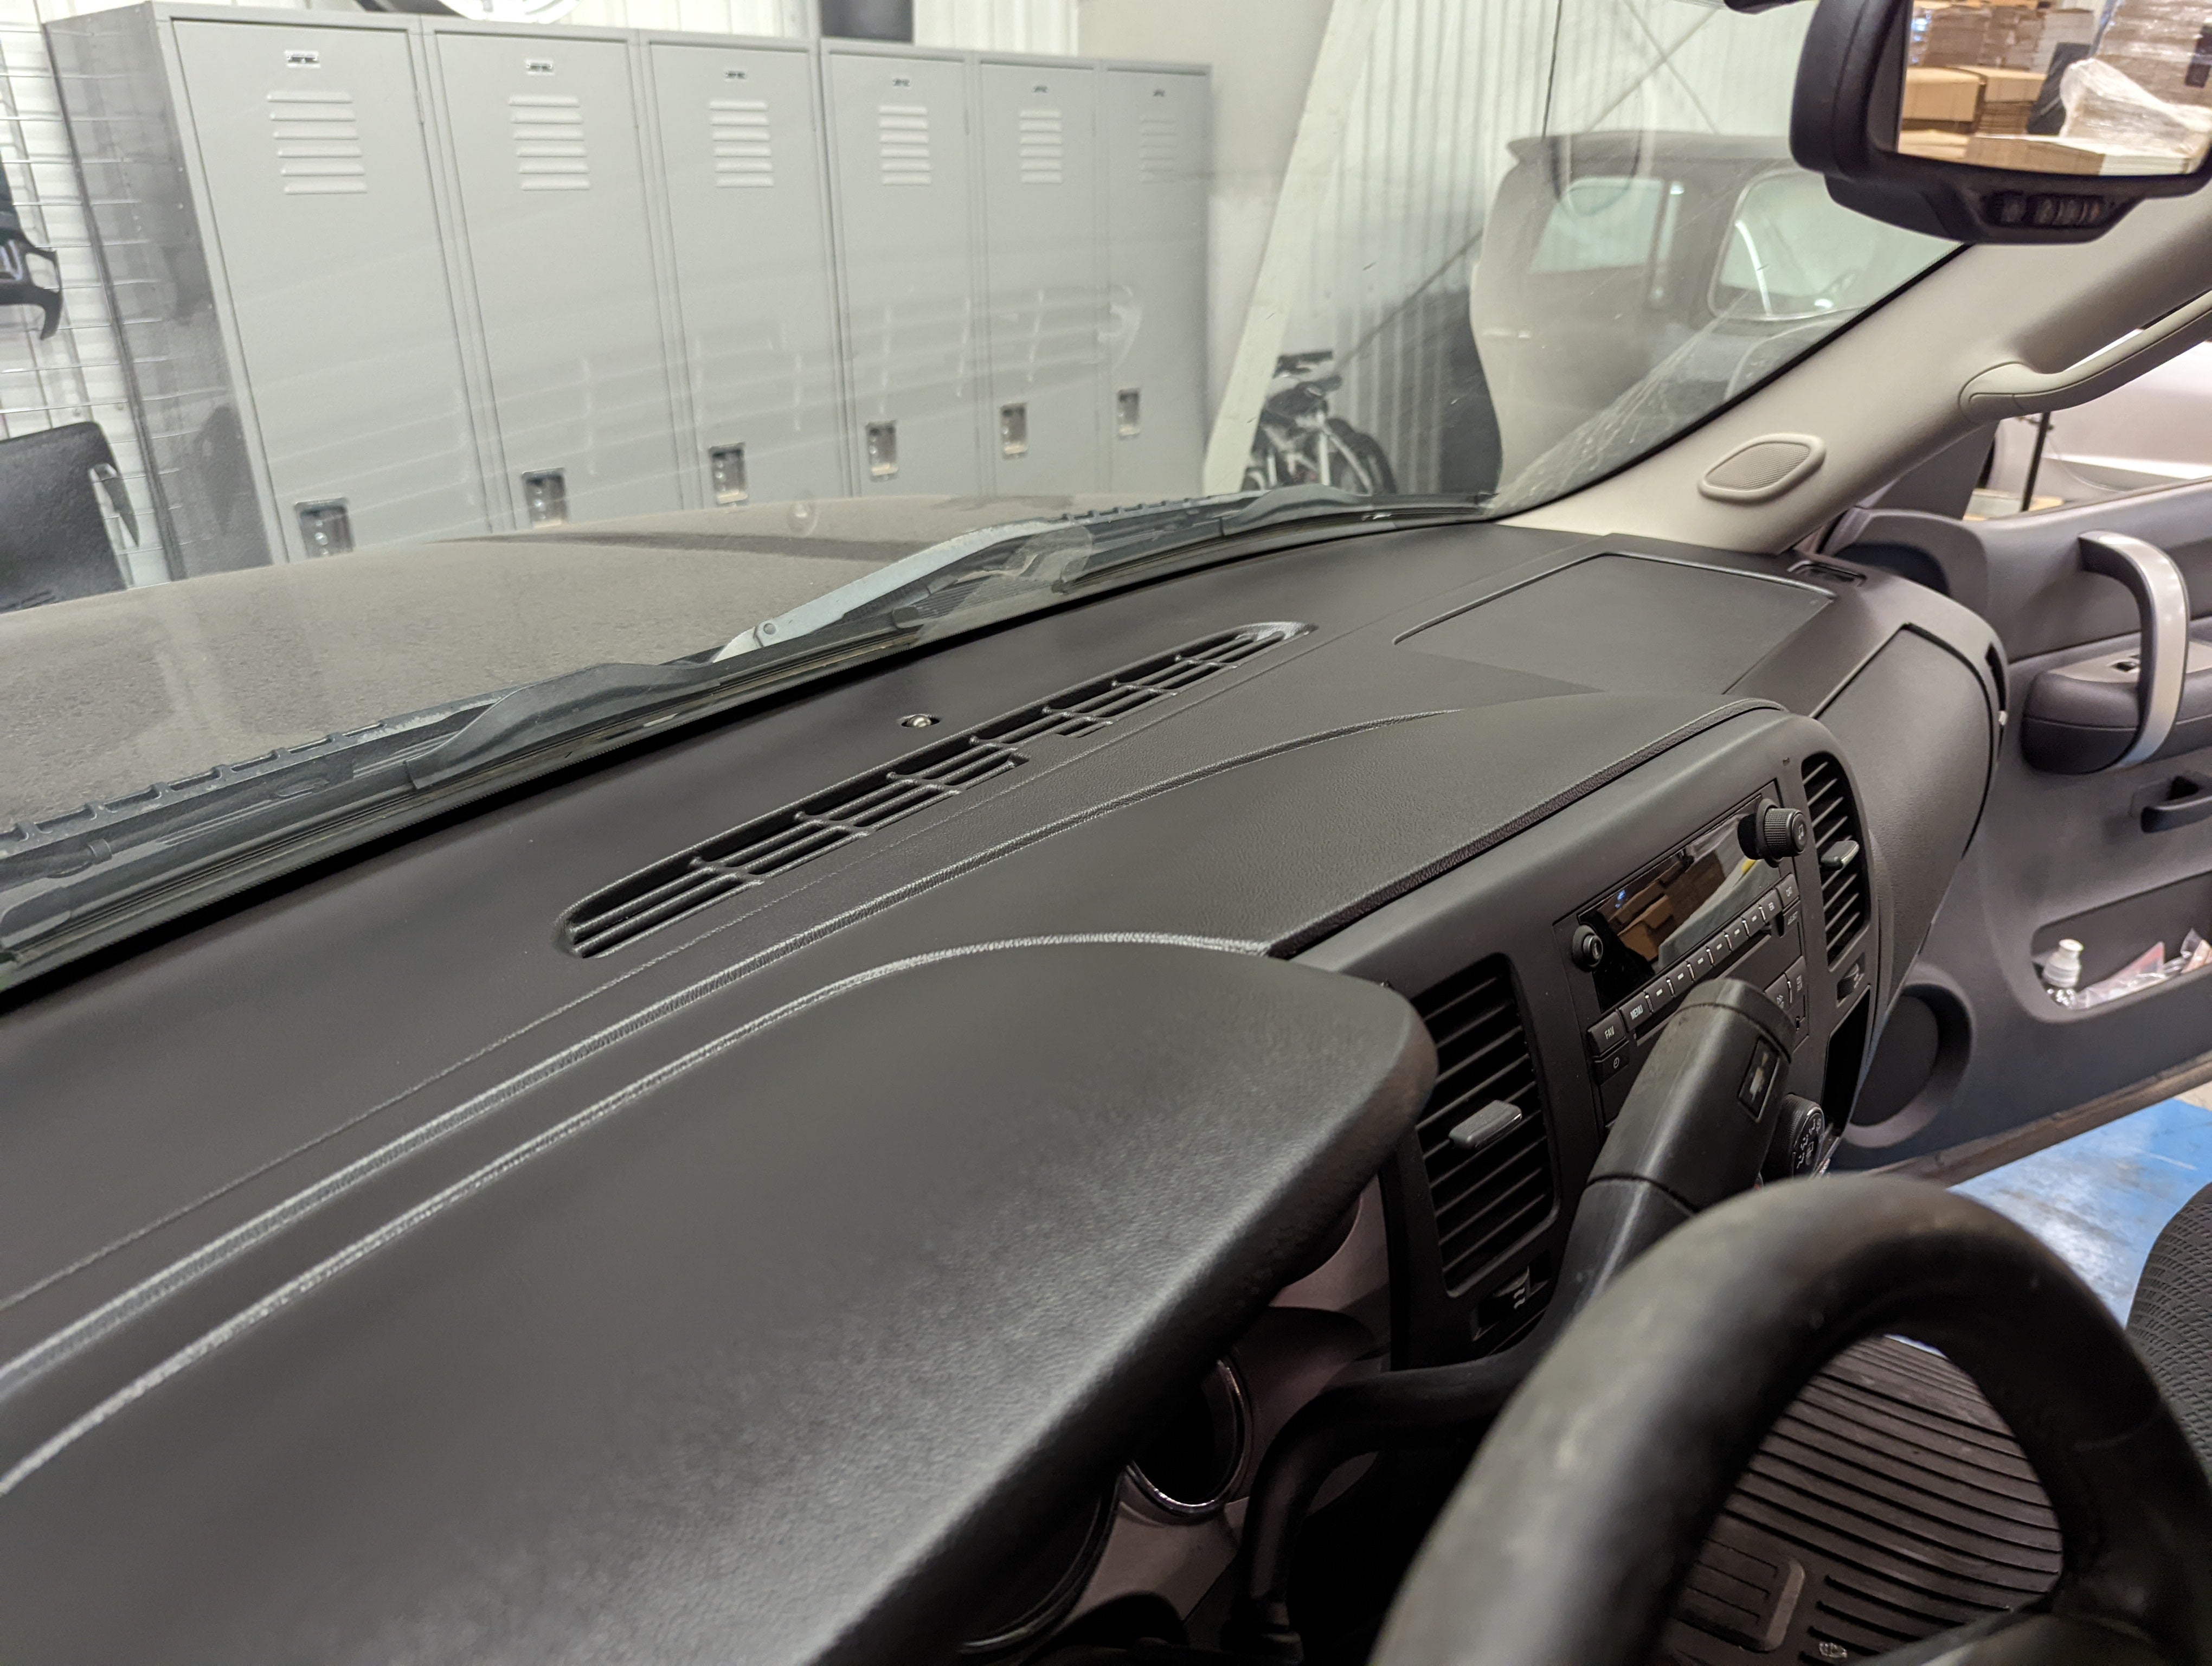
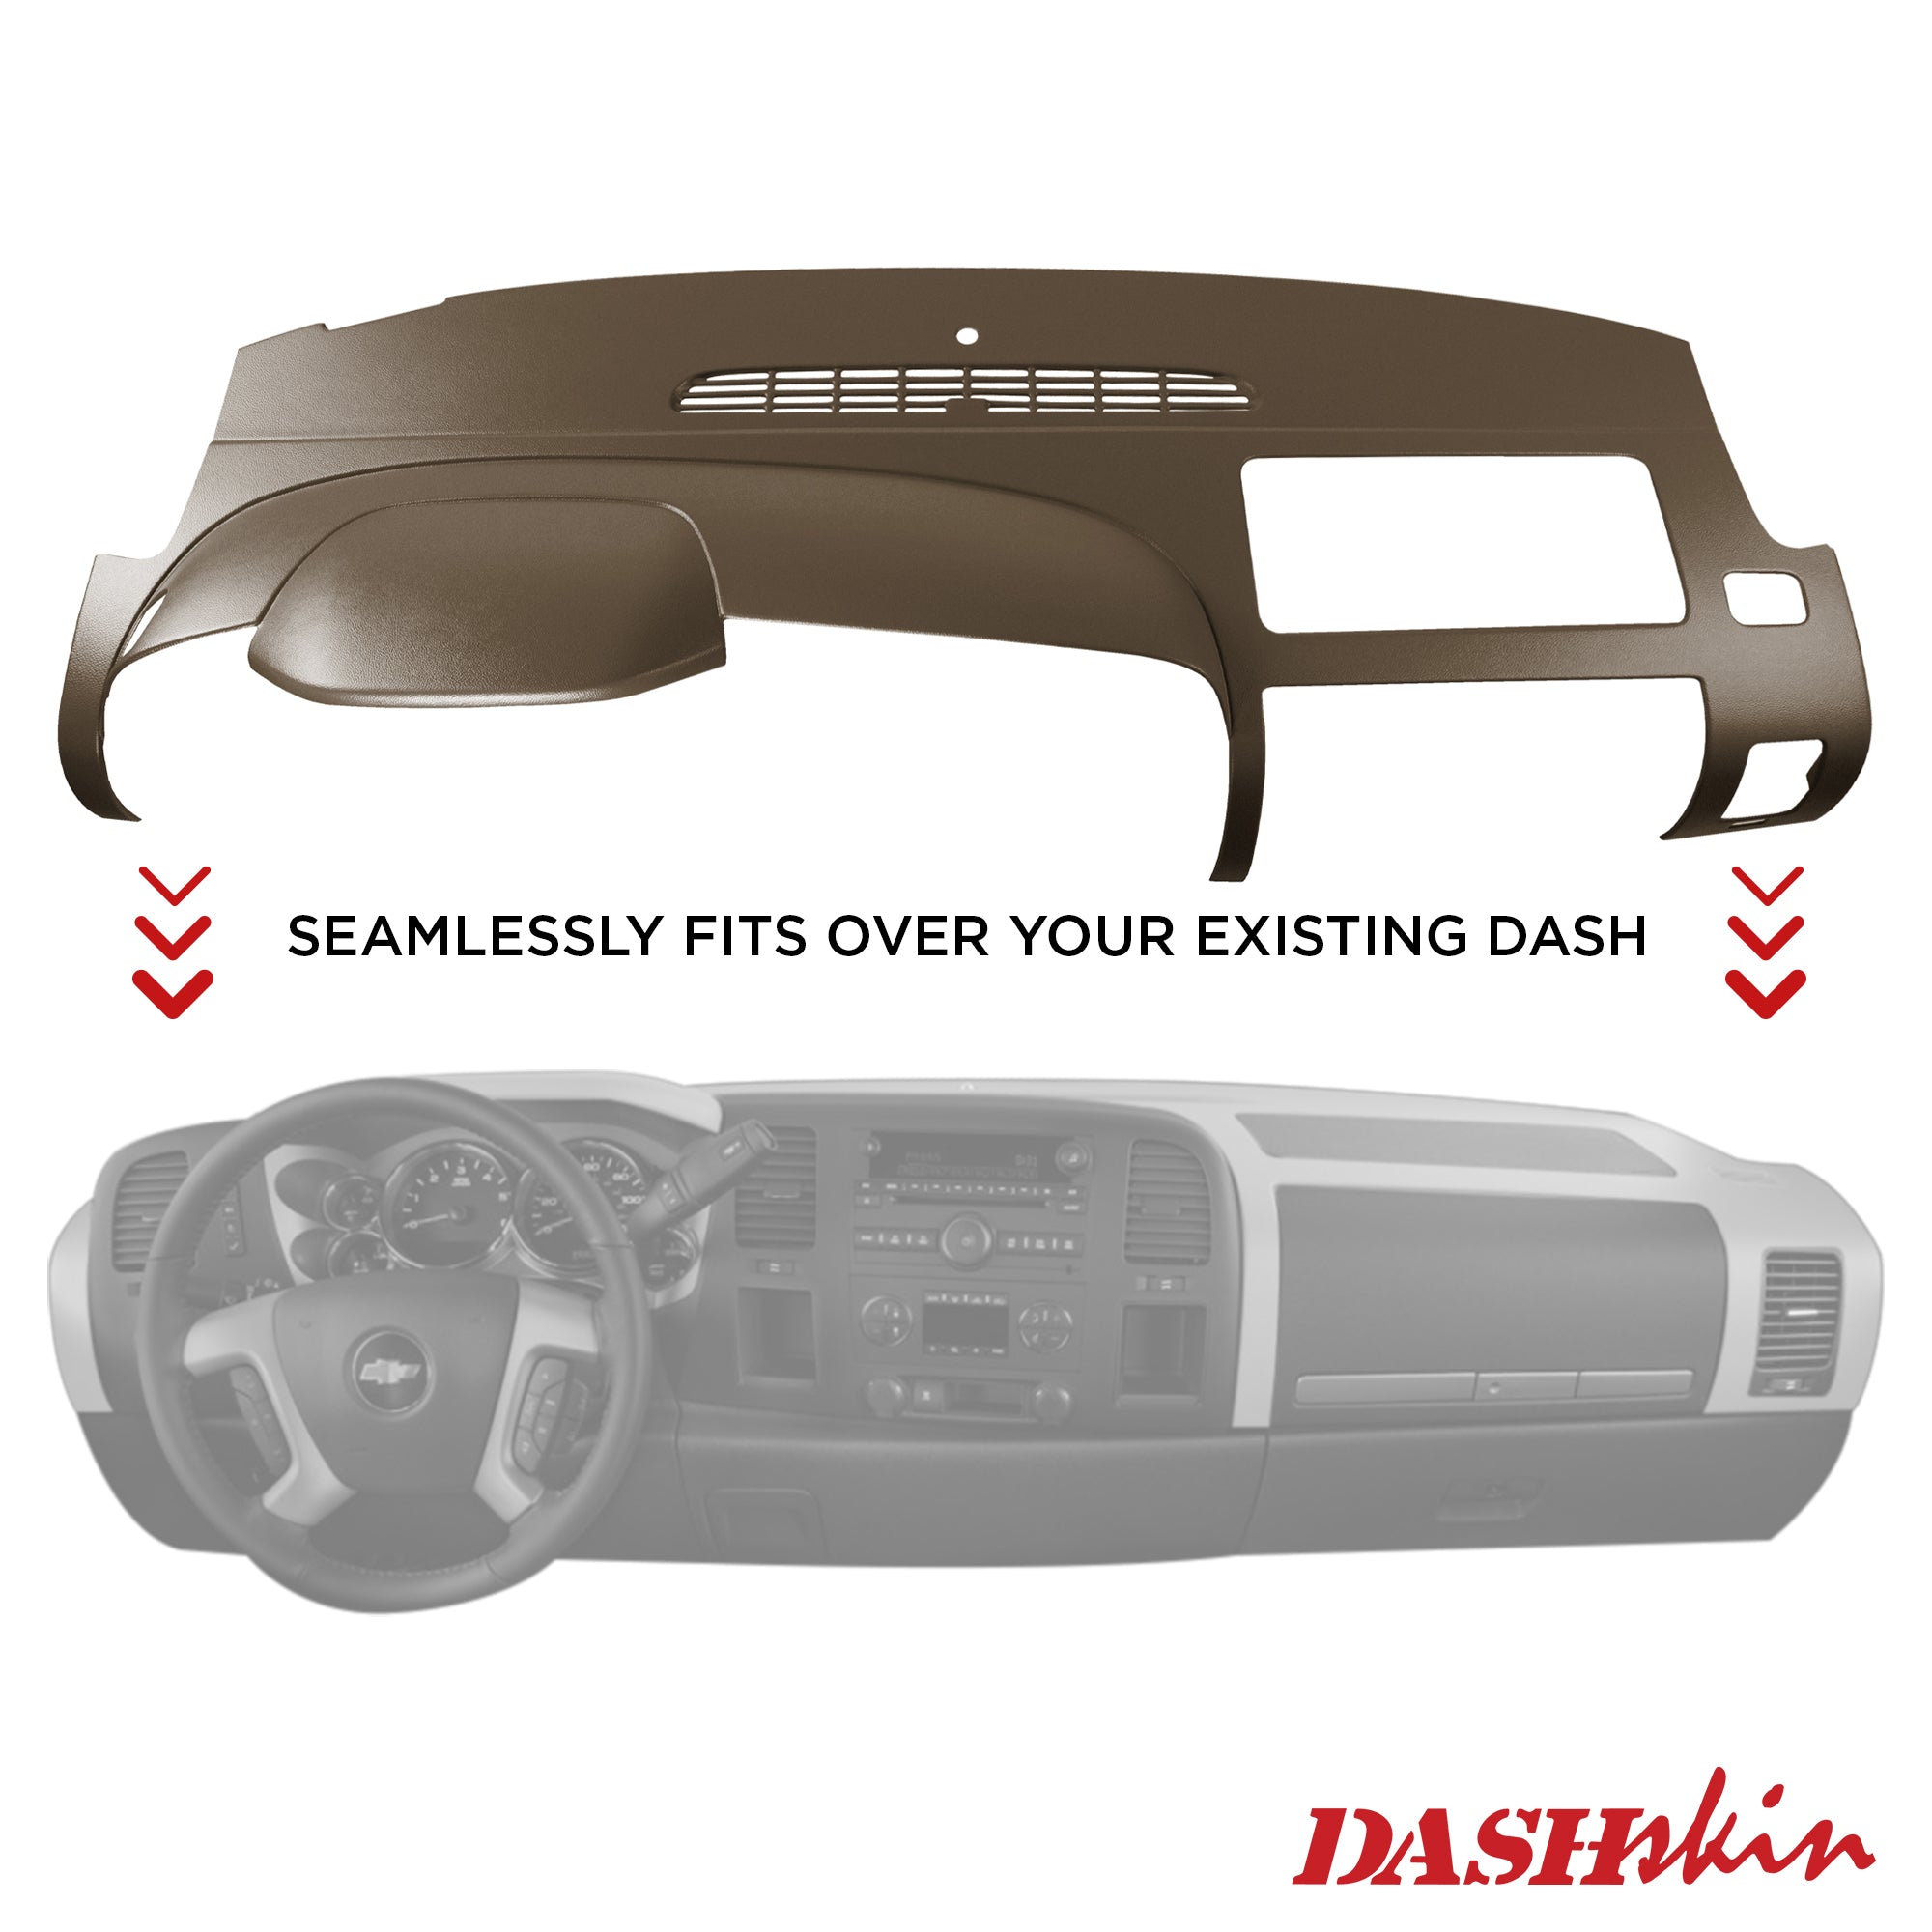
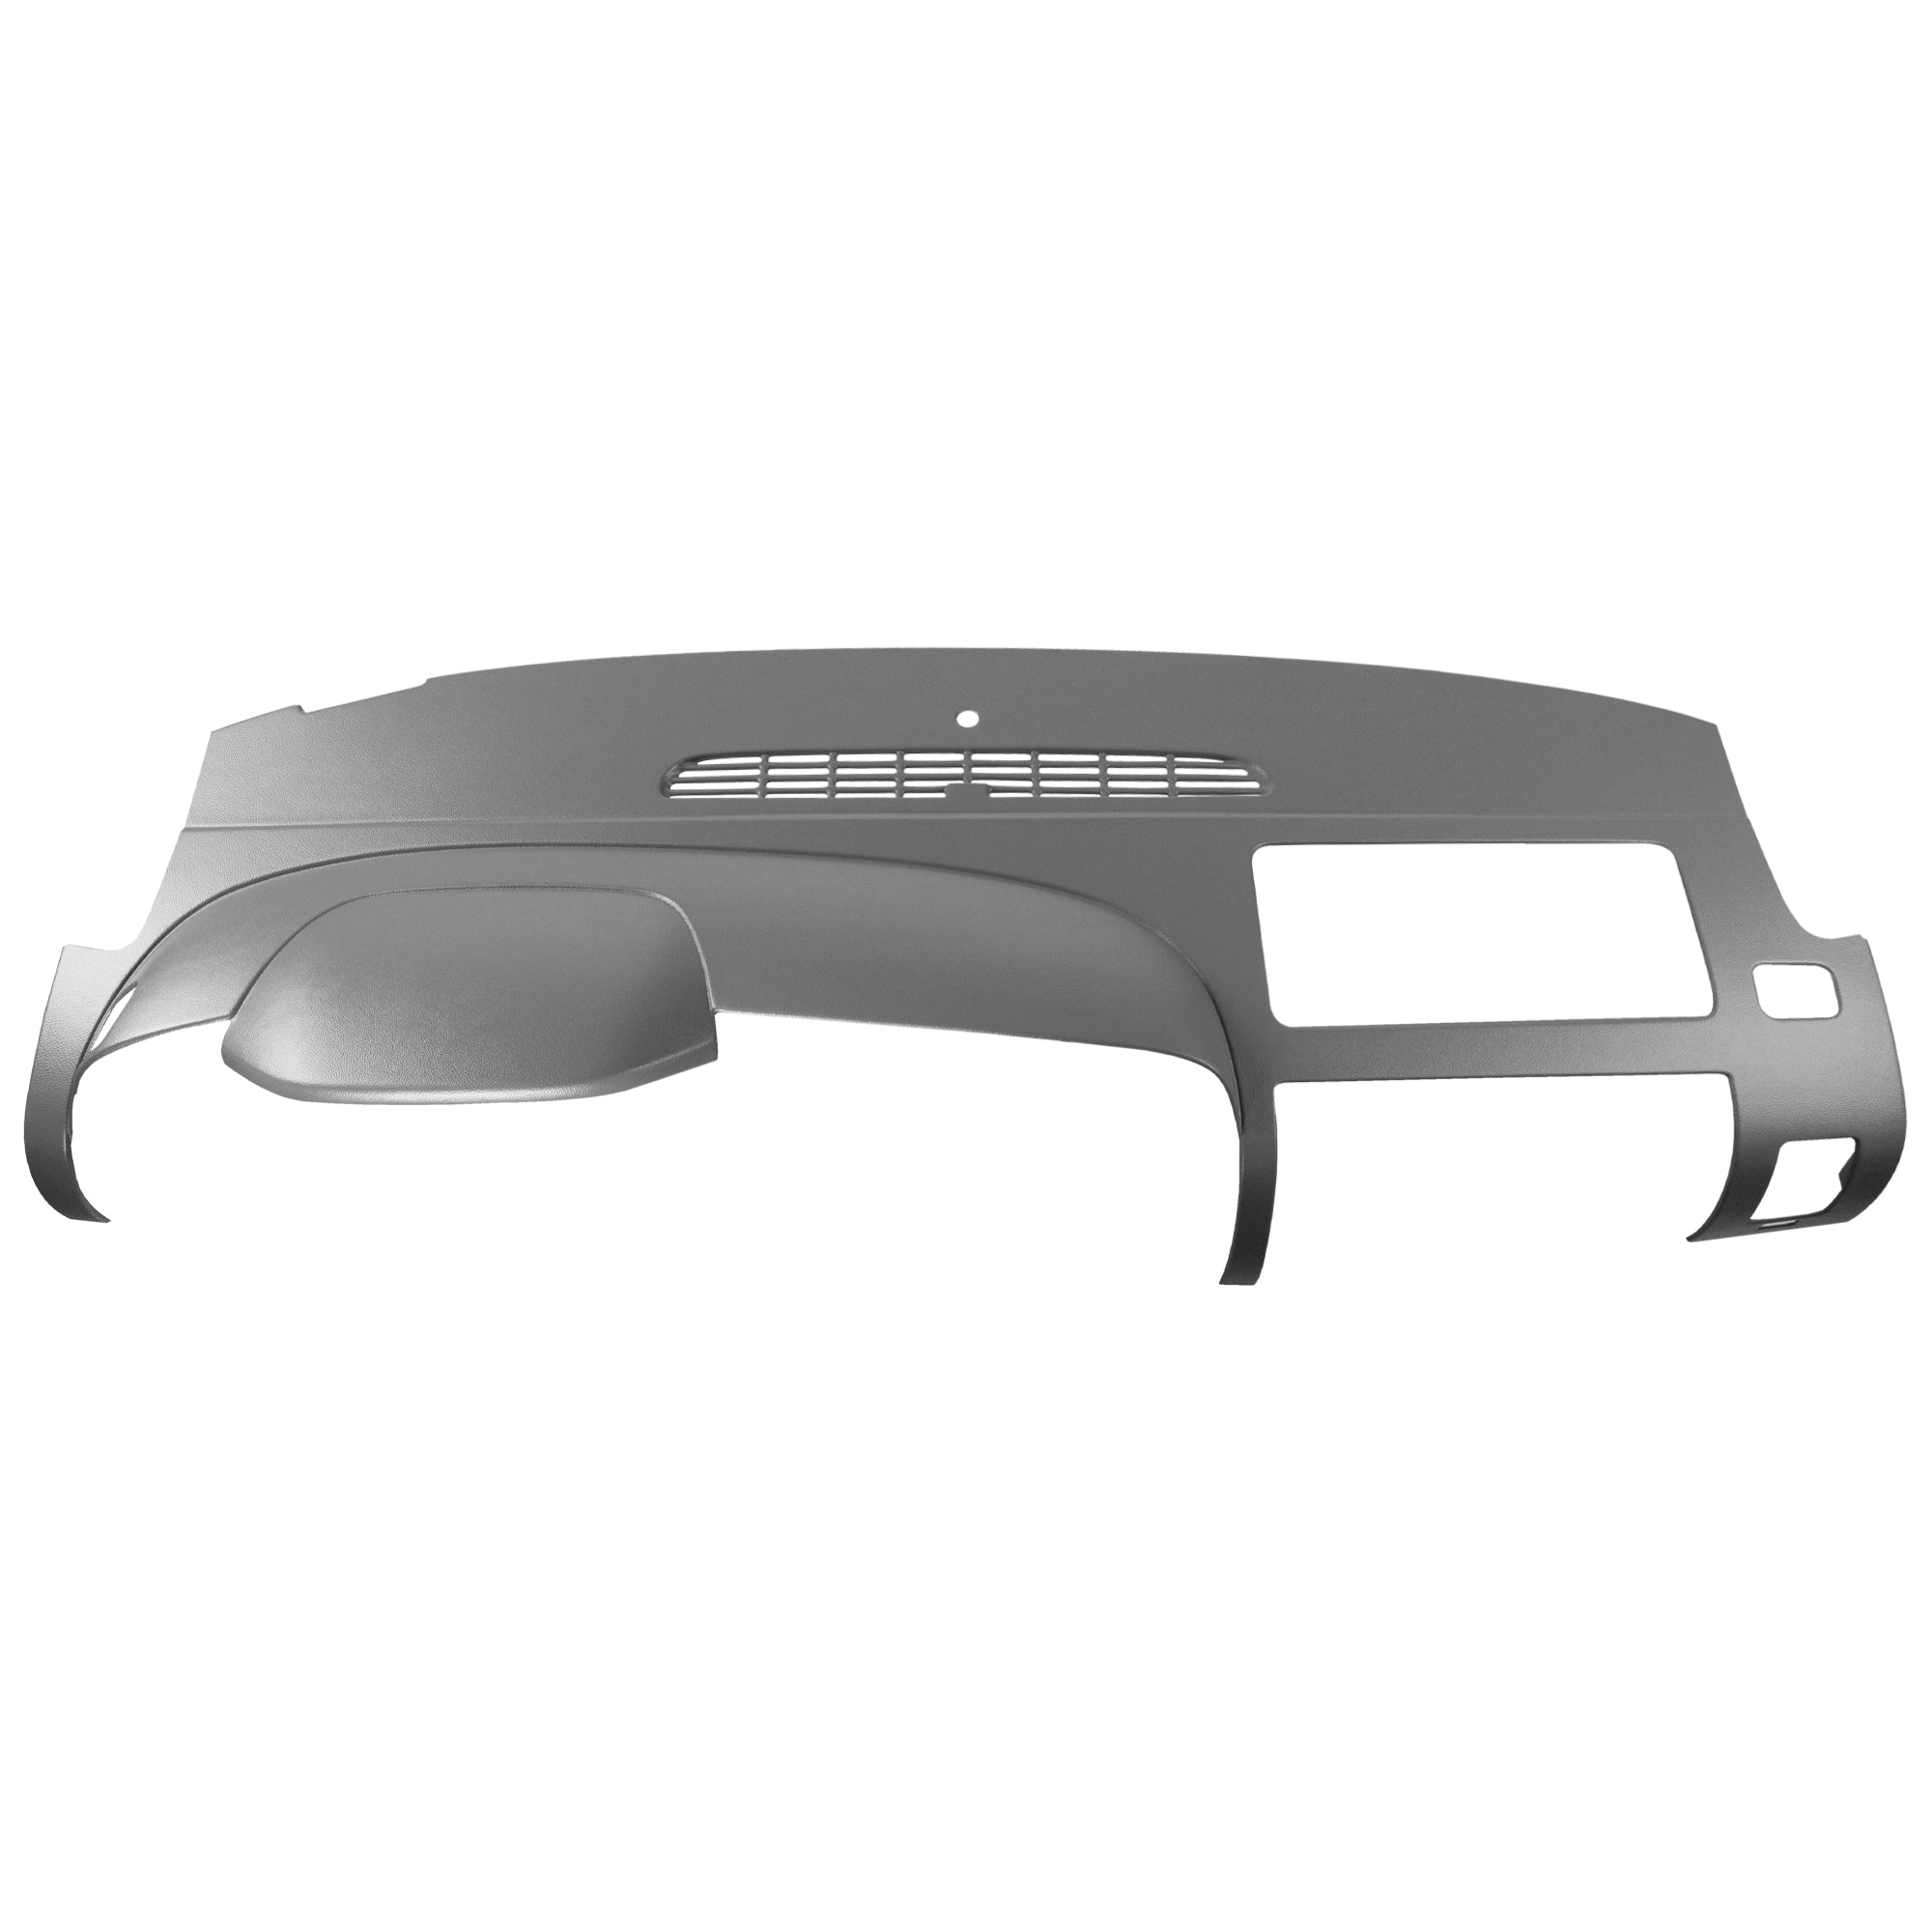
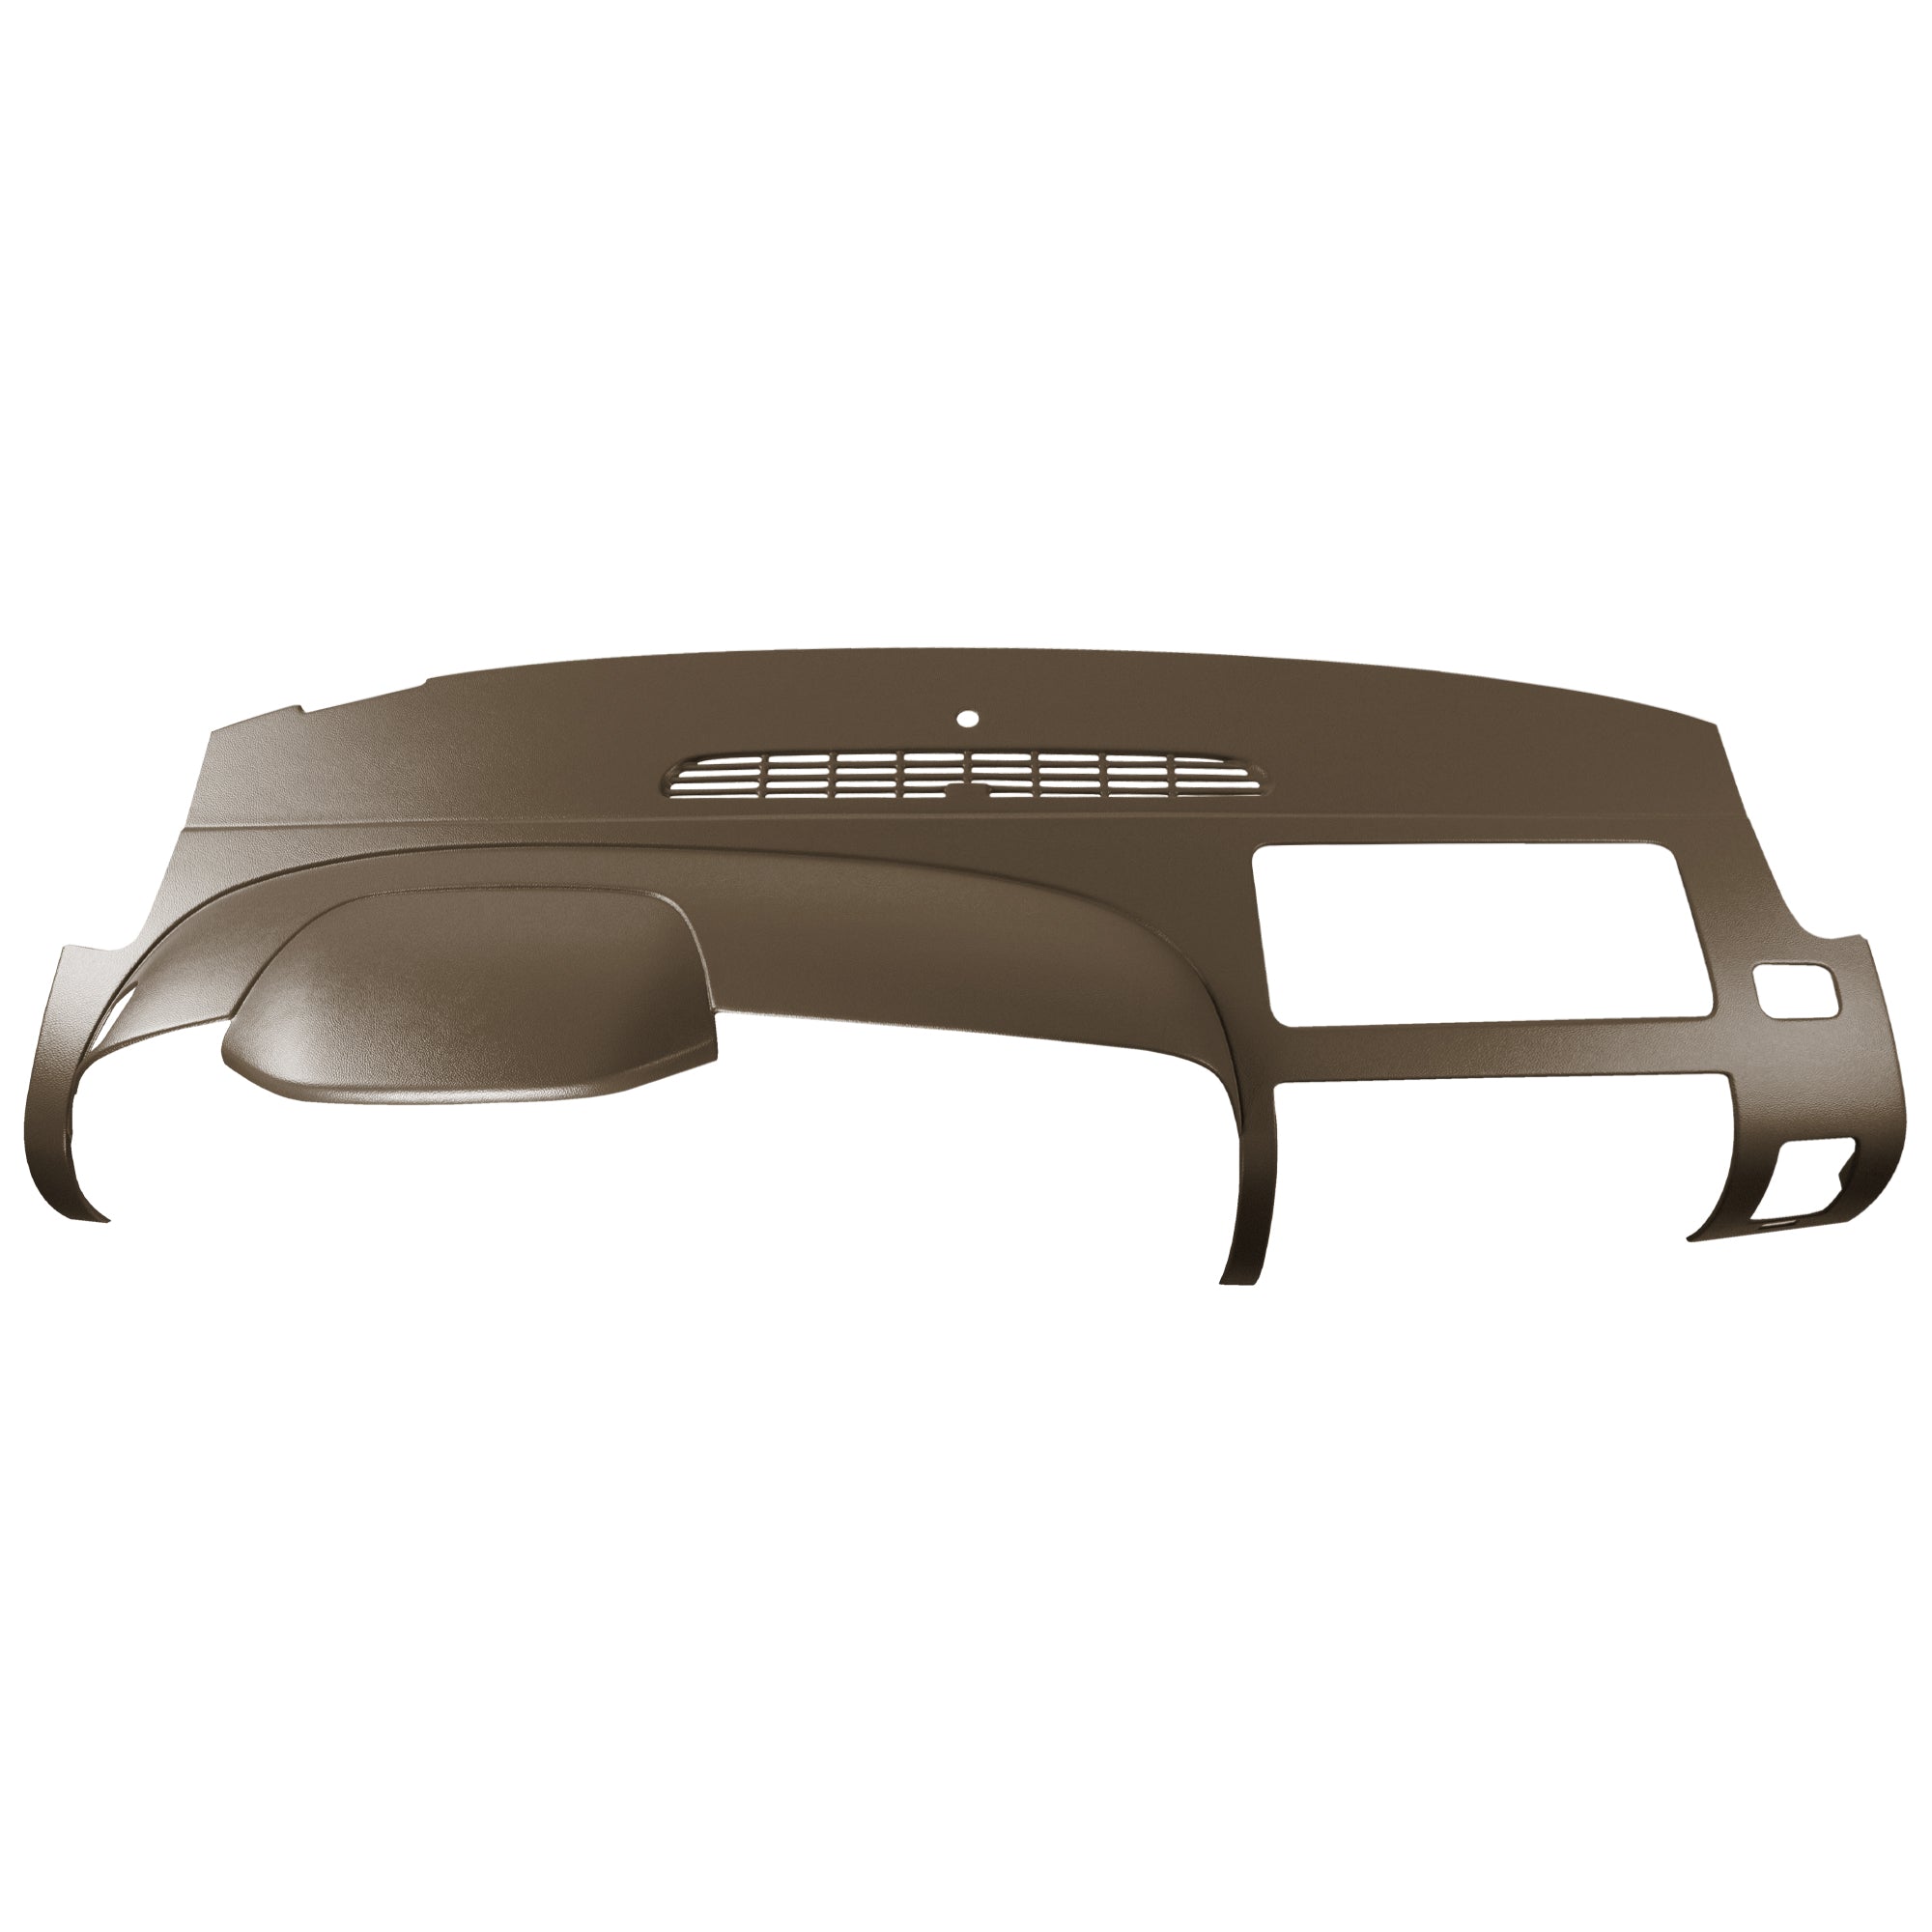
If you're a proud owner of a 2007-2013 Chevy Silverado or GMC truck, you know how crucial it is to maintain the interior of your vehicle. One common issue many owners face is a cracked dash. This can be both an eyesore and a potential hazard. Thankfully, DashSkin offers a high-quality, USA-made solution with their dash cover overlays. In this guide, we'll walk you through the installation process for the dual glovebox style dash.
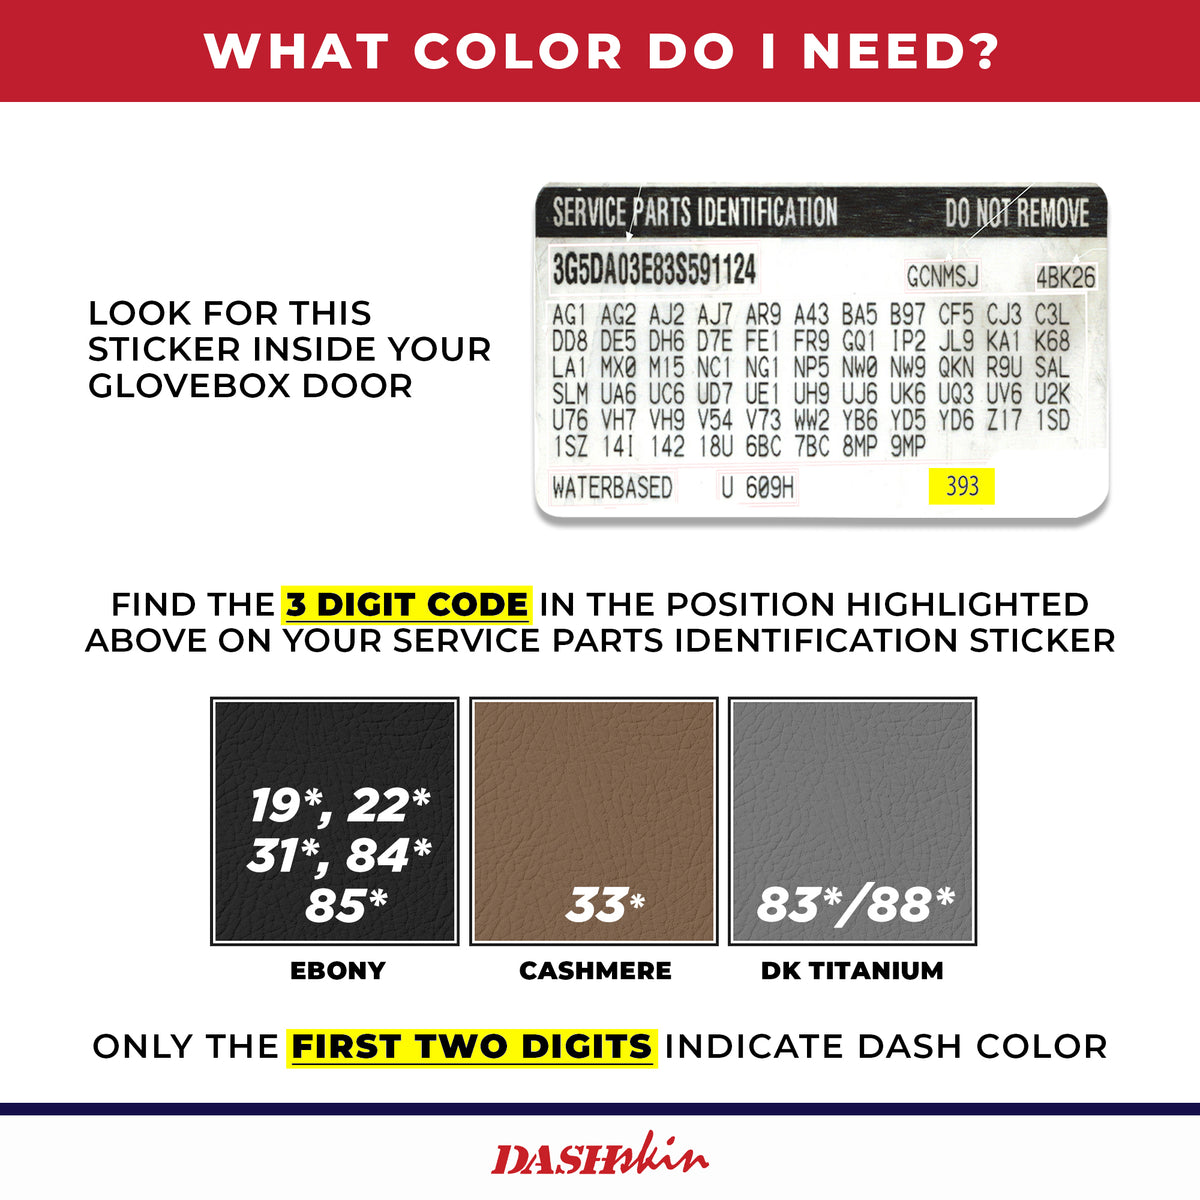
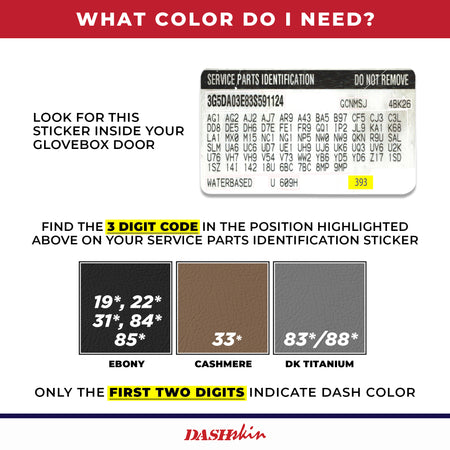
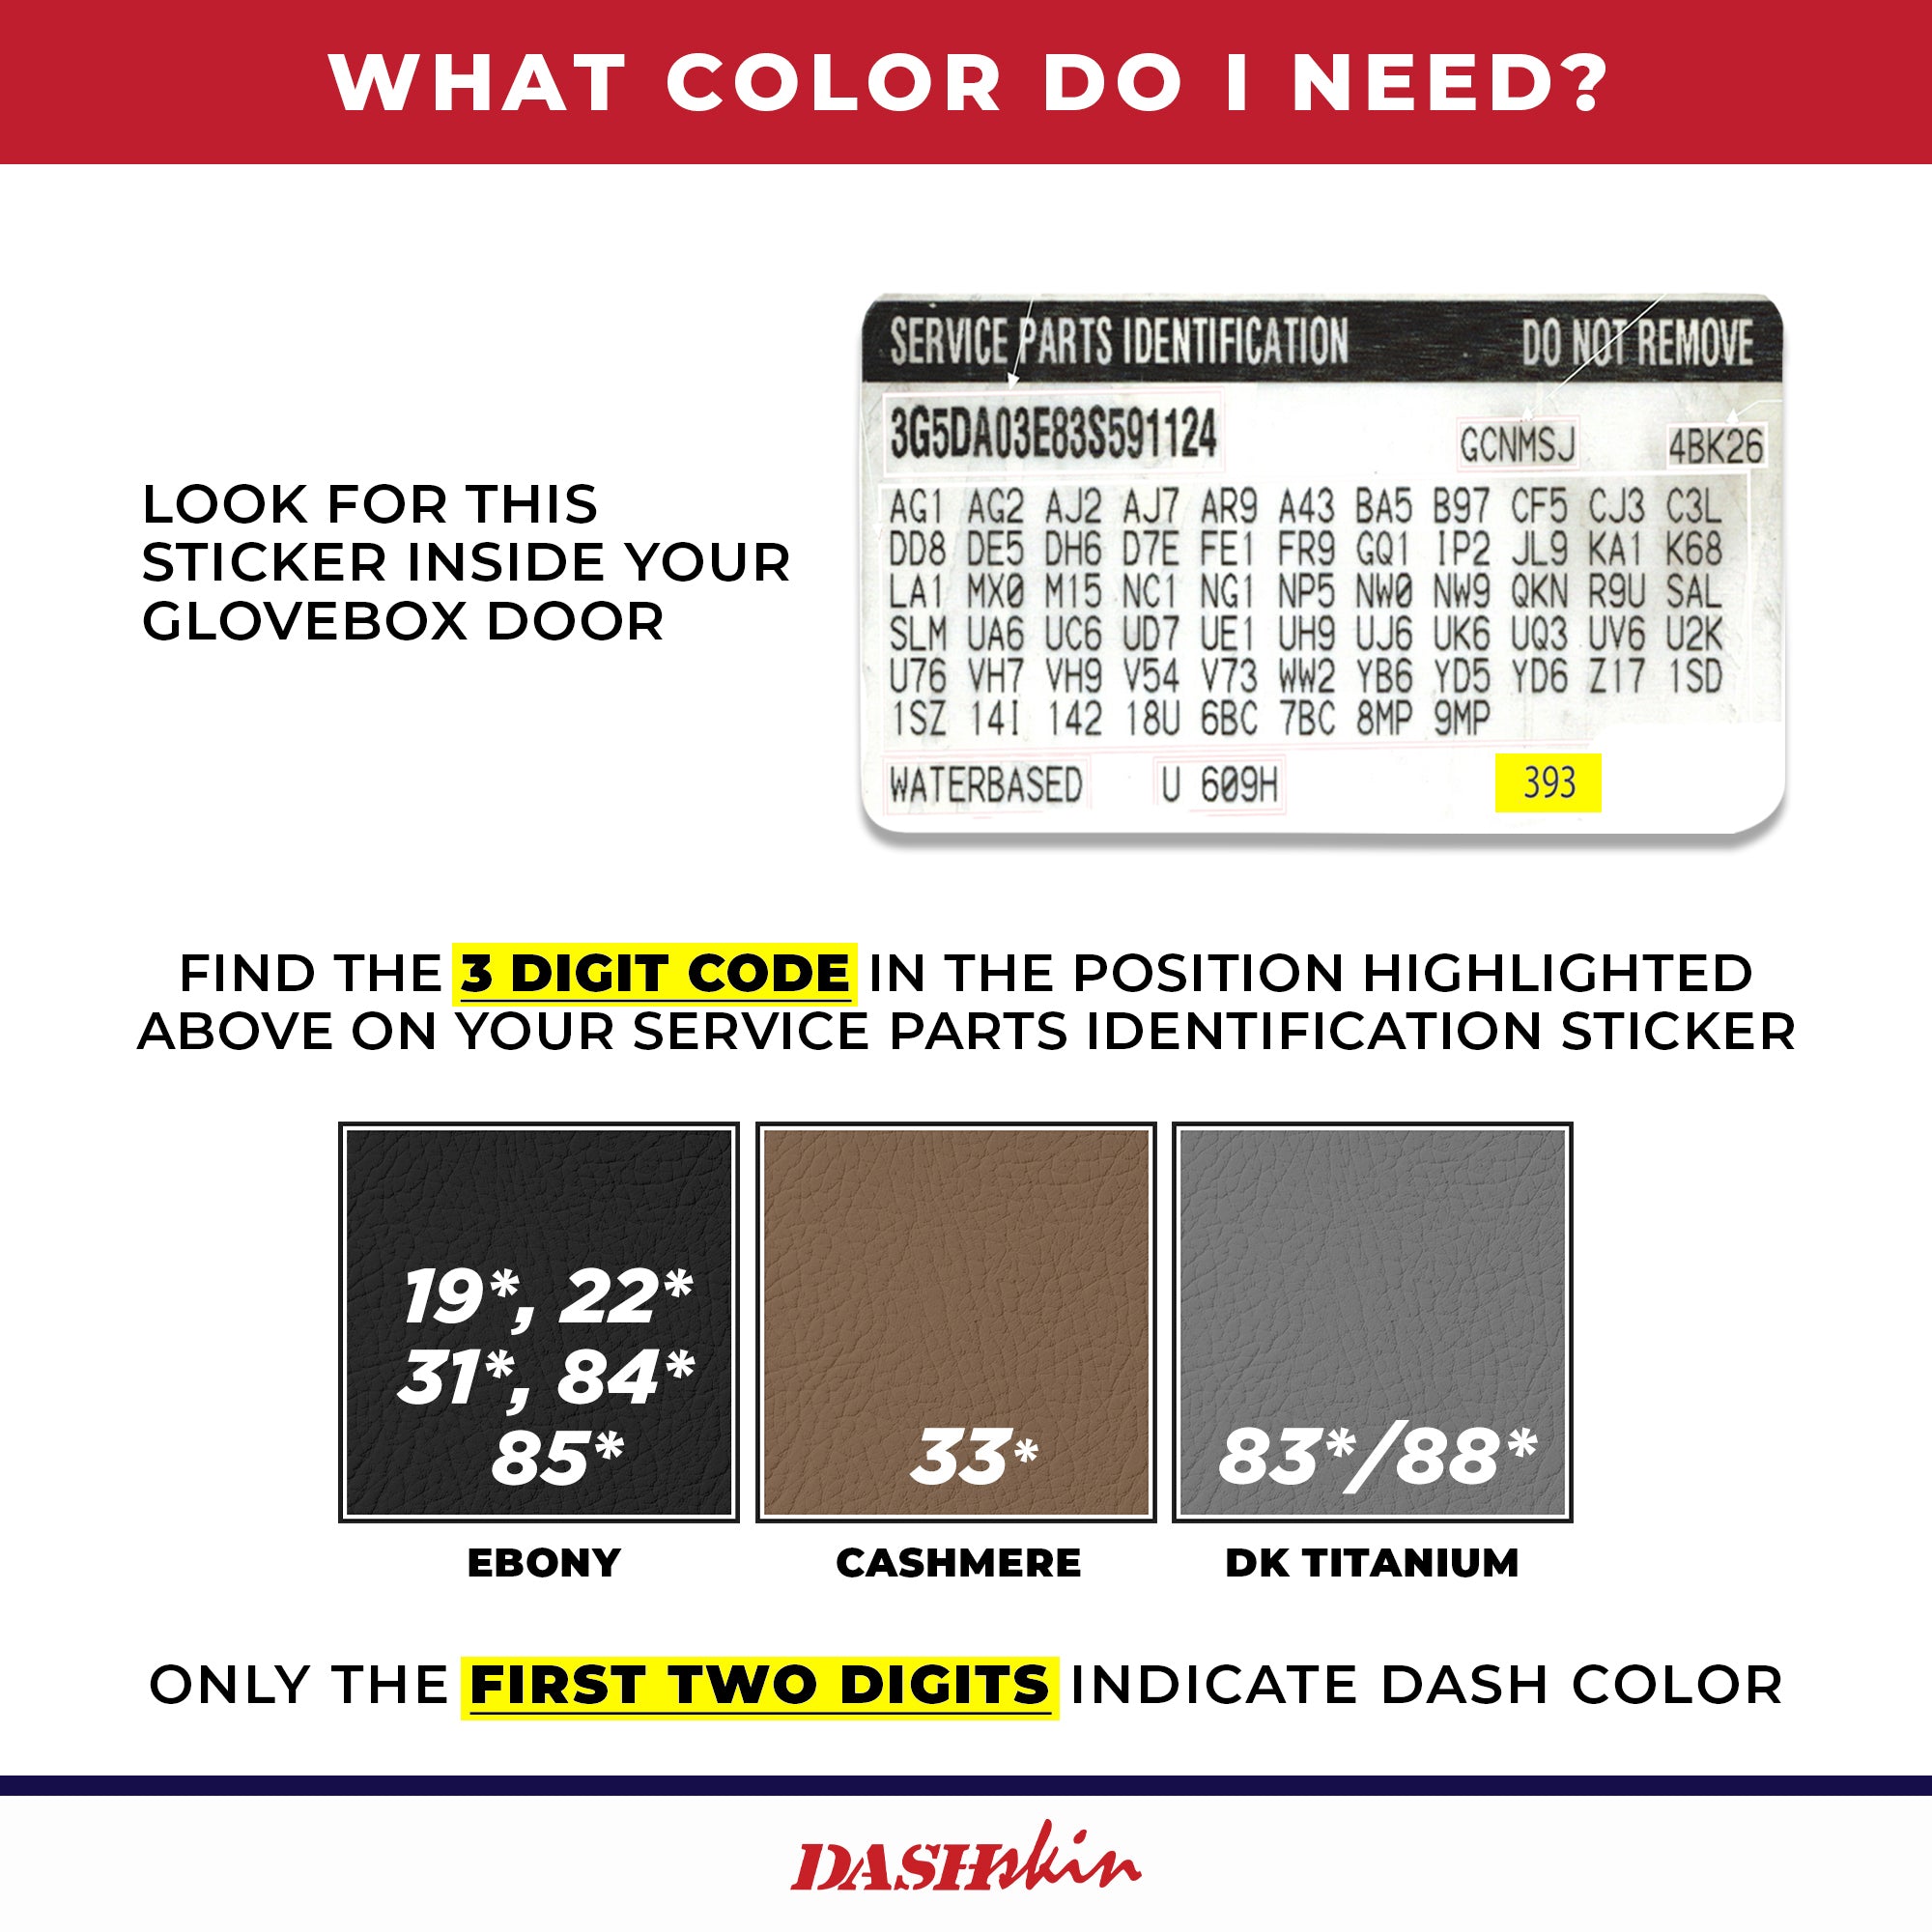
Step 1: Ensure You Order the Correct Color
Before starting the installation, it's essential to ensure you've ordered the correct color for your DashSkin. To do this, locate the trim code inside your glovebox. Compare this code with DashSkin's trim code guide to ensure a perfect match.
Step 2: Cleaning and Prepping Your Dash
A clean surface is vital for the silicone adhesive to bond properly. Use a commercial-grade degreaser such as Zep Purple, Purple Power, or Simple Green to thoroughly clean your original dash. This step removes any dirt, oils, or residues that could prevent the adhesive from sticking.
Step 3: Dry Fitting Your DashSkin™
Before applying any adhesive, dry fit the DashSkin cover over your existing dash. This step allows you to verify alignment and fitment. Additionally, plan where you will need to place weights to ensure even pressure during the curing process.
Step 4: Applying Silicone to Cracks
If your original dash has cracks, apply silicone directly into these cracks. This helps to stabilize the damaged areas and provides a more secure foundation for the DashSkin cover. Outline any holes in your original dash with silicone as well.
Step 5: Applying Silicone to the Underside of the DashSkin™
Using the pattern illustrated in your install guide, apply silicone to the underside of the DashSkin cover. This ensures that the adhesive is evenly distributed and provides maximum bonding strength.
Step 6: Installing the DashSkin™ Over Your Existing Dash
Carefully place the DashSkin cover onto your original dash. Ensure that all seams and edges line up perfectly. Once aligned, apply weights evenly across the entire dash. You can use sandbags, reams of printer paper, or even phone books to apply the necessary pressure.
Step 7: Applying Pressure Near the Windshield
Since it's difficult to place weights near the windshield, roll up some rags and push them between the windshield and the dash. This creates even pressure, allowing the silicone to cure properly in those hard-to-reach areas.
Step 8: Adding Prop Rods to Front Surfaces
For the front surfaces of the dash, use a telescoping prop rod to apply pressure. Alternatively, you can use a piece of PVC or wood cut to length with a rag on each end. This method ensures that the adhesive bonds well on all front surfaces.
Step 9: Closing Foam Between the Door and Side of the Dash
Insert the pieces of foam included with your order between the door and the side of the dash. This final step ensures a snug fit and helps the adhesive cure without any gaps.
Final Thoughts
With so many options available when shopping online, we thank you for choosing DashSkin. Our products are proudly made in the USA, ensuring top-notch quality and durability. Follow these steps carefully to enjoy a seamless and professional-looking dash cover installation in your 07-13 Chevy Silverado or GMC truck.

