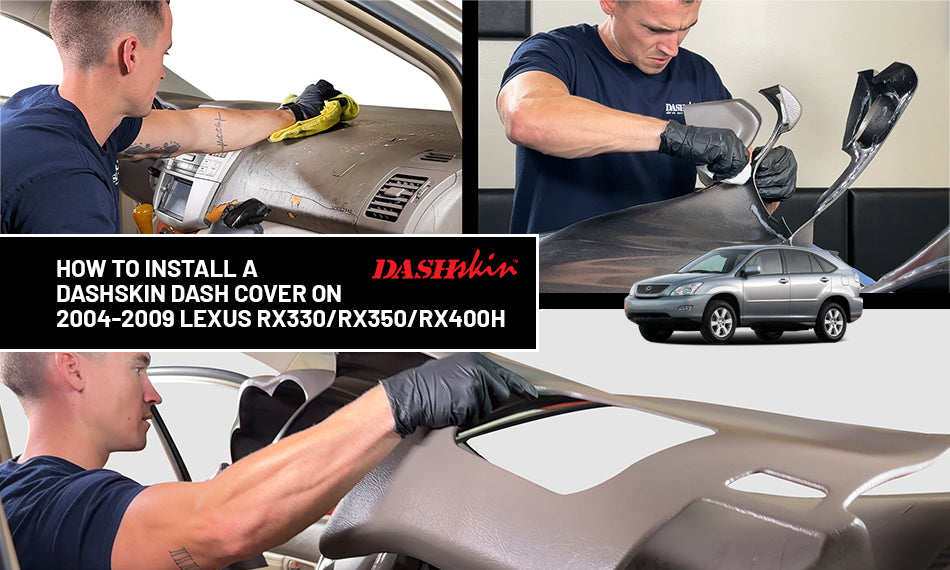
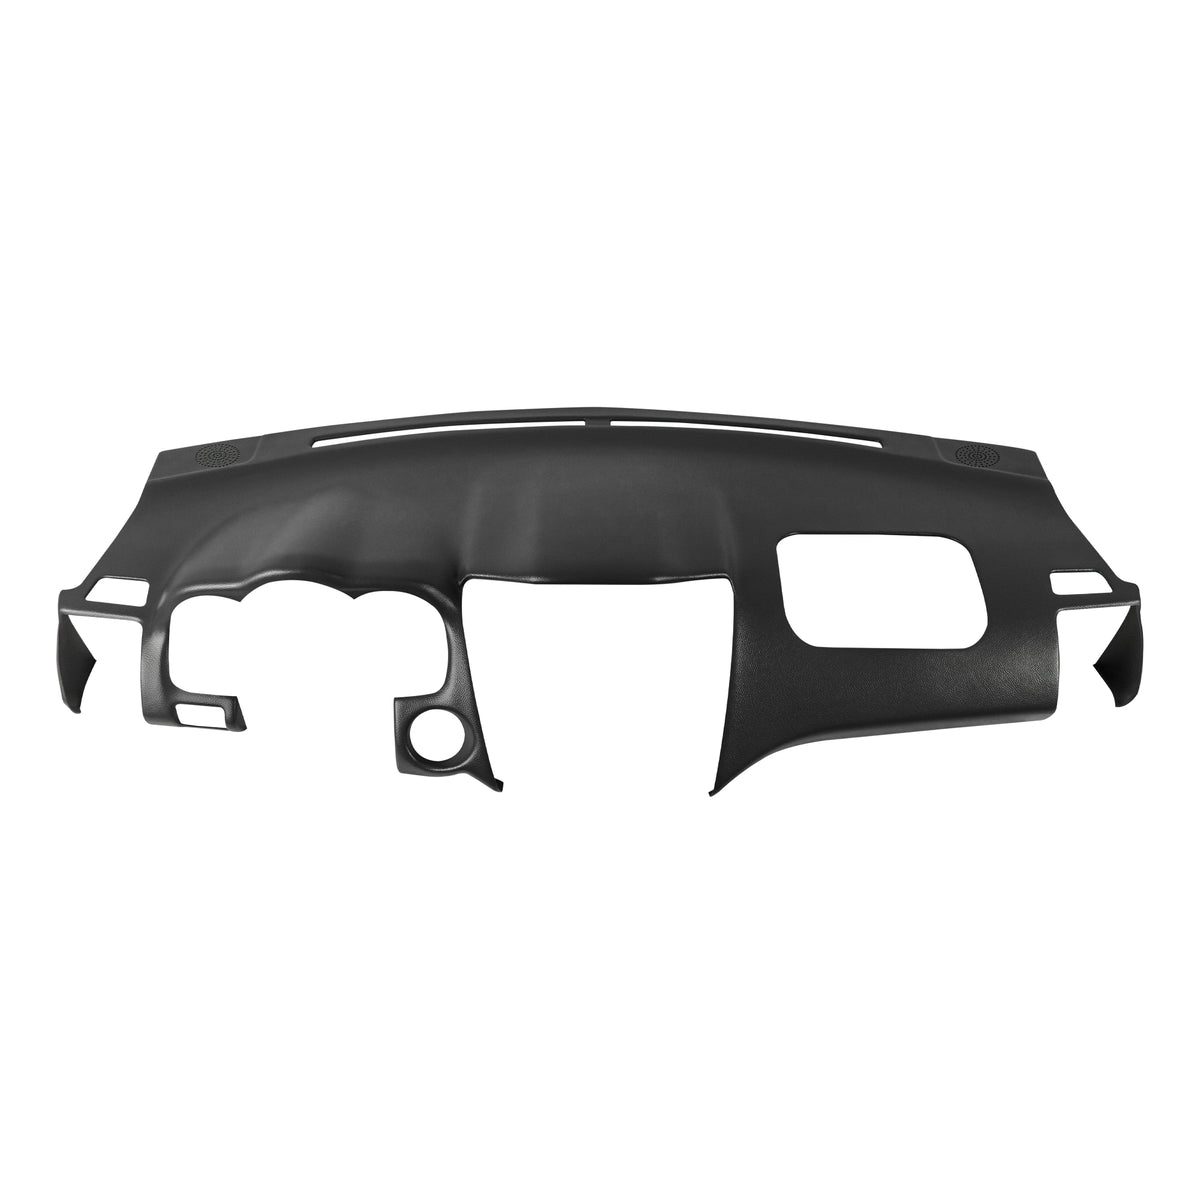
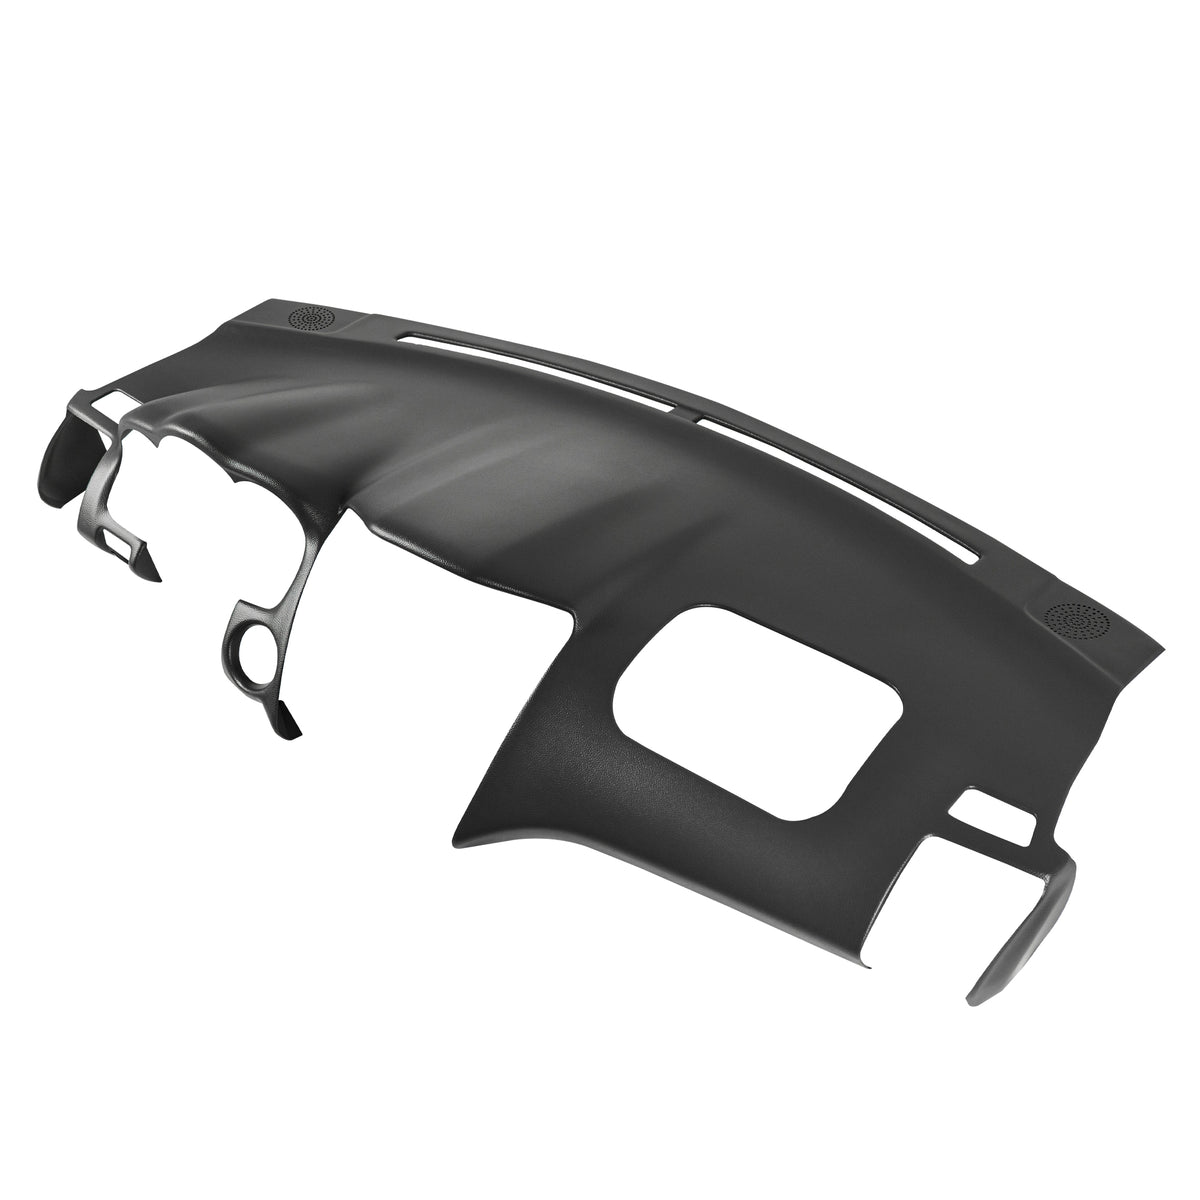
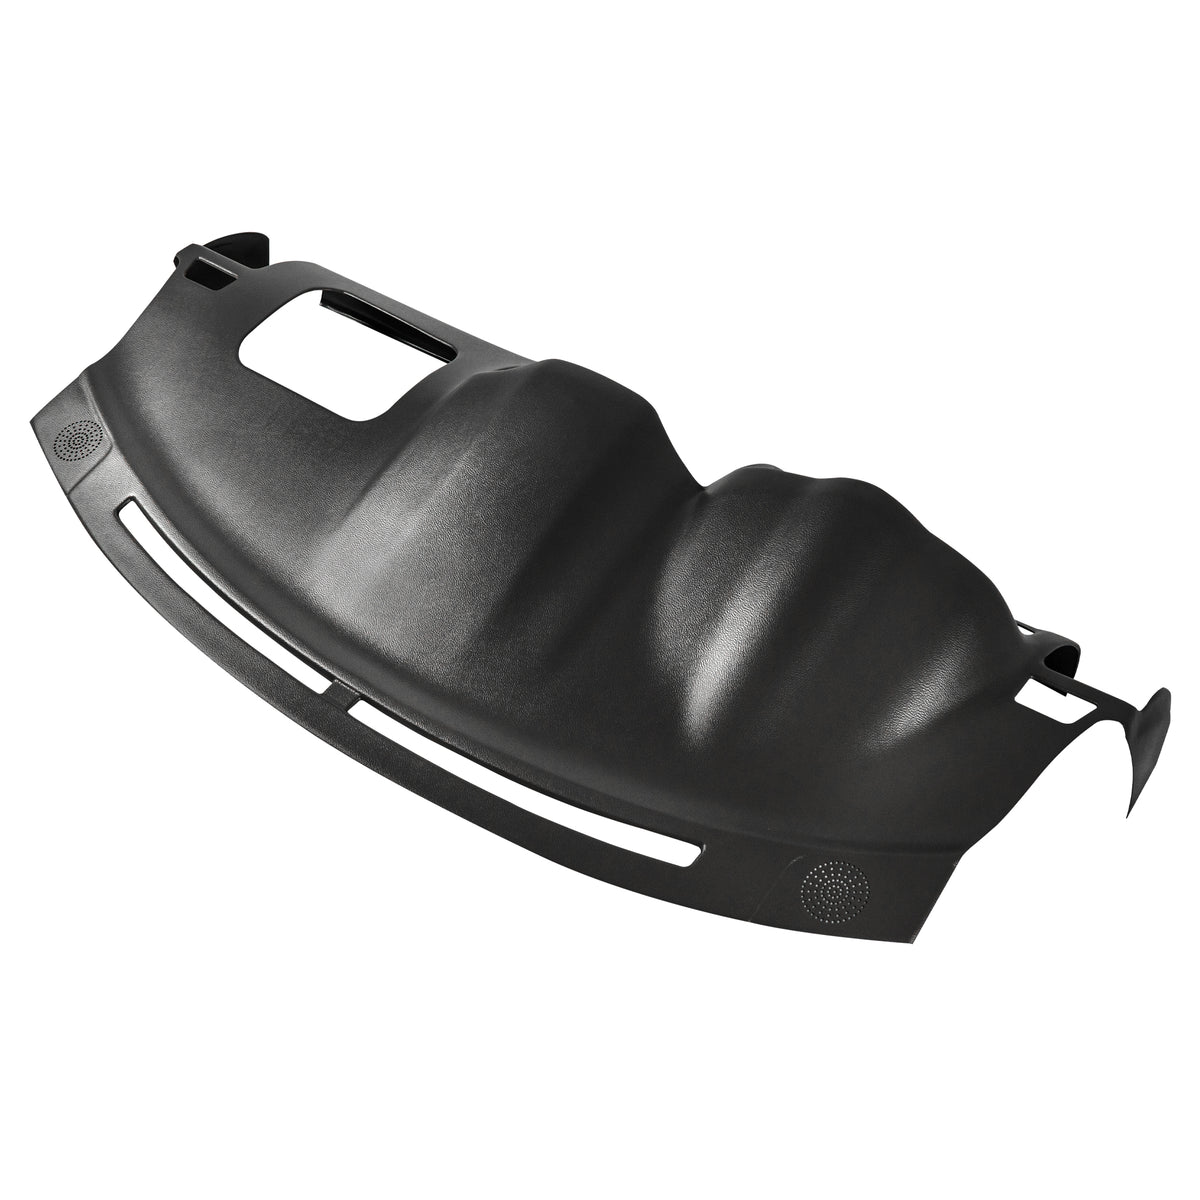
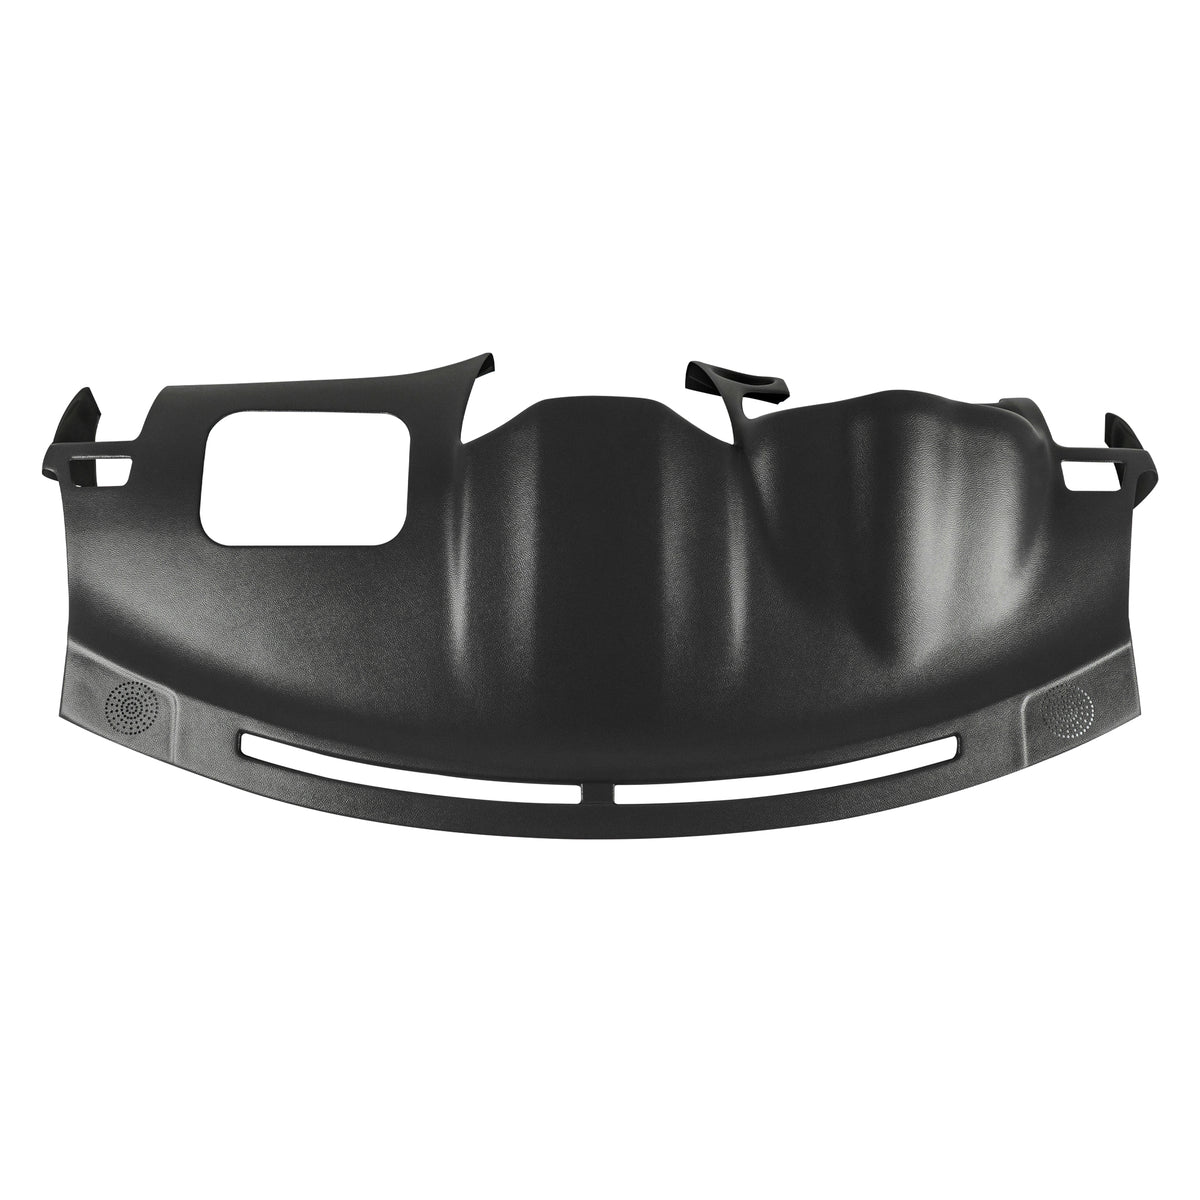
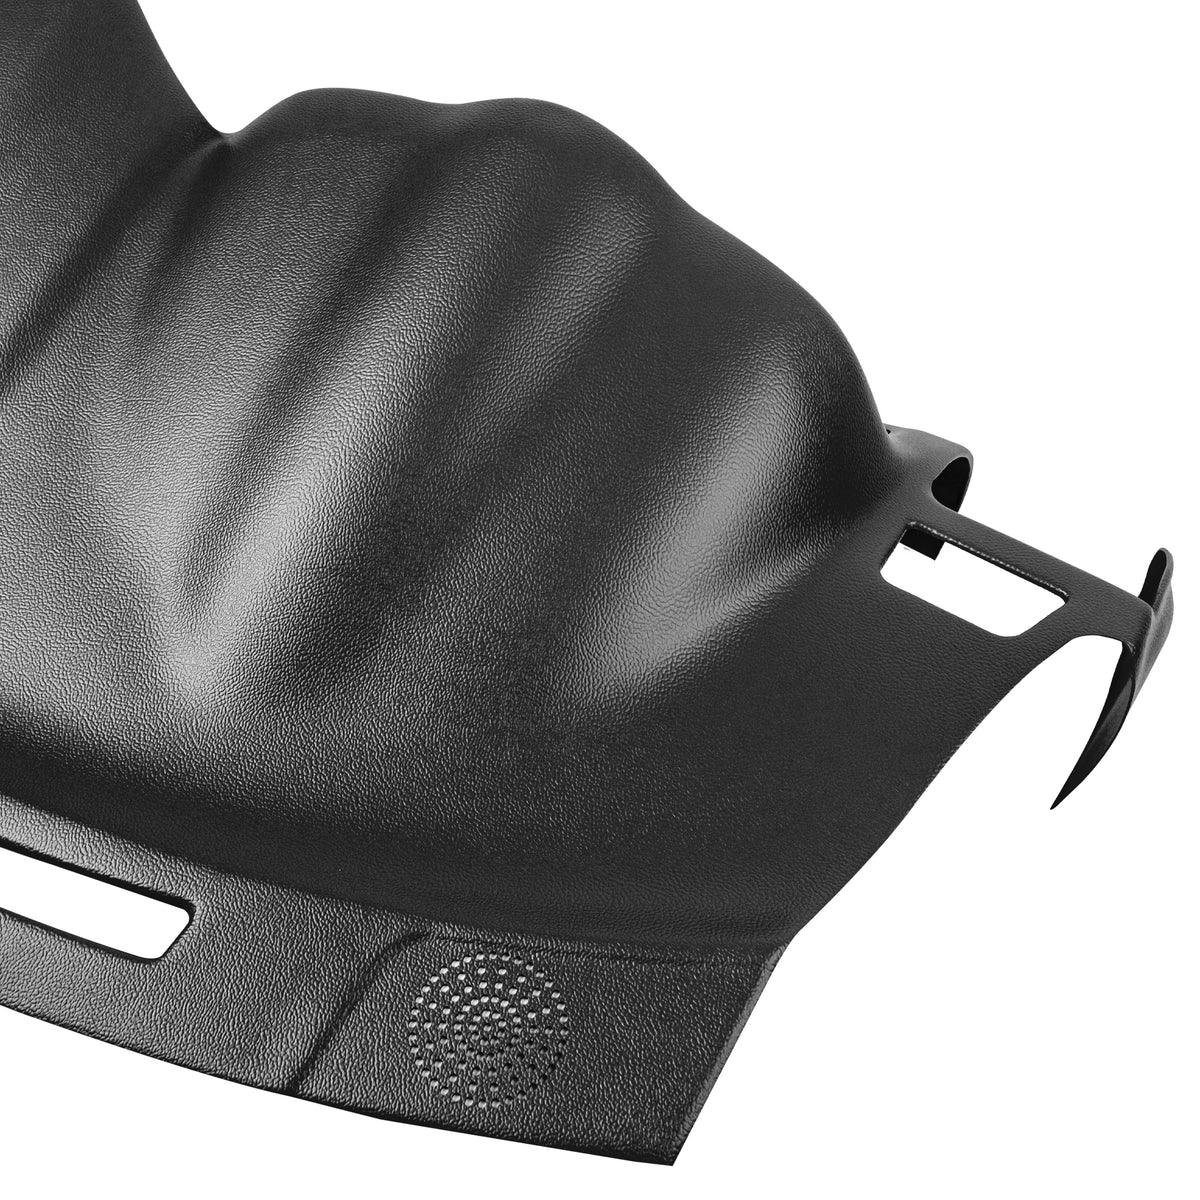
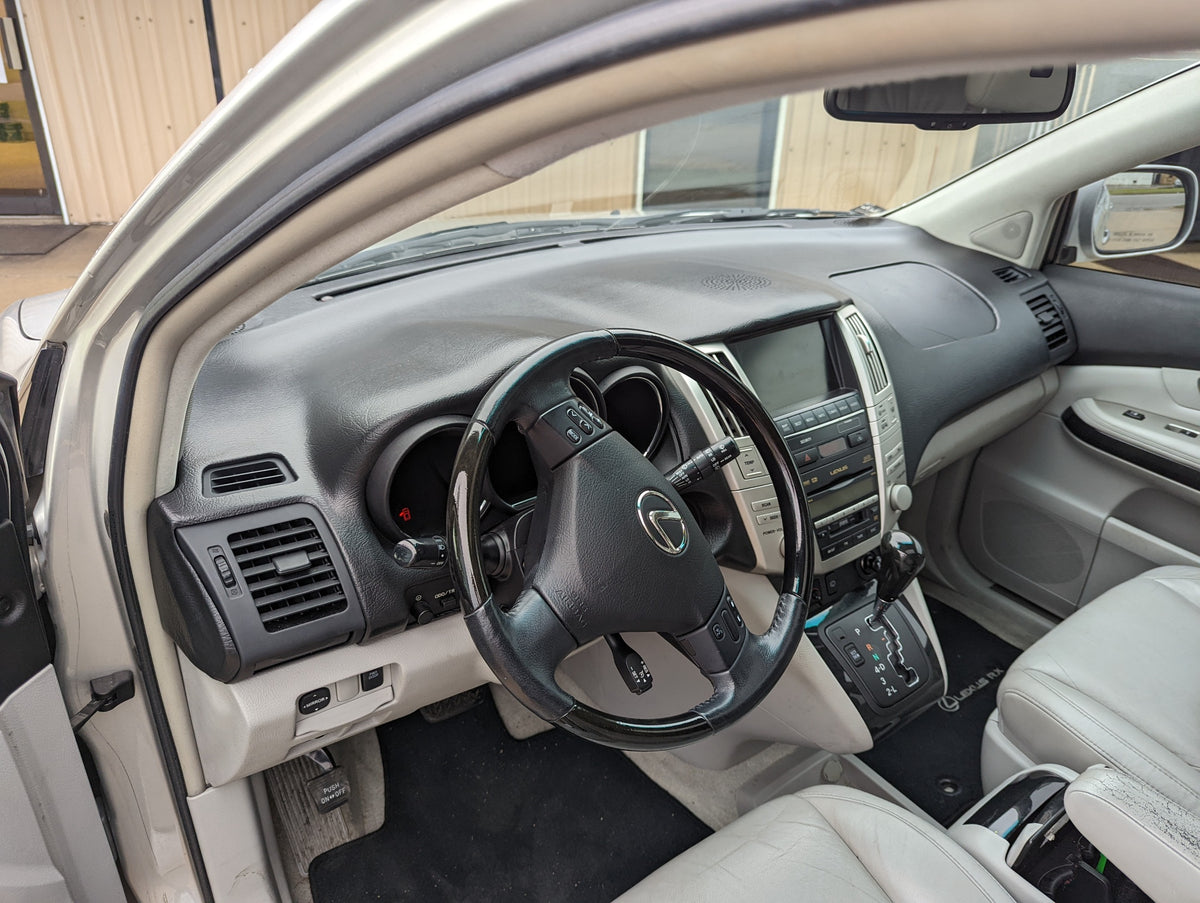
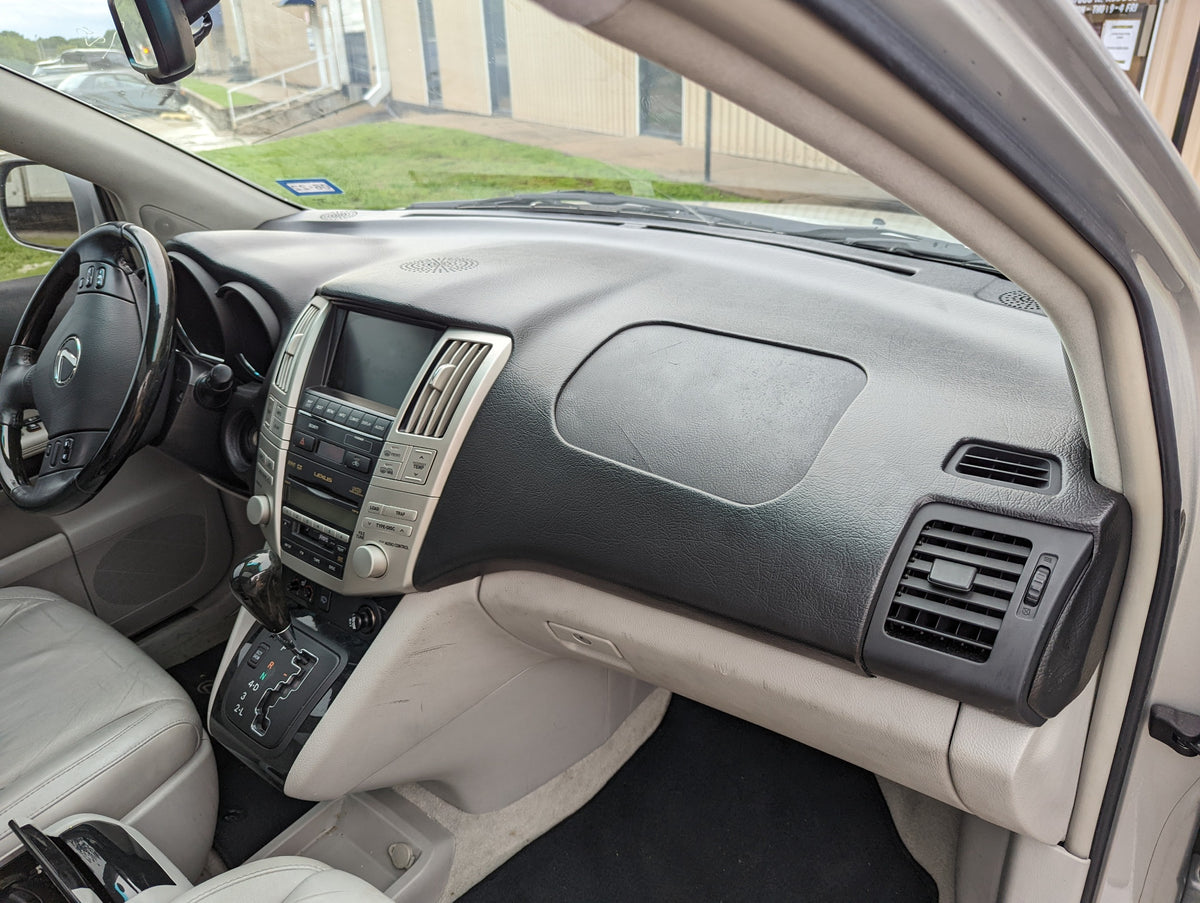
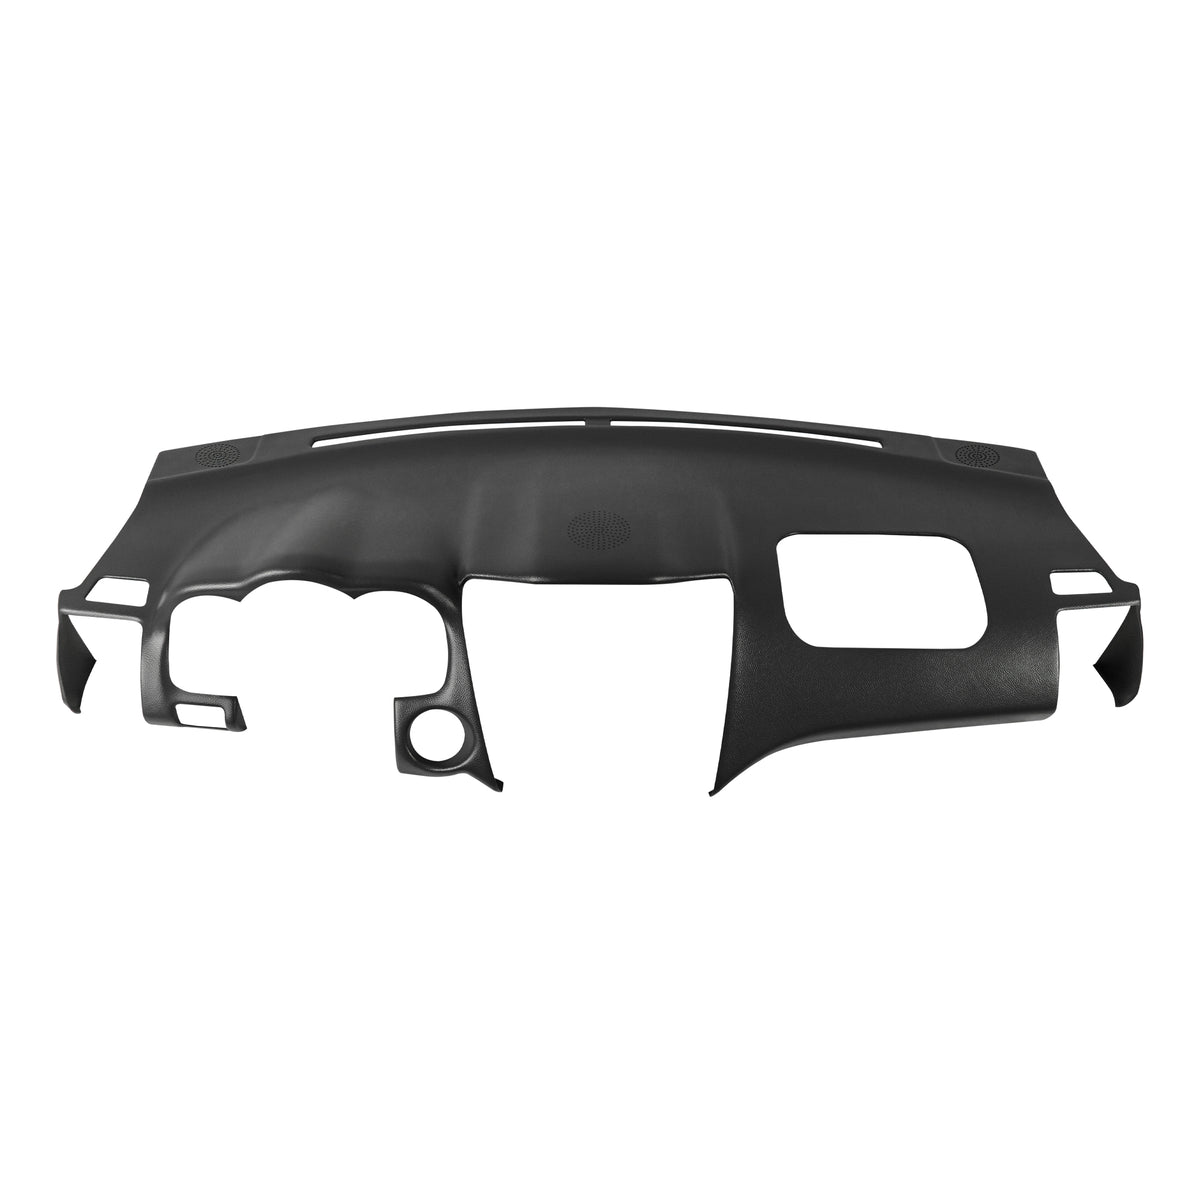
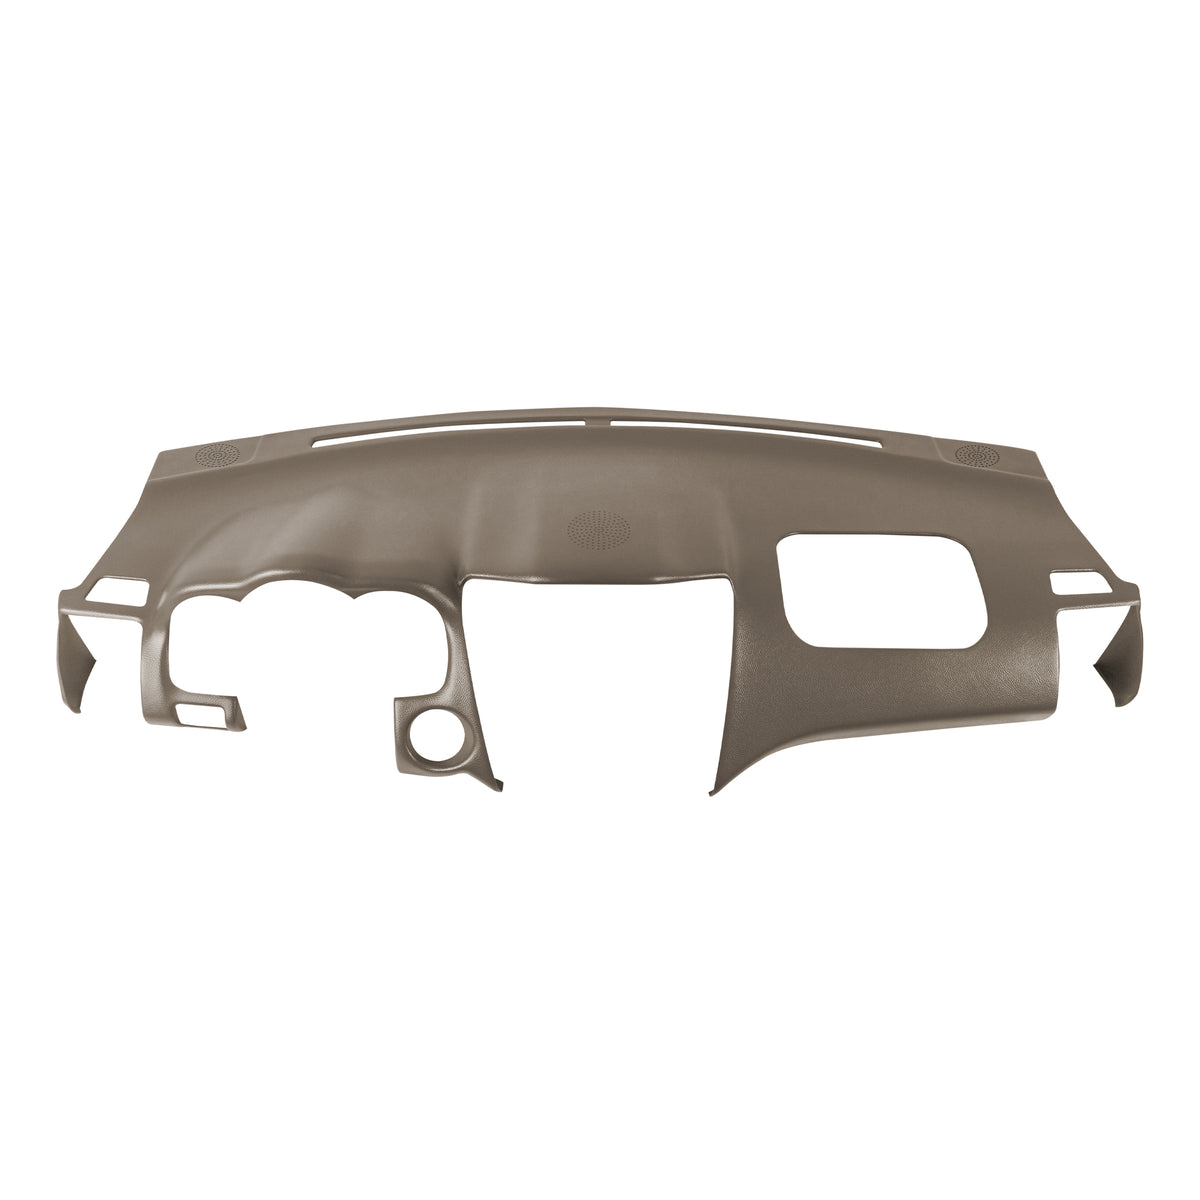
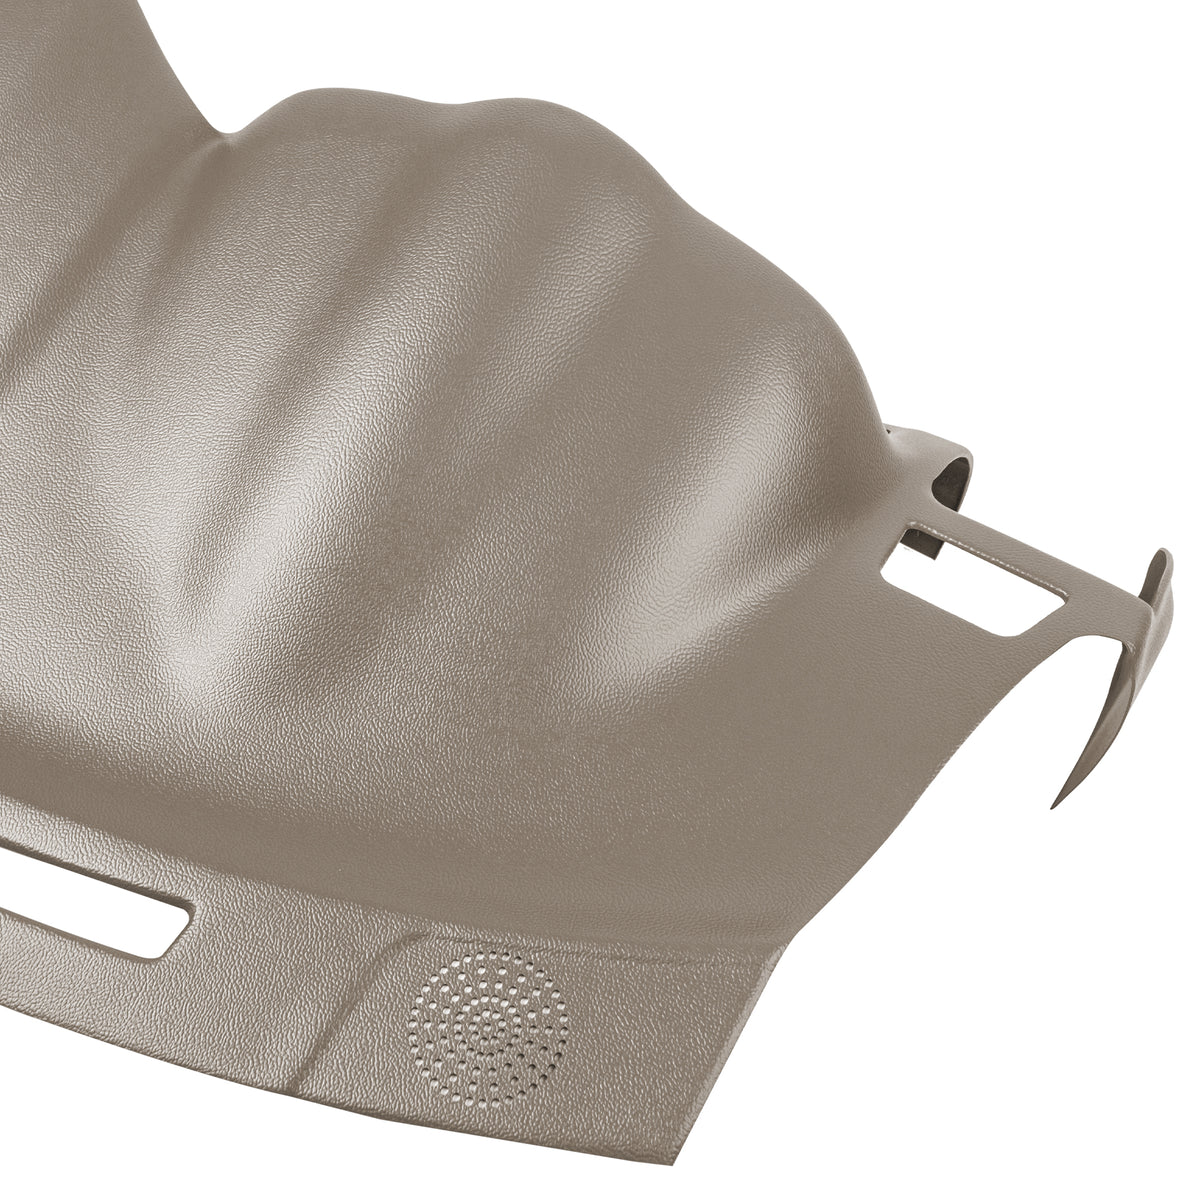
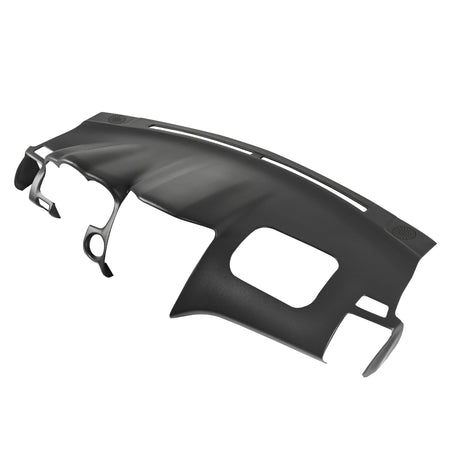
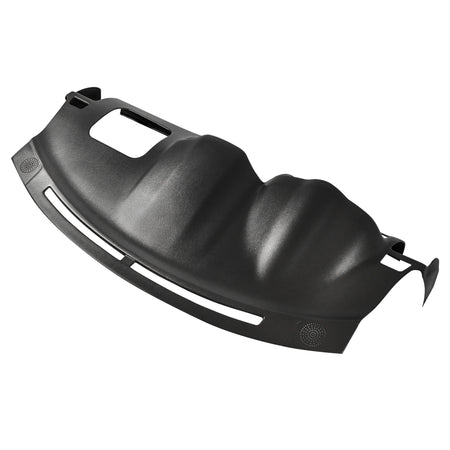
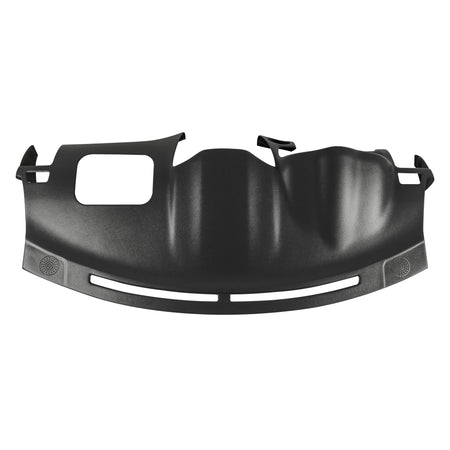
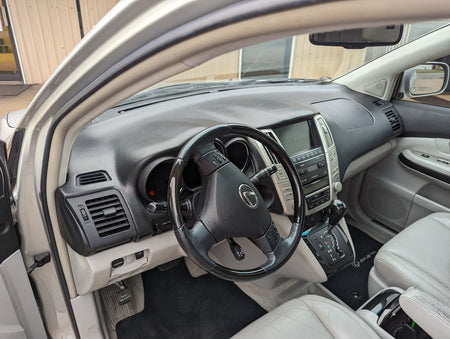
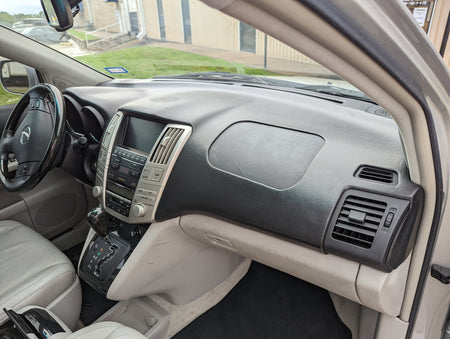
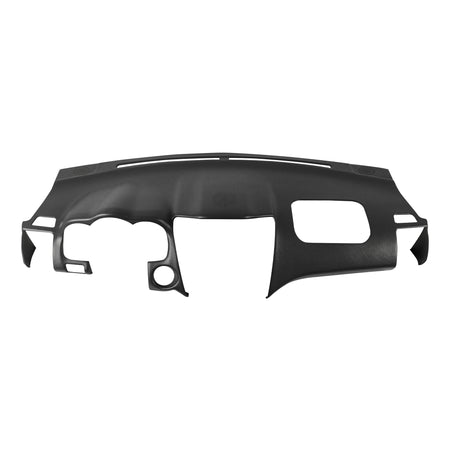
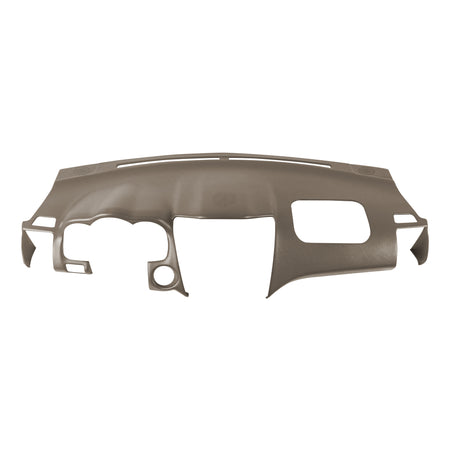
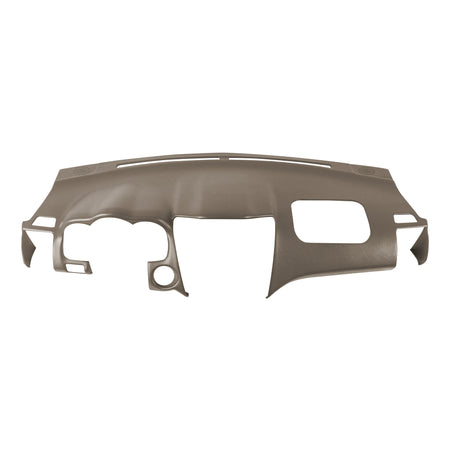
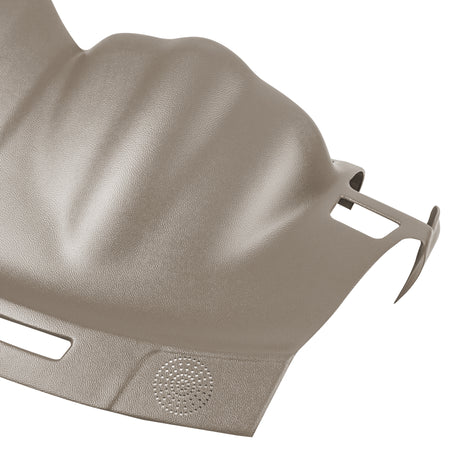
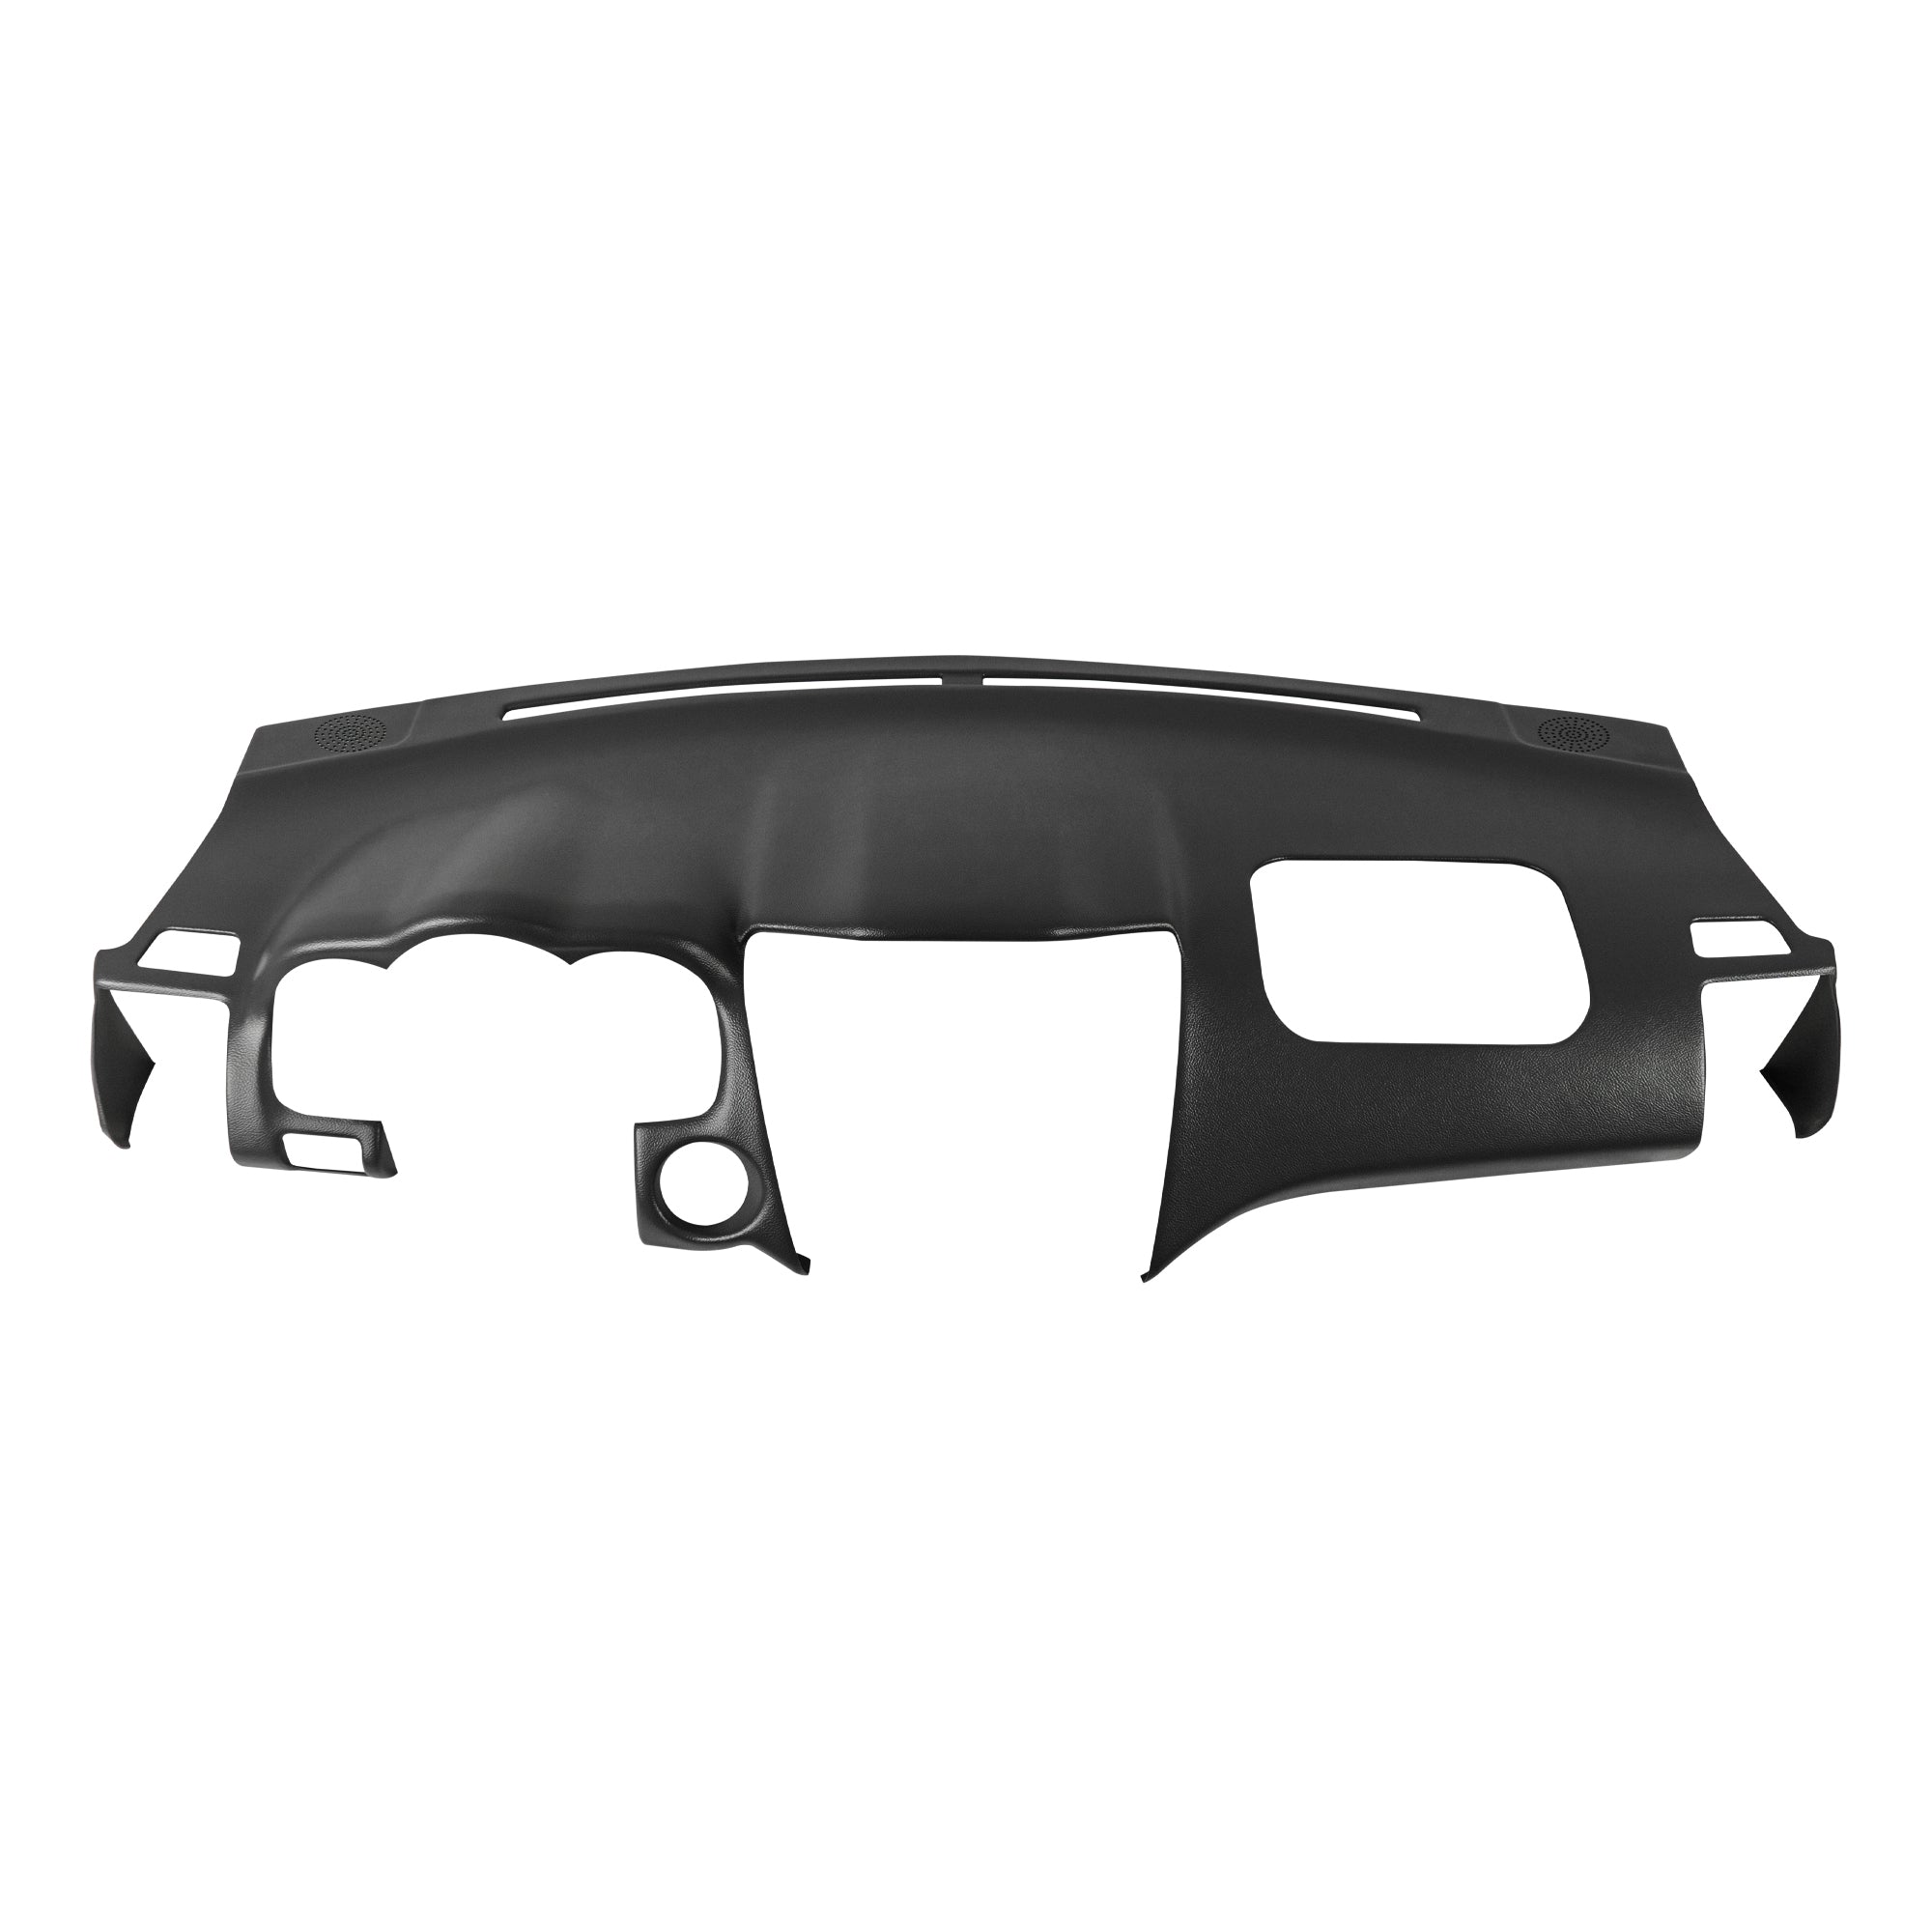
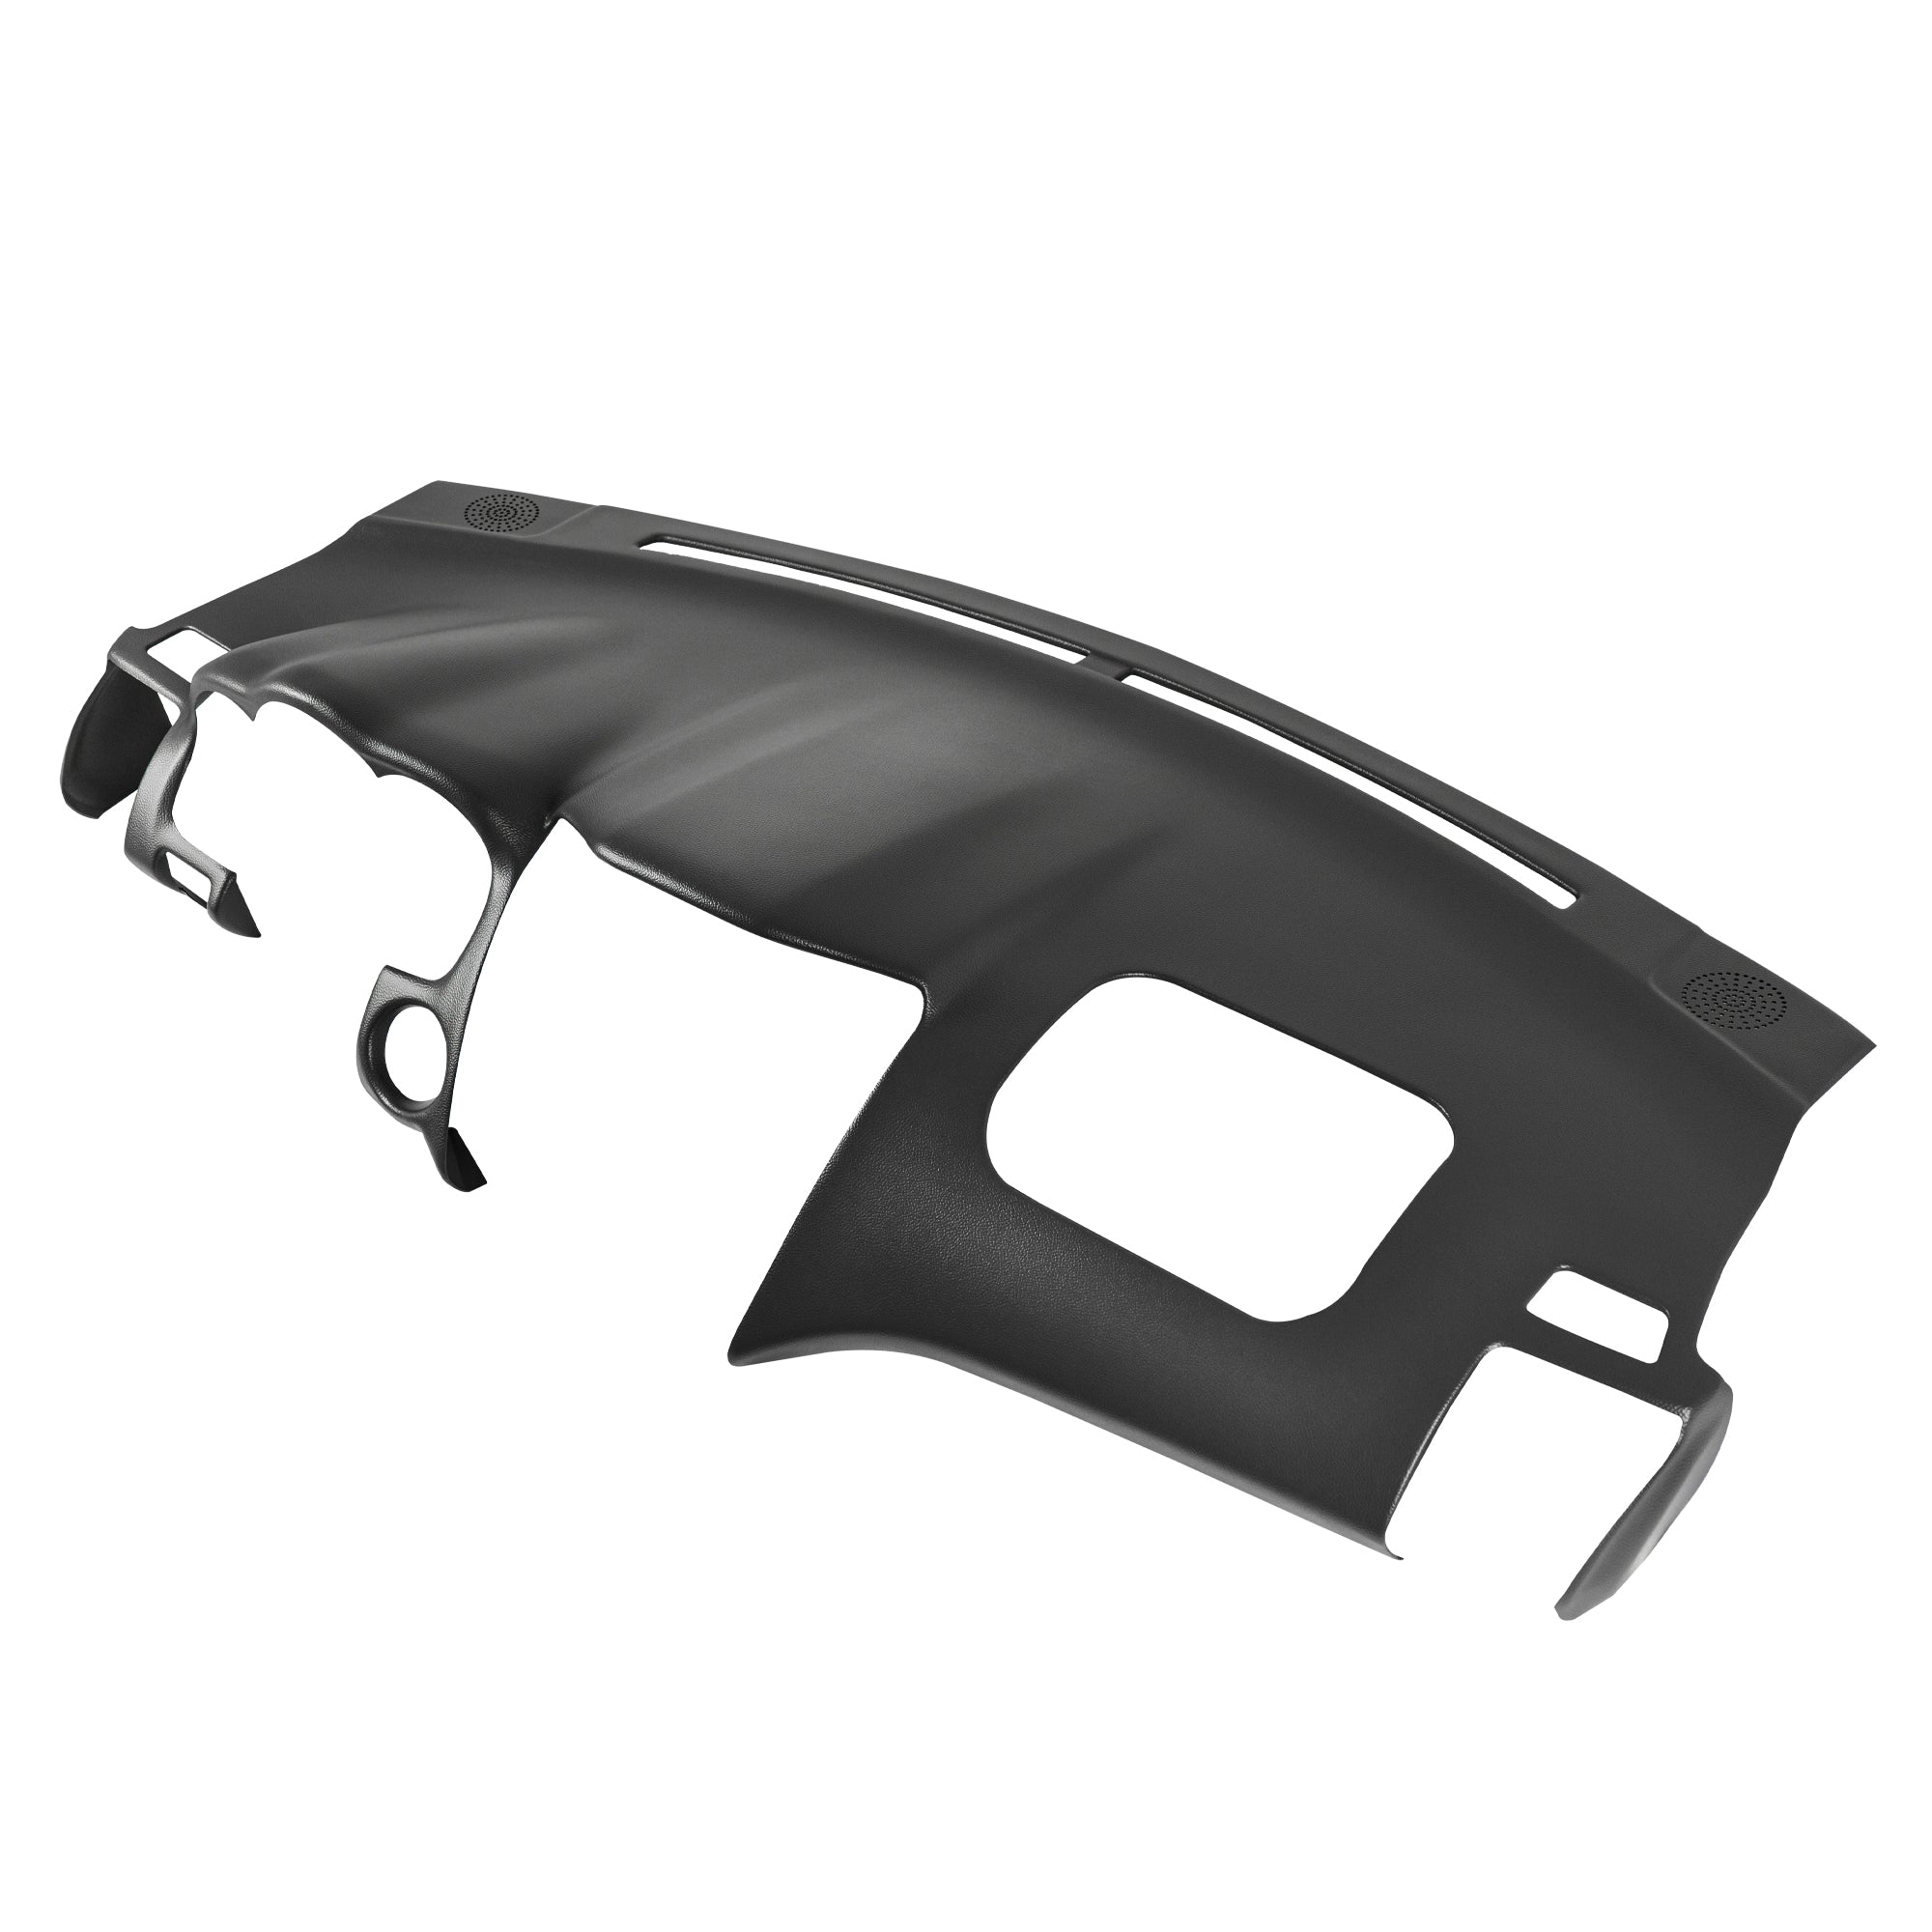
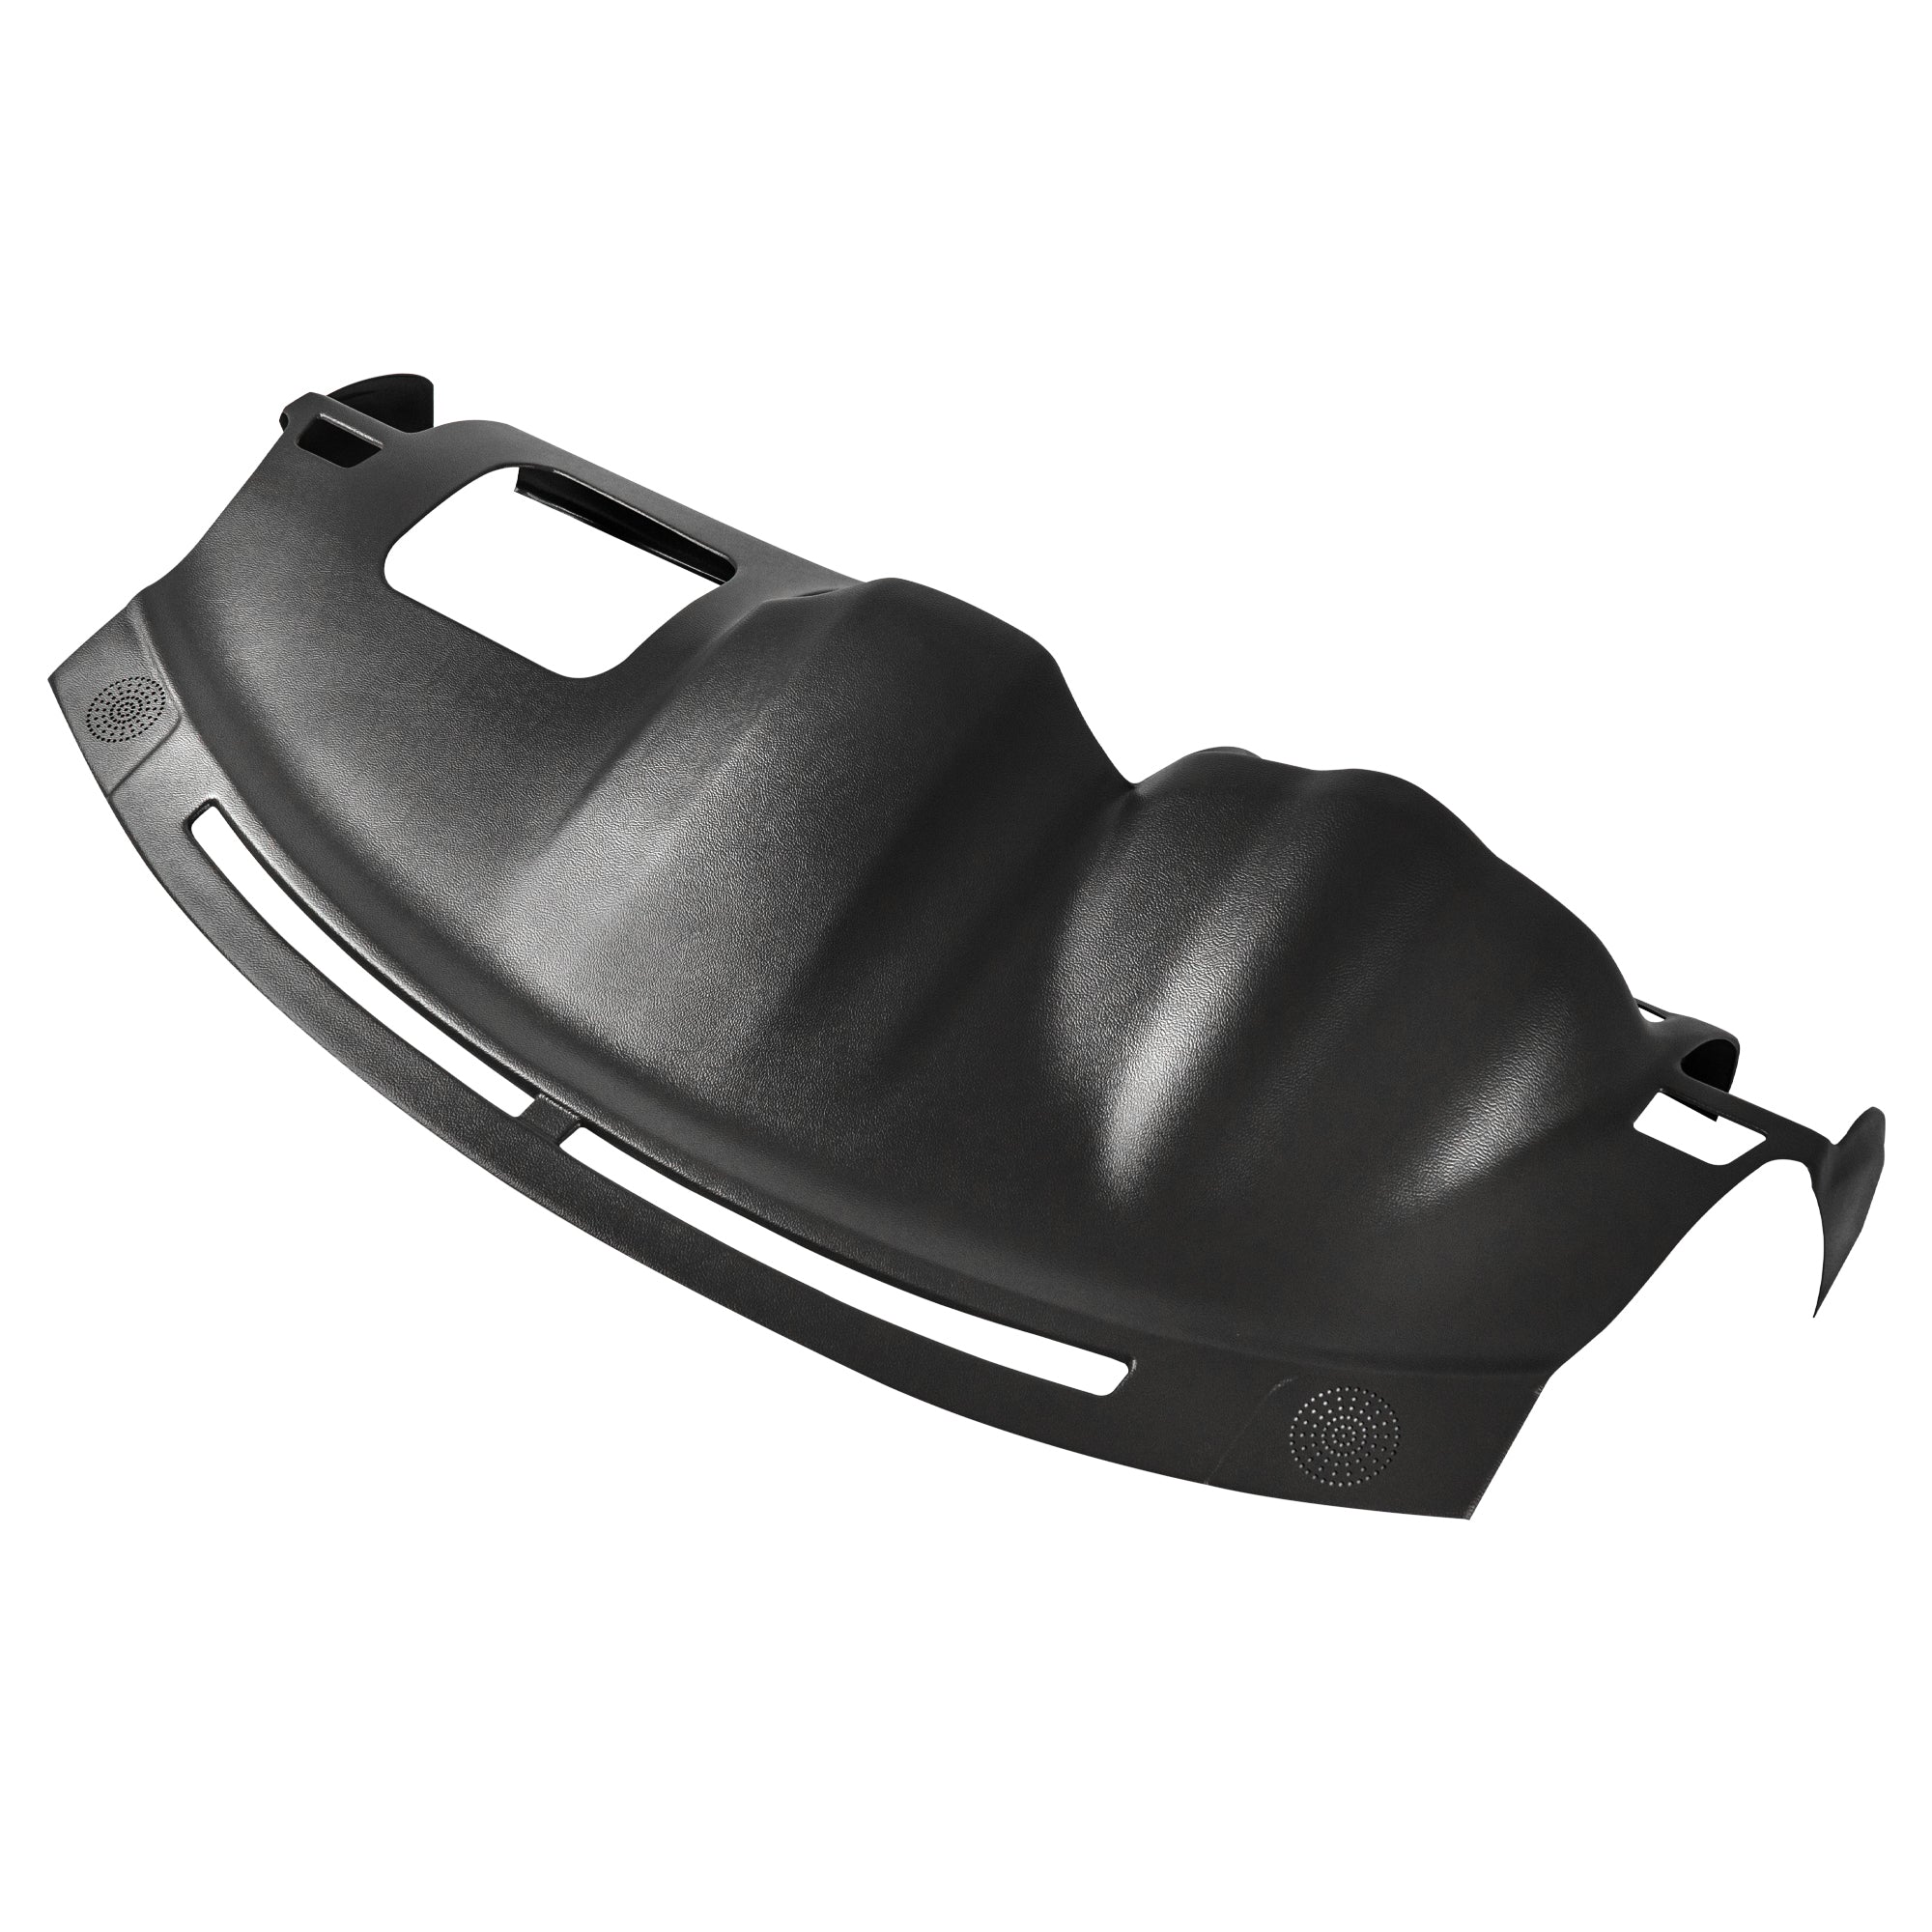
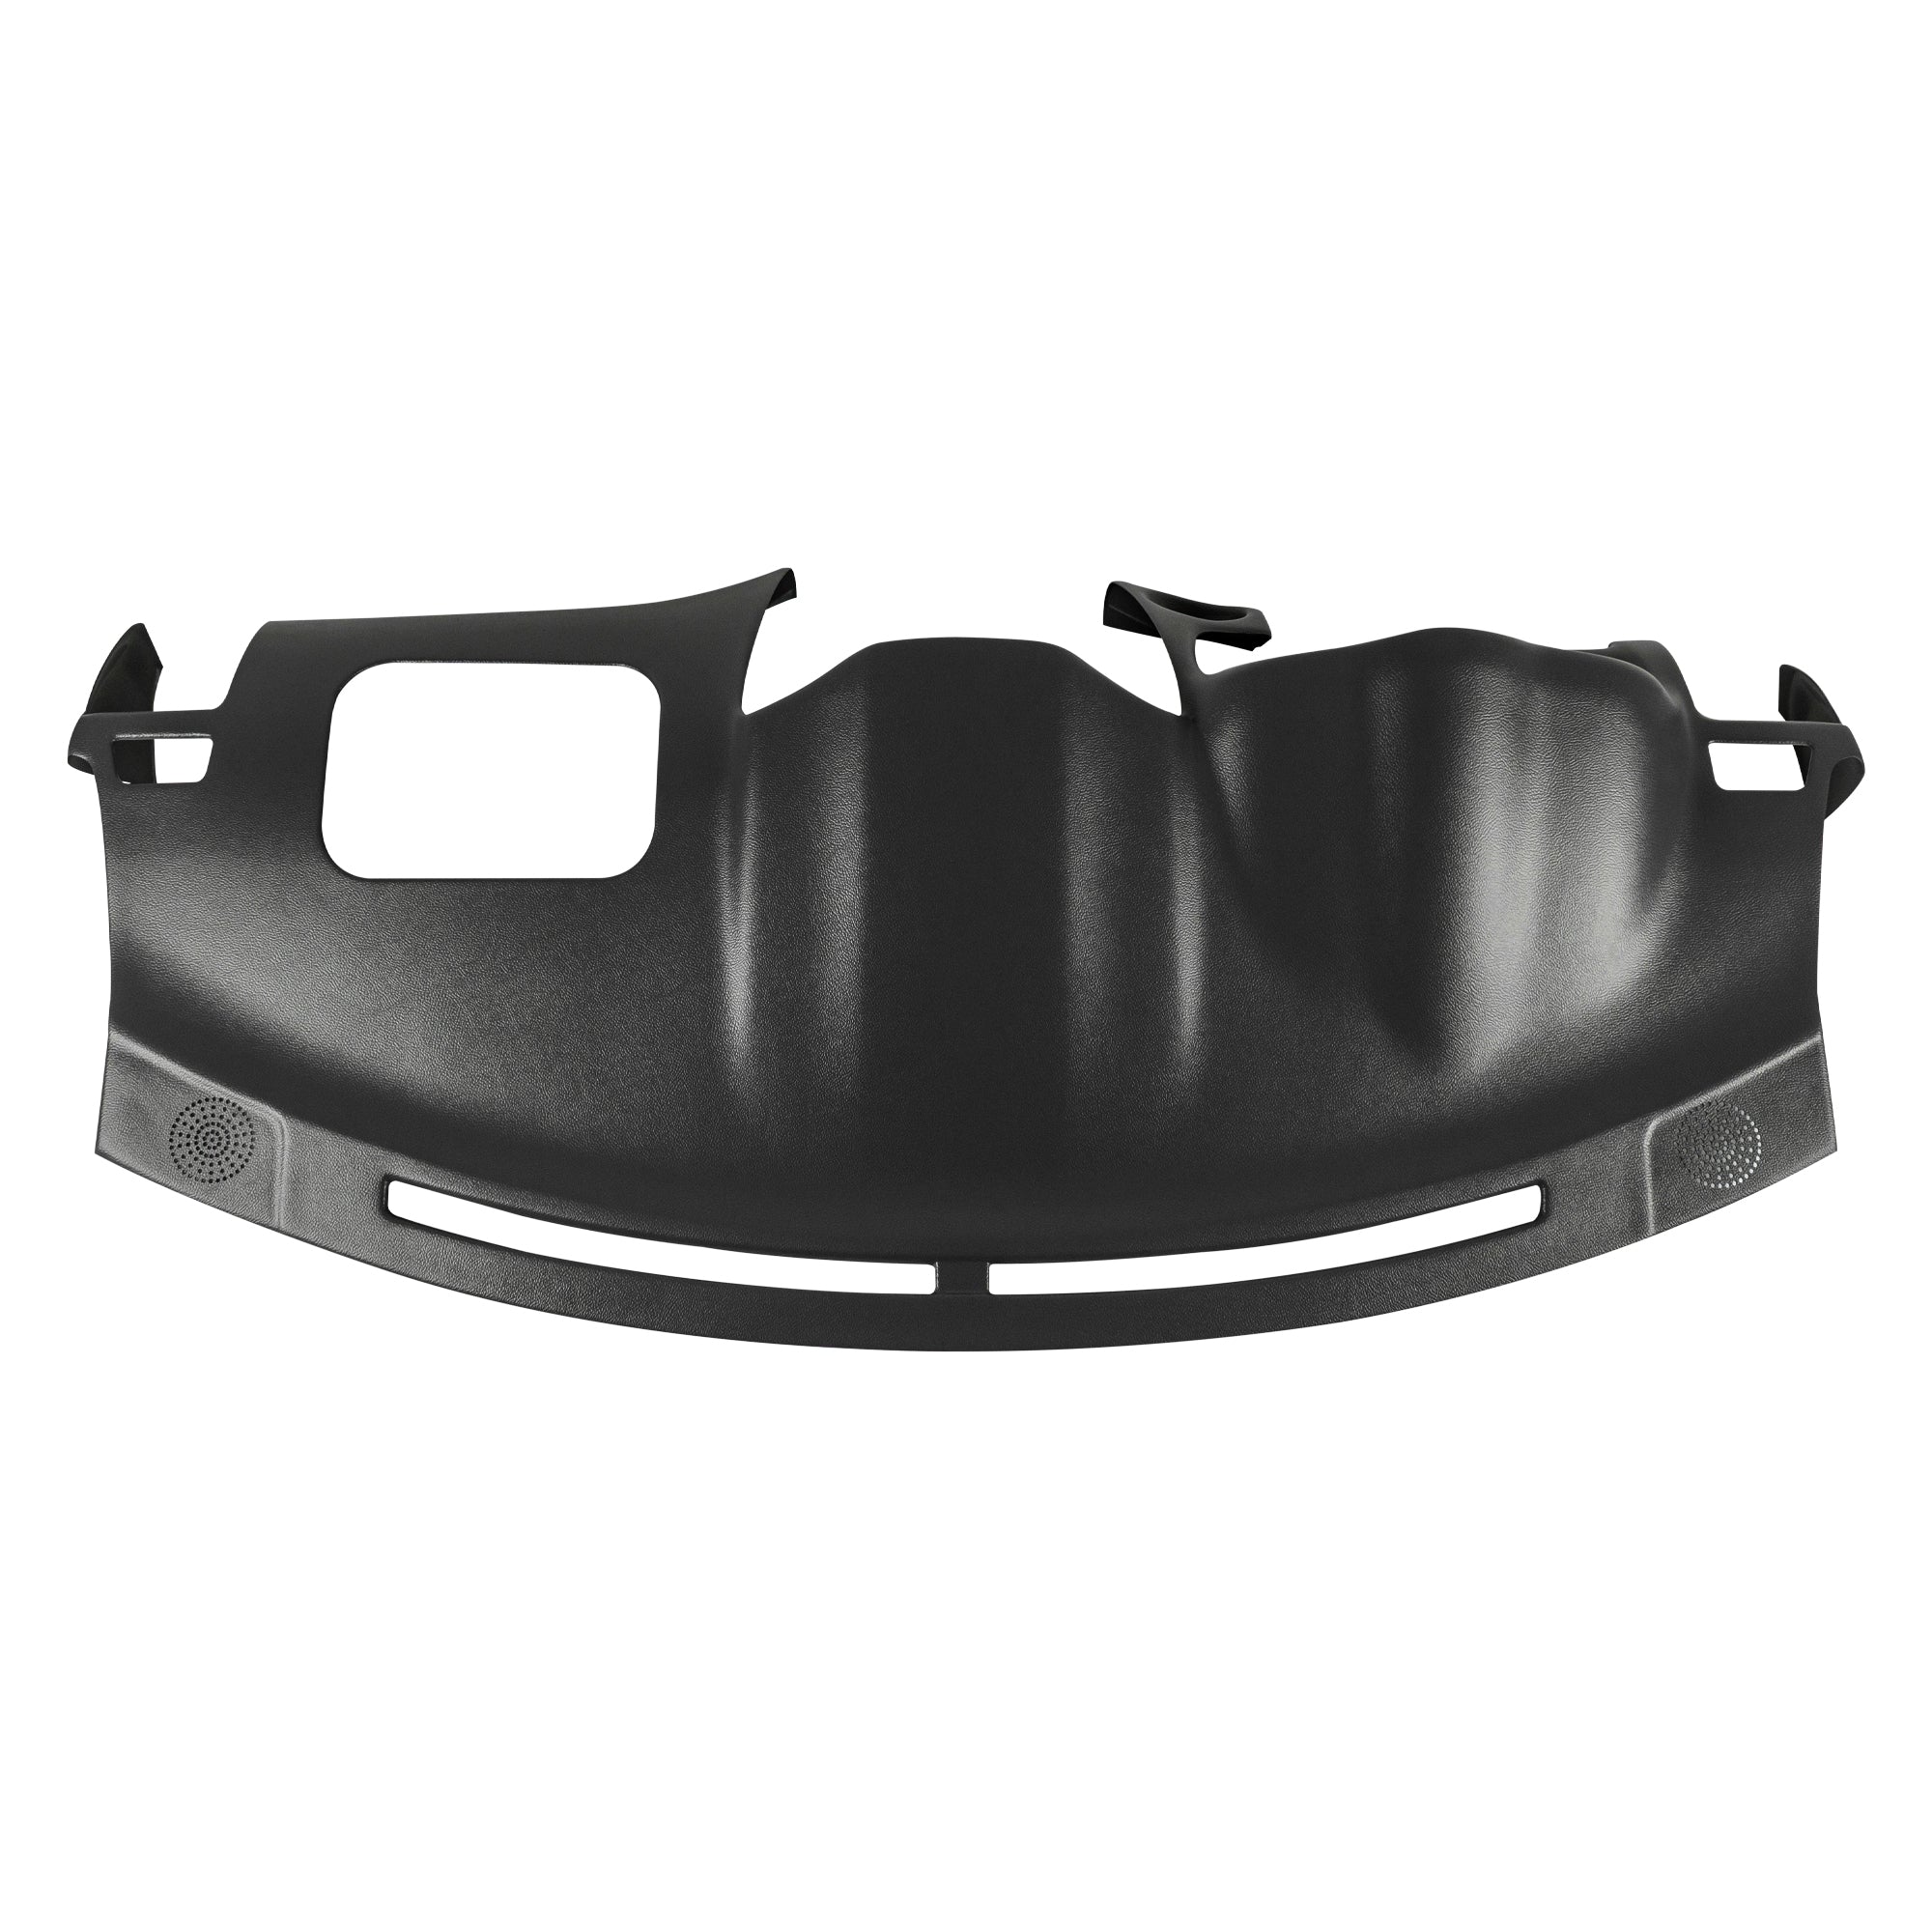
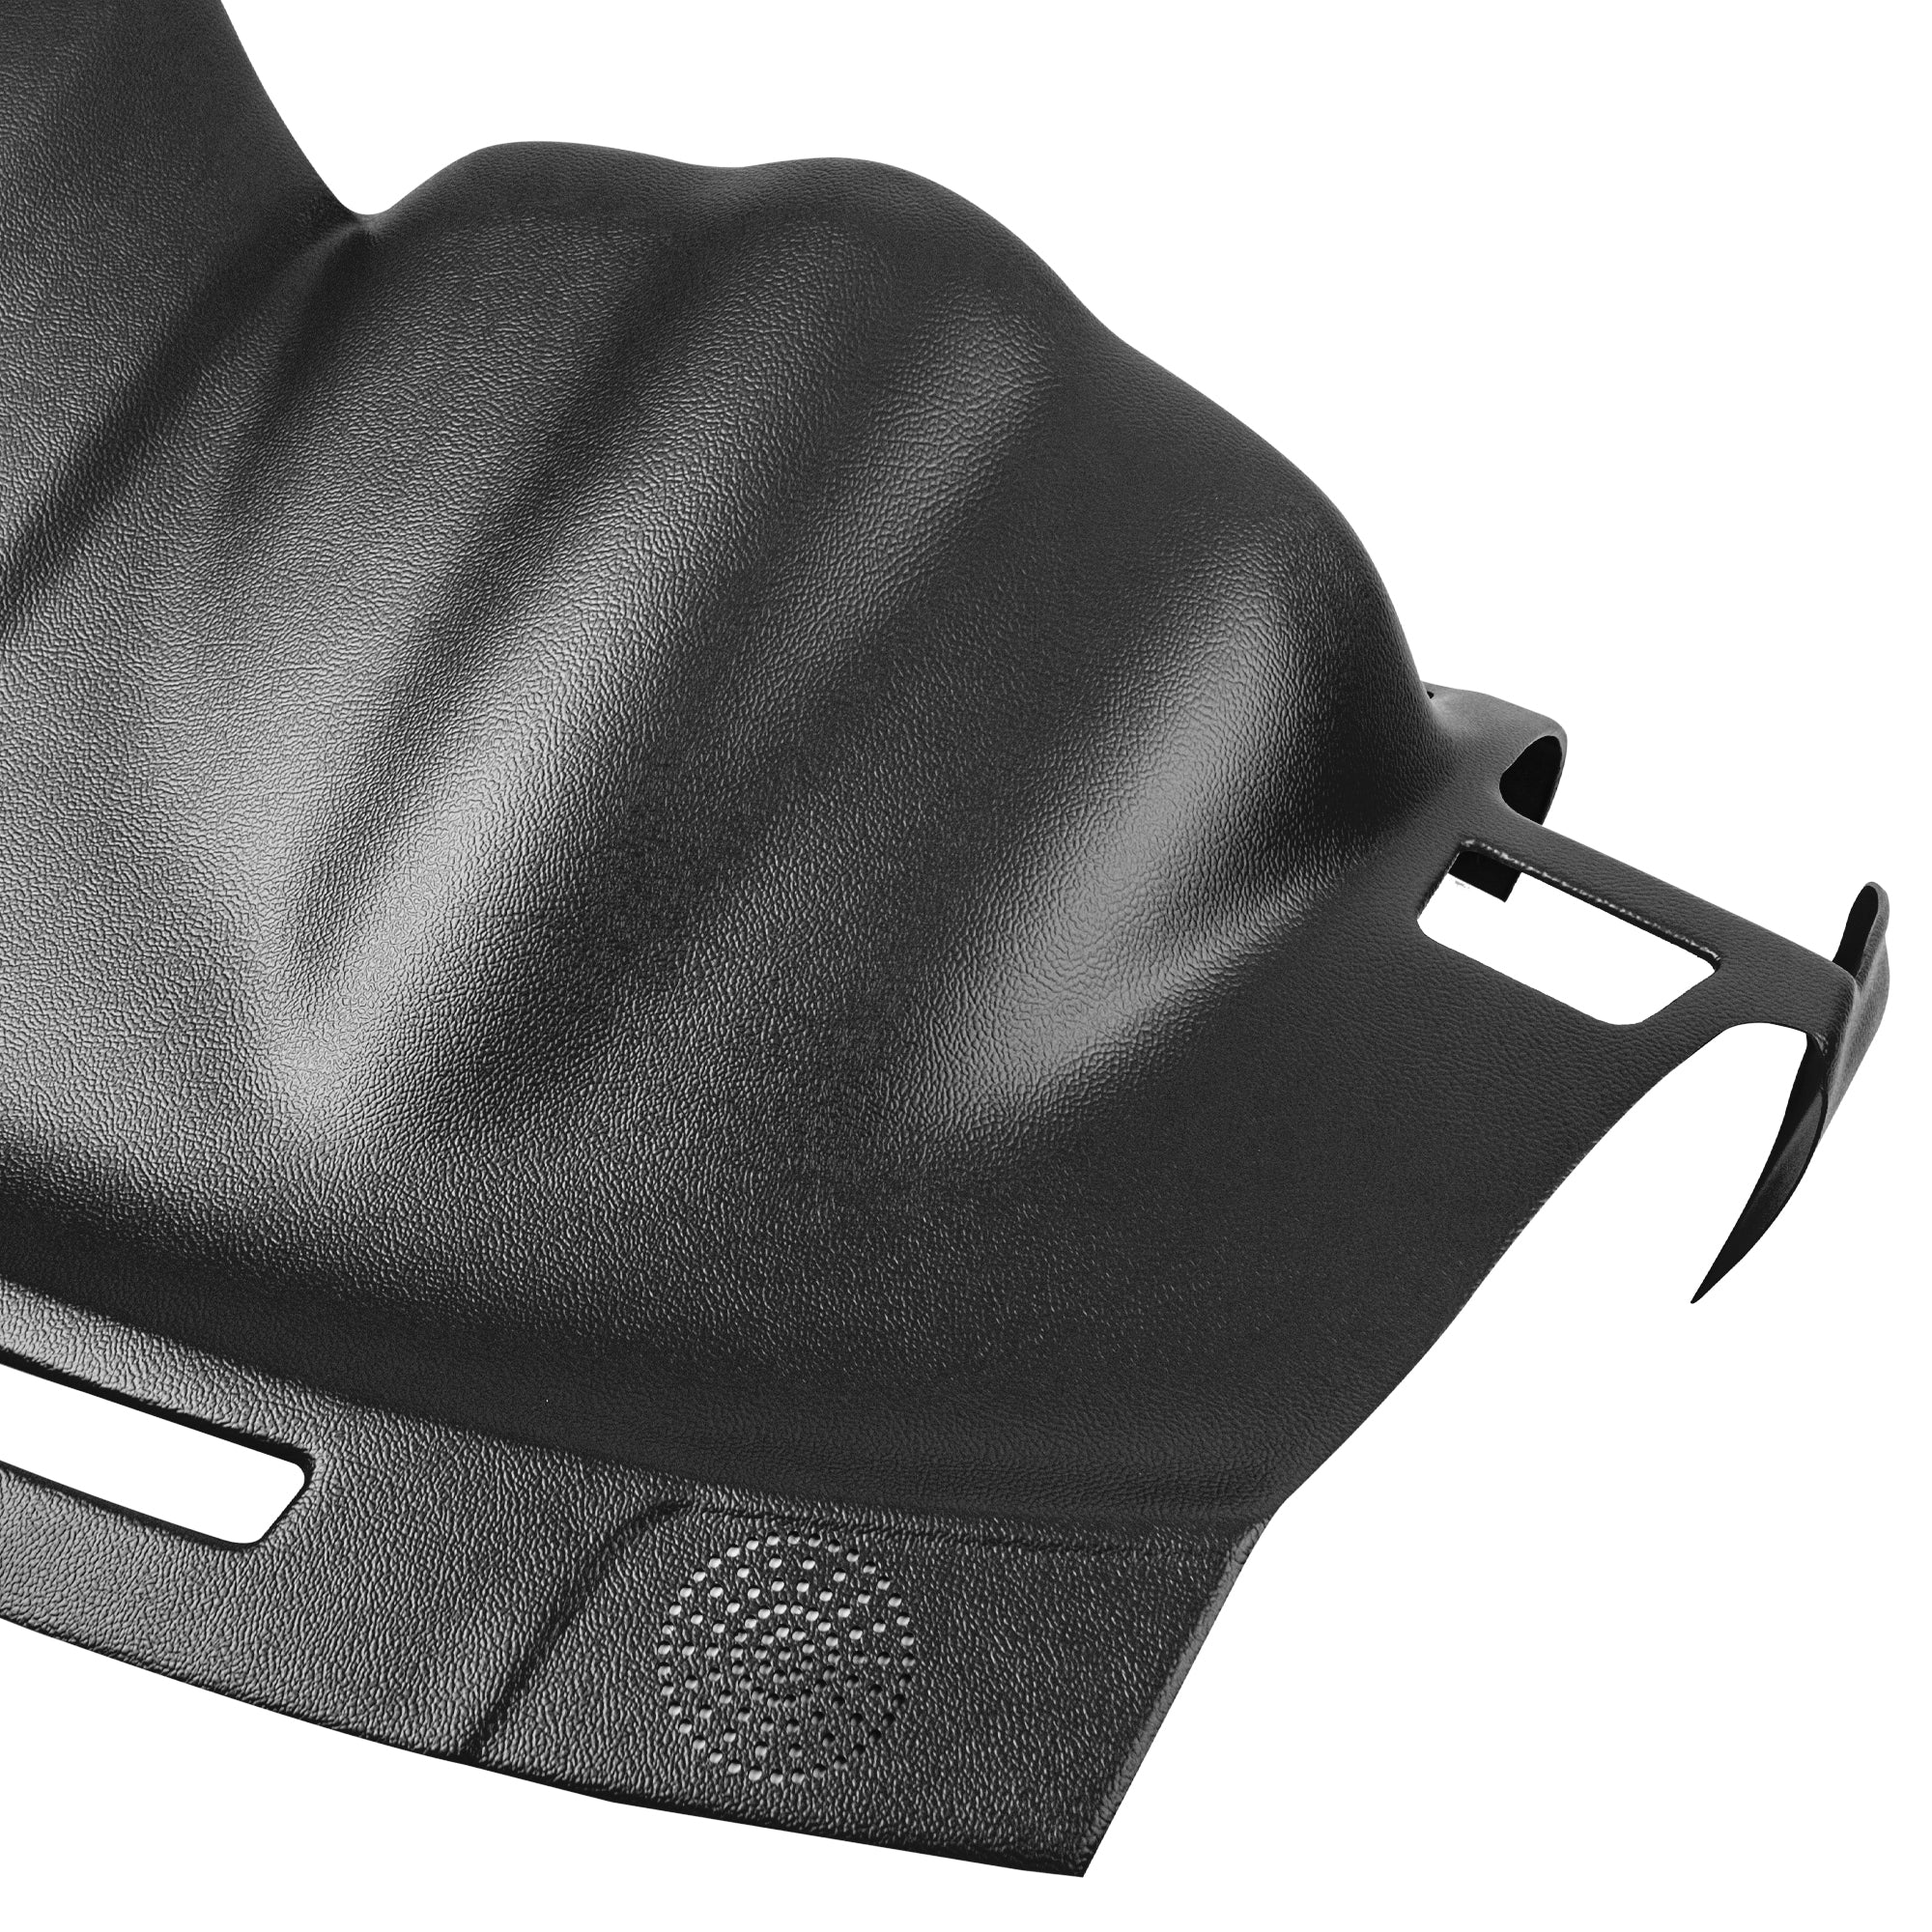
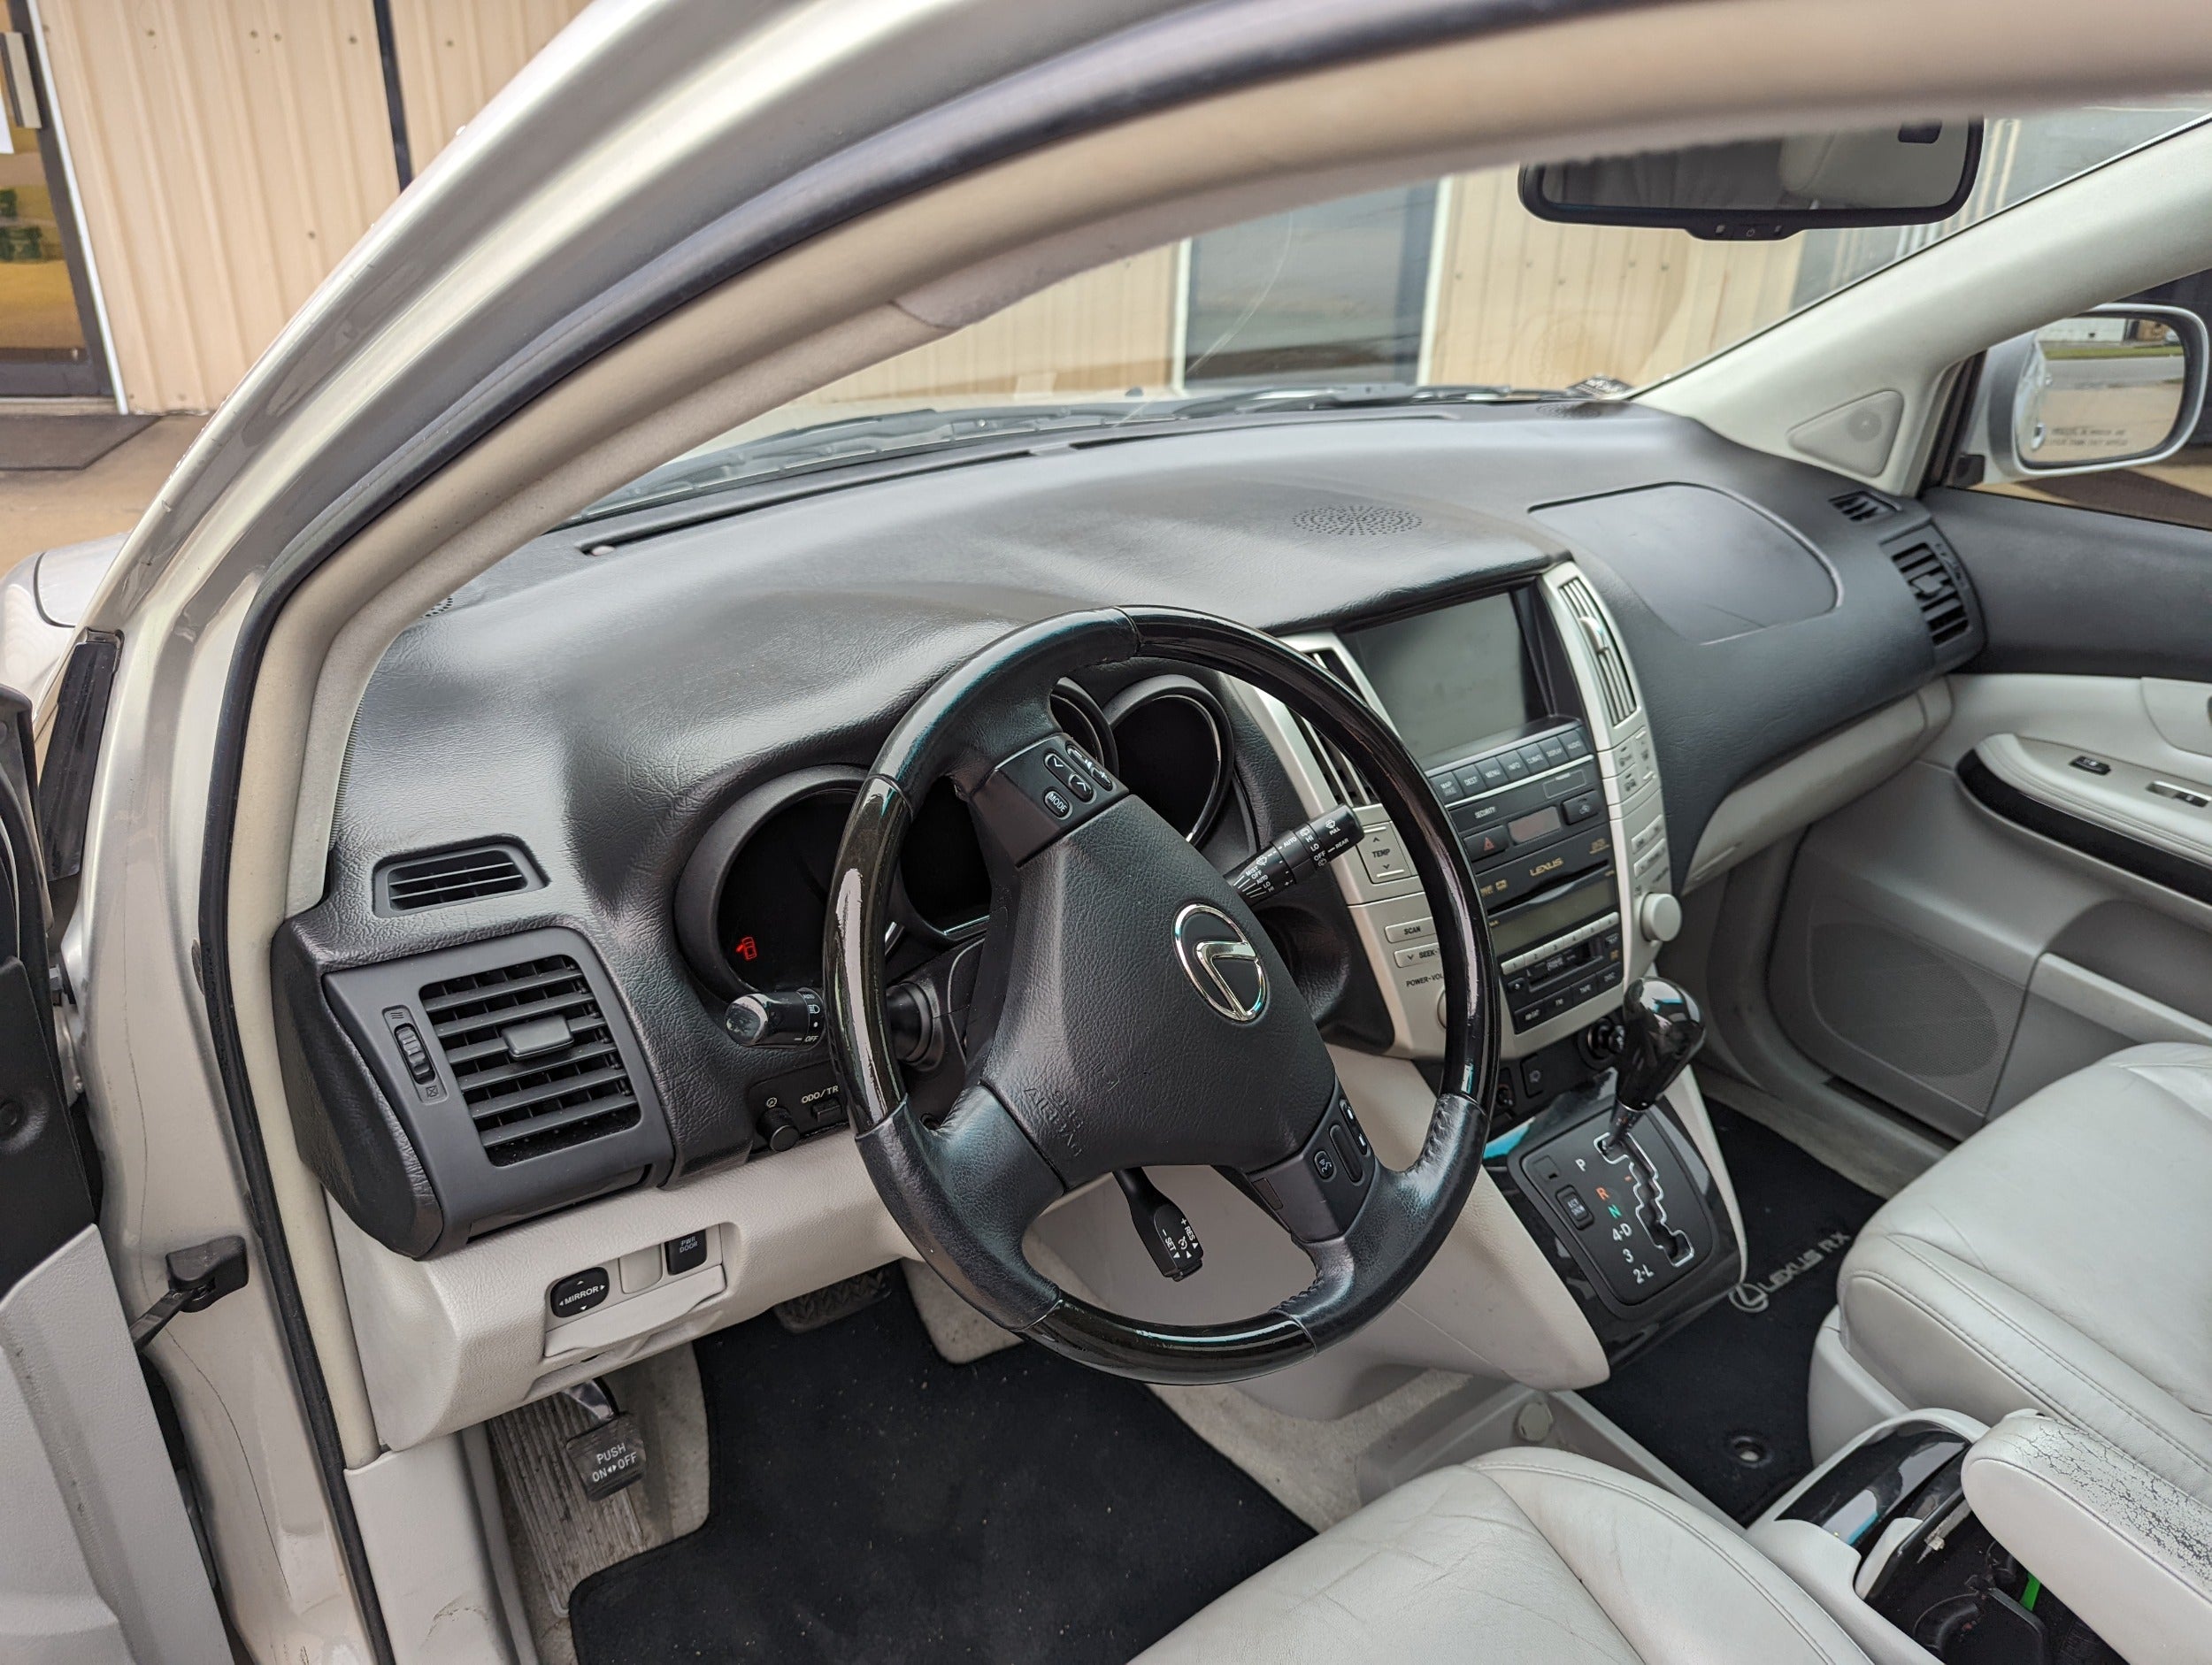
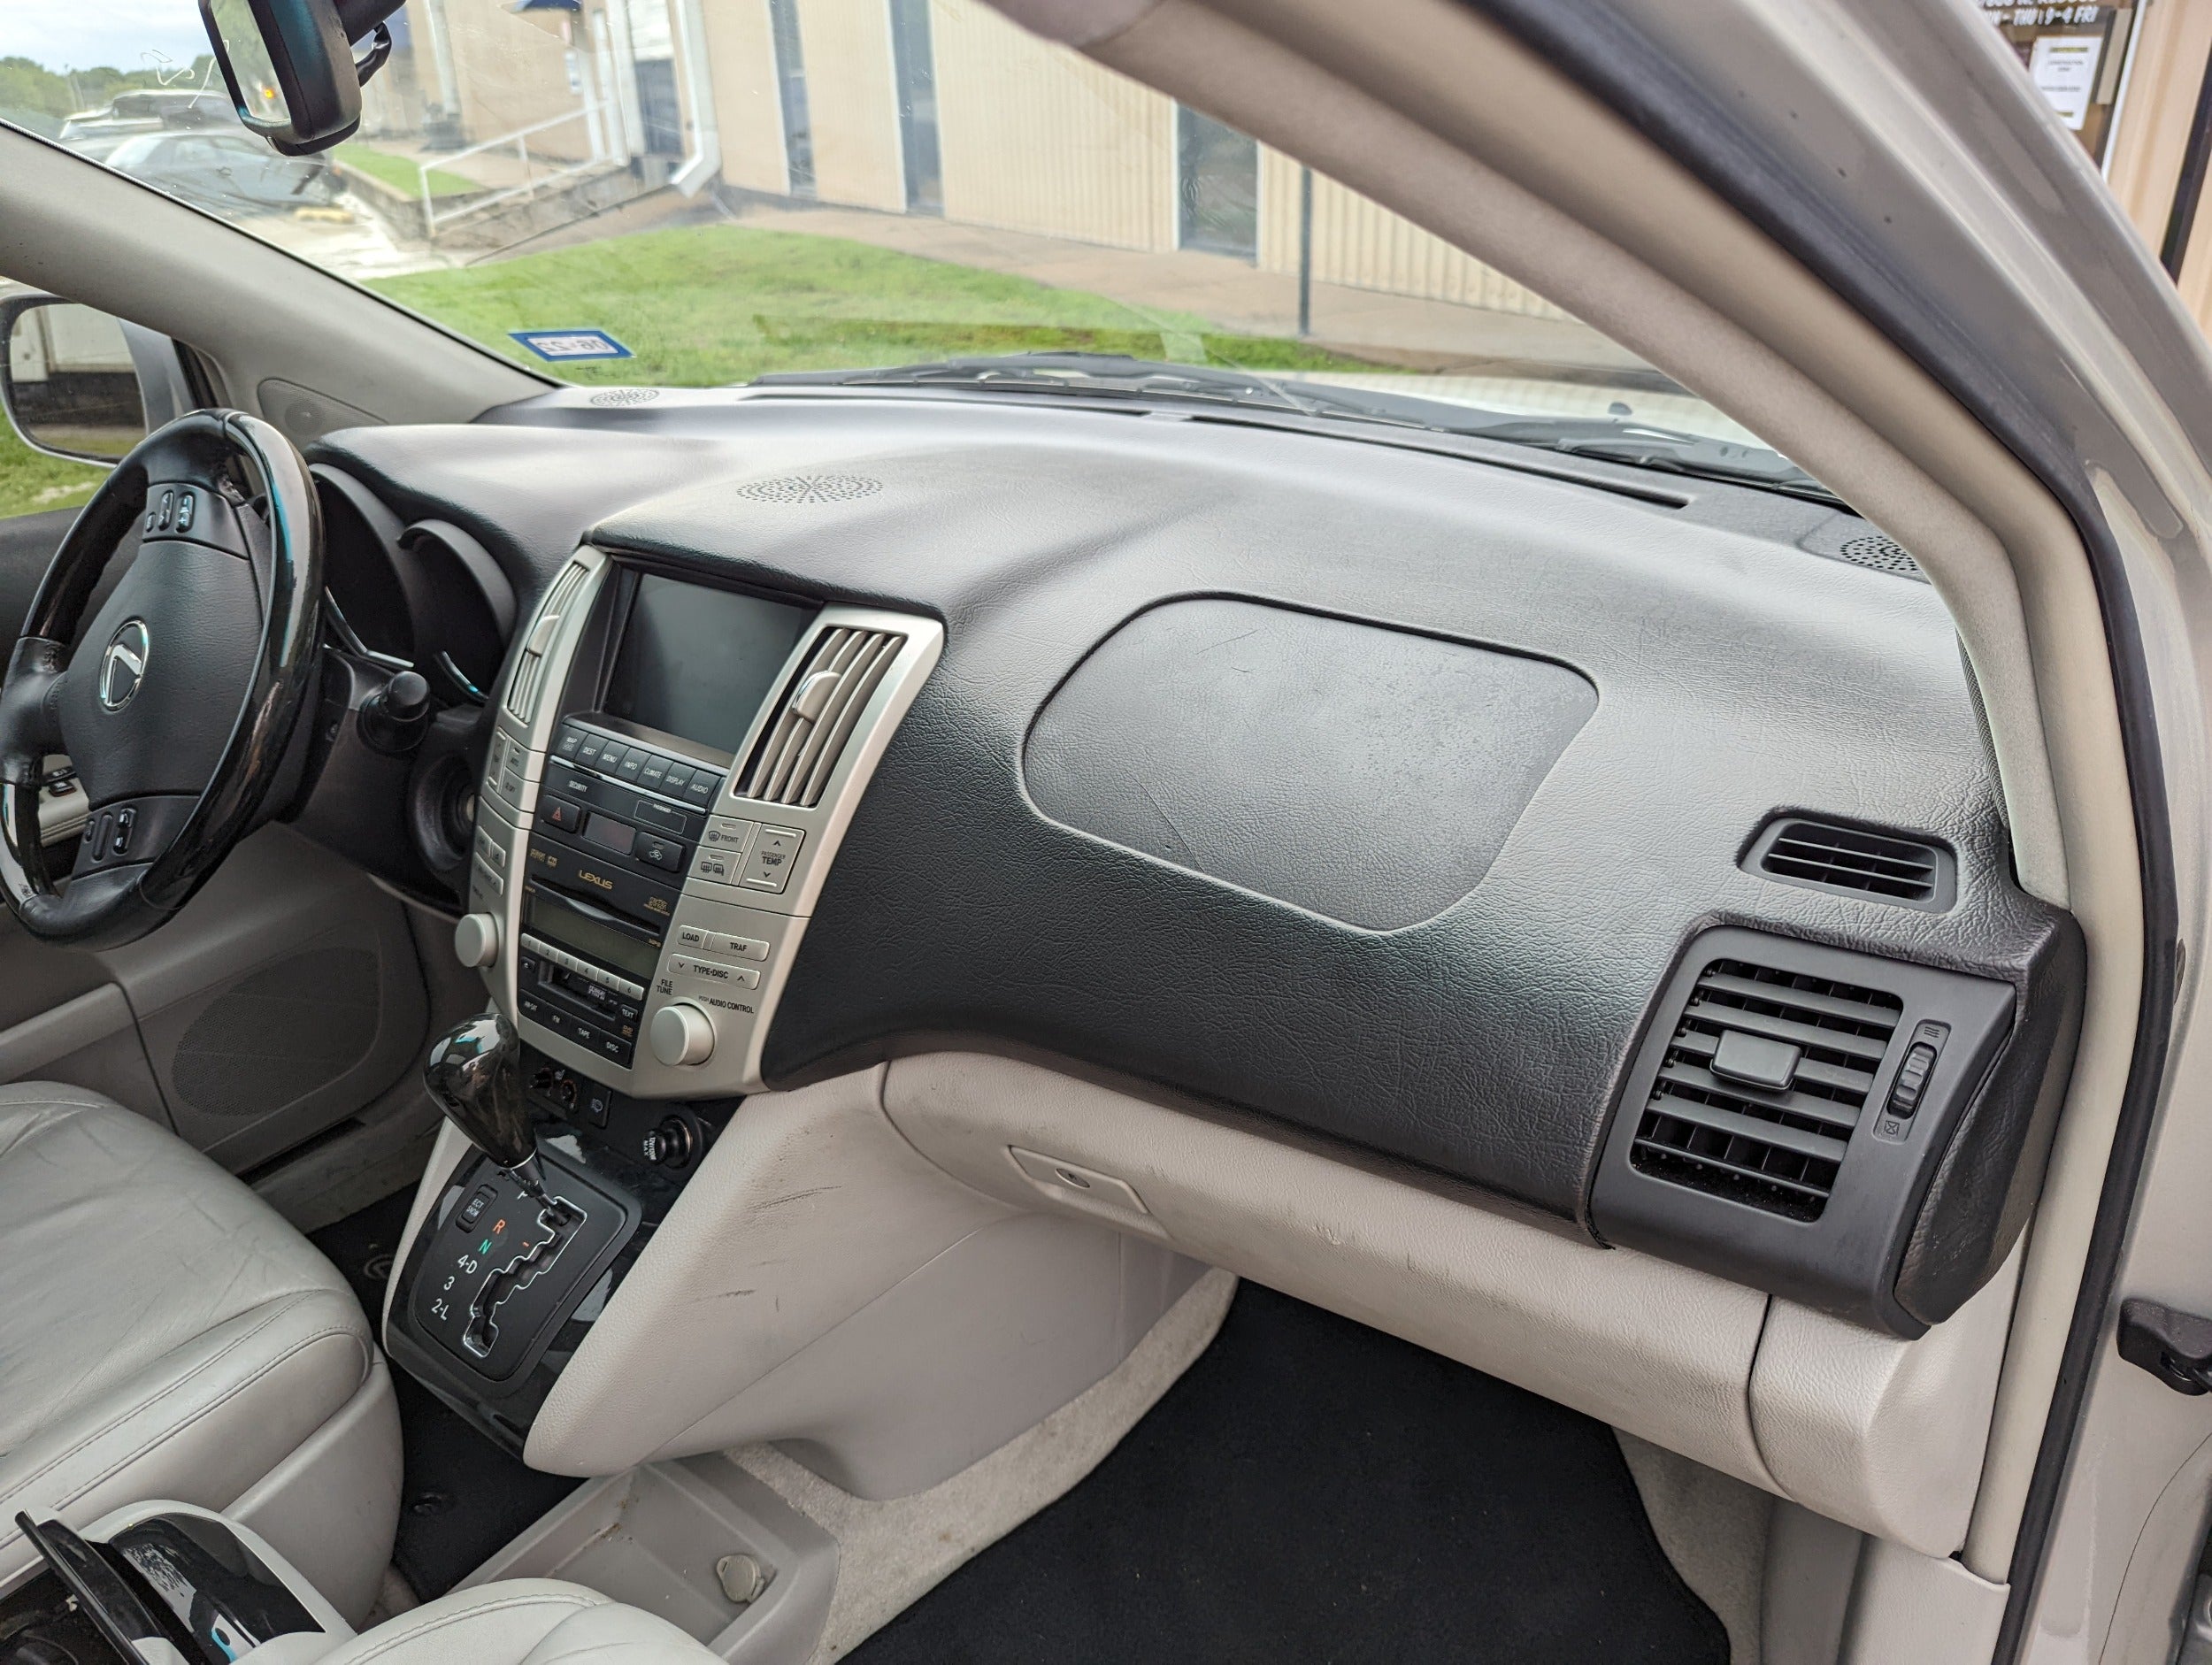
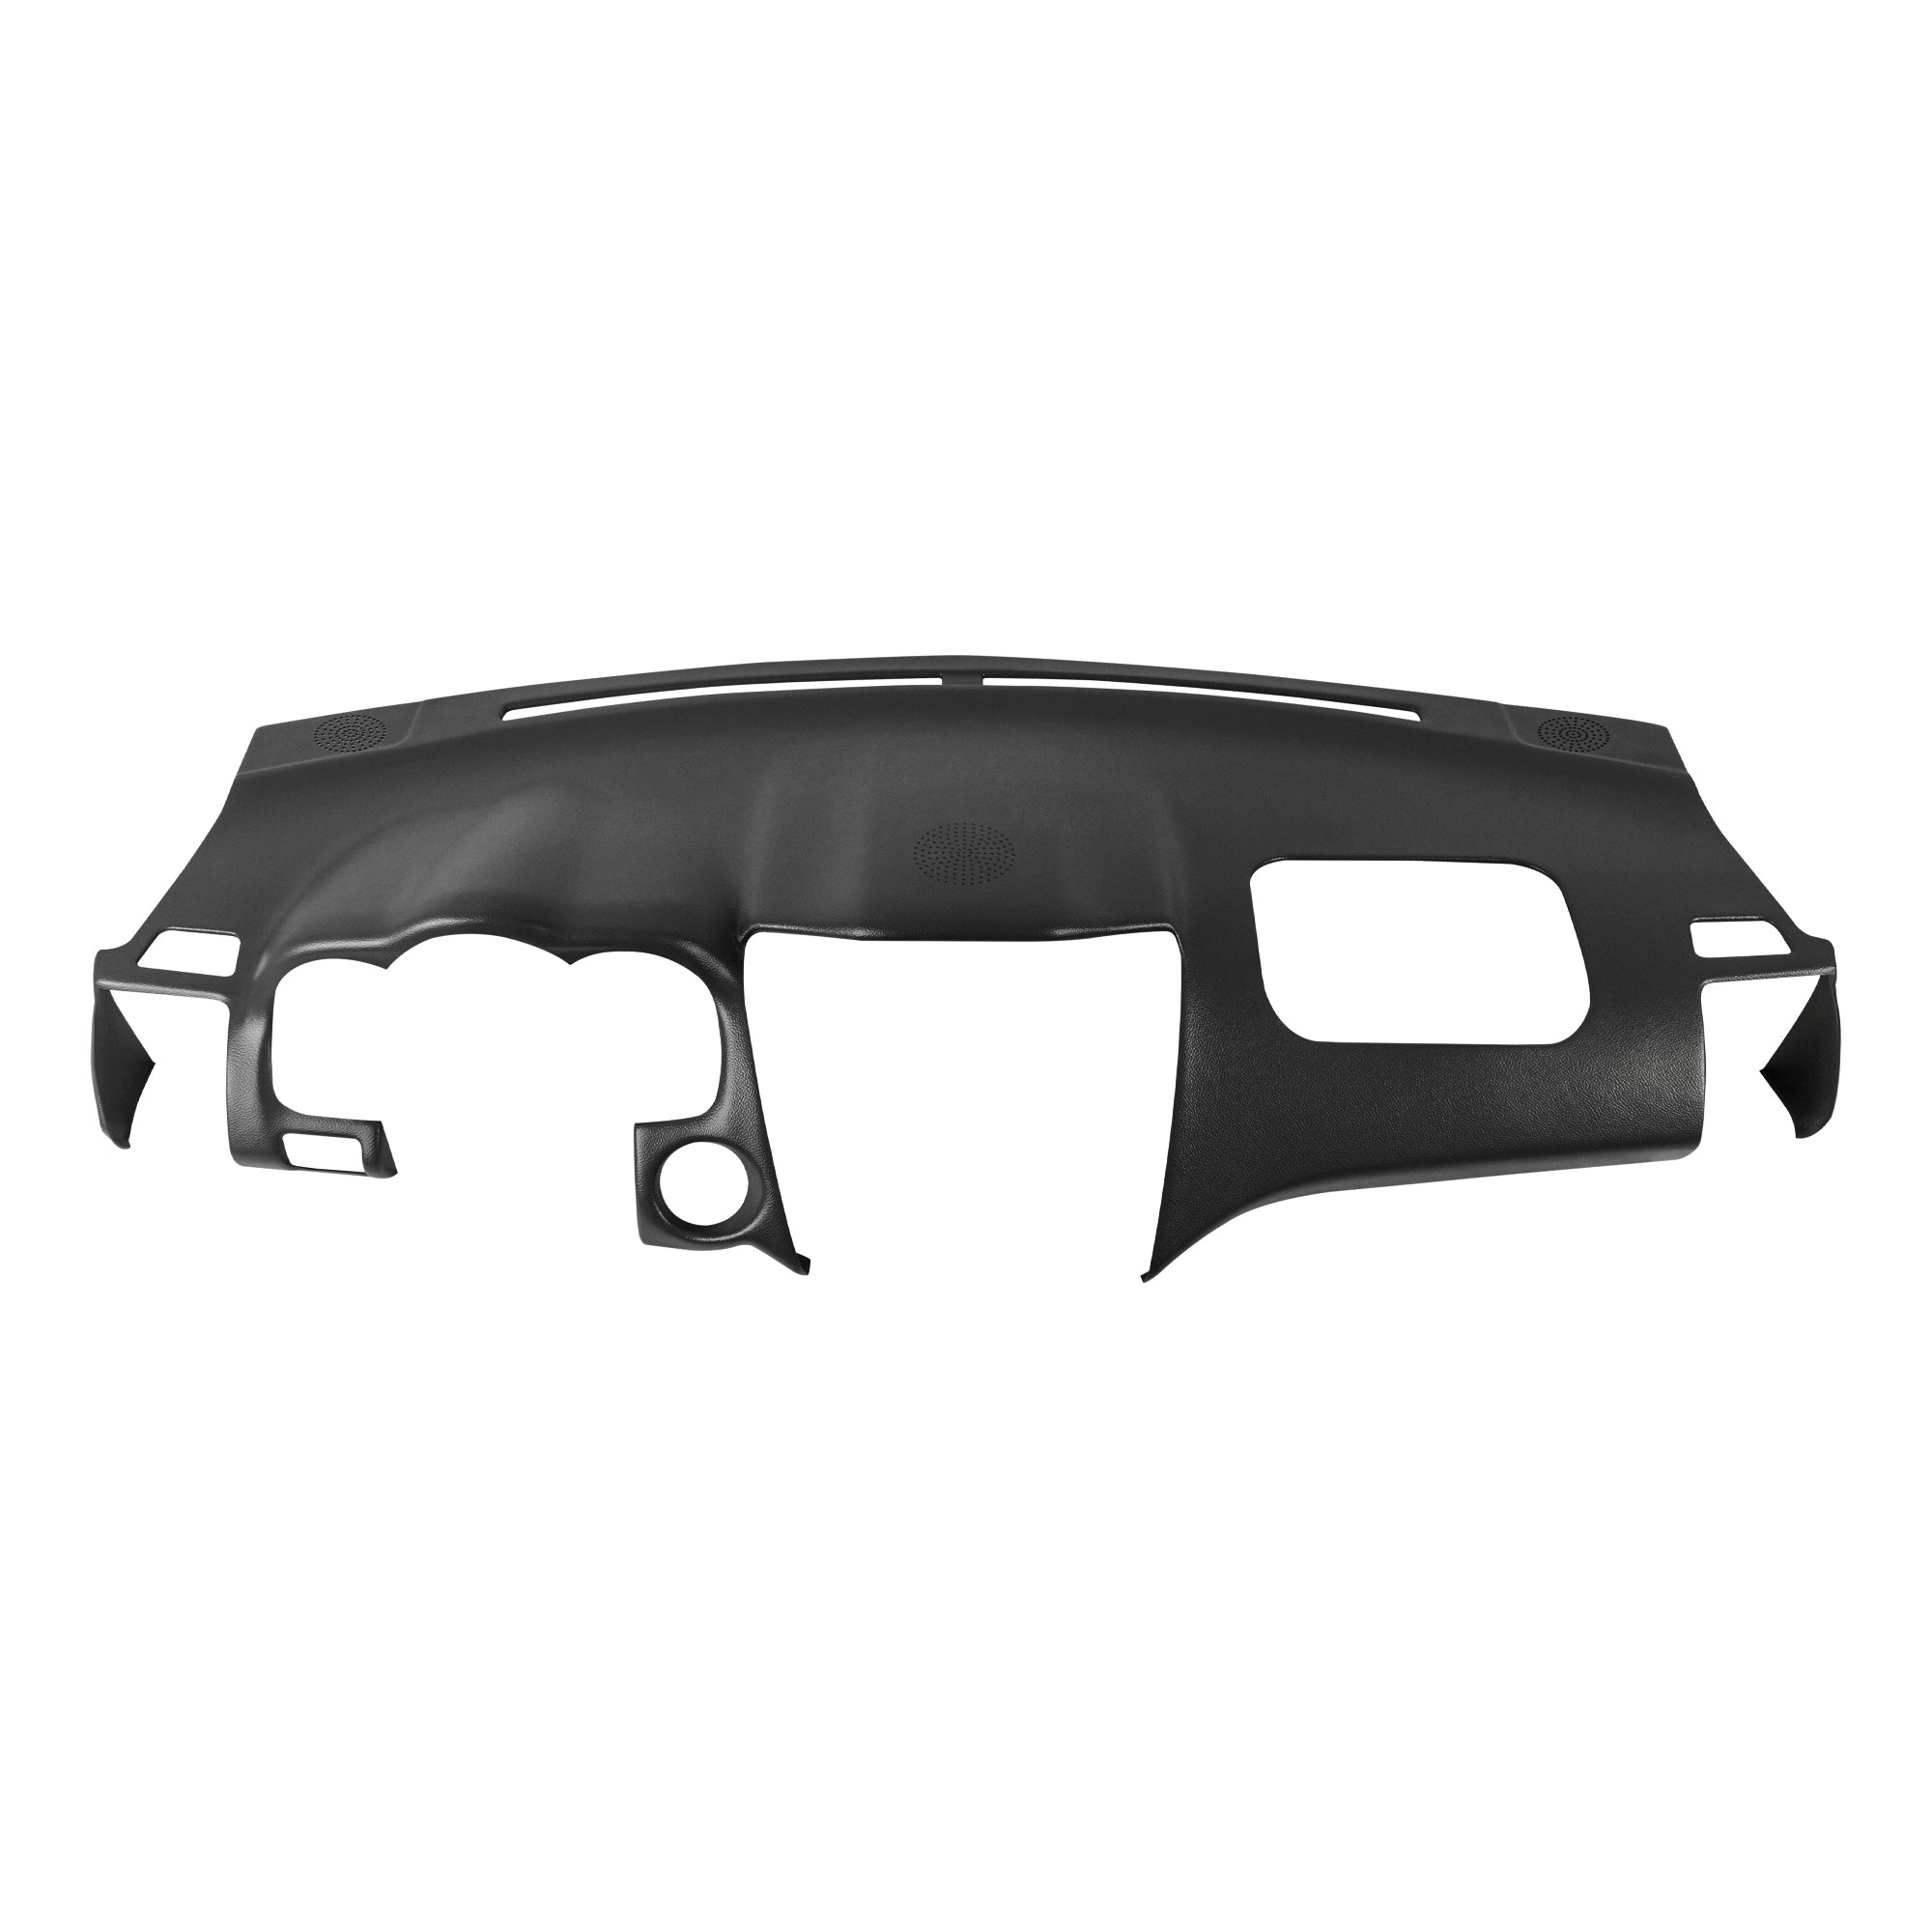
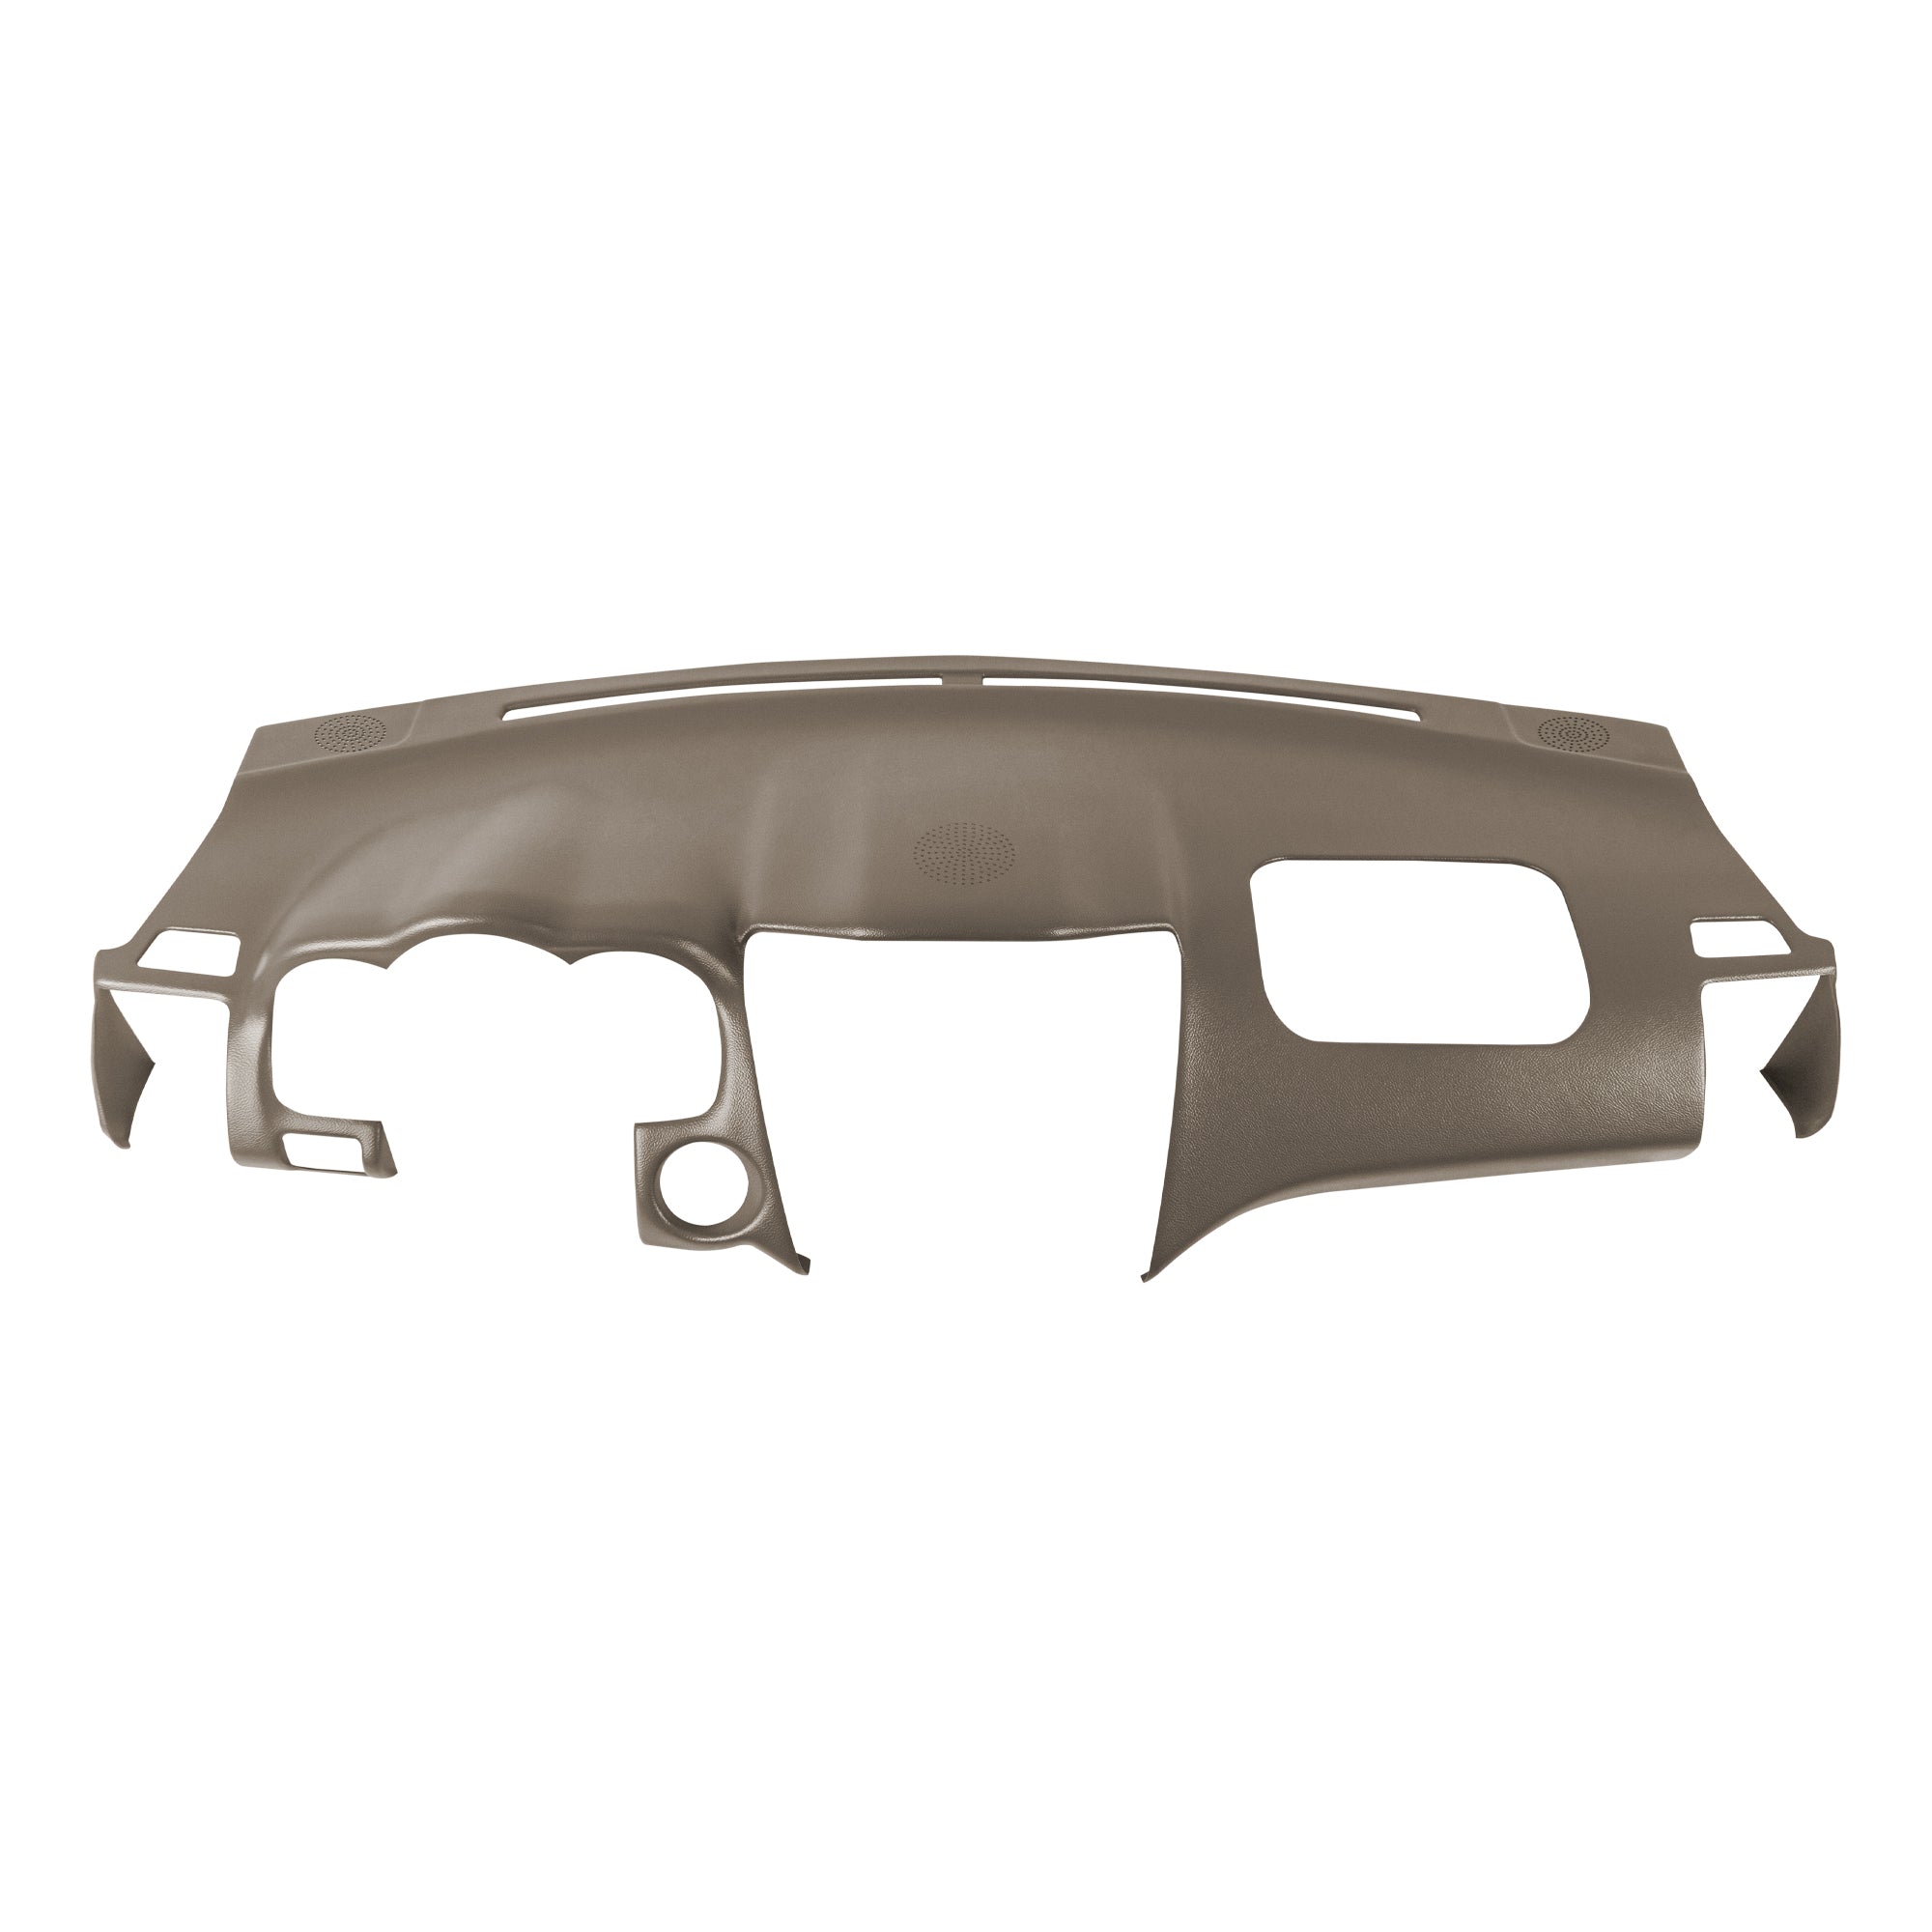
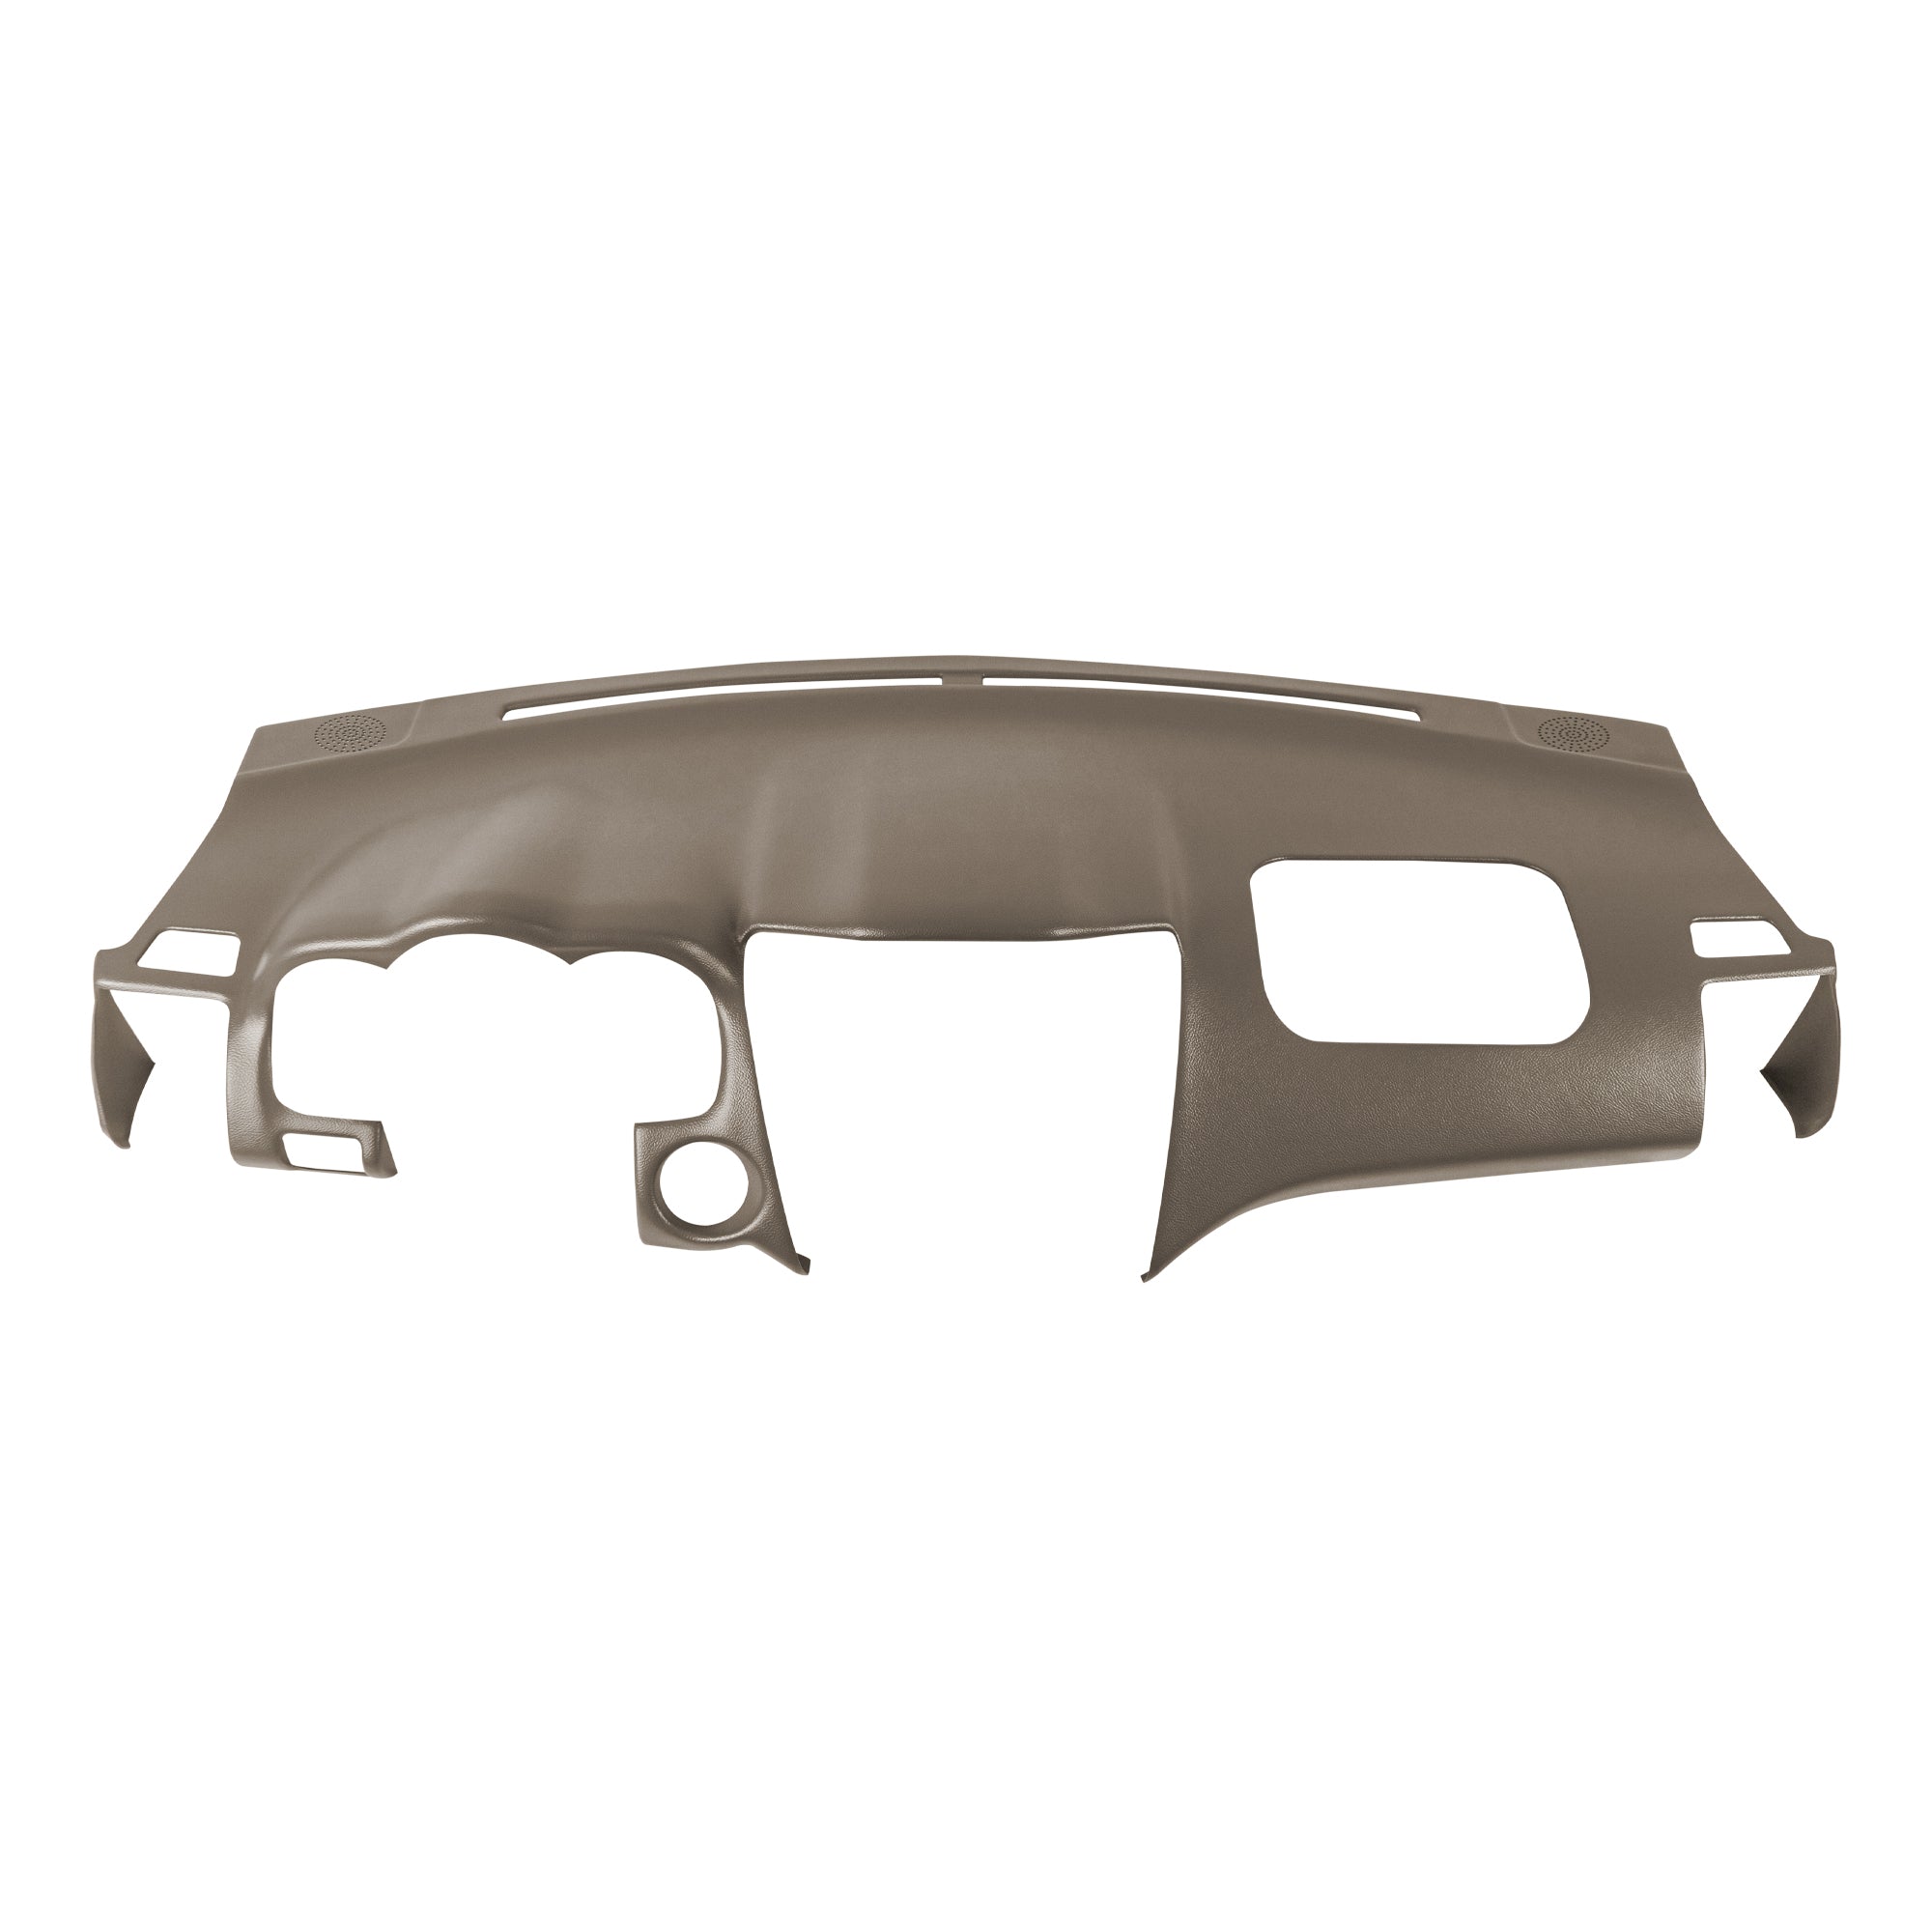
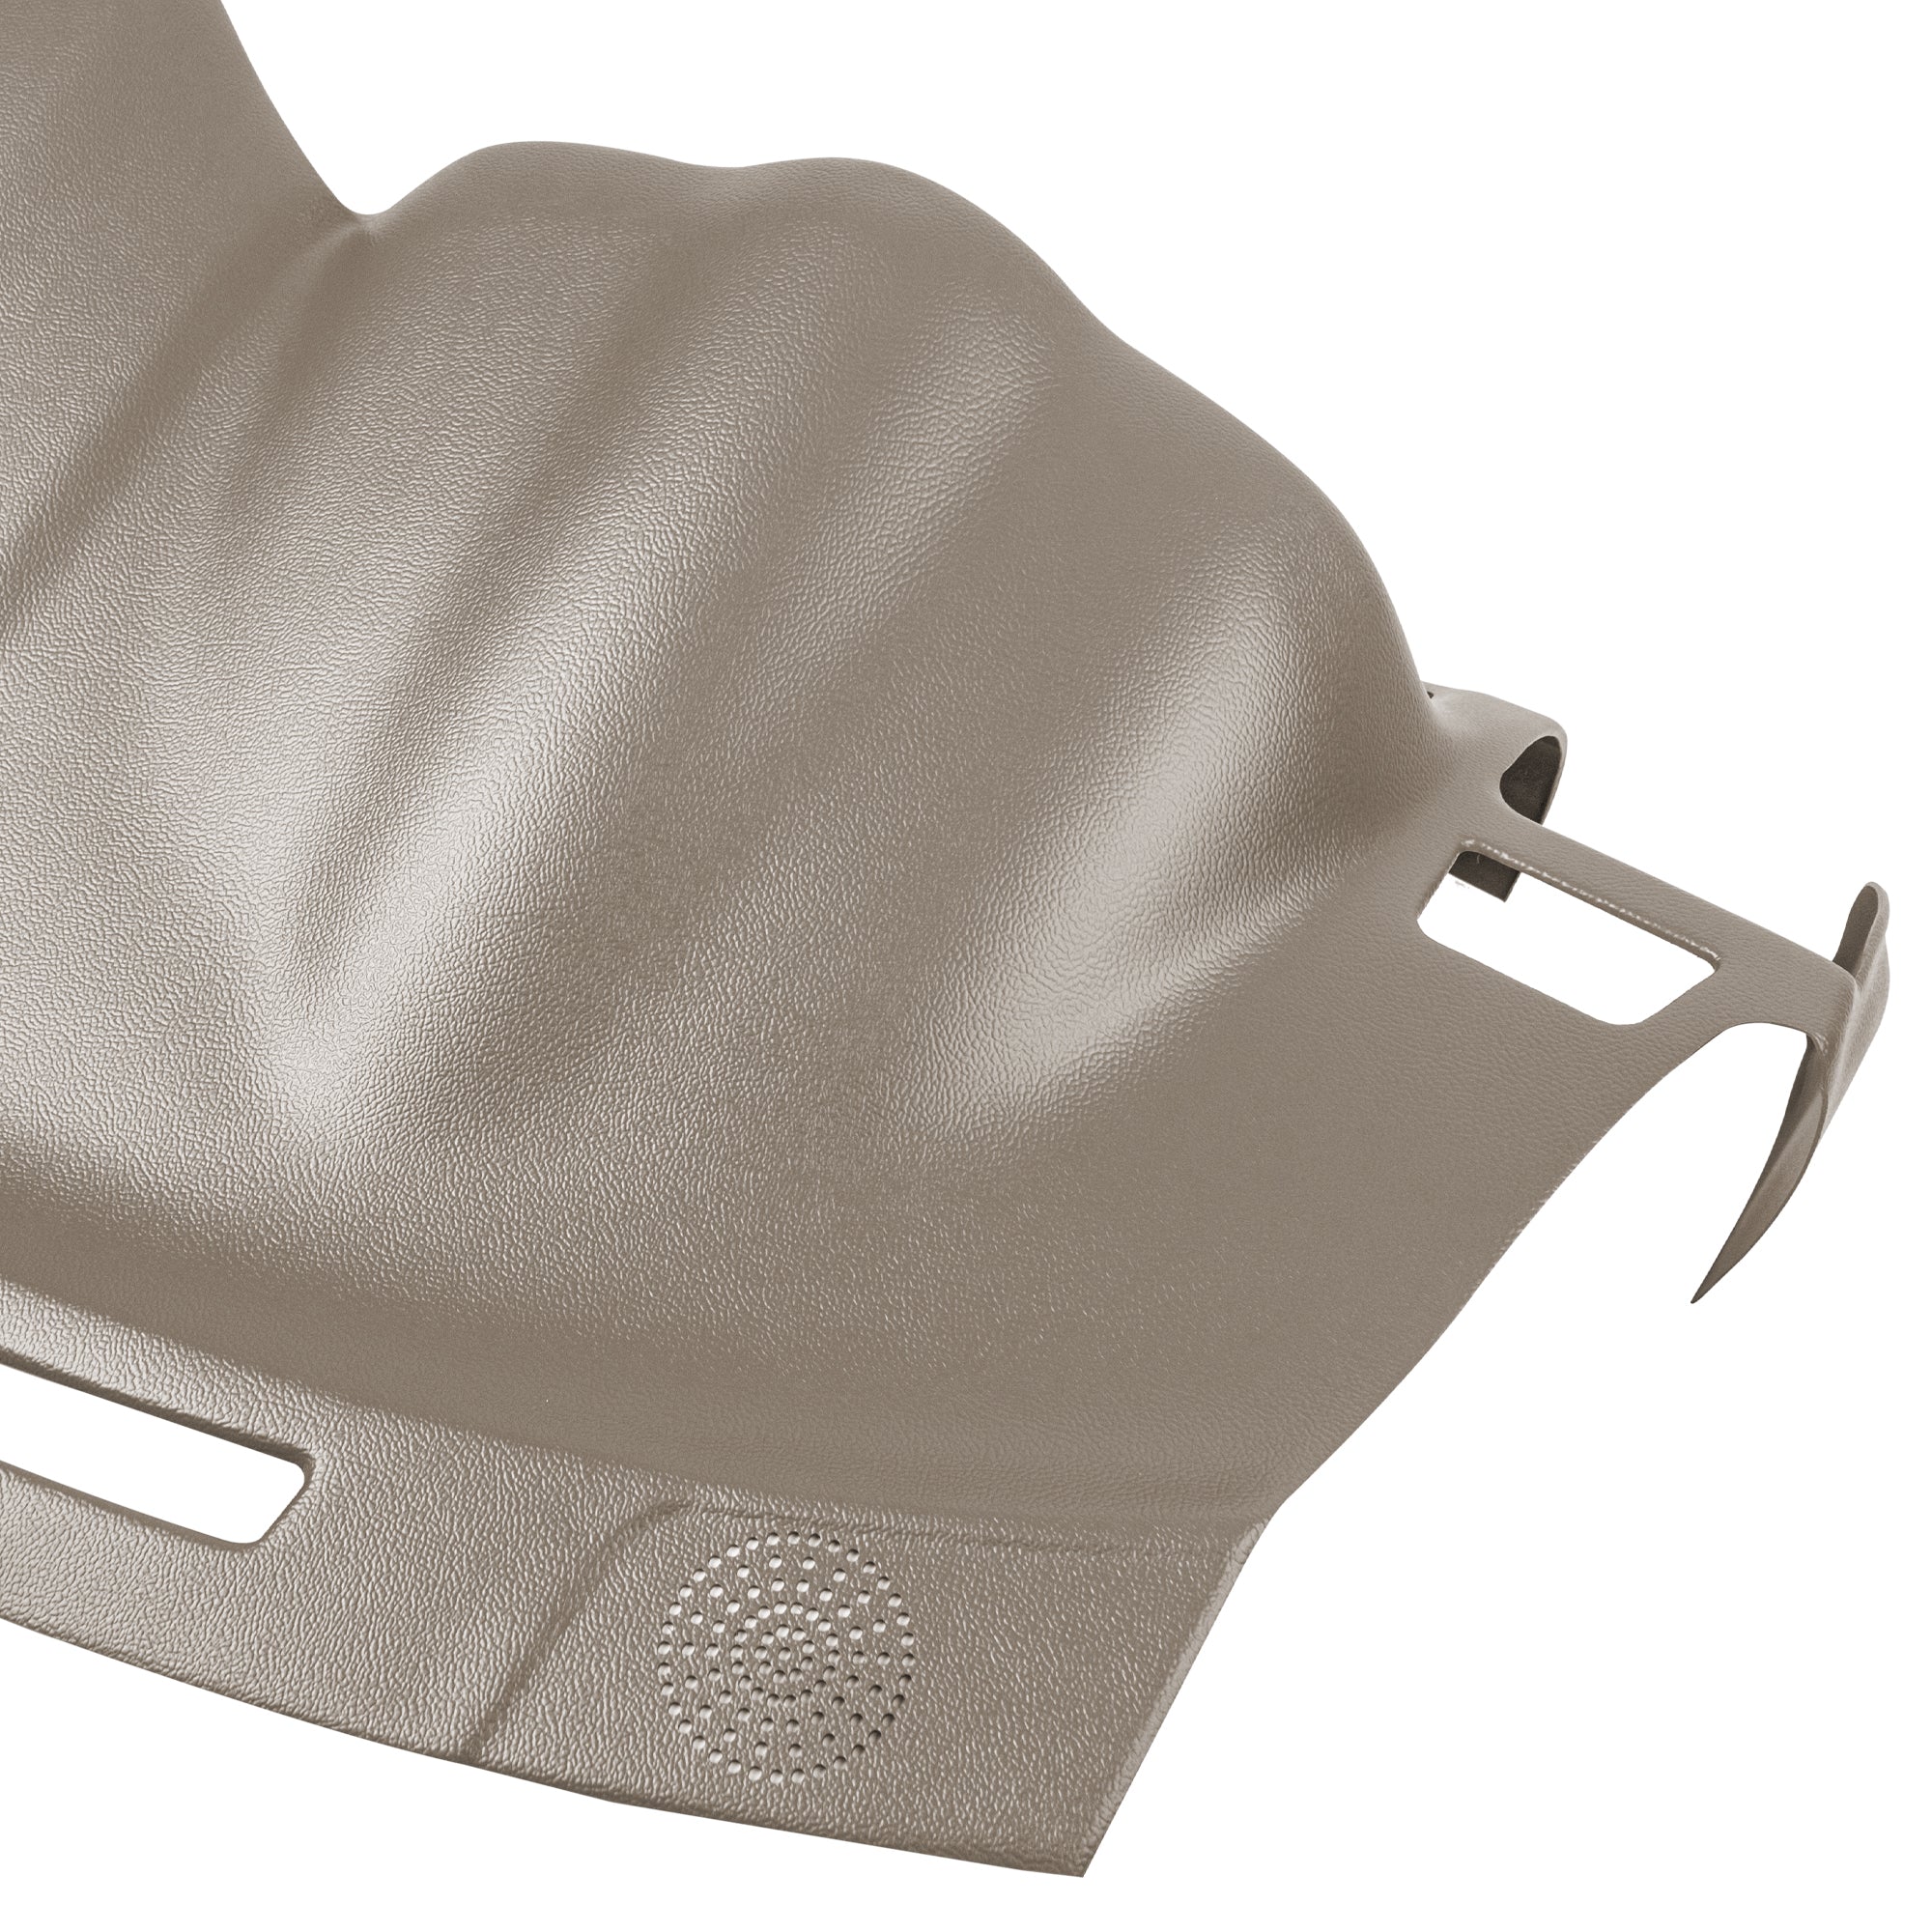
Installing a DashSkin dash cover is a straightforward process that can revitalize the interior of your Lexus RX model. This guide will walk you through the installation process for a 2005 Lexus RX350, but it is applicable to all RX models from 2004 to 2009.
Step-by-Step Installation Guide
1. Preparation and Dry Fitting
Before you begin, it’s important to prepare your workspace and vehicle:
- Dry Fit the Cover: Start by dry fitting the dash cover. Bending the cover slightly (like a taco) will help it fit better. Insert the key and lower the steering wheel to make the fitting process easier.
- Clean the Original Dash: Use a degreaser to thoroughly clean the original dashboard. Avoid using alcohol-based cleaners. Make sure to remove any old interior shine products (like Armor All), dust, grime, debris, or dash chips. A clean surface is essential for the silicone adhesive to bond properly.
2. Applying Silicone
Next, you'll apply silicone to the underside of the dash cover:
- Apply Silicone: Follow the pattern illustrated in your installation guide. This ensures an even distribution of adhesive for a secure fit.
3. Securing the Dash Cover
After applying the silicone, it's time to secure the dash cover:
- Use Rolled Up Rags: Since weights can’t be placed near the windshield, use rolled-up rags between the dash cover and the windshield to hold it in place.
- Place Weights Evenly: Place weights evenly across the dash cover to hold it flush against the original dash. Look for any raised edges and apply additional weights or prop rods to ensure these spots are securely held down.
- Alternative Weights: If you don’t have specialized weights, reams of printer paper or phone books can be used. Just make sure they won’t scratch the cover.
4. Using Prop Rods
To ensure the front vertical parts of the dash cover adhere properly:
- Apply Prop Rods: Use prop rods on the front vertical parts of the dash. If you don’t have prop rods, you can use pieces of PVC or wood cut to length, with rags on each side to prevent scratches. Adjust the seats forward to apply pressure as needed.
5. Additional Steps for a Secure Fit
- Pinch Foam or Rags: With the front windows rolled down, pinch pieces of foam or rags between the door and the dash cover. This helps to hold everything in place securely.
6. Curing Time
Finally, allow sufficient time for the silicone to cure:
- Cure Time: Allow at least 12 hours for the silicone to fully cure. In conditions of low relative humidity, leave the vehicle overnight for best results.
By following these steps, you can achieve a professional and seamless installation of your DashSkin dash cover, restoring the look of your Lexus RX’s interior. For more detailed instructions, refer to the illustrated guide included with your dash cover. Happy installing!
For any questions or additional support, feel free to contact us at 918.940.8900

